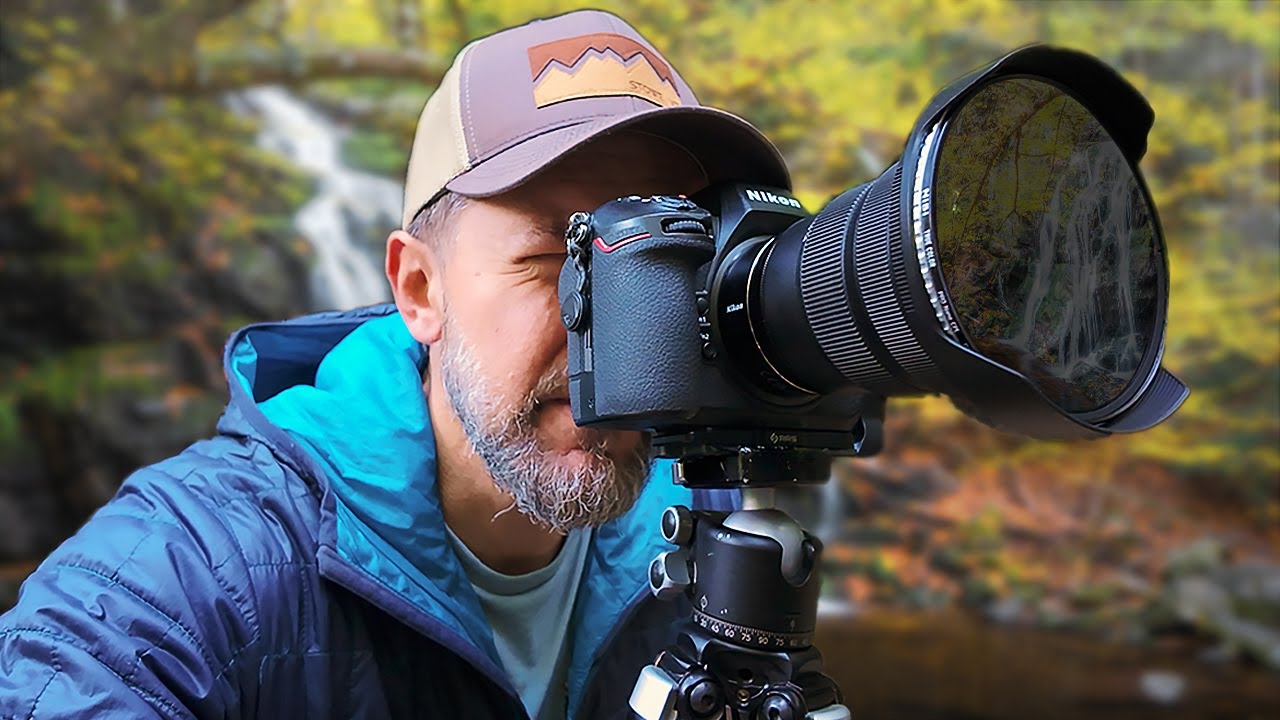
There is a specific kind of frustration that comes from arriving at a waterfall location and realizing you have no plan. You are standing in front of something genuinely beautiful, the light is doing something interesting overhead, and you are fumbling with your tripod trying to figure out where to even point your camera. I have been that person more times than I want to admit. One particularly humbling trip involved a waterfall in Oregon, three days of missed dinner, and a husband who was very patient about it. What I eventually learned, the hard way, is that the composition work needs to happen before the light arrives, not during it.
That is exactly what makes Watch the full tutorial on YouTube this Mark Denney tutorial so worth studying. Mark films himself arriving at a waterfall he has never visited in person, during peak fall color, and walks through his entire process in real time, including the messy, uncertain parts. There is no polished “here is the perfect shot I already knew I would get.” It is a working photographer thinking out loud, and that honesty makes the technique genuinely transferable.
Whether you are heading out this weekend for fall foliage or bookmarking this for next season, here is a step-by-step breakdown of what Mark does and how you can apply it at any waterfall location.
Step 1: Arrive Early and Assess the Light Before You Shoot Anything
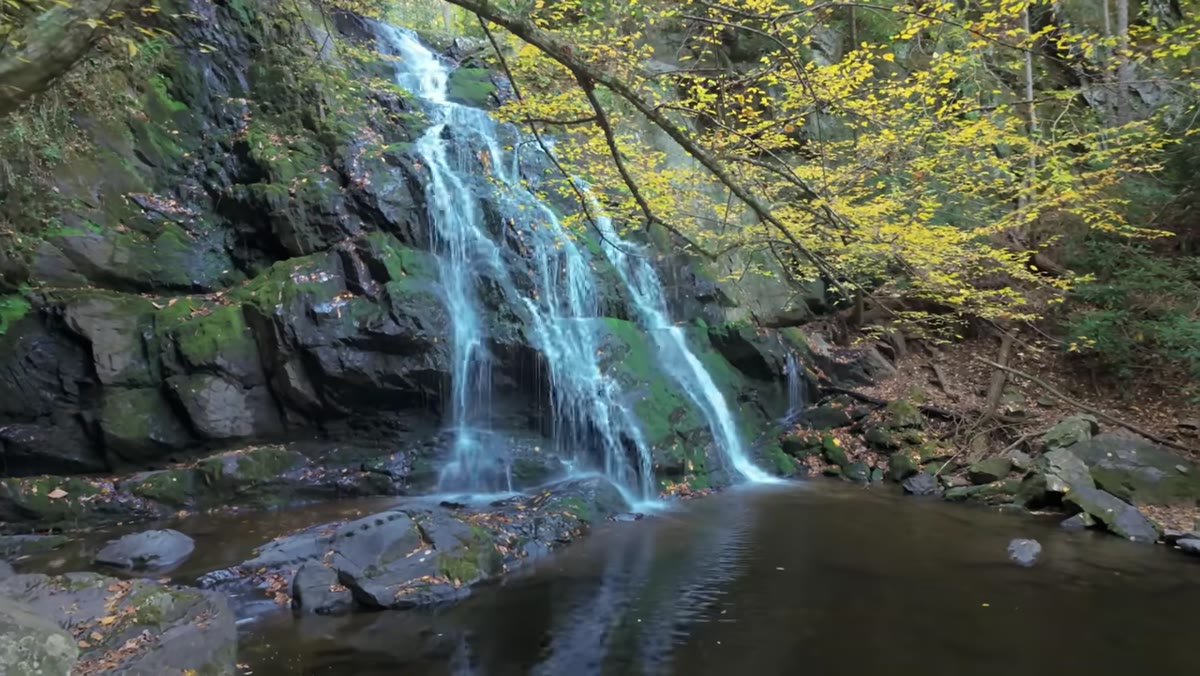 Photographer scanning the waterfall scene and surrounding ridge
When Mark arrives at the waterfall, the first thing he does is look up. Not at the water, but at the ridge line above it and the tree canopy framing the scene. He notes that the sun rose about an hour ago but will not clear the ridge for another hour or so. That observation immediately tells him two things: the light is not ready, and he has time to work.
This early-arrival habit is something I cannot recommend strongly enough. Arriving thirty to sixty minutes before ideal light gives you a relaxed window to assess the scene without pressure. Notice where shadows are falling, which elements will be illuminated when the sun shifts, and whether there are any natural focal points (like an overhanging tree loaded with autumn color) that will transform once light hits them directly.
Step 2: Do Your Composition Scouting with Your Phone
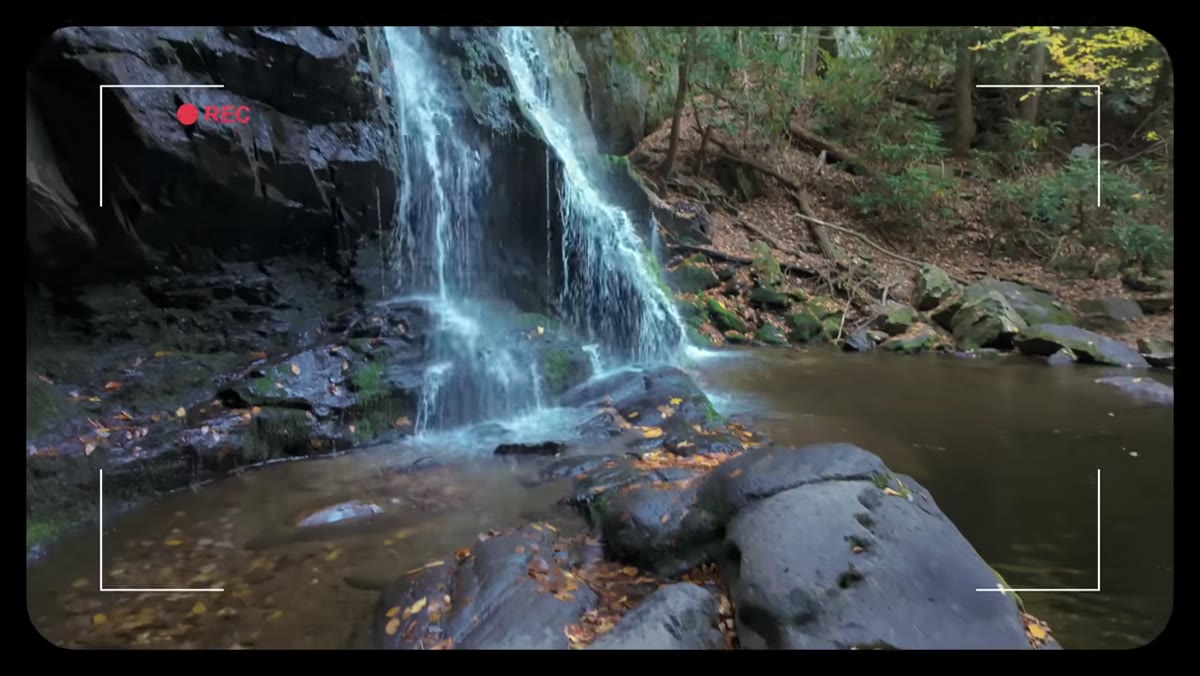 Mark holding phone up to preview composition at the waterfall
Mark pulls out his phone for composition scouting rather than setting up his camera on a tripod right away. His reasoning is practical: a phone lets you move freely, switch between horizontal and vertical orientations instantly, crouch down, lean sideways, and cover a lot of ground quickly without committing to a position.
I do this on my Sunday morning photo walks all the time, and honestly it has improved my final images more than any lens upgrade ever did. Use your phone’s camera to walk the full width of the scene. Try high angles, low angles, positions closer and farther from the water. You are not trying to take the final shot yet. You are narrowing down candidates so that when the light is right, you already know exactly where to stand.
Step 3: Look for Geometric Shapes in the Natural Scene
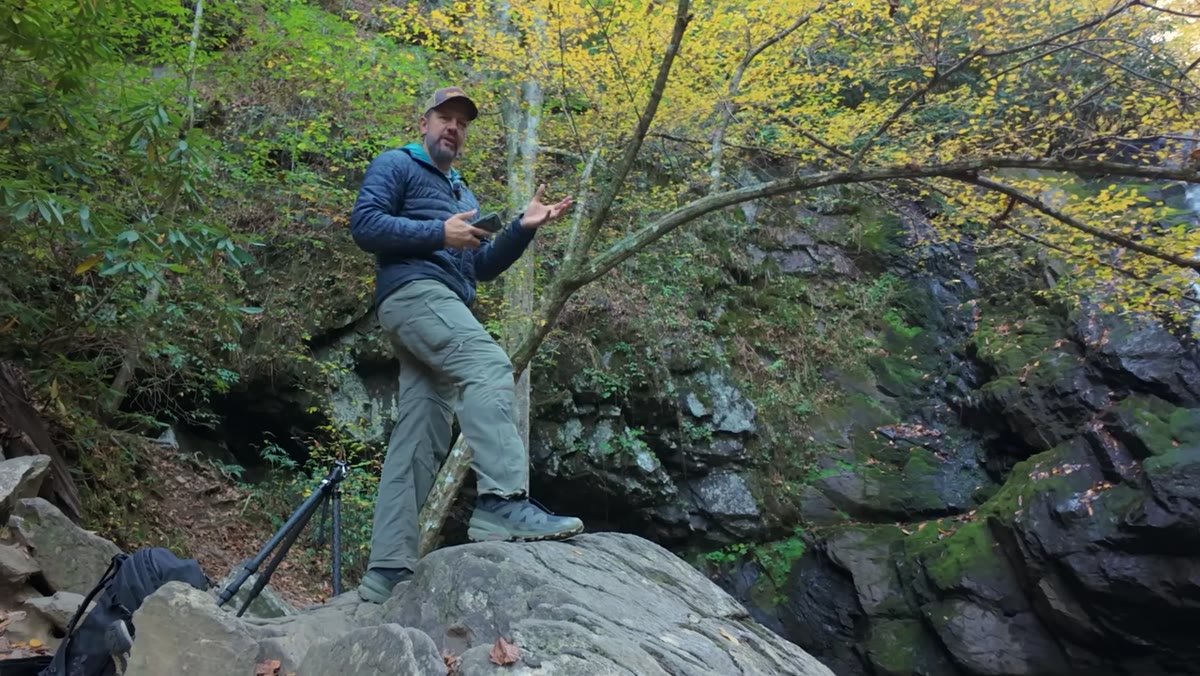 Mark gesturing toward natural curves and shapes in the landscape
While scouting, Mark actively searches for compositional shapes built into the environment itself. He names several specifically: S-curves, C-curves, circular patterns, and triangles. He considers triangles the most structurally powerful shape in visual composition, and he is not wrong. A triangle creates a natural sense of depth and leads the eye through a frame in a way that flat horizontal elements rarely do.
At a waterfall, look for the way the water bends, how the rocks stack, and how tree branches arc overhead. A stream that curves away from you in an S-shape gives the viewer’s eye a path to travel. An overhanging branch that creates a triangular frame around the falls adds depth without any editing. You are not manufacturing these shapes, you are finding them, which is part of what makes this kind of scouting so satisfying.
Step 4: Choose Your Starting Lens Based on Your Distance from the Scene
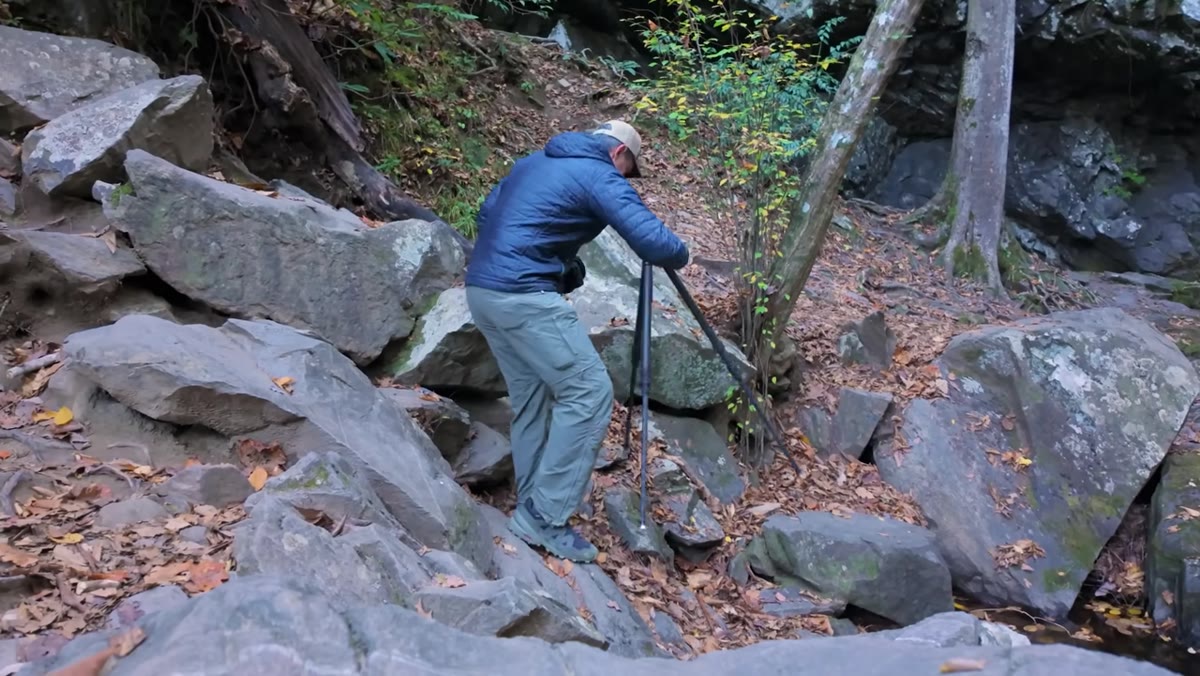 Camera mounted on tripod with wide-angle lens facing the waterfall
Mark settles on a 14-24mm wide-angle zoom as his starting point because he is physically close to the waterfall and needs to capture both the falling water and the full canopy overhead. He confirms his instinct by trying the shot and finding himself toward the wider end of that range.
If you are working with a kit lens, something in the 18-24mm equivalent range on a crop sensor body gives you similar coverage. The key is matching your lens choice to your physical position before you start dialing in settings. Get the framing right first, then worry about aperture and shutter speed. Trying to troubleshoot both at once is how you waste the good light.
Step 5: Identify and Minimize Dead Space in the Frame
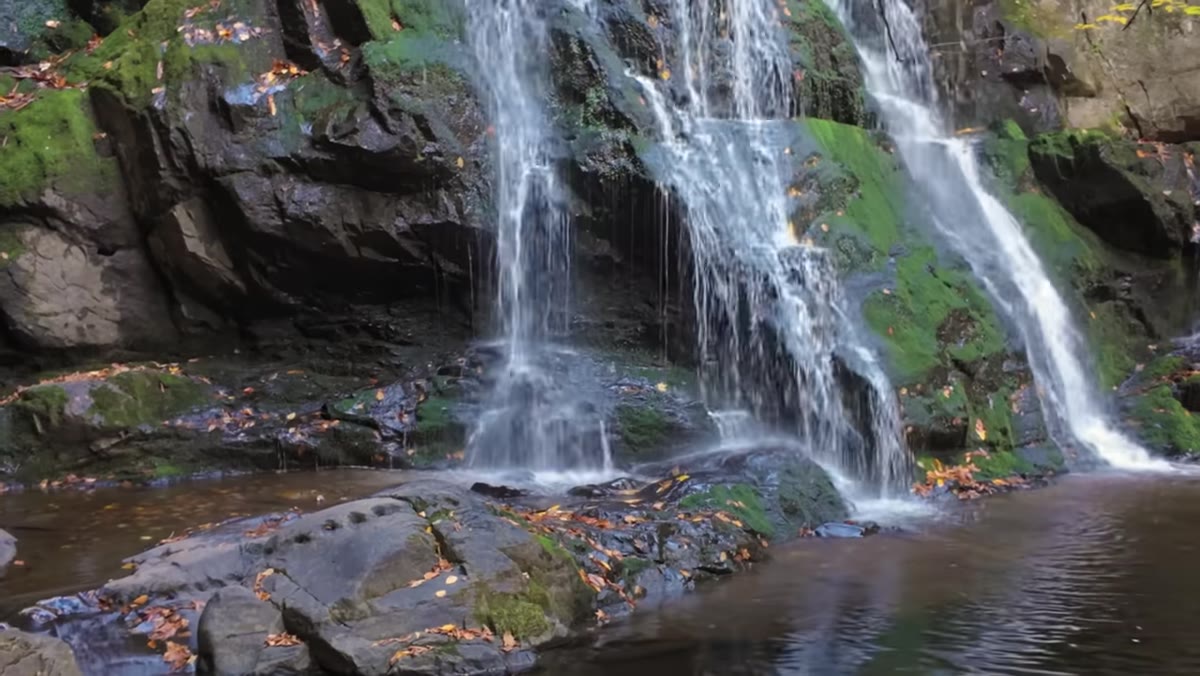 Mark examining the still, dark water area at the base of the falls
One of the most useful moments in the video is when Mark identifies a problem with his initial composition: a large area of still, dark water at the base of the falls that adds nothing to the image. No texture, no white water, no rocks, just a flat black void eating up real estate in the frame.
His solution is to move. He repositions his camera and tripod to reduce how much of that static water appears in the frame. This is a principle worth internalizing: every element in your frame should be earning its place. Still water with no texture or reflection interest is not automatically beautiful just because it is near a waterfall. Shift your position, change your angle, or adjust your focal length until the dead space shrinks to something manageable or disappears entirely.
Step 6: Lock In a Composition Before the Light Peaks
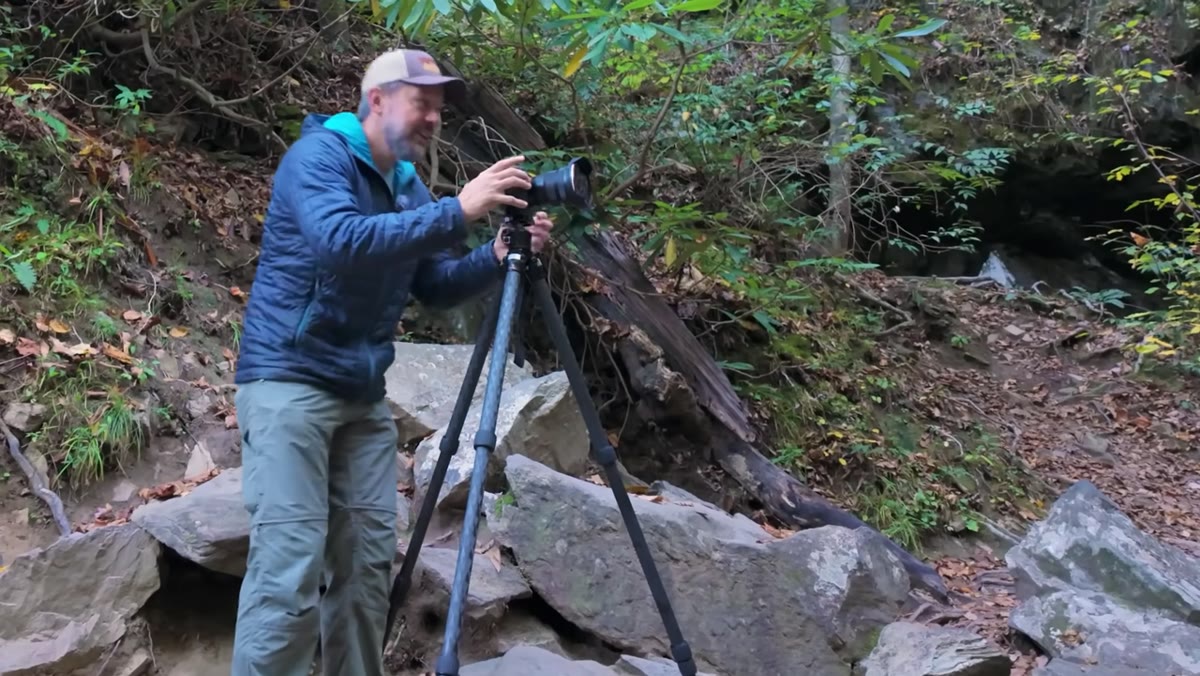 Mark settling tripod into final position, reviewing composition on camera
Once Mark finds a position he likes, he stops moving and commits. He notes that arriving early is what made this possible: with time still remaining before the ideal light hits the canopy, he has a confirmed composition and a planted tripod waiting for the moment.
This is the whole game with fall waterfall photography specifically. The window when golden autumn foliage is lit and a waterfall is also flowing well is genuinely short. You do not want to be sorting out your framing while that window is open. Get your composition locked, set your exposure for the conditions, and then let the scene come to you.
A Note from My Own Experience: The Scene You Scout Is Rarely the Scene You Get
I want to add something Mark gestures toward but does not fully say. Every location you scout will surprise you at least once. Maybe the light hits from an angle you did not predict. Maybe a gust of wind moves a branch and suddenly the composition you scouted is 20 percent better. Staying flexible inside a committed position is a skill. Have your composition locked, but keep your eye open for small adjustments as conditions shift.
Also: if the water level is low and you are worried about whether there will be enough flow, go anyway. Mark mentions this concern himself when he first arrives, and the waterfall delivers. Low light and low water are not reasons to skip the trip. They are just variables to work with.
The single most important idea in Mark’s approach is that composition is not a camera skill, it is a scouting skill. Get to the location early, use your phone to do the legwork, find the shapes, eliminate the dead space, and have your position ready before the light arrives. Everything else is just execution.
Watch the full tutorial on YouTube to see Mark work through this in real time at the actual location. Watching him make decisions on the fly, including second-guessing himself and adjusting, is more instructive than any polished highlight reel could be.
Comments
Leave a Comment