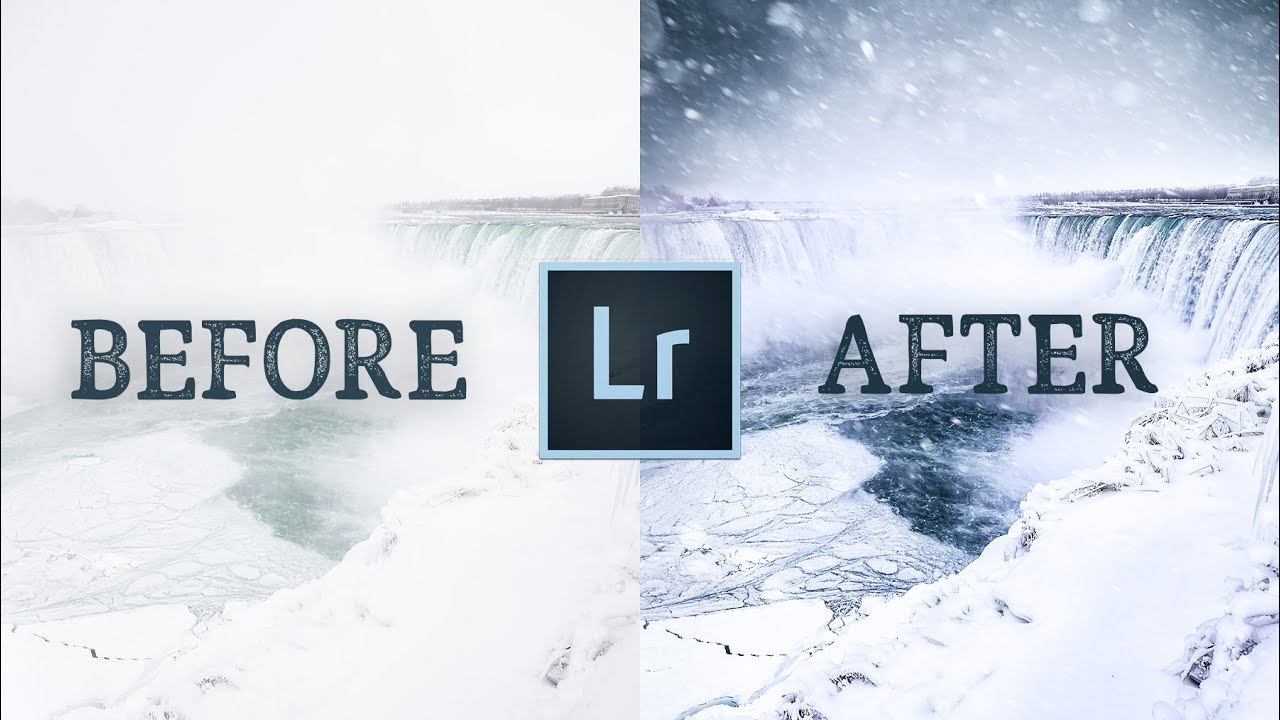
I have a folder on my hard drive called “maybe someday.” It’s full of shots I couldn’t bring myself to delete but couldn’t figure out how to fix. Overexposed skies, flat midday light, frames that had a feeling I loved and a histogram I hated. If you have a folder like that too, this workflow is going to feel like finding a key you forgot you were looking for.
In this Peter McKinnon tutorial, Watch the full tutorial on YouTube, he walks through the complete edit of a Niagara Falls RAW file that he openly admits looks awful straight out of camera. Overexposed, flat, basically unusable at first glance. But instead of deleting it, he works through a deliberate process in Lightroom and Photoshop to pull it into something cinematic and dramatic. What I love about this particular edit is that it isn’t about starting with a great photo. It’s about having a vision and knowing the steps to get there. That’s a skill set, and it’s one you can build.
I’ve broken down his process into the core steps below so you can follow along without pausing and rewinding every thirty seconds.
Step 1: Start with a Vision, Not Just a Slider
 Peter describing his creative goal before touching any sliders
Before Peter touches a single slider, he talks about knowing where he wants to go. His goal for this Niagara Falls shot is specific: a cold, snowy, almost apocalyptic mood. That creative intention shapes every decision that follows. This is something I used to skip entirely. I’d open a file and just start pushing things around hoping something would click. The edits that have made me the proudest are the ones where I sat with the RAW file for a minute first and asked, “What do I actually want this to feel like?” Write it down if you have to. One sentence. Then let that sentence drive the edit.
Peter describing his creative goal before touching any sliders
Before Peter touches a single slider, he talks about knowing where he wants to go. His goal for this Niagara Falls shot is specific: a cold, snowy, almost apocalyptic mood. That creative intention shapes every decision that follows. This is something I used to skip entirely. I’d open a file and just start pushing things around hoping something would click. The edits that have made me the proudest are the ones where I sat with the RAW file for a minute first and asked, “What do I actually want this to feel like?” Write it down if you have to. One sentence. Then let that sentence drive the edit.
Step 2: Level the Frame Before Anything Else
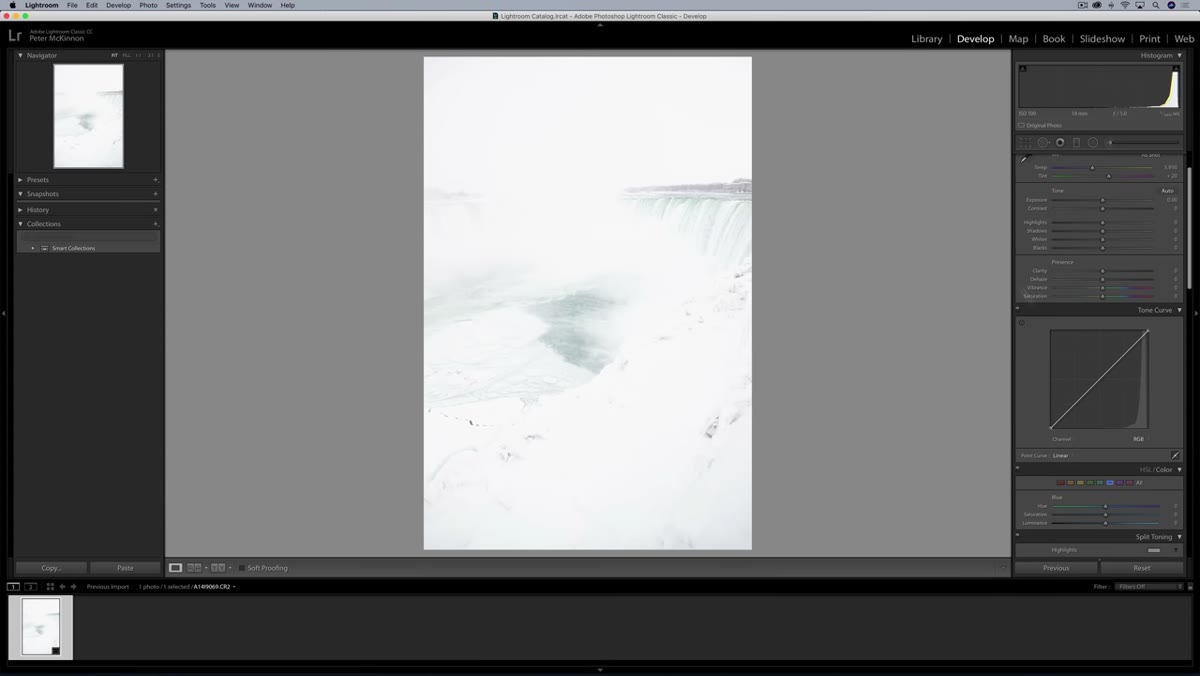 Straightening the horizon using Lightroom’s transform tool
Peter’s first hands-on move is straightening the image. This isn’t glamorous, but he makes a point of doing it first, every time. In Lightroom, you can use the Angle tool inside the Transform panel, or simply drag the Rotation slider until the horizon sits level. You can also use the grid overlay (press the letter O while cropping) to line things up against a strong horizontal or vertical element. Getting this right before you start adjusting tone means you won’t have to recrop later and lose pixels you might need.
Straightening the horizon using Lightroom’s transform tool
Peter’s first hands-on move is straightening the image. This isn’t glamorous, but he makes a point of doing it first, every time. In Lightroom, you can use the Angle tool inside the Transform panel, or simply drag the Rotation slider until the horizon sits level. You can also use the grid overlay (press the letter O while cropping) to line things up against a strong horizontal or vertical element. Getting this right before you start adjusting tone means you won’t have to recrop later and lose pixels you might need.
Step 3: Enable Lens Profile Correction
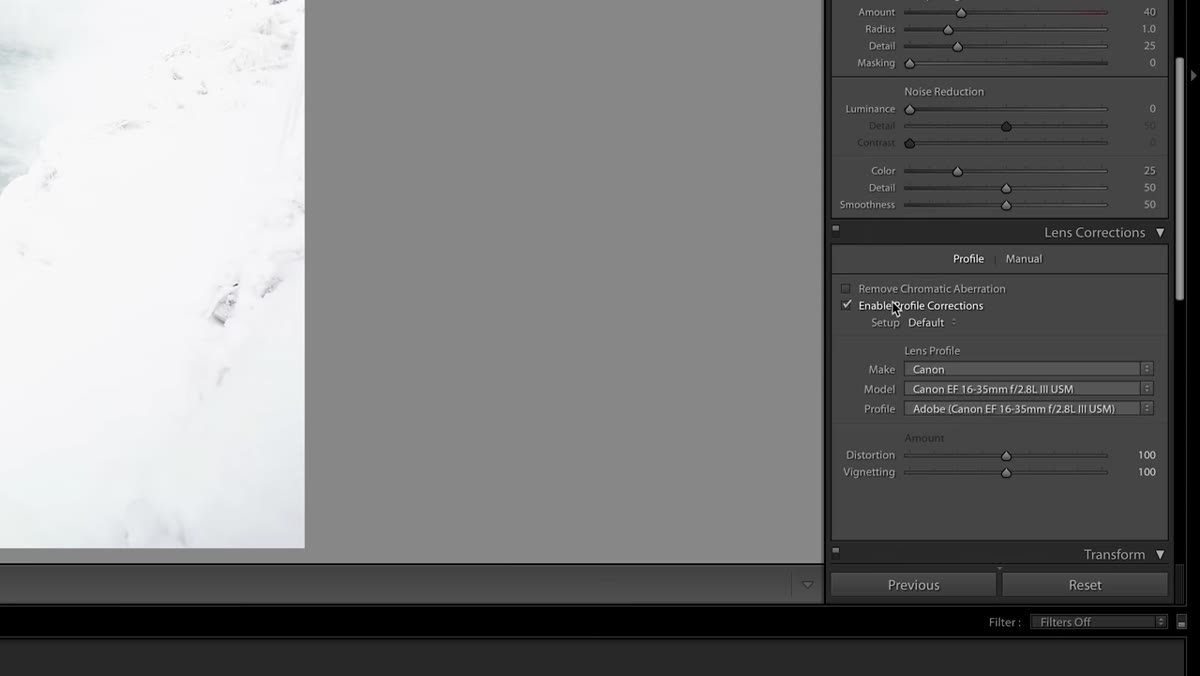 Enabling profile correction in Lightroom’s Lens Corrections panel
Right after leveling, Peter enables lens profile correction inside the Lens Corrections panel. Lightroom reads the metadata embedded in your RAW file to identify which lens you used, then automatically corrects for distortion and edge darkening specific to that lens. It usually adds a small amount of brightness at the corners and straightens any barrel or pincushion distortion. It’s a one-click step, but skipping it means you’re correcting a slightly warped version of your image for the rest of the edit. Turn it on early and let it do its job.
Enabling profile correction in Lightroom’s Lens Corrections panel
Right after leveling, Peter enables lens profile correction inside the Lens Corrections panel. Lightroom reads the metadata embedded in your RAW file to identify which lens you used, then automatically corrects for distortion and edge darkening specific to that lens. It usually adds a small amount of brightness at the corners and straightens any barrel or pincushion distortion. It’s a one-click step, but skipping it means you’re correcting a slightly warped version of your image for the rest of the edit. Turn it on early and let it do its job.
Step 4: Recover the Exposure and Read What’s Actually There
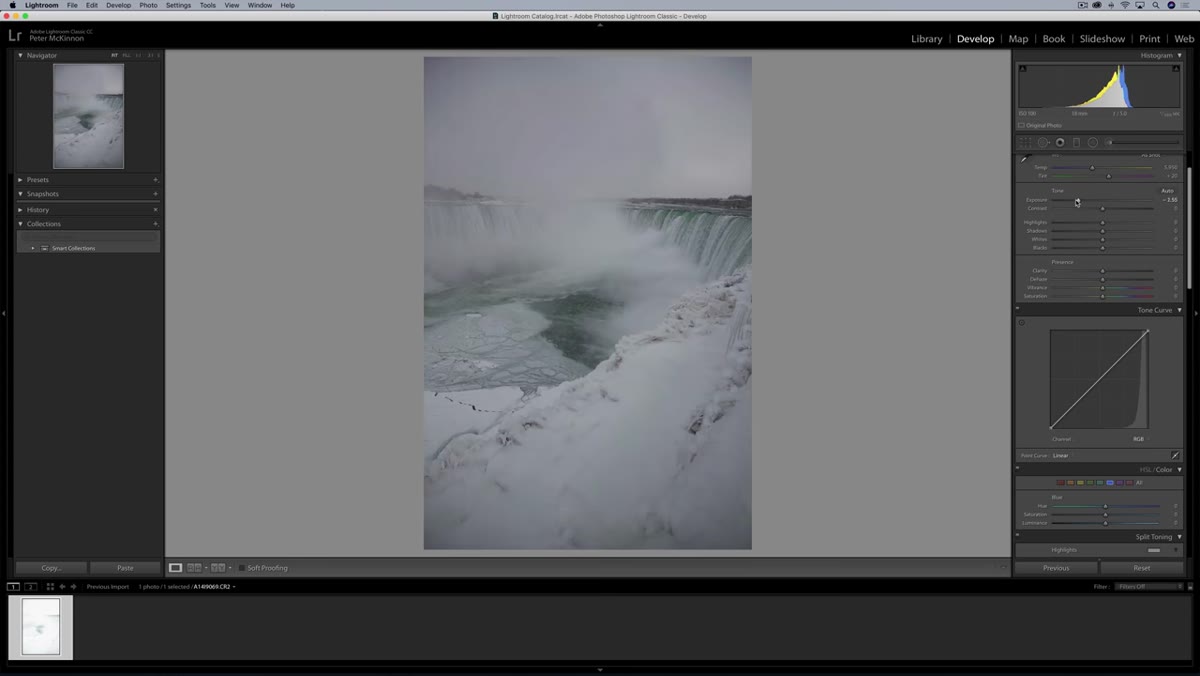 Dragging the exposure slider down to reveal hidden detail in the shot
Here’s the part that changed how I look at “bad” photos. Peter pulls the exposure slider down significantly on this overexposed Niagara shot, and detail starts coming back into the water and sky. The image goes from blown out and hopeless to genuinely interesting. This is the diagnostic step. Before you commit to any tonal direction, drag your exposure down and see what your RAW file is actually holding. RAW files store far more information than the preview suggests. Highlights you think are gone are often still there, waiting. If pulling the exposure reveals usable detail, you have something to work with.
Dragging the exposure slider down to reveal hidden detail in the shot
Here’s the part that changed how I look at “bad” photos. Peter pulls the exposure slider down significantly on this overexposed Niagara shot, and detail starts coming back into the water and sky. The image goes from blown out and hopeless to genuinely interesting. This is the diagnostic step. Before you commit to any tonal direction, drag your exposure down and see what your RAW file is actually holding. RAW files store far more information than the preview suggests. Highlights you think are gone are often still there, waiting. If pulling the exposure reveals usable detail, you have something to work with.
Step 5: Work Through the Basic Panel Methodically
 The Lightroom Basic panel with exposure, contrast, highlights, and shadows visible
Once he knows the image has potential, Peter moves through the core sliders in the Basic panel: exposure, contrast, highlights, shadows, whites, and blacks. He also brings in some clarity and dehaze. The order matters here. Exposure sets your overall brightness anchor. Highlights and shadows let you compress or expand tonal range without blowing out one end. Whites and blacks set the true endpoints of your tonal range, which affects perceived contrast more than the Contrast slider itself does. Clarity adds midtone contrast and crunch, great for textures like water and rock. Dehaze cuts through atmospheric flatness, which was a real factor in this misty waterfall environment. Don’t rush this panel. Each slider is a conversation with the image.
The Lightroom Basic panel with exposure, contrast, highlights, and shadows visible
Once he knows the image has potential, Peter moves through the core sliders in the Basic panel: exposure, contrast, highlights, shadows, whites, and blacks. He also brings in some clarity and dehaze. The order matters here. Exposure sets your overall brightness anchor. Highlights and shadows let you compress or expand tonal range without blowing out one end. Whites and blacks set the true endpoints of your tonal range, which affects perceived contrast more than the Contrast slider itself does. Clarity adds midtone contrast and crunch, great for textures like water and rock. Dehaze cuts through atmospheric flatness, which was a real factor in this misty waterfall environment. Don’t rush this panel. Each slider is a conversation with the image.
Step 6: Move Into Photoshop for Composite and Detail Work
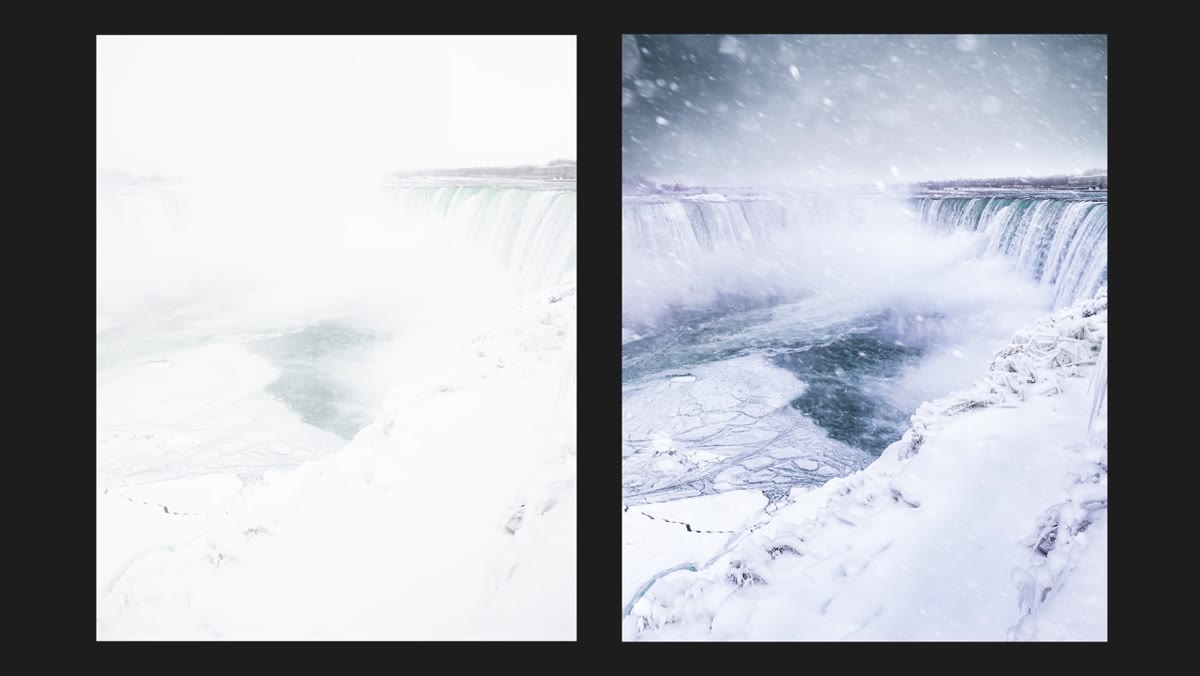 The before and after comparison showing the dramatic edit transformation
Peter uses both Lightroom and Photoshop in this workflow. Lightroom handles the global tonal and color foundation. Photoshop is where the image gets built out further, whether that’s compositing elements like snow or mist, doing targeted adjustments on specific parts of the frame, or adding finishing texture. The handoff between the two is straightforward: right-click your image in Lightroom and select “Edit in Photoshop.” Your Lightroom adjustments come with it as a starting point. If you haven’t done much in Photoshop yet, just focus on mastering the Lightroom side of this first. The Photoshop layer comes later and it will feel much less intimidating once your tonal base is solid.
The before and after comparison showing the dramatic edit transformation
Peter uses both Lightroom and Photoshop in this workflow. Lightroom handles the global tonal and color foundation. Photoshop is where the image gets built out further, whether that’s compositing elements like snow or mist, doing targeted adjustments on specific parts of the frame, or adding finishing texture. The handoff between the two is straightforward: right-click your image in Lightroom and select “Edit in Photoshop.” Your Lightroom adjustments come with it as a starting point. If you haven’t done much in Photoshop yet, just focus on mastering the Lightroom side of this first. The Photoshop layer comes later and it will feel much less intimidating once your tonal base is solid.
What I’d Add from My Own Experience
One thing Peter doesn’t mention explicitly, but that I think sits underneath this whole tutorial, is the habit of not deleting in the field. I used to chimp shots on my camera screen and delete anything that didn’t look right at 3 inches wide in bright sunlight. That is a genuinely terrible way to make decisions about your photos. Screen brightness, color cast from ambient light, the tiny preview size, all of it lies to you. Now I wait until I’m at my desk, files loaded into Lightroom, before I make any calls about what stays. The Niagara Falls shot Peter edits here would have been gone in thirty seconds if he’d deleted on instinct. Instead it became a finished piece he published. Your “maybe someday” folder is worth keeping. Give those files a real look before you write them off.
The single biggest thing I’m taking from this tutorial is Peter’s point about editing with intention. Knowing what you want the final image to feel like before you open the sliders isn’t just efficient, it’s what separates a deliberate edit from a lucky one. Open a RAW file tonight, write one sentence about the mood you want, and see how differently you approach the Basic panel.
Watch the full tutorial on YouTube to see Peter’s exact moves in real time, including the Photoshop composite work that takes this edit the rest of the way.
Comments
Leave a Comment