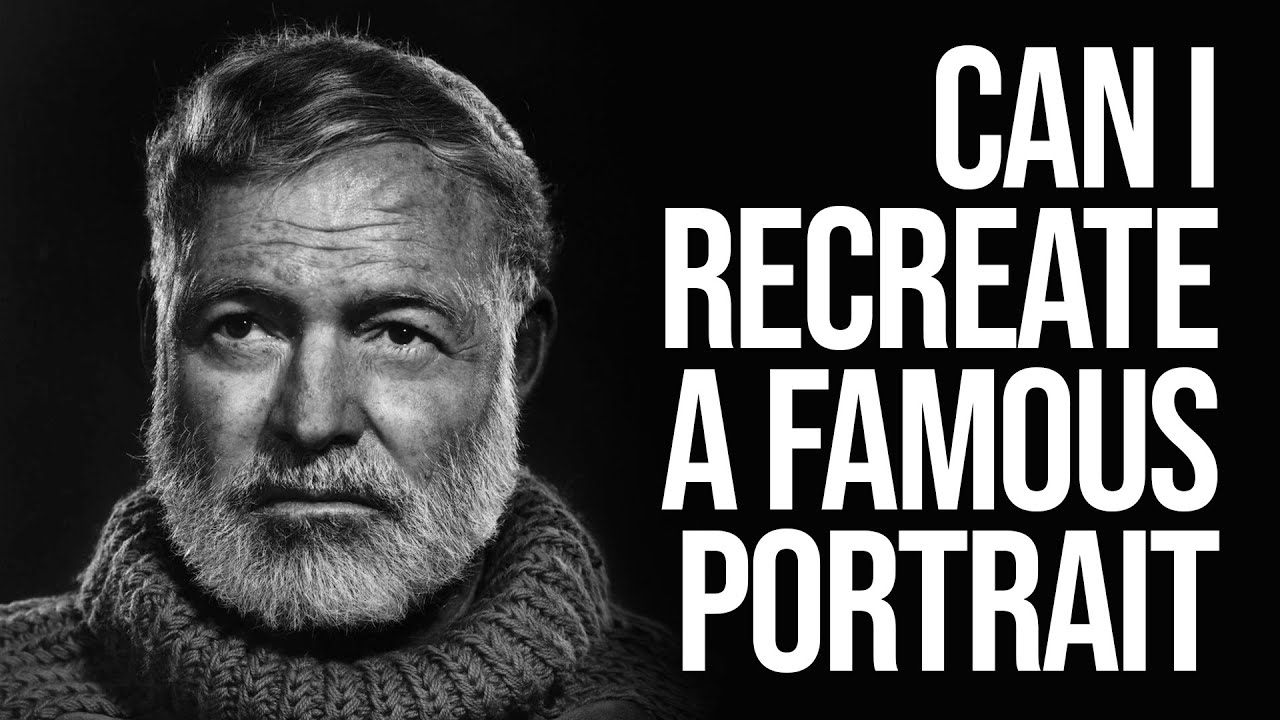
One skill that separates photographers who grow quickly from those who plateau is the ability to look at a finished image and work backward. Not just admire it, but actually read it. Where is the light coming from? How many sources? What quality? What angle? I learned this the hard way over years of Sunday morning photo walks, squinting at images I admired and having no real framework for understanding what I was seeing. Once I started actively dissecting lighting in photographs I loved, everything shifted.
In this Sean Tucker tutorial, Watch the full tutorial on YouTube, he does something I wish I had found when I was starting out. He takes one of the most iconic portraits ever made, the 1957 photograph of Ernest Hemingway by Yousuf Karsh, and methodically breaks down how the lighting was likely constructed. Then he actually goes and tries to recreate it in his garage studio. The result is part detective work, part lighting masterclass, and genuinely one of the more useful approaches to learning portrait lighting I’ve seen.
What makes this useful for working photographers isn’t just the Karsh breakdown. It’s the process itself. Tucker is modeling a repeatable habit you can apply to any image, from any era, by any photographer. Learn the habit, and you have a tool you can use for the rest of your career.
Step 1: Choose a Reference Image with Readable Light
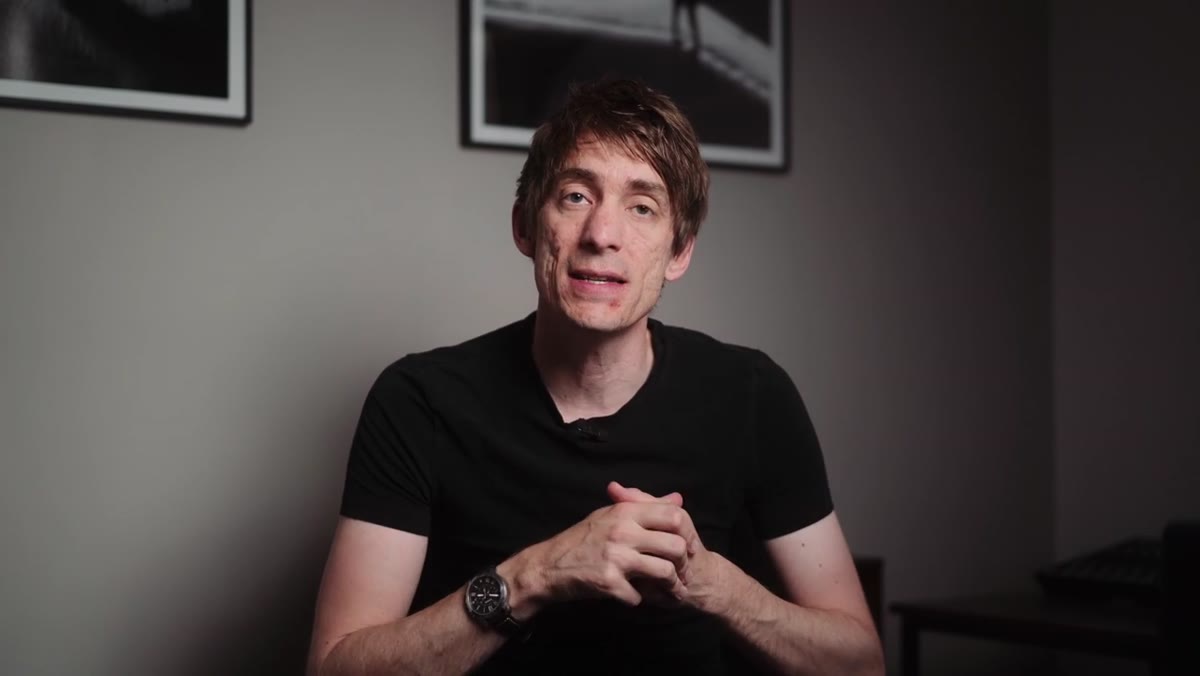 Tucker pointing to Karsh’s Hemingway portrait on screen
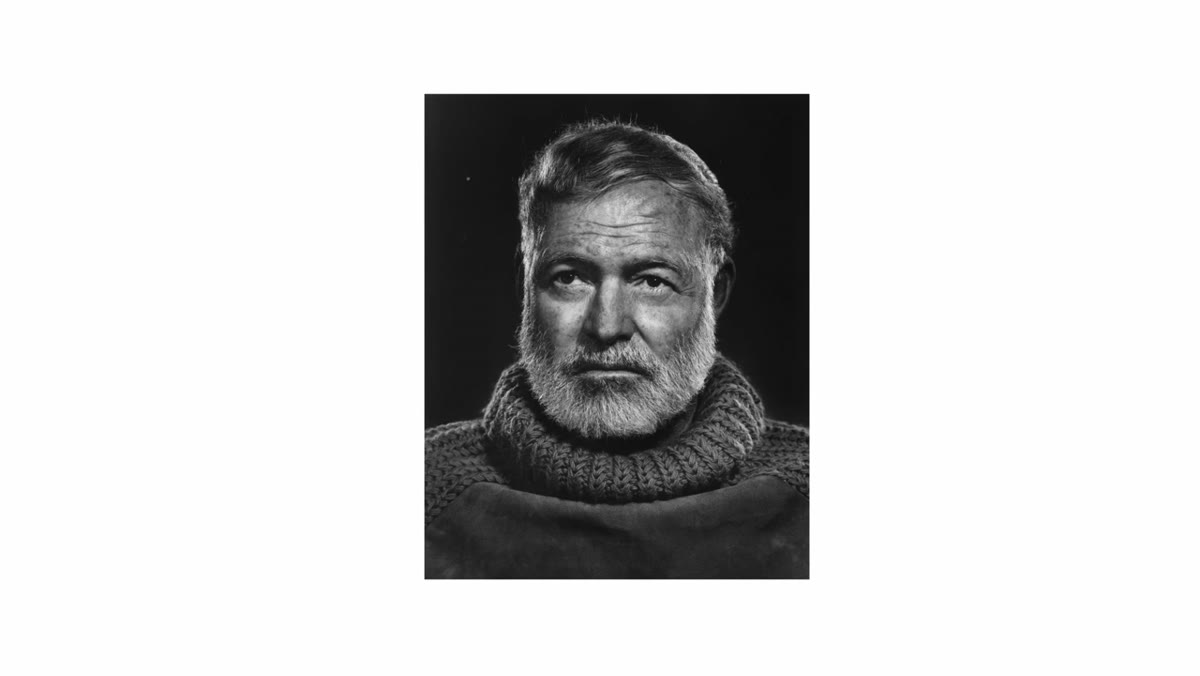
Start with a photograph where the lighting is distinctive and legible. Heavily stylized, flat, or ambient-light images are harder to reverse-engineer as a beginner. The Karsh Hemingway portrait works well for this exercise because the contrast is high, the background is dark, and the light sources leave clear evidence on the subject’s face, hair, and clothing. Pull up your reference image large enough to study the details. You’re not just looking at the composition. You’re looking for clues.
Tucker pointing to Karsh’s Hemingway portrait on screen
Start with a photograph where the lighting is distinctive and legible. Heavily stylized, flat, or ambient-light images are harder to reverse-engineer as a beginner. The Karsh Hemingway portrait works well for this exercise because the contrast is high, the background is dark, and the light sources leave clear evidence on the subject’s face, hair, and clothing. Pull up your reference image large enough to study the details. You’re not just looking at the composition. You’re looking for clues.
Step 2: Identify the Background and Subject Separation
 Close-up analysis of dark background in Karsh portrait
Before you touch the lighting, notice the background. In the Karsh portrait, it is a deep, solid black. This is not an accident. A dark background eliminates visual noise and forces the eye to read every highlight on the subject with full attention. Tucker points out that this kind of separation is a deliberate choice, and it shapes every lighting decision that follows.
Close-up analysis of dark background in Karsh portrait
Before you touch the lighting, notice the background. In the Karsh portrait, it is a deep, solid black. This is not an accident. A dark background eliminates visual noise and forces the eye to read every highlight on the subject with full attention. Tucker points out that this kind of separation is a deliberate choice, and it shapes every lighting decision that follows.
When you set up your own shot, think about your background brightness before you place a single light. If your subject and background are similar in tone, even great lighting will feel muddy. A background that falls two or more stops darker than your subject creates that clean, graphic separation you see in classic portrait work.
Step 3: Spot the Rim Lights and Estimate Their Position
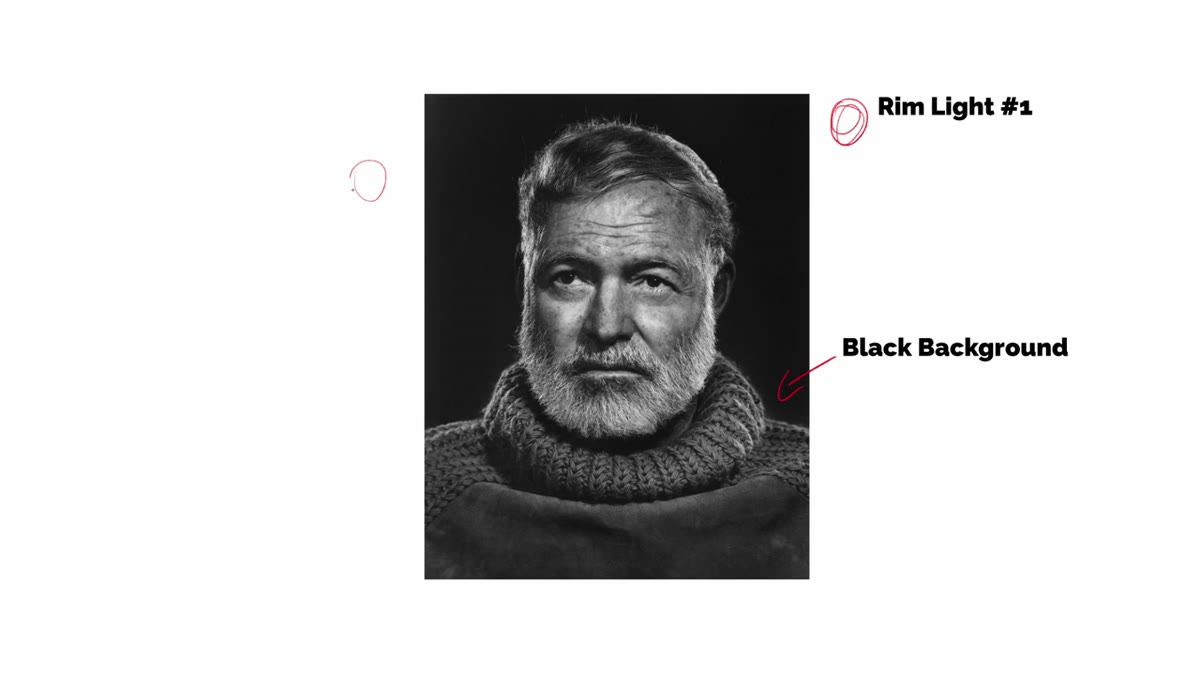 Tucker diagramming rim light positions behind subject
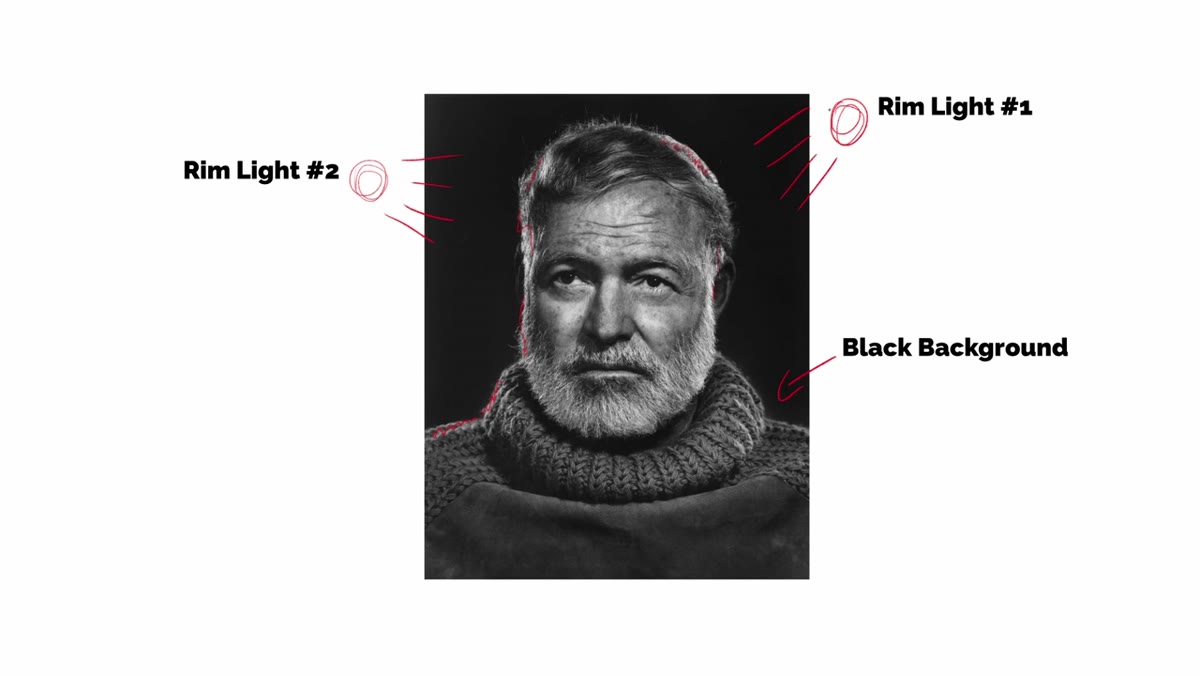
This is where the real detective work begins. Tucker identifies two rim lights, one on each side of Hemingway, positioned behind the subject at roughly 45-degree angles. The giveaway is the highlight running along the edge of the shoulders, the neckline of the sweater, and the side of the beard. These edge lights are classic separation tools. They lift the subject off a dark background by wrapping a thin line of light around the silhouette.
Tucker diagramming rim light positions behind subject
This is where the real detective work begins. Tucker identifies two rim lights, one on each side of Hemingway, positioned behind the subject at roughly 45-degree angles. The giveaway is the highlight running along the edge of the shoulders, the neckline of the sweater, and the side of the beard. These edge lights are classic separation tools. They lift the subject off a dark background by wrapping a thin line of light around the silhouette.
To spot rim lights in any portrait, look at the edges of the subject. If you see a defined highlight along the shoulder, ear, or jaw line that is brighter than the front of the face, there is a backlight creating it. Pay attention to whether the highlight is symmetrical or heavier on one side. In the Hemingway portrait, Tucker notes that the highlights are slightly stronger on one side, suggesting the two rim lights were set at slightly different heights.
Step 4: Notice What Was Corrected in Post
 Tucker highlighting the ears area showing burning in post
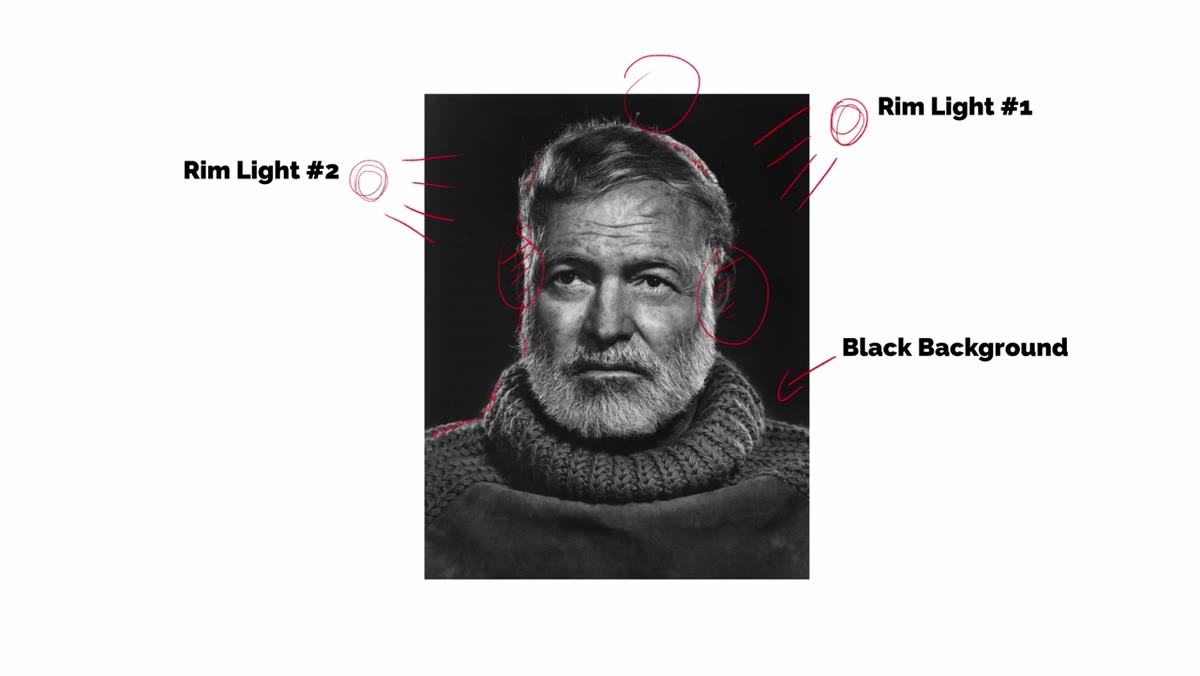
Here is the detail I find most interesting, and the one that I think photographers underestimate the most. With rim lights positioned behind and to the sides, the ears would naturally pick up strong specular highlights. In the Karsh portrait, they do not. Tucker points out that Karsh almost certainly burned the ears back during darkroom processing so they would not distract from the face.
Tucker highlighting the ears area showing burning in post
Here is the detail I find most interesting, and the one that I think photographers underestimate the most. With rim lights positioned behind and to the sides, the ears would naturally pick up strong specular highlights. In the Karsh portrait, they do not. Tucker points out that Karsh almost certainly burned the ears back during darkroom processing so they would not distract from the face.
This matters because it reframes how you think about your editing. Post-processing is not a modern shortcut. It is a continuation of the photographer’s intent. Dodging and burning has been part of the craft since film. When you use it to pull attention toward what matters and push it away from what doesn’t, you are working exactly the way Karsh worked. Give yourself permission to do the same.
Step 5: Locate the Key Light
 Tucker identifying overhead key light position in portrait
Tucker concludes that the key or fill light in the Hemingway portrait sits almost directly overhead, slightly in front of the subject. The evidence is in the shadow pattern on the face and the quality of light across the forehead. An overhead source creates a softer, more sculptural look on a face with strong features, which suits a subject like Hemingway. It is not a flat, on-axis light. It has direction.
Tucker identifying overhead key light position in portrait
Tucker concludes that the key or fill light in the Hemingway portrait sits almost directly overhead, slightly in front of the subject. The evidence is in the shadow pattern on the face and the quality of light across the forehead. An overhead source creates a softer, more sculptural look on a face with strong features, which suits a subject like Hemingway. It is not a flat, on-axis light. It has direction.
When you try this yourself, start with your key light at roughly a 45-degree angle from horizontal and directly in front of your subject. Raise or lower it until the shadow under the nose and chin reads the way you want. The goal is depth without harshness, structure without drama.
Step 6: Attempt the Recreation Yourself
 Tucker’s garage studio setup with lights being positioned
This is the step most photographers skip, and it is the most important one. Tucker goes into his garage studio and actually tries to build the lighting setup he analyzed. He is not trying to clone the image. He is trying to understand the lighting language by speaking it himself.
Tucker’s garage studio setup with lights being positioned
This is the step most photographers skip, and it is the most important one. Tucker goes into his garage studio and actually tries to build the lighting setup he analyzed. He is not trying to clone the image. He is trying to understand the lighting language by speaking it himself.
Set up a three-light configuration: two rim lights behind your subject at 45 degrees, angled slightly inward, and one key light overhead and slightly in front. Use a dark backdrop. Shoot a few frames, then compare your result to the reference image. Look at where your edges fall, where your shadows land, what your background is doing. Adjust one light at a time. The point is not to produce a replica. It is to build physical intuition about how light behaves when it is constructed this way.
A Note From My Own Practice
I started doing this same exercise a few years ago, not with Karsh specifically, but with photographers whose work I kept returning to. I would pull up an image I loved, sketch a rough diagram of what I thought was happening with the light, and then try to build it. I was wrong a lot. But being wrong in a specific, testable way is how you actually learn.
What surprised me was how quickly this habit changed the way I see light everywhere, not just in the studio. On my Sunday morning walks around Seattle, I started noticing how overcast skies act like giant softboxes, or how a storefront window creates a natural rim light on anyone standing in a doorway. The studio analysis taught me to read the world outside the studio.
If you only take one thing from Tucker’s approach, take the habit of asking “how was this lit” every time you admire a portrait. Do it enough times and the answers start coming faster. Do it with your own camera in hand and the learning compounds.
Watch the full tutorial on YouTube to follow Tucker’s complete garage recreation and see the before-and-after comparisons for yourself.
Comments
Leave a Comment