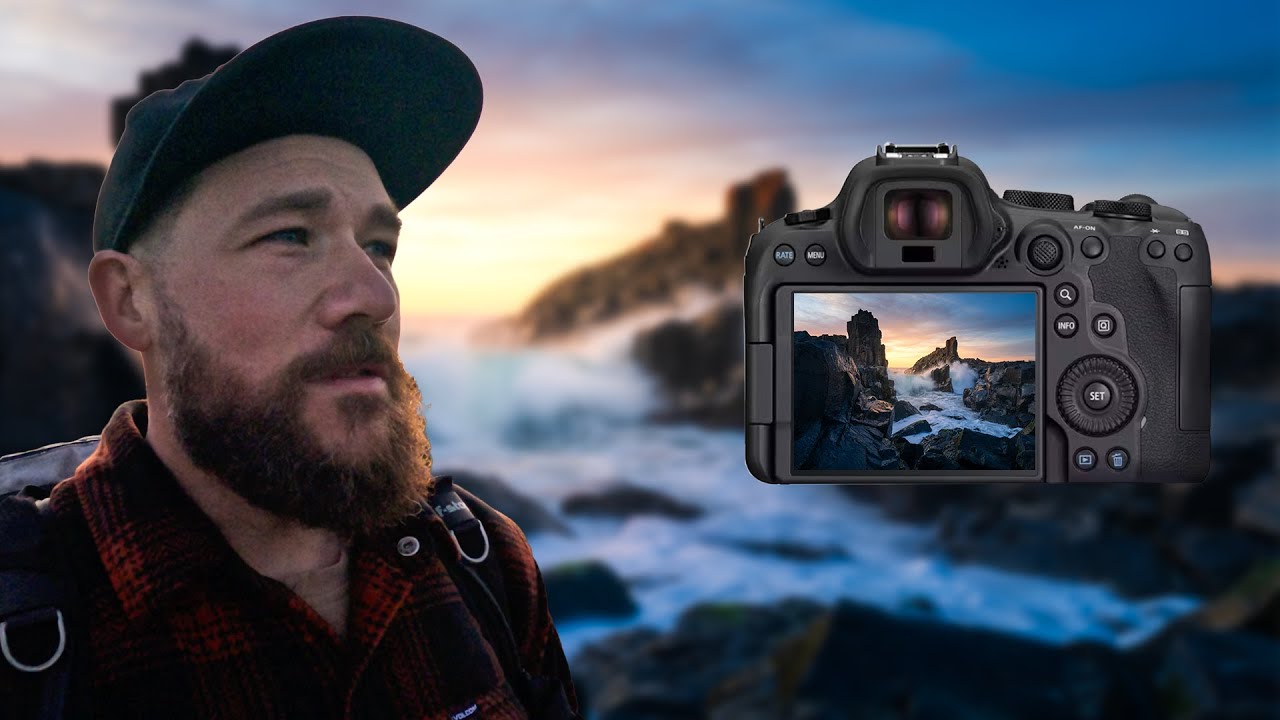
There’s a particular kind of paralysis that hits me at dramatic coastal locations. Too many foreground options, water that won’t stay still, light that’s changing every thirty seconds. I either freeze up and shoot the “obvious” frame everyone else shoots, or I move too fast and miss the moment entirely. What I’ve needed, for a long time, is a reliable process for reading a scene before committing to a shot.
In this William Patino tutorial, filmed at Bombo Quarry on the south coast of New South Wales, William walks through exactly that kind of on-the-ground decision making. He’s photographed this specific quarry hundreds of times over more than a decade, and watching someone that experienced still slow down, look around, and question their assumptions is genuinely instructive. It reminded me of my Sunday morning photo walks in Seattle, where I’ll return to the same waterfront repeatedly and force myself to find one new angle each time. Familiarity breeds shortcuts, and shortcuts kill creativity. Watch the full tutorial on YouTube and follow along with the breakdown below.
The quarry itself features dramatic basalt columns rising out of the water, competing swells, and a rugged foreground that changes completely depending on where you stand. But the techniques William uses here translate to any coastal or rocky landscape. Here’s how to work through a shoot like this.
Step 1: Arrive Without a Predetermined Shot
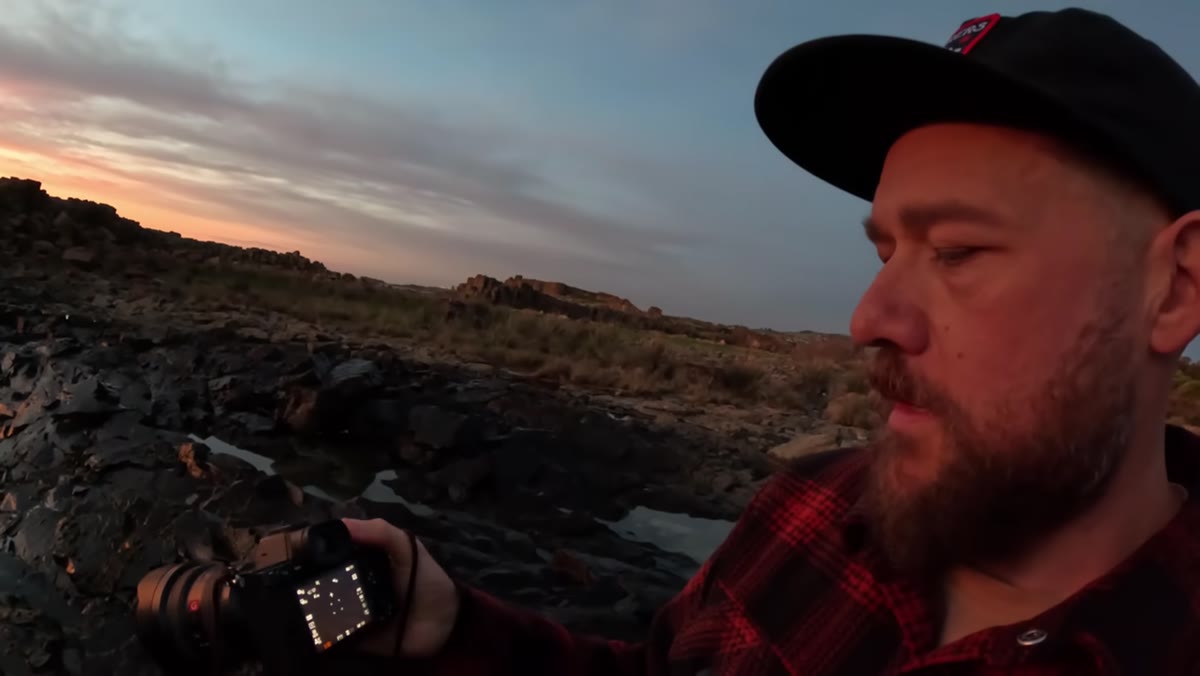
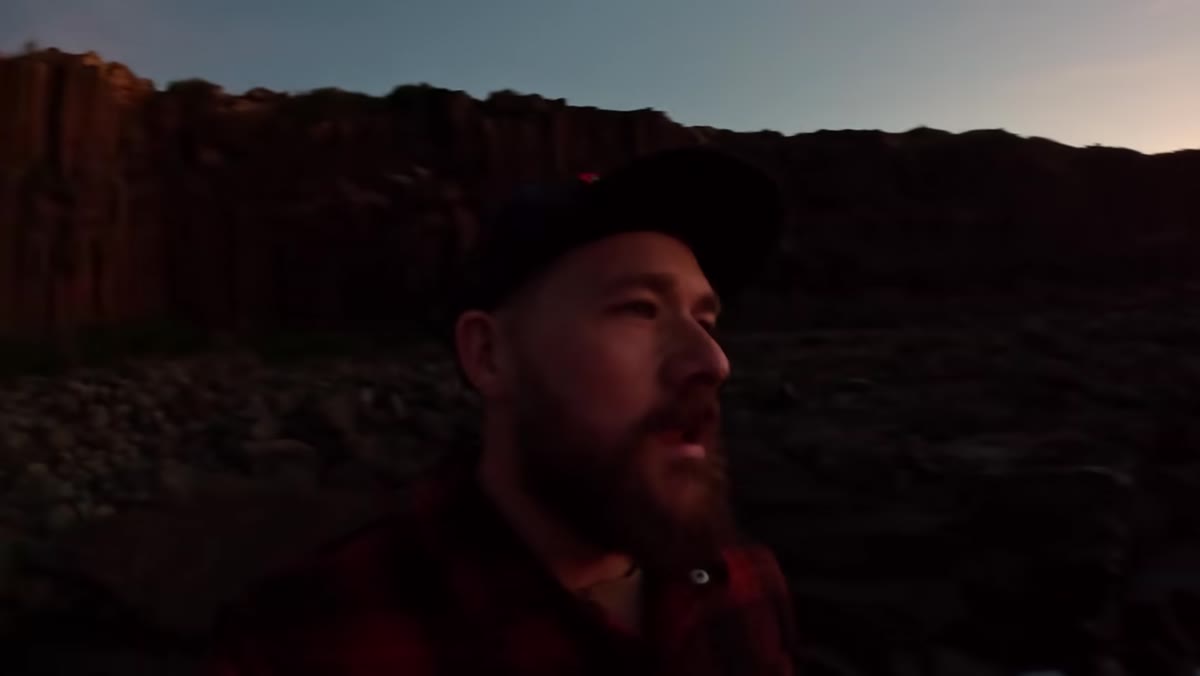 William scanning the quarry without camera raised
Before the camera comes out, William simply walks and looks. He’s specifically asking himself whether he notices something compositionally that he may have missed on previous visits. This is harder than it sounds, especially at a location you know well. The brain defaults to memory.
William scanning the quarry without camera raised
Before the camera comes out, William simply walks and looks. He’s specifically asking himself whether he notices something compositionally that he may have missed on previous visits. This is harder than it sounds, especially at a location you know well. The brain defaults to memory.
The practical move here: put your hands in your pockets and walk the full length of the shooting area before you touch your camera bag. Look for leading lines, natural frames, and separations between elements. William spots a single basalt tower that he’s never tried to isolate before, because he’d always defaulted to wide compositions that included the full group of pillars. That single observation redirects his entire morning.
Step 2: Identify What the Light Is Actually Doing
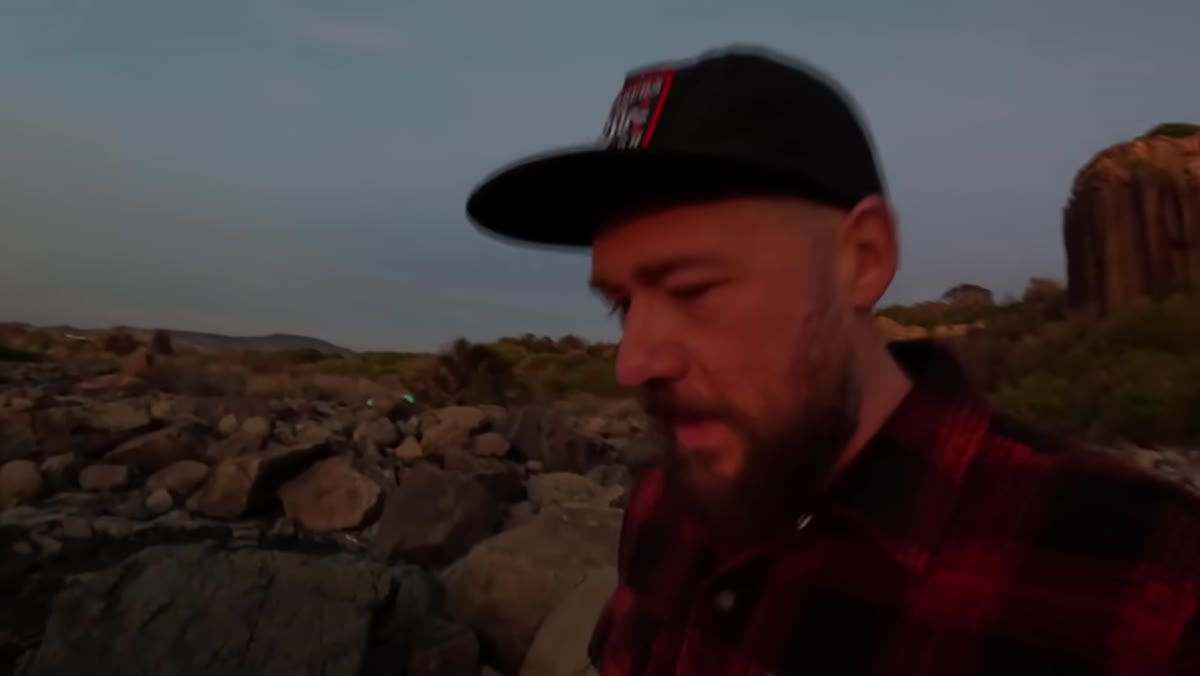 Warm sunrise light striking the basalt columns
William responds immediately and visibly when the sunrise light hits the quarry walls. He says, flatly, that light inspires him, and that’s not just enthusiasm. It’s a cue to stop evaluating and start shooting. Good coastal light is short-lived, and hesitation costs you frames.
Warm sunrise light striking the basalt columns
William responds immediately and visibly when the sunrise light hits the quarry walls. He says, flatly, that light inspires him, and that’s not just enthusiasm. It’s a cue to stop evaluating and start shooting. Good coastal light is short-lived, and hesitation costs you frames.
At this stage, look at where the light is falling, not just how pretty it looks overall. Is it sidelighting a texture you want to emphasize? Is it backlighting water in a way that creates translucency? William notices the light striking the specific tower he’d been considering, which confirms that the composition he’d been mentally sketching has real potential. The light doesn’t just set the mood. It tells you which composition to prioritize.
Step 3: Choose Your Focal Length Based on What You Want to Isolate
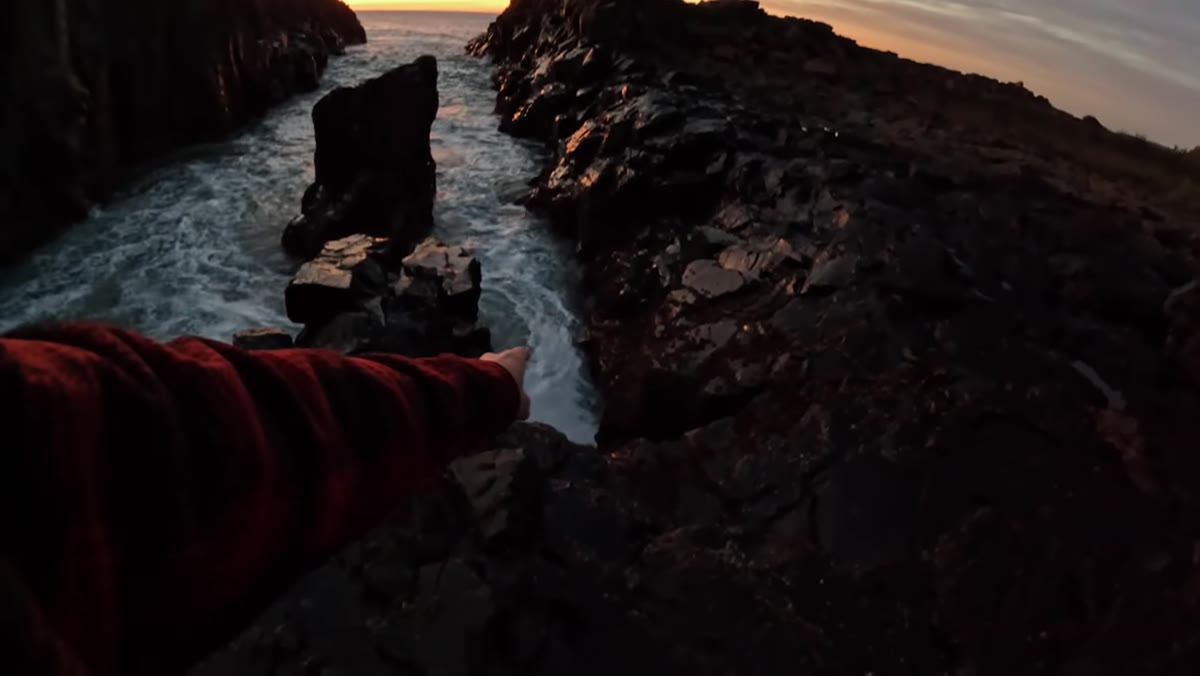 William selecting the 12-24mm lens from his bag
William reaches for a 12-24mm wide-angle lens, but his reasoning is deliberate. He wants to get physically close to the water and to the base of the columns, using the distortion of an ultra-wide to exaggerate the height of the basalt tower against the sky. Going wide here isn’t a default. It’s a specific tool for a specific effect.
William selecting the 12-24mm lens from his bag
William reaches for a 12-24mm wide-angle lens, but his reasoning is deliberate. He wants to get physically close to the water and to the base of the columns, using the distortion of an ultra-wide to exaggerate the height of the basalt tower against the sky. Going wide here isn’t a default. It’s a specific tool for a specific effect.
If you’re working with a kit lens, the wide end of an 18-55mm can do similar work as long as you’re willing to get close. The focal length decision should follow the compositional intention: do you want context and scale, or do you want compression and intimacy? A longer focal length at the same location would flatten the columns and reduce the drama of the foreground water. William wants drama, so he goes wide and gets low.
Step 4: Lock in Your Exposure Settings Before You’re in the Water Zone
 William dialing in shutter speed and aperture settings
This step matters more for seascapes than almost any other genre. You do not want to be adjusting settings while waves are moving toward you. William settles on a shutter speed between 1/4 and 1/5 of a second, f/11 for depth of field, and ISO 100 for maximum image quality. He makes these decisions before positioning himself in the impact zone.
William dialing in shutter speed and aperture settings
This step matters more for seascapes than almost any other genre. You do not want to be adjusting settings while waves are moving toward you. William settles on a shutter speed between 1/4 and 1/5 of a second, f/11 for depth of field, and ISO 100 for maximum image quality. He makes these decisions before positioning himself in the impact zone.
The 1/4 to 1/5 of a second range is a useful starting point for water texture in seascape photography. Too fast and the water freezes artificially. Too slow and it becomes a featureless white blur. That middle zone captures motion while retaining the sense of movement and weight in the water. Run a few test frames on dry ground if you can, adjust, and then move into position knowing your exposure is already dialed.
Step 5: Time the Water, Not Just the Light
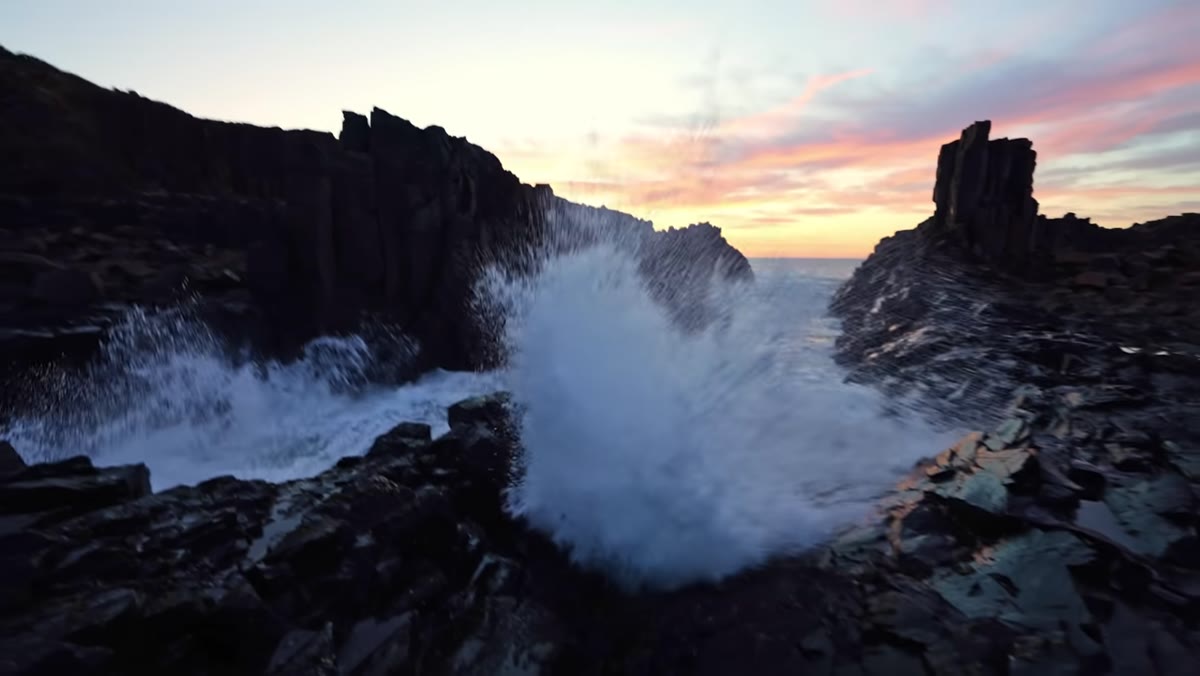 Water retreating across the quarry rock shelf
Once William is in position, his attention splits between the viewfinder and the horizon. He’s watching the swell pattern to anticipate when the water will move across his foreground in a way that adds texture rather than chaos. This is active photography, not passive.
Water retreating across the quarry rock shelf
Once William is in position, his attention splits between the viewfinder and the horizon. He’s watching the swell pattern to anticipate when the water will move across his foreground in a way that adds texture rather than chaos. This is active photography, not passive.
The practical approach: watch three to five waves before you shoot. You’ll start to see a rhythm. There’s usually a lull between larger sets. Learn to recognize the lull and use it to reposition if needed. The larger sets give you dramatic foreground water, but they also give you the highest risk. William is explicit about watching the horizon at all times, not just when he’s about to fire the shutter.
Step 6: Test the Composition and Stay Honest About What Isn’t Working
 William reviewing test shots on camera screen
After getting into position and firing several frames, William reviews and admits the composition isn’t quite landing for him yet. This is an important moment in the tutorial, and it’s easy to skip past it. Even with a decade of experience at a specific location, the first attempt at a new angle doesn’t automatically work.
William reviewing test shots on camera screen
After getting into position and firing several frames, William reviews and admits the composition isn’t quite landing for him yet. This is an important moment in the tutorial, and it’s easy to skip past it. Even with a decade of experience at a specific location, the first attempt at a new angle doesn’t automatically work.
Treat your first five to ten frames as diagnostic, not final. Look at the test shots and ask specifically: Is the main subject clearly dominant? Is the foreground adding depth or competing with the subject? Is the horizon level? William’s willingness to stay in evaluation mode rather than defaulting to “good enough” is a habit worth building early.
What I’d Add: Shoot Handheld When the Situation Demands It
William makes a passing comment about going handheld at this location, and I think it deserves more attention than the tutorial gives it. At coastal spots with unpredictable water, a tripod can actually slow you down in ways that cost you the shot. You need to move fast when a wave recedes and retreat fast when the next one comes. Handheld with image stabilization, combined with that 1/4-second shutter range, can produce sharp results and keeps your options open. I shot the entire rocky coast at Olympic National Park handheld last fall and came away with some of my cleanest seascape images in years. Sometimes the constraint is the point.
The single most useful thing from this tutorial is the habit of looking for one composition you’ve never tried before, even at a location you think you know completely. Familiarity is comfortable, but comfort doesn’t push your work forward. Walk before you shoot. Watch the water before you wade in. Set your exposure before you’re in the impact zone.
Watch the full tutorial on YouTube to see William work through the full session at Bombo Quarry, including how the light evolves across the morning and how he navigates the more exposed sections of the location.
Comments (2)
Been doing this wrong for years apparently. Thanks for the wake-up call.
Would love to see a follow-up going deeper into this topic.
Leave a Comment