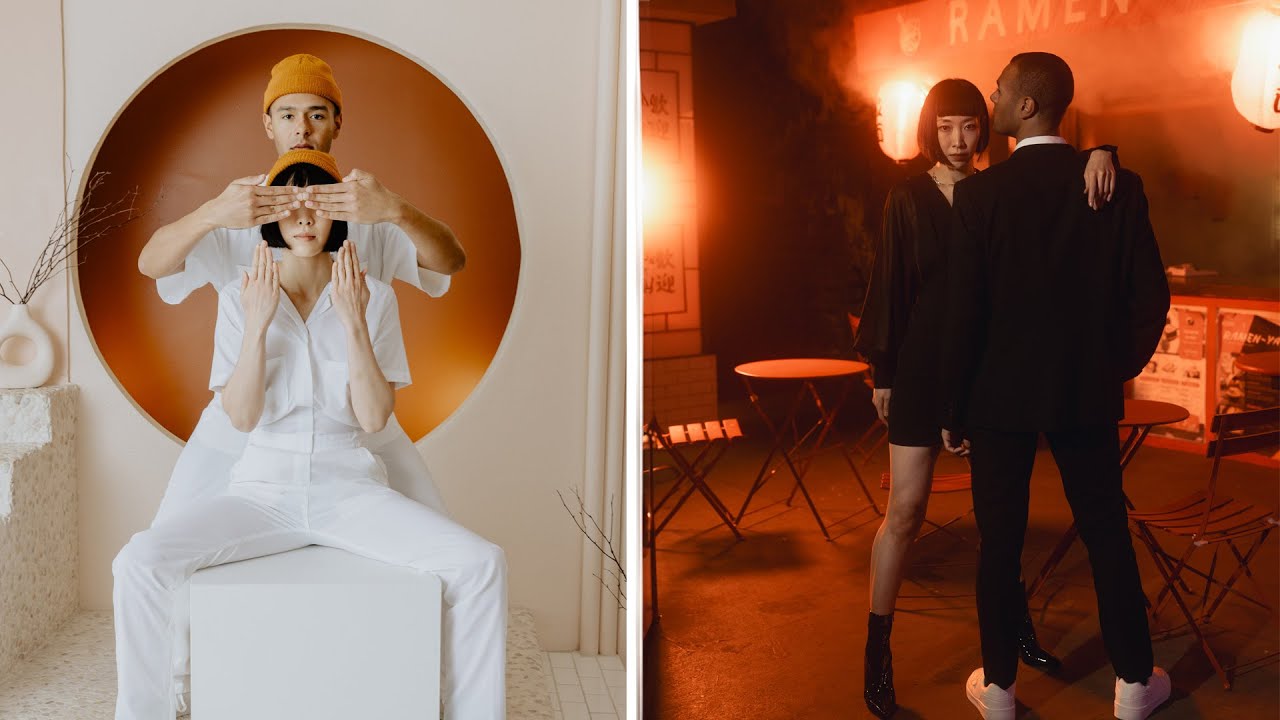
Every few months I hit a wall. Not a technical wall — I know my camera settings, I can read light reasonably well, and I’ve been doing this long enough that the mechanics are mostly muscle memory. The wall I hit is creative. The photos start feeling safe. Predictable. Like I’m just going through the motions on my Sunday morning photo walks without really seeing anything new.
That’s exactly why this Mango Street tutorial stopped me mid-scroll. In it, Rachel and Daniel document a three-day trip to California where they planned and executed 11 photo shoots — working with five models across seven rented locations, with a videographer, a wardrobe budget, and call sheets. The whole thing cost them close to $10,000, but the planning system underneath it? That’s completely scalable. You can run the same framework on a single weekend shoot with one friend and a rented studio space. Watch the full tutorial on YouTube before or after reading — either way, here’s how to break the process down into something you can actually use.
The thing that struck me most is that they didn’t start with concepts. They started with people and places, and let the concepts follow. That small inversion in thinking has already changed how I approach planning a shoot.
Step 1: Lock Down Your Collaborators Before You Build a Single Concept
 Rachel listing model names they plan to work with
Before you open a mood board or write down a single theme, figure out who you’re working with. Mango Street reached out to models they had history with — people they knew could move well, hold a shape, commit to a look. That prior knowledge is creative data. When you know your subject is great at expressive movement versus, say, stillness and subtlety, that shapes everything downstream: location, wardrobe, lighting approach, the whole concept.
Rachel listing model names they plan to work with
Before you open a mood board or write down a single theme, figure out who you’re working with. Mango Street reached out to models they had history with — people they knew could move well, hold a shape, commit to a look. That prior knowledge is creative data. When you know your subject is great at expressive movement versus, say, stillness and subtlety, that shapes everything downstream: location, wardrobe, lighting approach, the whole concept.
If you’re earlier in your career and don’t have a roster of go-to collaborators yet, that’s fine — but be honest with yourself about what the people you do have access to can actually do. A first-time model in a highly stylized editorial concept is a tough ask. Match the ambition of the shoot to the experience level of the team.
Step 2: Find Locations That Suggest a Concept on Their Own
 Browsing unique studio spaces on a location booking platform
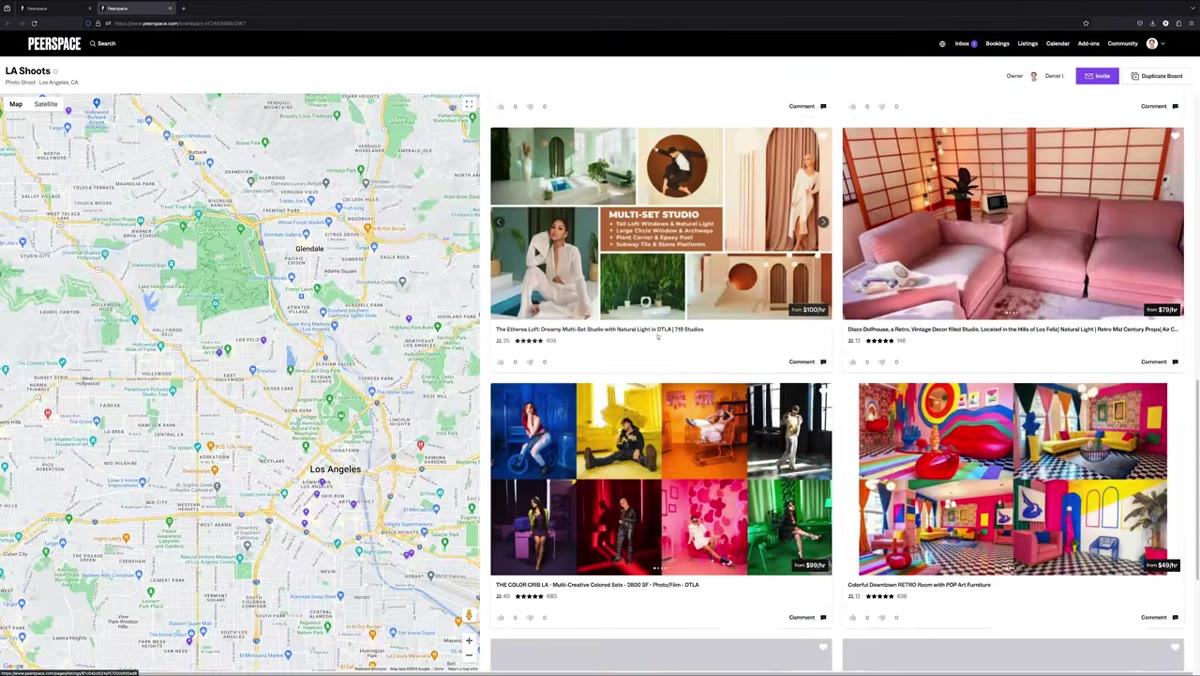
Once you know who you’re shooting with, start hunting for locations that already have a visual personality. Mango Street used a platform called Peerspace (not sponsored in their video) to browse rentable studios and unique spaces in Los Angeles. What they were looking for weren’t just pretty rooms — they were looking for rooms that practically told them what to shoot. One studio had strong architectural shapes, so it sparked a concept built entirely around geometric body positioning with two models who are known for physical expressiveness.
Browsing unique studio spaces on a location booking platform
Once you know who you’re shooting with, start hunting for locations that already have a visual personality. Mango Street used a platform called Peerspace (not sponsored in their video) to browse rentable studios and unique spaces in Los Angeles. What they were looking for weren’t just pretty rooms — they were looking for rooms that practically told them what to shoot. One studio had strong architectural shapes, so it sparked a concept built entirely around geometric body positioning with two models who are known for physical expressiveness.
This is a useful discipline. Instead of asking “what concept do I want to shoot and where can I execute it,” flip it: browse spaces and ask “what does this location make me want to make?” You’ll often land on more original ideas because you’re responding to something real rather than trying to force a pre-existing vision onto an ill-fitting space.
Step 3: Develop Concepts That Match Your Collaborators to Your Locations
 Quick-cut list of concept themes including pastels, cinematic, 1960s, 1970s
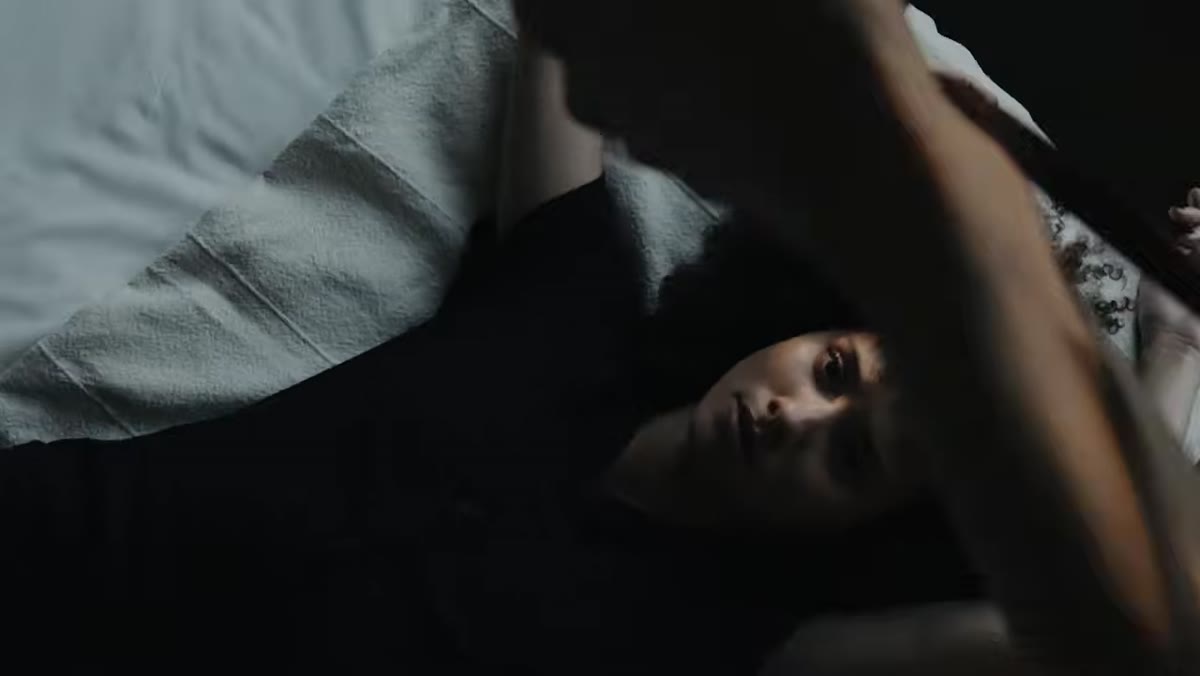
With your team and locations established, now you build concepts — and you build them specifically, not generically. Mango Street developed distinct themes for each shoot: a maximalist shoot, a cinematic action-still concept, separate nods to 1960s and 1970s aesthetics, a beauty shoot, a “head in the clouds” conceptual portrait session. Each concept was its own contained creative brief.
Quick-cut list of concept themes including pastels, cinematic, 1960s, 1970s
With your team and locations established, now you build concepts — and you build them specifically, not generically. Mango Street developed distinct themes for each shoot: a maximalist shoot, a cinematic action-still concept, separate nods to 1960s and 1970s aesthetics, a beauty shoot, a “head in the clouds” conceptual portrait session. Each concept was its own contained creative brief.
The practical value of this specificity is that it makes every downstream decision easier. When you know the shoot is 1970s-inspired, you know what wardrobe palette to look for, what light quality feels right (warm, soft, directional), and what reference images to pull. Vague concepts produce vague photos. The tighter your concept, the faster you shoot on the day.
Step 4: Build a Real Schedule and Send Actual Call Sheets
 Multi-shoot schedule grid showing times, locations, and model assignments
This step is where a lot of independent photographers drop the ball, and I’ll include myself in that confession. For years I just texted people a time and an address. Mango Street coordinates five models across seven locations over three days, which forced them to build a proper scheduling system. They created call sheets — documents that lay out exactly where to be, when, who’s involved, and what’s needed.
Multi-shoot schedule grid showing times, locations, and model assignments
This step is where a lot of independent photographers drop the ball, and I’ll include myself in that confession. For years I just texted people a time and an address. Mango Street coordinates five models across seven locations over three days, which forced them to build a proper scheduling system. They created call sheets — documents that lay out exactly where to be, when, who’s involved, and what’s needed.
A call sheet doesn’t have to be elaborate. At minimum it should include: shoot location and address, call time (when people should arrive, not when you plan to start shooting), a brief description of the concept, wardrobe notes, and any equipment reminders. Mango Street linked their own call sheet template in their video description, which is worth grabbing as a starting point. Sending this to your collaborators before the shoot sets a professional tone and drastically reduces the number of “wait, which building?” texts you’ll get on the morning of.
Step 5: Order and Prepare Wardrobe in Advance — With a Return Strategy
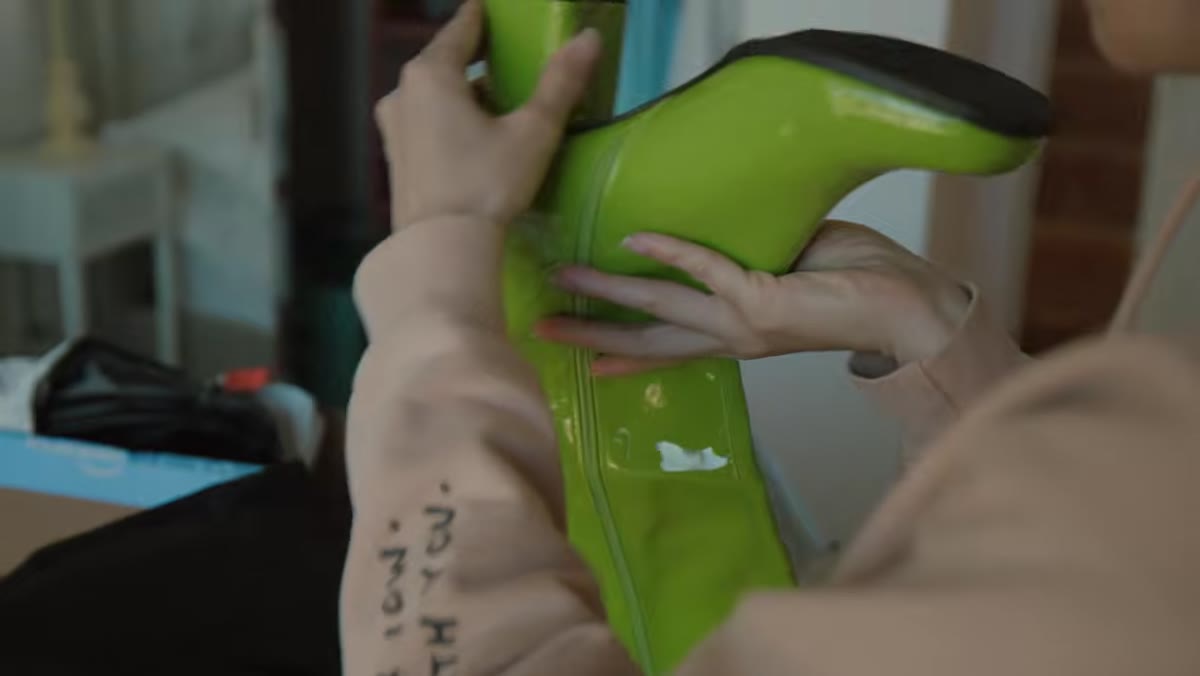 Wardrobe items laid out for multiple styled shoots
Wardrobe is one of the biggest variables in a styled shoot, and also one of the most manageable if you plan it properly. The Mango Street team spent around $1,200 on clothing across their 11 shoots, but with the explicit intention of returning most of it. This is a completely legitimate approach for editorial work — buy with purpose, shoot carefully, return what isn’t damaged.
Wardrobe items laid out for multiple styled shoots
Wardrobe is one of the biggest variables in a styled shoot, and also one of the most manageable if you plan it properly. The Mango Street team spent around $1,200 on clothing across their 11 shoots, but with the explicit intention of returning most of it. This is a completely legitimate approach for editorial work — buy with purpose, shoot carefully, return what isn’t damaged.
If budget is tight, start with secondhand shops and borrowing from your subjects’ own wardrobes. The more important habit here is preparing everything before shoot day. Steam or iron garments the night before (they specifically mention an “ass ton of ironing” as one of the more tedious parts of prep). Organize outfits by shoot so you’re not rummaging through bags on location. Every minute you spend on set rummaging is a minute the light is changing or your model’s energy is dropping.
Step 6: Push Yourself Technically on the Day
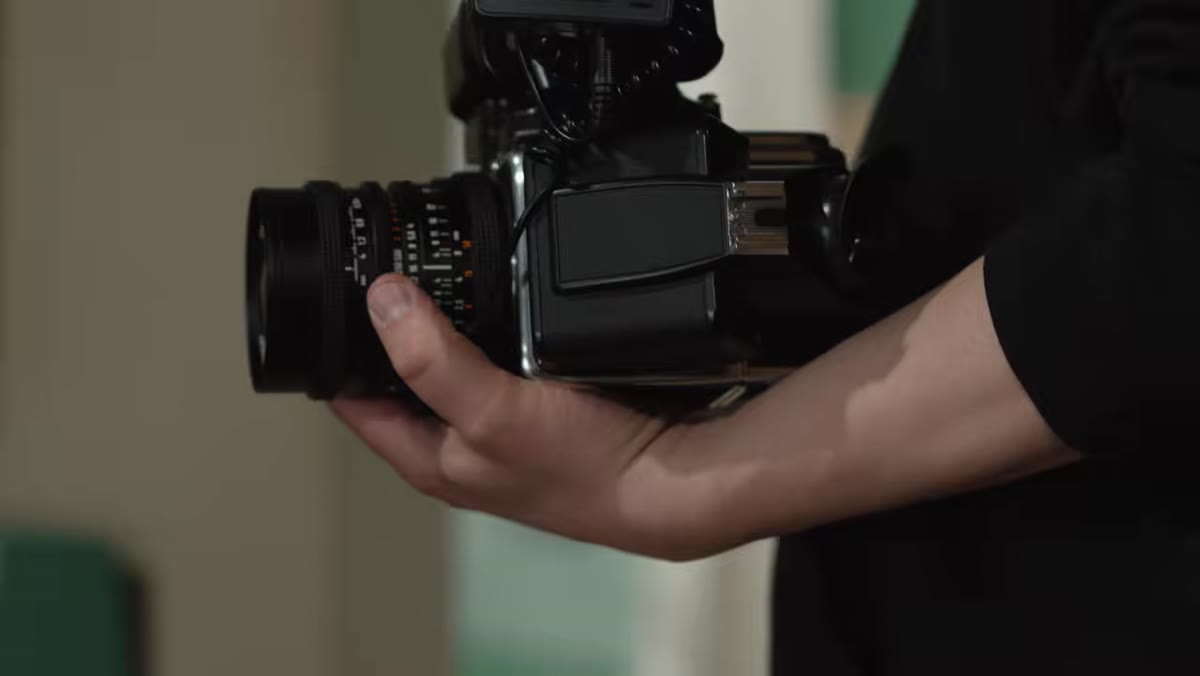 Behind-the-scenes footage of strobe lighting setup on location
One detail in the video that I keep coming back to: Mango Street chose to shoot with cameras they hadn’t used before and leaned into strobe lighting rather than their usual natural light setup. They did this deliberately, as a way to shake themselves out of comfortable habits. The creative reinvigoration they were chasing wasn’t just about new locations and collaborators — it was also about making the technical side feel unfamiliar enough to demand full attention.
Behind-the-scenes footage of strobe lighting setup on location
One detail in the video that I keep coming back to: Mango Street chose to shoot with cameras they hadn’t used before and leaned into strobe lighting rather than their usual natural light setup. They did this deliberately, as a way to shake themselves out of comfortable habits. The creative reinvigoration they were chasing wasn’t just about new locations and collaborators — it was also about making the technical side feel unfamiliar enough to demand full attention.
You don’t need to rent an unfamiliar camera body to get this effect. Try shooting a portrait session with one prime lens you rarely use. Commit to using only window light, or only artificial light. Impose a constraint that forces you to problem-solve, because problem-solving is where interesting photos actually come from.
What I’d Add From My Own Experience
The Mango Street approach is ambitious by design — they’re making content professionally and have the budget to reflect that. But the planning architecture holds at any scale. The one thing I’d layer on top of their system is a brief creative debrief at the end of each shoot day, even if it’s just ten minutes. Jot down what surprised you, what didn’t work, and one thing you’d do differently. Over a multi-day sprint especially, those notes are incredibly useful when you sit down to edit and you’re trying to remember why you made certain choices in the field.
The deeper takeaway from everything Mango Street documents here is that creative reinvigoration rarely happens by accident. It takes structure — locked collaborators, specific concepts, real schedules, prepared wardrobe, and an intentional push outside your technical comfort zone. The freedom to be creative on shoot day is built in the planning days before it.
Watch the full tutorial on YouTube to see the behind-the-scenes footage and get a feel for how the team moves through each shoot.
Comments
Leave a Comment