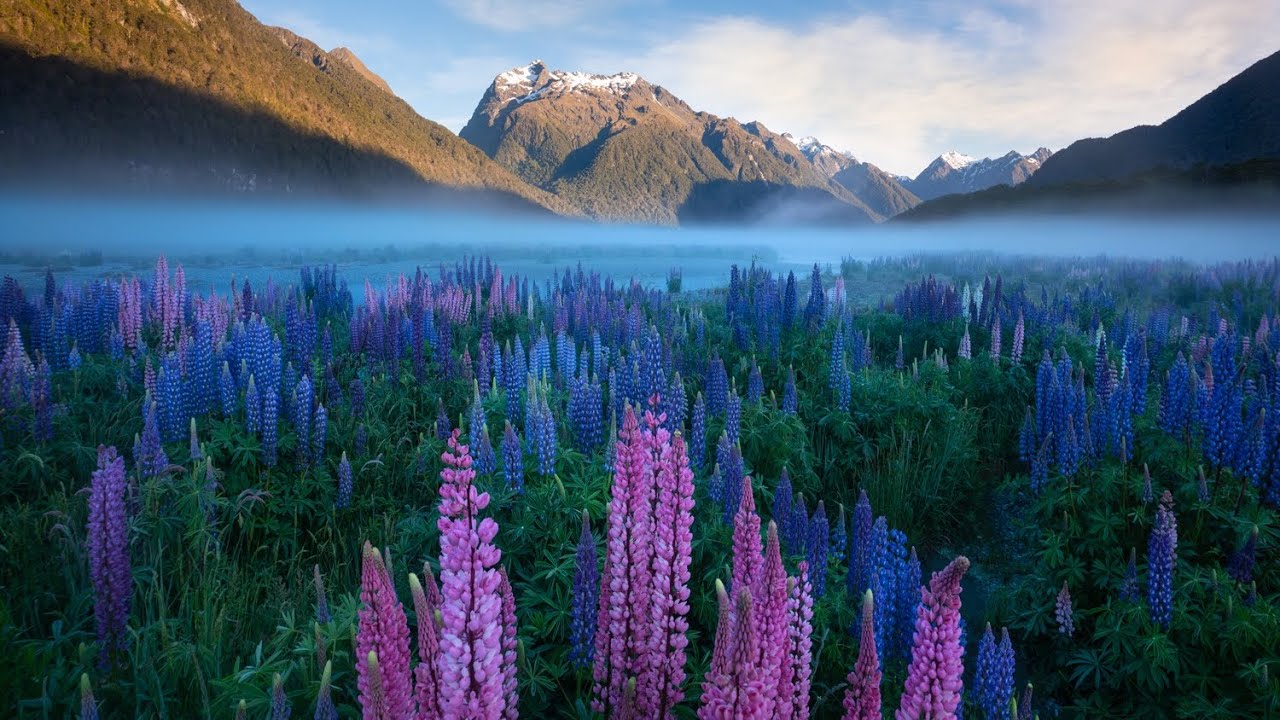
There’s a specific kind of morning I used to talk myself out of. Sky looks rough, the light seems flat, and staying in bed feels like the rational choice. It wasn’t until I started studying how working landscape photographers actually make decisions in the field that I realized how much I was leaving on the table by waiting for “perfect” conditions. In this William Patino tutorial shot in New Zealand’s South Island, he walks through a full lupine photography session that starts in fog and near-darkness and ends with a rainbow hanging over a mountain range. It’s the kind of result that looks like luck from the outside. Up close, it’s preparation, instinct, and a handful of very deliberate technique choices.
Watch the full tutorial on YouTube
What makes this tutorial useful beyond the stunning scenery is that William narrates his actual decision-making process in real time. You hear him second-guessing himself, checking satellite imagery, swapping cards, and talking through why he’s choosing one focal length over another. That kind of transparency is rare and genuinely instructive. Here’s how I’d break it down into actionable steps.
Step 1: Trust Your Gut and Go Anyway
 Foggy field at dawn with low cloud cover
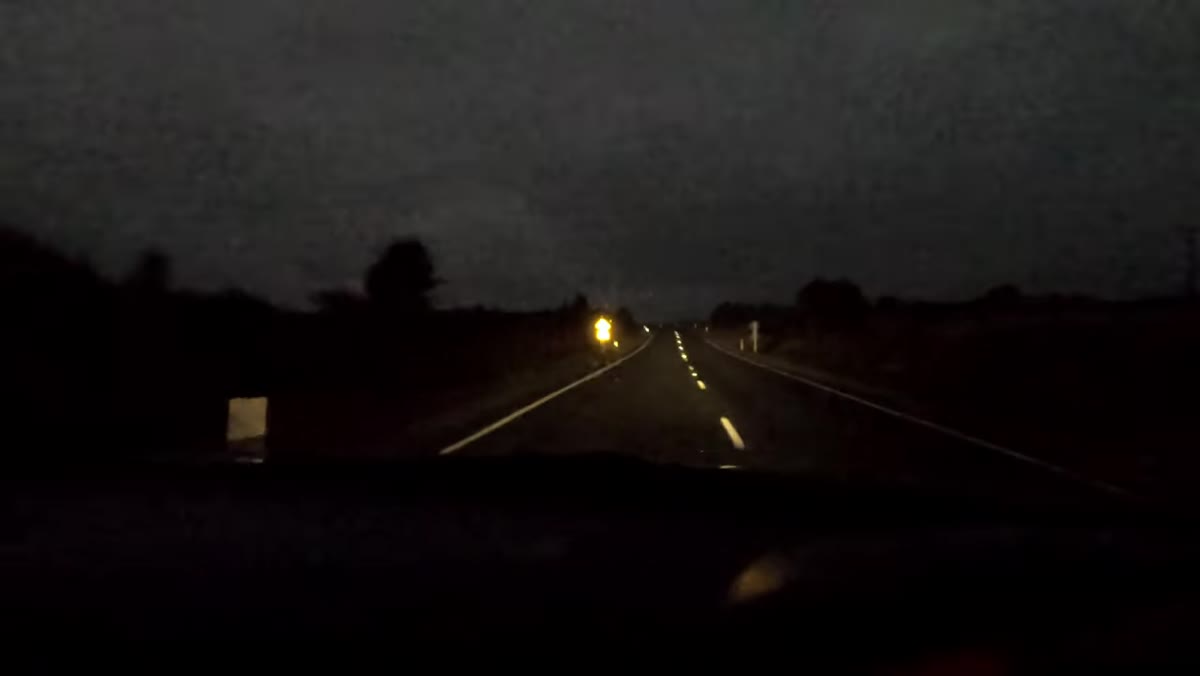
William arrives on location at 4:30am, not because conditions look great, but because they look like they could be great. He checks satellite imagery for cloud movement and then makes a gut call to show up anyway. The lesson here is that moody, transitional weather, the kind most people wait out, is often the most photogenic. Fog compresses distance, softens contrast, and creates atmosphere you simply cannot replicate in post.
Foggy field at dawn with low cloud cover
William arrives on location at 4:30am, not because conditions look great, but because they look like they could be great. He checks satellite imagery for cloud movement and then makes a gut call to show up anyway. The lesson here is that moody, transitional weather, the kind most people wait out, is often the most photogenic. Fog compresses distance, softens contrast, and creates atmosphere you simply cannot replicate in post.
If you’re serious about wildflower photography, commit to pre-dawn arrival during overcast or unsettled weather, not just golden hour on a clear day. Check a weather radar app (Windy is a good one) the night before and look for cloud breaks rather than clear skies. A window of light breaking through fog is worth ten clear sunrises.
Step 2: Plan Two Compositions Before You Shoot Either One
 Wide lupine field with mountain range in background
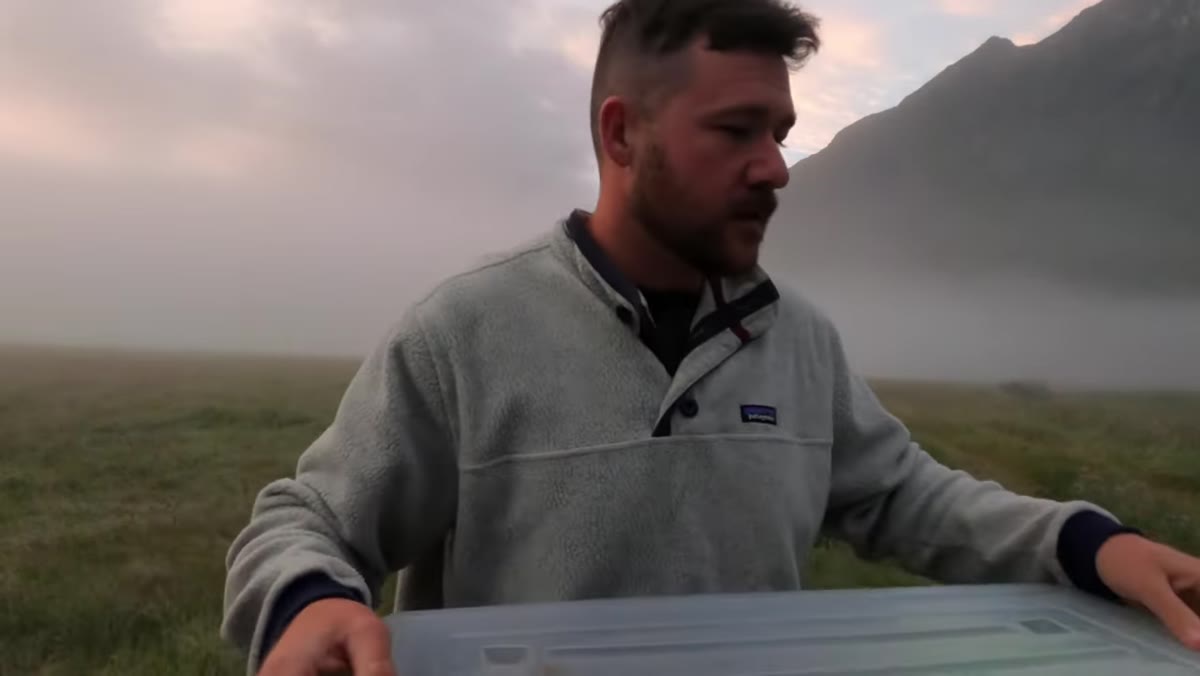
Before he even fires a shutter, William mentally maps out two distinct shots: a wide-angle scene that places the lupines in context with the surrounding landscape, and a compressed telephoto shot aimed down the valley at the mountains. Planning both in advance means he’s not scrambling when the light shifts. He can move intentionally between setups.
Wide lupine field with mountain range in background
Before he even fires a shutter, William mentally maps out two distinct shots: a wide-angle scene that places the lupines in context with the surrounding landscape, and a compressed telephoto shot aimed down the valley at the mountains. Planning both in advance means he’s not scrambling when the light shifts. He can move intentionally between setups.
This two-composition mindset is something I now practice on every landscape outing. Before I shoot, I ask myself: what’s the intimate version of this scene, and what’s the epic version? One shot uses a wide lens to emphasize foreground detail and draw the viewer in. The other uses a telephoto to flatten perspective and stack visual elements, mountains, mist, flowers, into a more dramatic frame. Having both planned means you’re never caught flat-footed when conditions change fast.
Step 3: Choose Settings for Depth, Not Drama
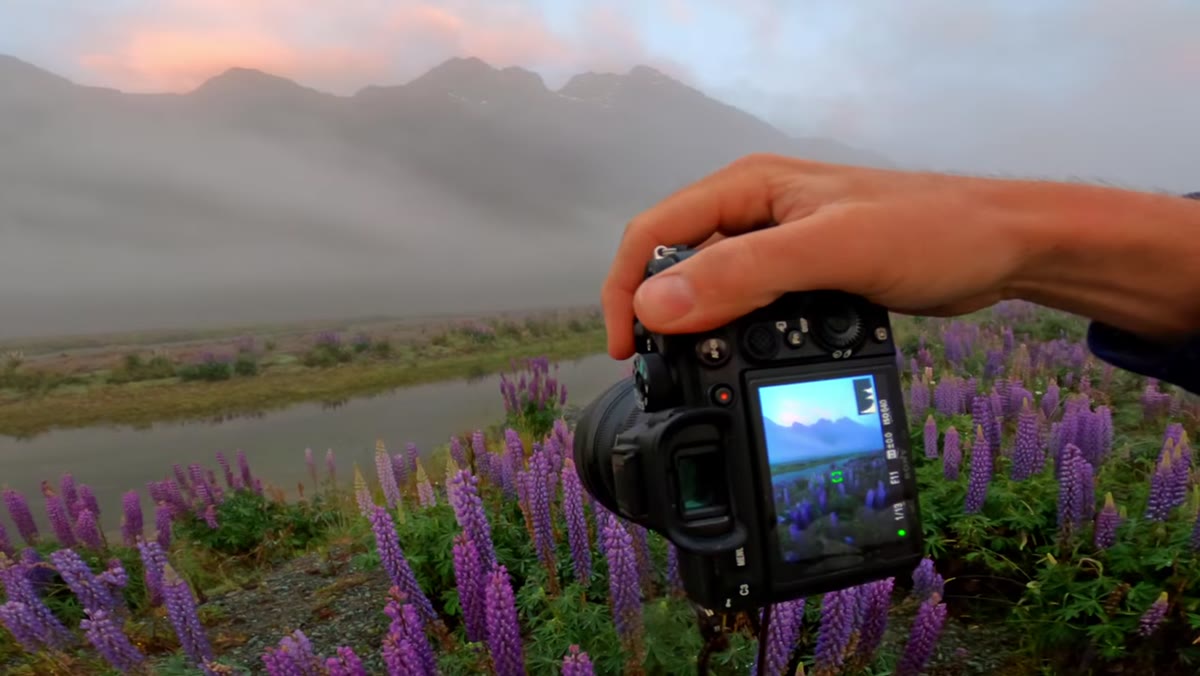
 Camera display showing f11, 1/8 second, ISO 200
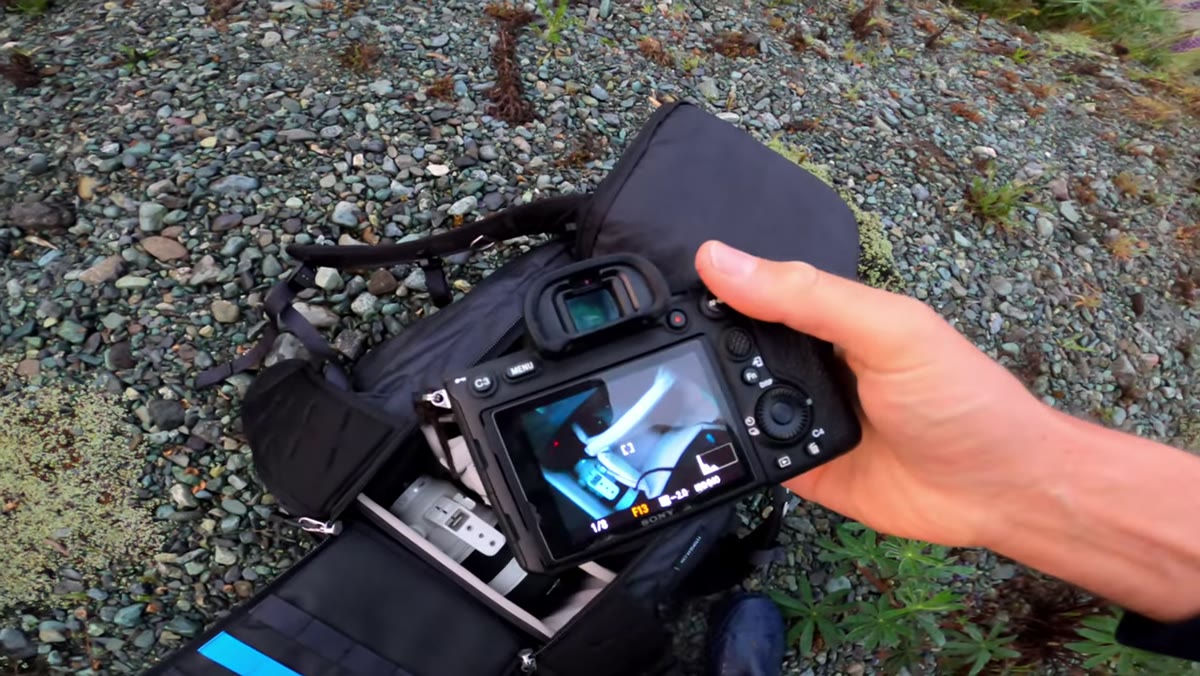
William shoots at f/11 for most of this session, with shutter speeds around 1/8 to 1/13 of a second and ISO 200. These aren’t flashy numbers, but they’re deliberate. F/11 gives him the depth of field needed to keep both the foreground lupines and the distant mountains sharp. The slow shutter, while risky handheld, is workable here because he’s shooting on a tripod in calm air.
Camera display showing f11, 1/8 second, ISO 200
William shoots at f/11 for most of this session, with shutter speeds around 1/8 to 1/13 of a second and ISO 200. These aren’t flashy numbers, but they’re deliberate. F/11 gives him the depth of field needed to keep both the foreground lupines and the distant mountains sharp. The slow shutter, while risky handheld, is workable here because he’s shooting on a tripod in calm air.
He also mentions the possibility of focus stacking for the wider shots, which is worth understanding. Focus stacking means you take two or more frames focused at different distances (one on the near foreground, one on the background) and merge them in post for total sharpness across the frame. For wildflower scenes where you’re shooting close to the flowers and also want sharp mountains, this technique is a practical solution that beats trying to get everything sharp in a single frame at a single aperture.
Step 4: Use a Vertical Frame to Include Water as a Midground Element
 Vertical composition with stream cutting through lupine field
One of the quieter but more powerful choices William makes is switching to a vertical frame specifically to include a line of water running through the mid-ground. This does two things: it breaks the image into distinct horizontal bands (flowers, water, more flowers or grass, then mountains and sky), and it gives the viewer’s eye a path to travel through the frame rather than just a flat sweep of color.
Vertical composition with stream cutting through lupine field
One of the quieter but more powerful choices William makes is switching to a vertical frame specifically to include a line of water running through the mid-ground. This does two things: it breaks the image into distinct horizontal bands (flowers, water, more flowers or grass, then mountains and sky), and it gives the viewer’s eye a path to travel through the frame rather than just a flat sweep of color.
When you’re in a wildflower field, look for anything that adds visual separation between your foreground and background. A stream, a dirt path, a fence line, even a change in flower color can function as a natural divider. In a vertical orientation, these elements become leading lines rather than distractions.
Step 5: React Quickly When the Light Gifts You Something Unexpected
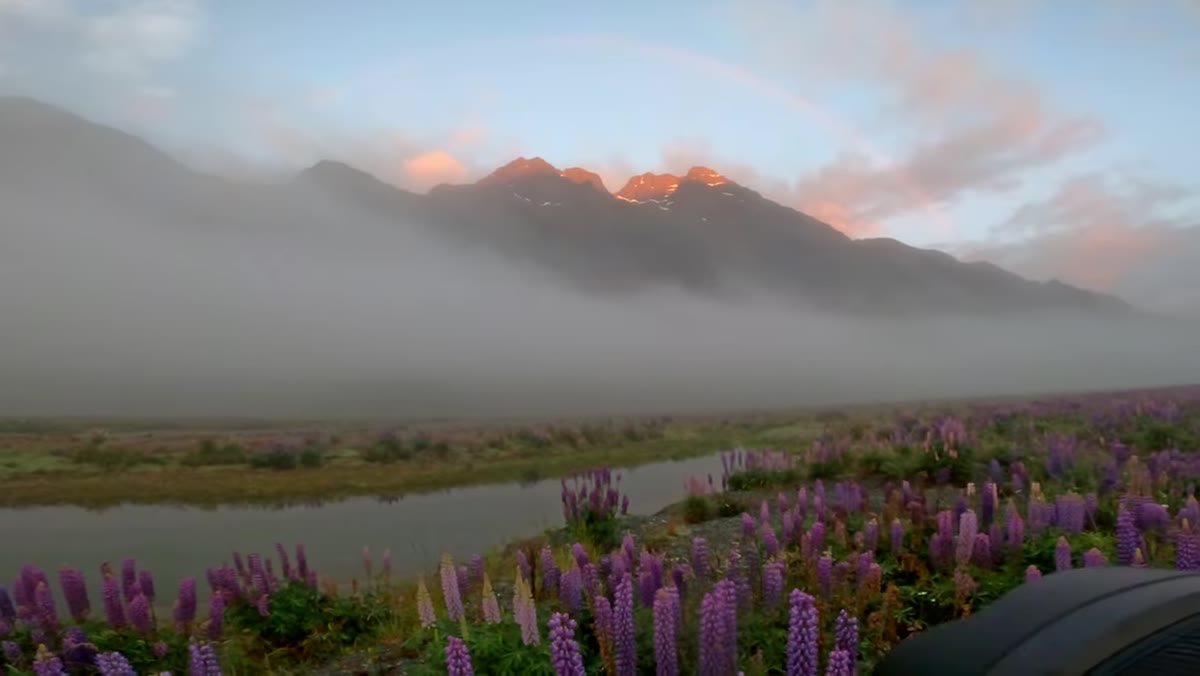 Rainbow appearing over mountain range above lupine field
A rainbow appears over the mountain range. William reacts immediately, adjusting his framing to include it without over-centering it. He keeps it as a secondary element rather than the subject, which is the right call. The lupines in the foreground stay the anchor; the rainbow becomes the bonus.
Rainbow appearing over mountain range above lupine field
A rainbow appears over the mountain range. William reacts immediately, adjusting his framing to include it without over-centering it. He keeps it as a secondary element rather than the subject, which is the right call. The lupines in the foreground stay the anchor; the rainbow becomes the bonus.
The technical response here matters: he bumps to f/13 to hold depth of field as he reframes, keeps ISO at 200 to preserve color fidelity in what is now brighter light, and stays on the tripod for consistency. When something unexpected happens in the field, your instinct might be to grab the camera and start spraying shots. Slowing down by two seconds to confirm your settings first will save you from a card full of slightly blown-out or soft frames.
Step 6: Use a Step Ladder to Shoot Over Tall Foreground Plants
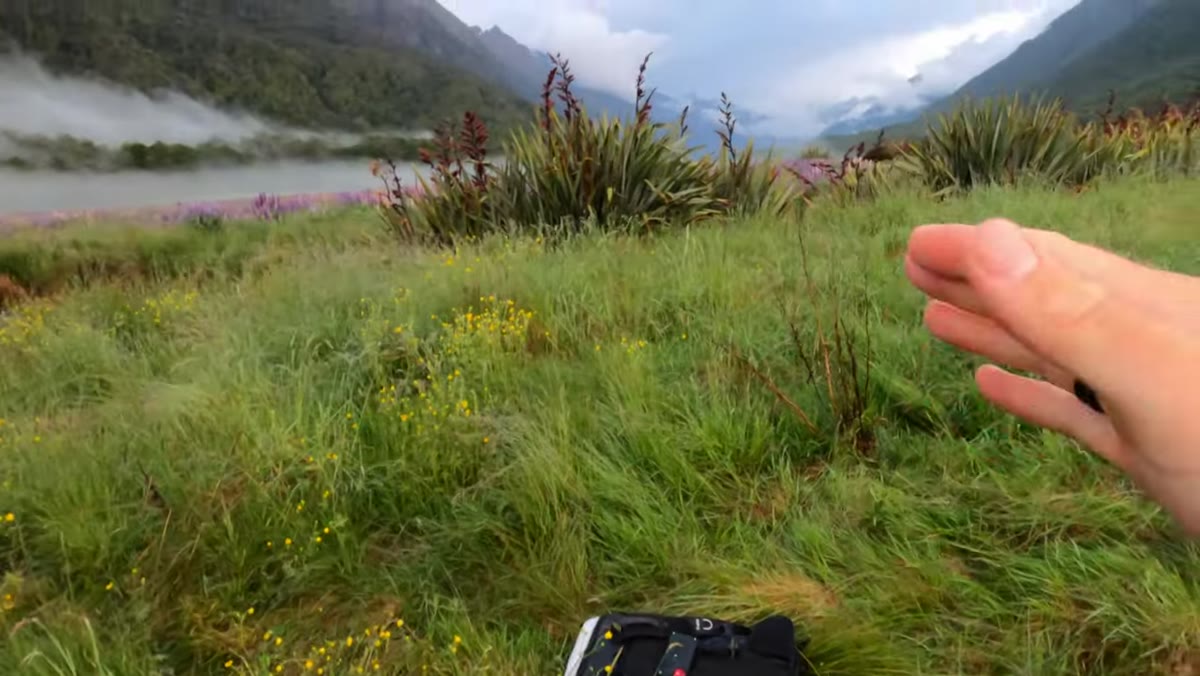 Step ladder positioned among tall grass and flax plants
This one made me laugh the first time I watched it, because it’s so practical and so rarely discussed. William pulls out a small step ladder to get elevation above the tall flax plants surrounding him. This lets him shoot down into the mid-ground, see over obstructions, and control exactly what’s in the foreground rather than being forced into whatever the ground level offers.
Step ladder positioned among tall grass and flax plants
This one made me laugh the first time I watched it, because it’s so practical and so rarely discussed. William pulls out a small step ladder to get elevation above the tall flax plants surrounding him. This lets him shoot down into the mid-ground, see over obstructions, and control exactly what’s in the foreground rather than being forced into whatever the ground level offers.
A step ladder is not glamorous gear. But neither is lying on your stomach in wet grass for forty minutes (which I have absolutely done). The point is that perspective is a tool, and sometimes that tool is a $30 folding ladder from a hardware store.
What I’d Add From My Own Experience
The piece of this tutorial I keep thinking about is the satellite check before leaving the house. William doesn’t just look out the window. He makes an informed guess based on actual data, and then he acts on instinct informed by experience. That combination, data plus gut, is something I’ve been trying to build deliberately. I’ve started screenshotting the weather radar before any early morning shoot and comparing it to what actually happened when I arrived. After a few months of that, I’m genuinely better at reading mornings. You build a mental library of what “potential” actually looks like on a map.
The single most important thing I took from this tutorial is this: conditions that look bad from your bedroom window are often just conditions that require more flexibility in the field. Go anyway, plan two compositions, keep your depth of field settings tight, and carry a step ladder if the flowers are taller than your knees.
Watch the full tutorial on YouTube to see the complete session, including the rainbow moment, in real time. William’s narration throughout is worth listening to closely. He thinks out loud in a way that’s genuinely educational.
Comments (2)
This is the kind of content that keeps me coming back.
I've been looking for exactly this kind of tutorial. Perfect timing.
Leave a Comment