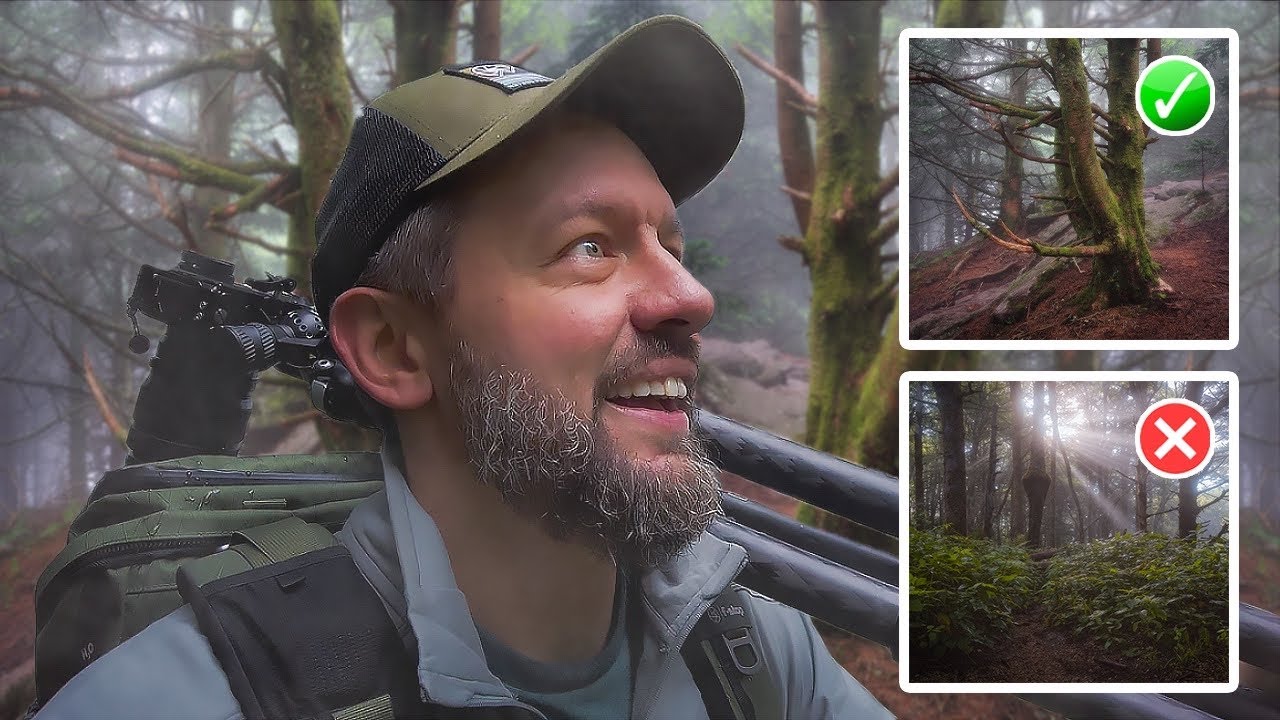
Trees are everywhere, and yet somehow most photos of them look like nothing. I say this as someone who has walked past a genuinely stunning tree, pointed my camera at it, and ended up with an image that looks like a screenshot from a video game loading screen. Flat, airless, uninteresting. The tree was beautiful. The photo was not.
That gap between what your eyes see and what the sensor records is exactly what Watch the full tutorial on YouTube landscape photographer Mark Denney tackles in his tree photography tutorial, shot entirely on location in the Blue Ridge Mountains. What I love about this one is that it’s not a classroom breakdown. He’s out there in real fog, real wind, real fading light, working through real problems in real time. It reads like watching a photographer think out loud, and there is so much to steal from it.
The conditions he’s dealing with - low clouds drifting through the ridge, wind shaking leaves, uneven light - are exactly the conditions that send most beginners packing. This tutorial reframes all of that as the opportunity, not the obstacle.
Step 1: Arrive Early and Scout Aggressively
 Mark walking a foggy trail in the Blue Ridge Mountains
Don’t just walk to the spot everyone shoots. Mark spends real time moving through the location before he sets up a single shot, and within a quarter mile of arriving somewhere brand new to him, he found two separate compositions worth working. The lesson here is that your first instinct is usually not your best one. Walk further. Turn around. Look at what’s behind you.
When you arrive at a location with atmospheric conditions - mist, low clouds, golden hour light - build in at least 30 to 45 minutes of pure scouting before you shoot anything. Conditions like that rarely last more than two hours, and you want to have already identified two or three potential setups so you’re not scrambling when the light peaks.
Step 2: Use Anchor Elements to Simplify a Chaotic Scene
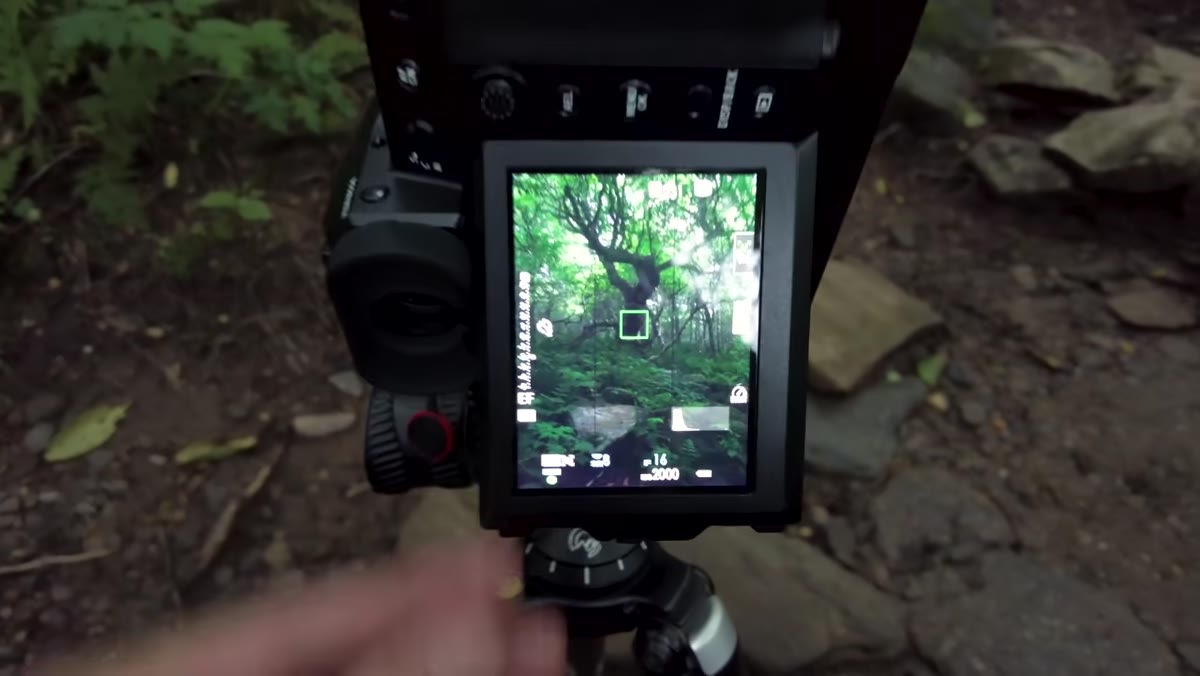 Camera view of tree composition with foreground stones visible
Photographing a single tree in a cluttered environment is compositionally tricky because trees don’t have clean edges. Branches go everywhere, backgrounds are messy, and the eye doesn’t know where to land. Mark’s solution here is elegant: find anchor elements on both sides of the frame that contain the composition. In his main shot, two stones sit on either side of the base of the tree, grounding the left and right edges and giving the eye a natural boundary.
Look for rocks, fallen logs, root systems, or even shadow lines that can serve this function. You’re essentially building invisible walls that keep the viewer inside the frame. The tree becomes the subject because everything else quietly points toward it. This works best when the anchor elements are lower in the frame - they support rather than compete.
Step 3: Identify and Solve Your Depth of Field Problem Before You Shoot
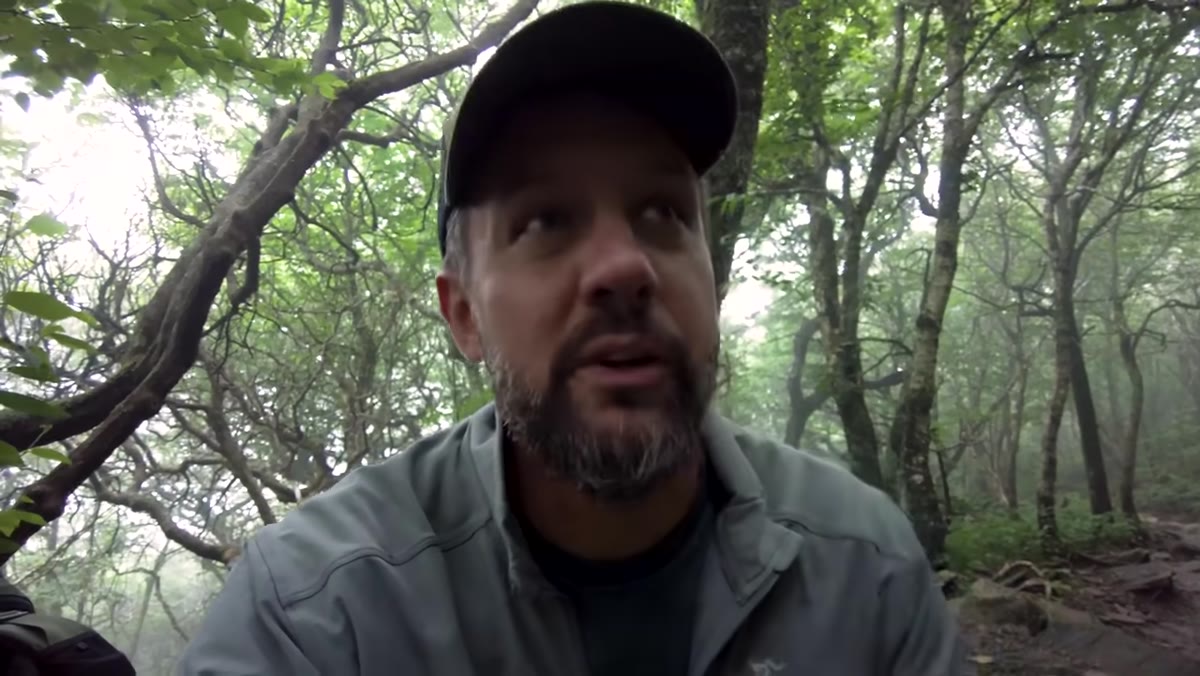 Mark assessing close foreground rock relative to the tree behind it
This is the step most beginners skip, and it’s the one that kills the most otherwise good images. Because Mark is shooting with a close foreground element (the stone is quite near his lens) and a mid-distance subject (the tree), a single focus point will not get both sharp. He identifies this immediately and plans for focus stacking before he takes a single frame.
Focus stacking means you shoot multiple frames at different focus distances - one locked on the foreground, one on the subject, sometimes one on the background - and then blend them in post. In Lightroom or Photoshop, you can use Photo Merge > HDR or manually blend layers using luminosity masks. The key is to shoot from a tripod without moving the camera between frames, and to shift only the focus ring, not recompose. Take three to five frames minimum when in doubt.
Step 4: Fight the Wind-and-Darkness Trade-off with ISO, Not Aperture
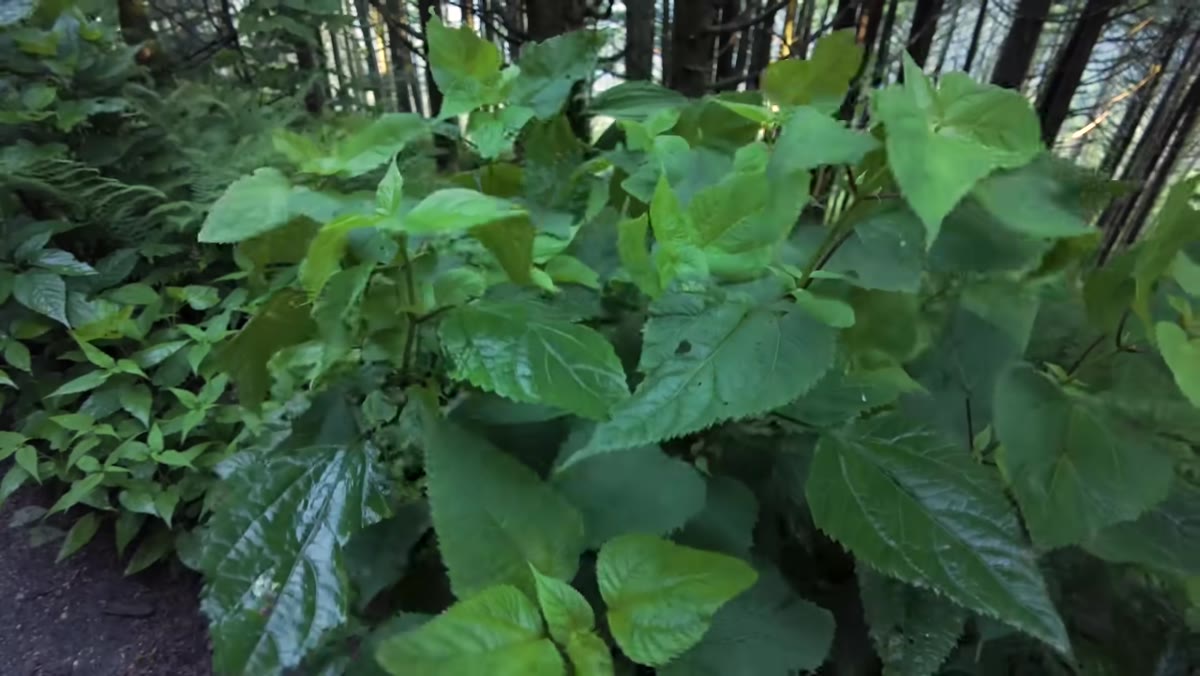 Low light conditions with wind moving leaves on tree branches
Here is the specific tension Mark is working through that most tutorials gloss over: when it’s dim and windy, you need a fast shutter speed to freeze leaf movement, but fast shutter speeds in dim light mean underexposure. The reflex is to open the aperture, but that kills your depth of field, which you’ve already decided you need. The right move is to push your ISO.
Modern cameras handle high ISO much better than photographers give them credit for. If you’re shooting in a situation like this - overcast or cloud-filtered light, moving foliage - don’t be afraid to go to ISO 800, 1600, or even 3200. Shoot RAW, and you can recover a lot in post. A sharp, slightly noisy image of a moving tree beats a blurry, clean one every time. Noise is fixable. Motion blur is not.
Step 5: Work Multiple Compositions from the Same Location
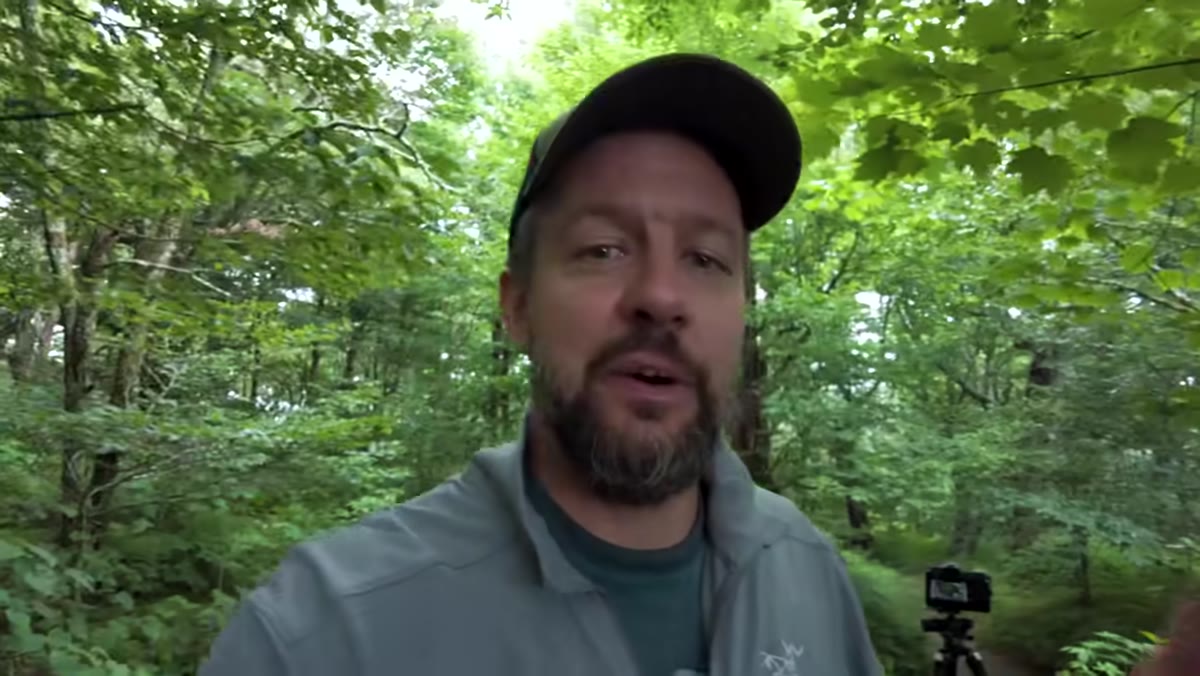 Mark turning around to show a trail framed between two trees
Mark doesn’t pack up after finding his first composition. He literally turns around and finds a second one: a natural trail flanked by trees on both sides, with dappled light hitting the path. He was initially hesitant about trail shots (a fair instinct, since they can feel cliche), but the framing made it work. Two trees anchoring opposite edges of the frame created a natural tunnel effect that pulled the eye toward the atmospheric depth behind them.
When you find a strong subject like a beautiful tree, don’t treat the session as over once you’ve nailed one shot. Move your tripod. Try a vertical orientation. Find what else the location is offering. Some of my favorite images from a shoot are the ones I almost didn’t bother taking because I thought I’d already gotten “the shot.”
Step 6: Let the Atmosphere Do the Heavy Lifting - but Be Ready When It Does
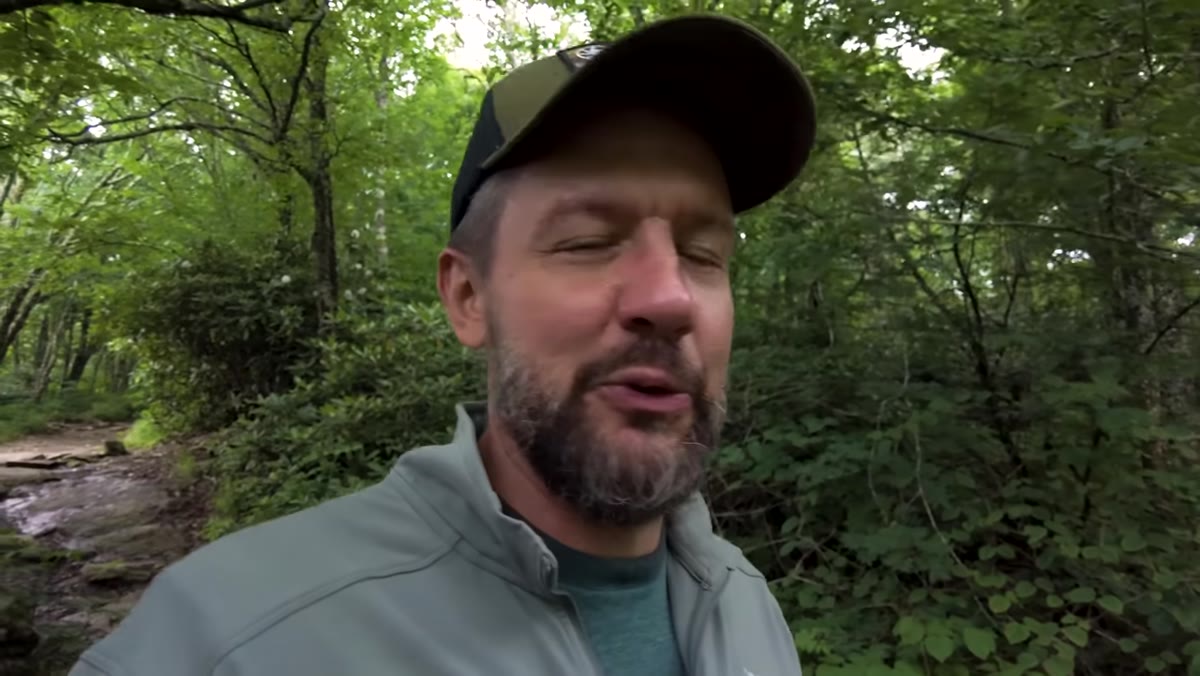 Low clouds drifting across the trail adding depth and mood
This is the patience step. Mark is very clear that what transforms a good composition into a great image is the moment when the low clouds drift into the frame at exactly the right density - not so thick that the scene disappears, not so thin that the effect is lost. He’s waiting for it. He’s planning around it. And he’s honest that it comes with a catch: the clouds bring wind, and wind brings blur.
This is the working reality of atmospheric landscape photography. You cannot have everything perfectly aligned at once. What you can do is decide which element is most important - in his case, the atmosphere over leaf sharpness - and optimize for that. Set your exposure, lock your composition, and then wait with your finger on the shutter. Burst mode is your friend here. Take more frames than you think you need and sort them later.
A Note from My Own Sunday Morning Walks
I do a photo walk every Sunday morning around Seattle, and trees are a subject I keep coming back to partly because they’re everywhere and partly because they humbled me for years. What finally clicked for me was stopping trying to photograph “a tree” and starting to photograph the relationship between the tree and its surroundings. The light. The ground beneath it. What’s behind it. Mark’s approach here is exactly that, even if he doesn’t describe it in those terms.
The other thing worth saying: you do not need expensive gear for this. I’ve taken shots of trees on my phone that have more atmosphere and intention than technically pristine files I’ve shot on my mirrorless. The compositional thinking is what matters. The anchor elements, the depth of field decisions, the patience to wait for the light. Those are free.
The single most transferable takeaway from this tutorial is this: a tree in fog with two stones and a plan is more interesting than a tree in perfect light with no thought behind it. Work the scene, not just the subject. Watch the full tutorial on YouTube to see Mark work through every one of these decisions in real time - it’s worth watching just for how he handles the moment when the light goes sideways.
Comments (1)
I tried this on a client project yesterday and the results were way better than expected.
Leave a Comment