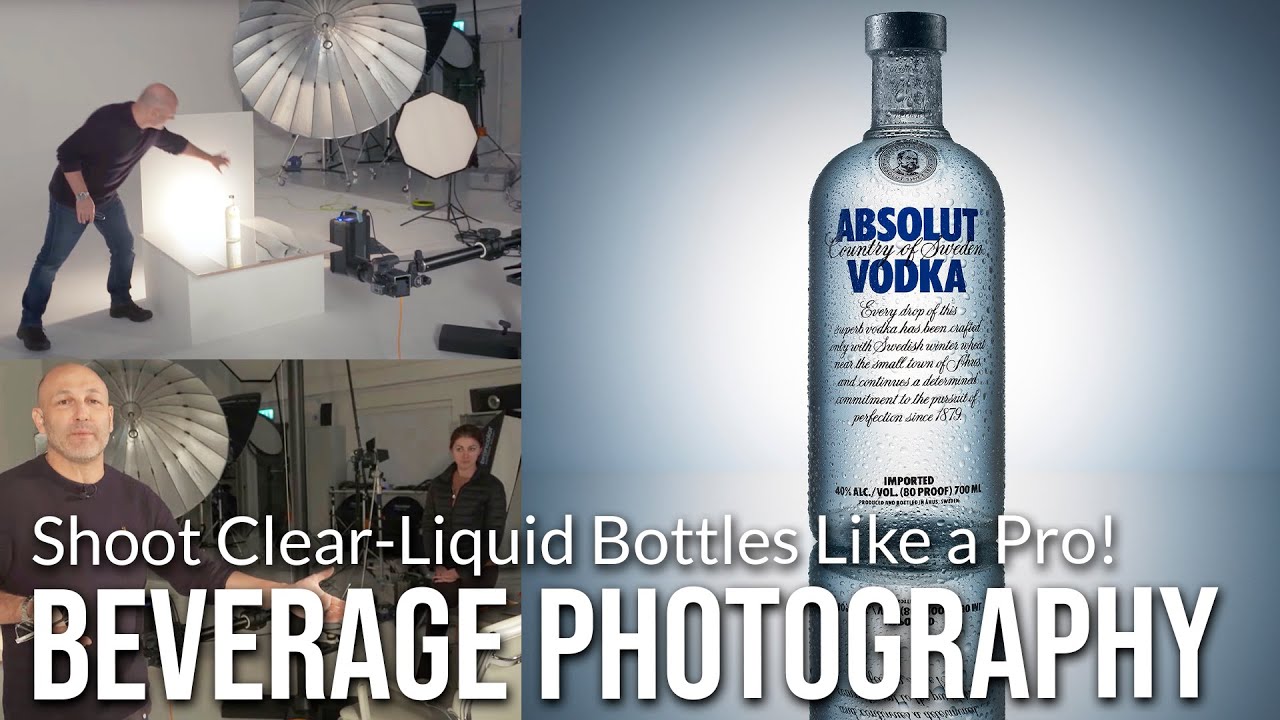
Product photography has a way of humbling you fast. I learned this the hard way the first time a friend asked me to shoot a few spirits bottles for their small-batch gin label. I figured: clean background, good light, done. What I got instead was streaky water droplets sliding down the glass, a label that looked flat and washed out, and a reflection so doubled-up it looked like the bottle had a twin. Not exactly portfolio material.
Clear liquid bottles are their own discipline within product photography, and there are a handful of specific techniques that separate a shot that looks like it came from a marketing agency from one that looks like it came from a kitchen table. In this Visual Education tutorial, Carl Taylor walks through the full setup, from fake condensation to lighting geometry, and it’s one of the most practical, no-fluff breakdowns I’ve seen on the topic. Watch the full tutorial on YouTube - then come back here for the step-by-step breakdown with extra context for each stage.
Whether you’re shooting for a client or just want to level up your product work, here’s exactly how it’s done.
Step 1: Skip the Water Spray - Use Fake Condensation Instead
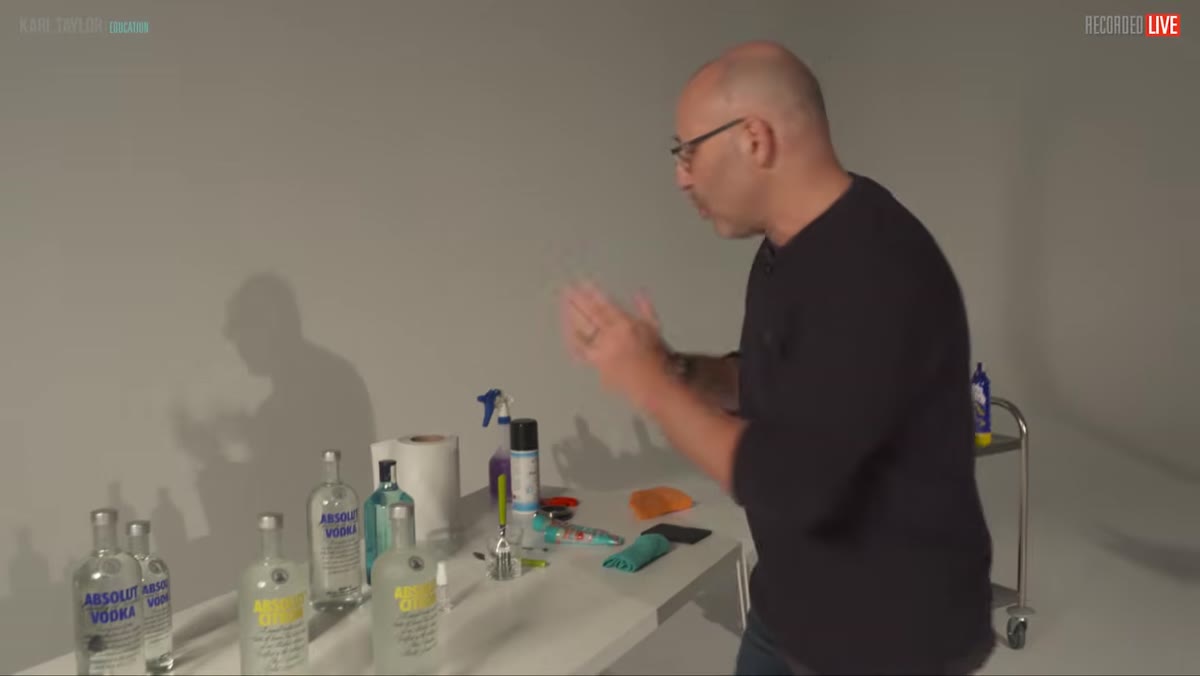 Bottle with real water spray running and smearing
Real water is the enemy of bottle photography. When you mist a bottle with plain water, the droplets slide immediately, pool at the base, and leave residue behind once the studio lights dry everything out. It’s a constant battle, and you lose every time. Instead, the technique here uses a specialized fake condensation product applied with a small vaporizer bottle. The result is droplets that actually cling to the glass surface and stay put, even under warm continuous lighting. No running, no evaporating, no residue.
Bottle with real water spray running and smearing
Real water is the enemy of bottle photography. When you mist a bottle with plain water, the droplets slide immediately, pool at the base, and leave residue behind once the studio lights dry everything out. It’s a constant battle, and you lose every time. Instead, the technique here uses a specialized fake condensation product applied with a small vaporizer bottle. The result is droplets that actually cling to the glass surface and stay put, even under warm continuous lighting. No running, no evaporating, no residue.
There are two looks you can achieve depending on your finishing choice. Leaving the condensation as-is gives you rounder, more spherical droplets. Sealing over it with a light coat of varnish flattens the droplets slightly and reads as more realistic to the eye - closer to what you’d actually see on a cold glass pulled from a fridge. For most commercial work, the varnished version tends to photograph more convincingly, but it’s worth testing both on a stand-in bottle before you commit on the hero product.
Step 2: Build Your Base with Polished Metal, Not a Mirror
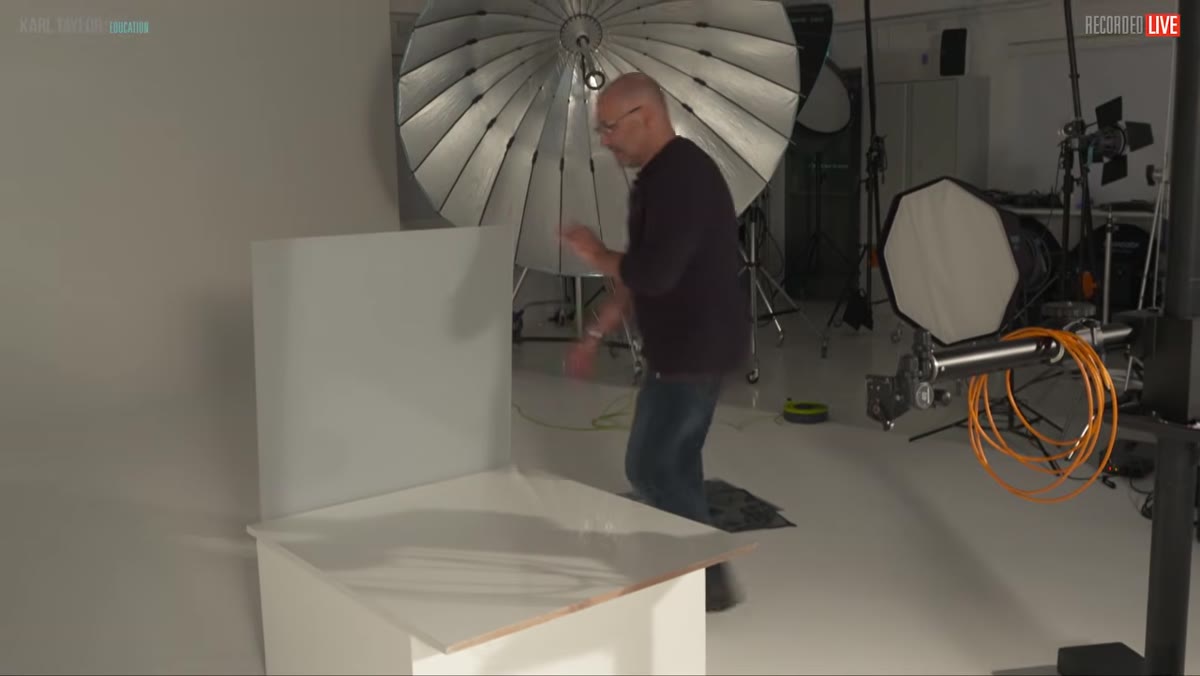 Polished metal sheet reflecting camera and crew
This one surprised me when I first heard it, but the reasoning is solid. A standard mirror creates a double reflection because the reflective coating sits behind a layer of glass. Shoot at a low angle - which is exactly what you want for dramatic bottle shots - and you’ll see a ghost image sitting just beneath the main reflection. It looks wrong, and it’s nearly impossible to fix in post.
Polished metal sheet reflecting camera and crew
This one surprised me when I first heard it, but the reasoning is solid. A standard mirror creates a double reflection because the reflective coating sits behind a layer of glass. Shoot at a low angle - which is exactly what you want for dramatic bottle shots - and you’ll see a ghost image sitting just beneath the main reflection. It looks wrong, and it’s nearly impossible to fix in post.
Polished metal sheet, the kind available at most hardware stores, is a single reflective surface. The reflection is clean, sharp, and singular. It reads as a premium surface without any optical trickery working against you. Set the bottle centered on the sheet and position it so you have room to work around it. The mirror-like base is doing a lot of work here: it adds depth, reinforces the premium feel, and removes the need for a separate reflection card underneath.
Step 3: Add a Frosted Acrylic Panel Behind the Bottle
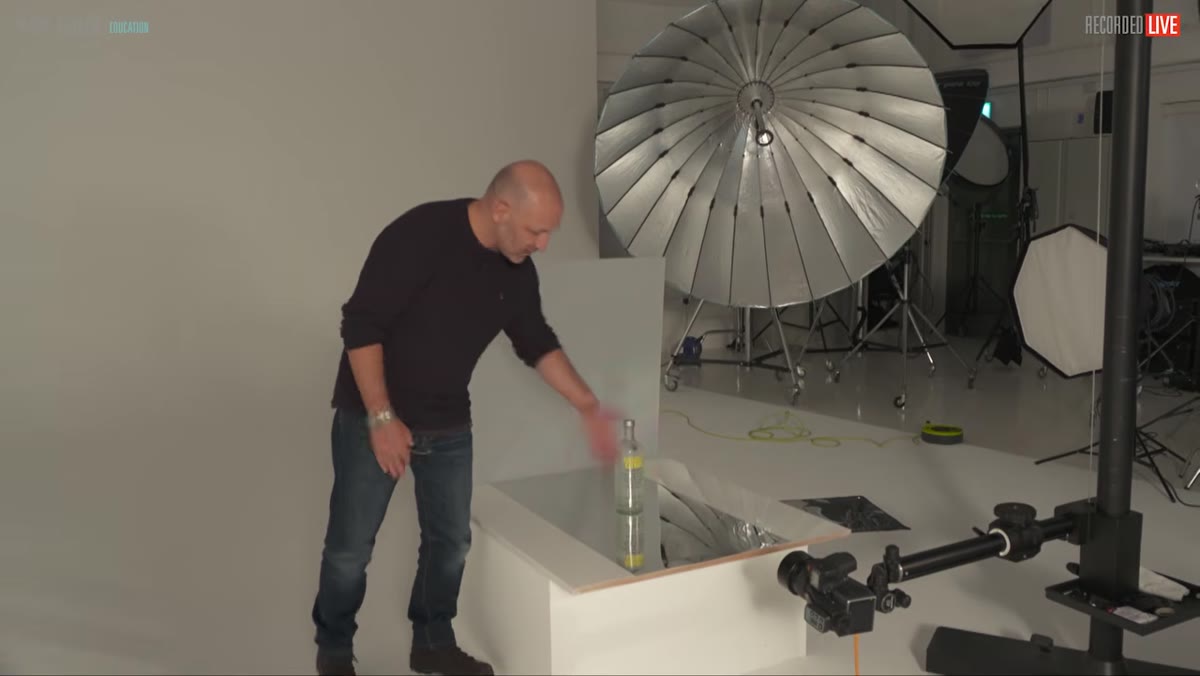
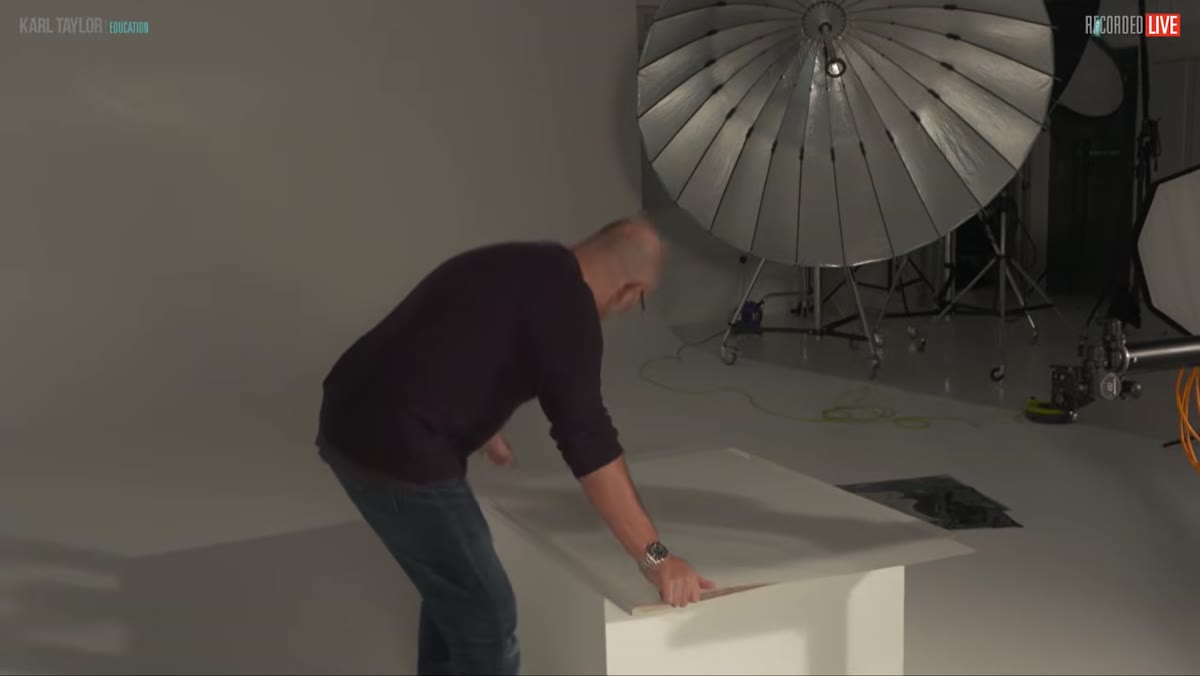 Frosted acrylic panel being placed behind the bottle
A sheet of frosted acrylic positioned upright directly behind the bottle becomes your backlit diffusion panel. On its own it’s just a translucent sheet, but once you place a light source behind it, it becomes a soft, even glow that pushes through the glass and illuminates the liquid from within. This is what gives clear spirits that luminous, glowing quality in professional shots - the light is literally traveling through the bottle, not just bouncing off it.
Frosted acrylic panel being placed behind the bottle
A sheet of frosted acrylic positioned upright directly behind the bottle becomes your backlit diffusion panel. On its own it’s just a translucent sheet, but once you place a light source behind it, it becomes a soft, even glow that pushes through the glass and illuminates the liquid from within. This is what gives clear spirits that luminous, glowing quality in professional shots - the light is literally traveling through the bottle, not just bouncing off it.
The frosted surface also does something useful optically: it eliminates any hot spots or direct light artifacts that would appear if you were using a bare strobe behind the bottle. The diffusion spreads the light evenly across the acrylic panel, which then spreads it evenly through the glass. Keep the panel close to the bottle but centered so the glow wraps the full height of the product.
Step 4: Light the Back Panel and the Label Separately
 Light positioned to illuminate bottle label from the side
Backlighting handles the liquid and the glass, but it won’t do much for your label. The label needs its own light source, positioned to rake across it from the side so the design reads clearly without washing out. This is a common oversight: you get the bottle glowing beautifully and then realize the branding - the whole point of the shot - is sitting in relative shadow.
Light positioned to illuminate bottle label from the side
Backlighting handles the liquid and the glass, but it won’t do much for your label. The label needs its own light source, positioned to rake across it from the side so the design reads clearly without washing out. This is a common oversight: you get the bottle glowing beautifully and then realize the branding - the whole point of the shot - is sitting in relative shadow.
One important practical note here: if you’re using a synthetic or plastic-based fake condensation product anywhere near a hot modeling lamp, keep an eye on the temperature. The material can melt if the light sits too close for too long. During test shots, use low modeling lamp settings, and if you need to position a light close to the bottle for any period, switch the modeling lamp off entirely and work with your flash power settings instead. A melted bottle is not a retouching problem you want to solve.
Step 5: Lock In Your Camera Settings
 Discussion of aperture settings for product shot
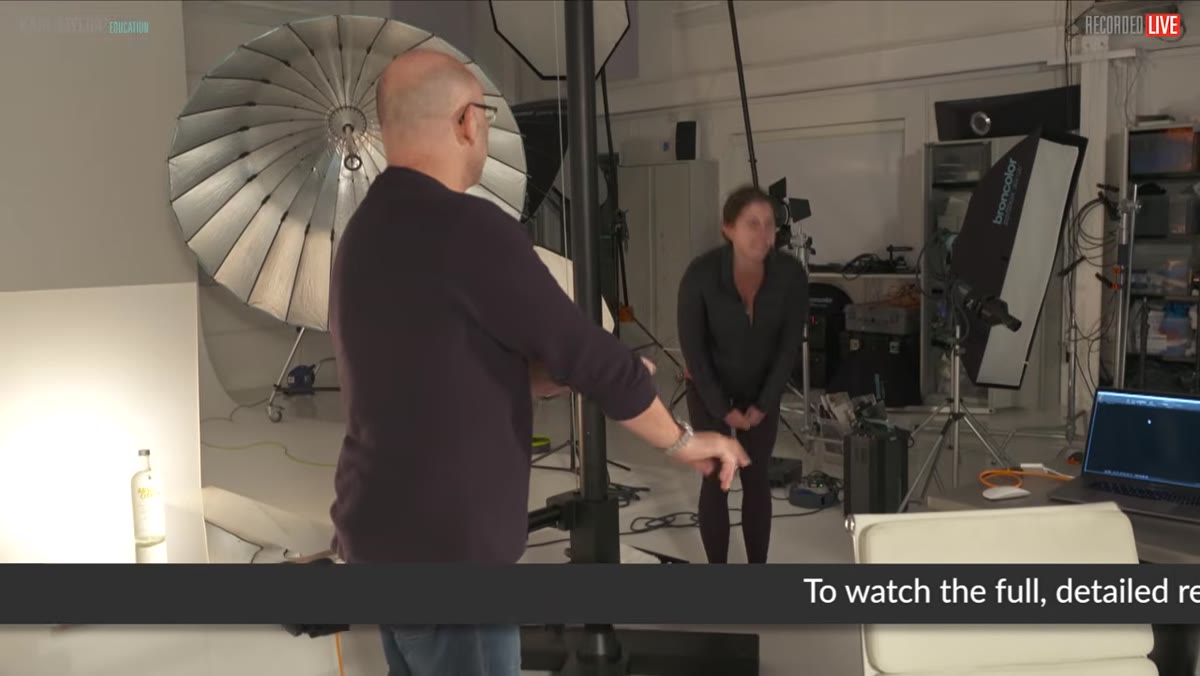
For a product shot like this, f/16 is your target aperture. You want enough depth of field to keep the full bottle sharp front to back, especially if the label is angled even slightly toward camera. Pair that with ISO 100 for maximum clarity and minimum noise. Shutter speed matters less here because your exposure is flash-driven - just make sure it sits at or below your camera’s sync speed, typically 1/250s or lower.
Discussion of aperture settings for product shot
For a product shot like this, f/16 is your target aperture. You want enough depth of field to keep the full bottle sharp front to back, especially if the label is angled even slightly toward camera. Pair that with ISO 100 for maximum clarity and minimum noise. Shutter speed matters less here because your exposure is flash-driven - just make sure it sits at or below your camera’s sync speed, typically 1/250s or lower.
Lens choice also shapes how the bottle feels in frame. A short telephoto in the 80 to 100mm range gives you a flattering perspective with minimal distortion, and it lets you work at a comfortable distance from the product. Shooting too wide will exaggerate the bottle’s proportions and make it look bulbous. If you want the bottle to feel imposing and commanding, drop your camera angle slightly so you’re shooting just below eye level on the product rather than straight on.
What I’d Add From My Own Experience
If you’re doing this on a smaller budget or in a tight space, you can replicate much of this setup with materials you can piece together for under fifty dollars. Polished aluminum sheet from a hardware store works beautifully as the base surface. A sheet of white acrylic from a sign supply shop, paired with a single speedlight fired through it from behind, gives you a passable back panel for the liquid illumination. It won’t be as refined as a purpose-built studio setup, but the fundamental logic is identical - and that logic is what matters.
I’d also strongly recommend doing a full test run with a stand-in bottle before touching your actual product. Apply the fake condensation, test your lighting ratios, dial in your angles, and nail your settings. Then swap in the hero bottle and shoot quickly. The condensation product is stable, but you still want to minimize the time between prep and capture.
The single most important takeaway from this whole workflow is that clear liquid bottle photography is really a lighting problem disguised as a photography problem. The fake condensation and the polished metal base are setup choices, but the shot lives or dies on how you’re pushing light through the glass. Get the backlit panel right, add controlled fill on the label, and the rest follows.
Watch the full tutorial on YouTube to see Carl demonstrate each stage in real time - seeing the condensation applied and the light build up in layers makes the technique click in a way that text alone can’t fully capture.
Comments
Leave a Comment