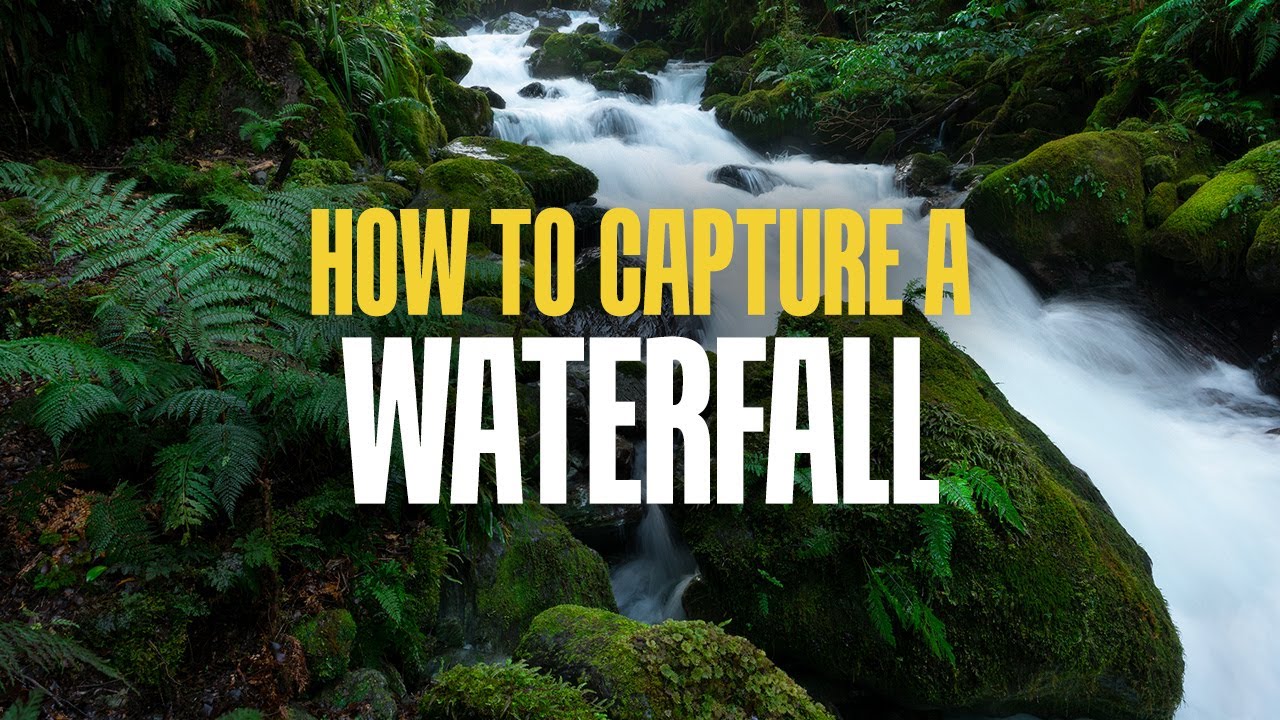
I once spent four days on a trip to the Oregon coast trying to nail a single waterfall shot. I missed dinner twice, came back to the cabin soaking wet every evening, and still didn’t get the image I had in my head. What I wish I’d had was a more systematic way of working through a scene instead of just wading in and hoping for the best. That’s exactly what makes this tutorial so useful.
In this William Patino tutorial, he takes us to a hidden waterfall in the Southern Alps, shooting in the rain with an ultra-wide lens, and walks through how he actually thinks on location. Not the polished, everything-worked-out version. The real version, where a composition doesn’t click and you have to move on and try something else. That kind of honest field work is genuinely rare, and it taught me things I’ve already started applying on my Sunday morning photo walks. Watch the full tutorial on YouTube and follow along with the breakdown below.
Step 1: Choose the Right Weather Conditions
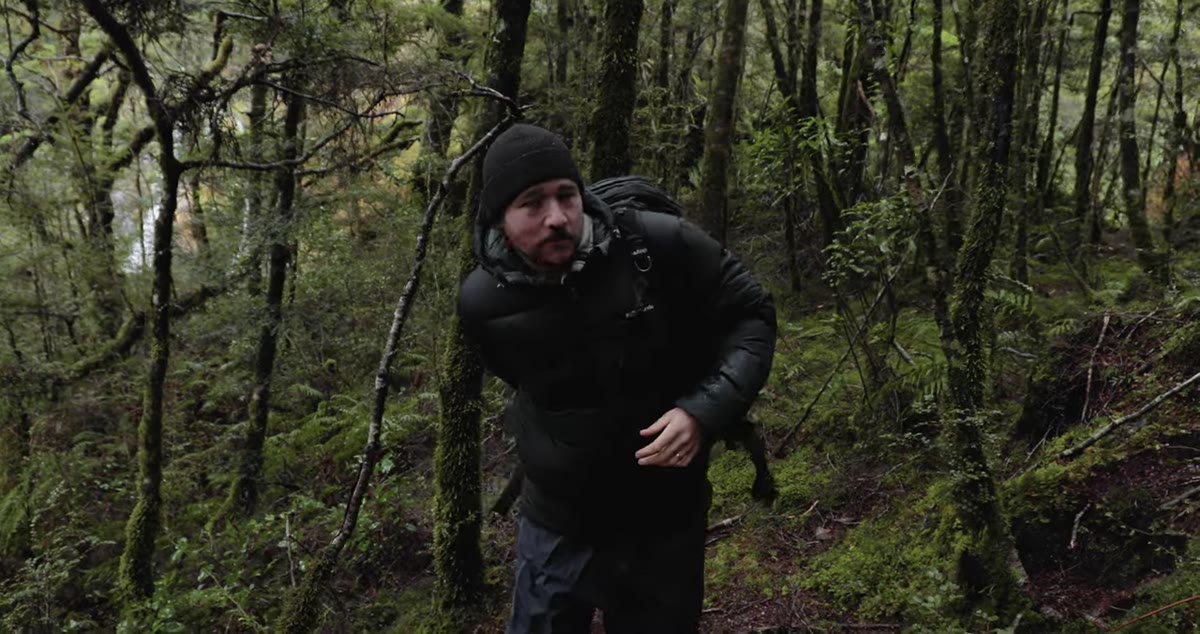 Overcast sky above forested canyon on a rainy day
Most beginners think bright sunshine is ideal for photography. For waterfall work, it’s often the worst thing that can happen to you. Patino specifically waited for a rainy, overcast day to visit this location, and he’s clear about why: harsh sunlight creates blown-out highlights on wet canyon walls and produces glare on moving water that’s nearly impossible to recover in post. An even, cloudy sky acts like a giant softbox, giving you consistent, diffused light across the whole scene.
Overcast sky above forested canyon on a rainy day
Most beginners think bright sunshine is ideal for photography. For waterfall work, it’s often the worst thing that can happen to you. Patino specifically waited for a rainy, overcast day to visit this location, and he’s clear about why: harsh sunlight creates blown-out highlights on wet canyon walls and produces glare on moving water that’s nearly impossible to recover in post. An even, cloudy sky acts like a giant softbox, giving you consistent, diffused light across the whole scene.
There’s also a practical flow consideration here. At this particular waterfall, dry conditions mean little to no water moving through. Rain means a subject worth photographing. If you’re scouting a waterfall location for the first time, do it in good weather, then plan your actual shoot around wet or overcast conditions.
Step 2: Protect Your Gear Before You Need To
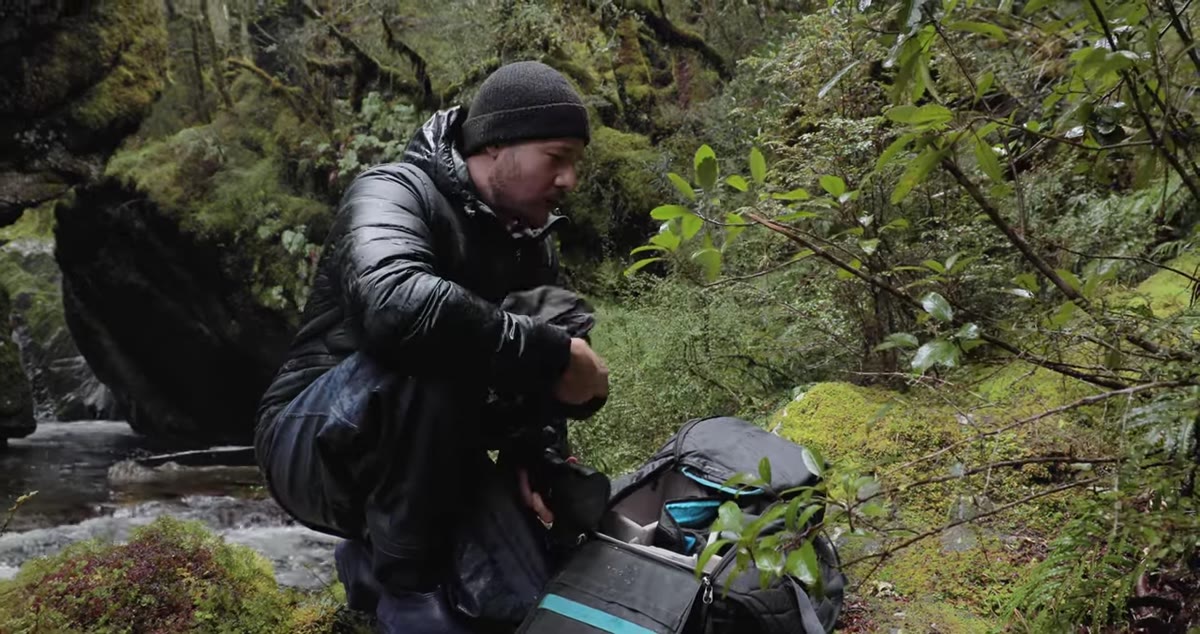 Photographer covering camera body with a microfiber towel in rain
Patino makes a point of covering his camera bag with a rain cover before descending into the canyon, and he’s upfront that he’s learned this lesson the hard way. Beyond the bag, he drapes a large microfiber towel over the camera itself while moving between shots. The system is simple: keep the towel over the body until the moment you’re ready to shoot, then recover it as soon as you lower the camera.
Photographer covering camera body with a microfiber towel in rain
Patino makes a point of covering his camera bag with a rain cover before descending into the canyon, and he’s upfront that he’s learned this lesson the hard way. Beyond the bag, he drapes a large microfiber towel over the camera itself while moving between shots. The system is simple: keep the towel over the body until the moment you’re ready to shoot, then recover it as soon as you lower the camera.
Two towels are better than one here. The first gets saturated faster than you expect, especially if you’re working near active spray from a waterfall. Keeping a dry backup in a sealed bag inside your pack means you’re not wiping moisture around with a soaking cloth. Your lens front element especially will thank you.
Step 3: Leave Your Bag Behind and Scout With Just the Camera
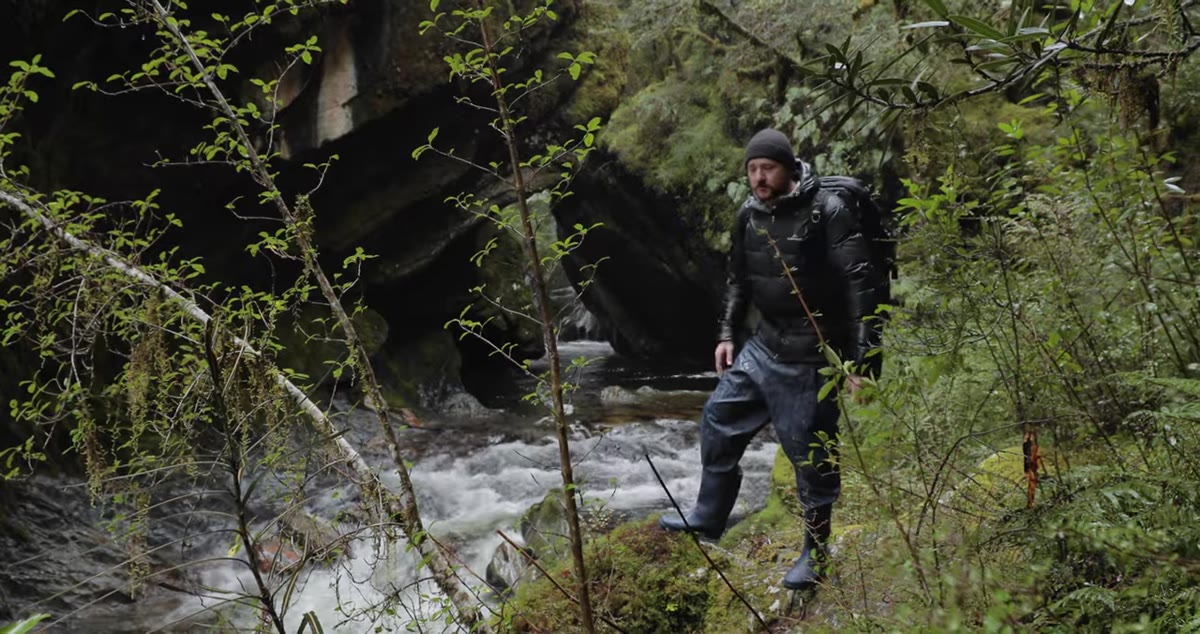 Photographer setting down bag at canyon edge before entering creek
When Patino reaches the point where he needs to enter the creek to access the waterfall, he leaves his bag at the top and descends with only the camera. This is the right call, and it’s something I underestimated for a long time. Moving through rocky, wet terrain with a full pack changes your balance and limits how low you can get or how quickly you can shift position.
Photographer setting down bag at canyon edge before entering creek
When Patino reaches the point where he needs to enter the creek to access the waterfall, he leaves his bag at the top and descends with only the camera. This is the right call, and it’s something I underestimated for a long time. Moving through rocky, wet terrain with a full pack changes your balance and limits how low you can get or how quickly you can shift position.
Wearing waders also opens up your access entirely. You can stand in the creek bed, reposition freely, and get angles that are simply not available from the bank. If waterfall photography is something you want to pursue seriously, a basic pair of chest waders is worth the investment. They don’t need to be expensive.
Step 4: Start Wide and Test Compositions Before Committing
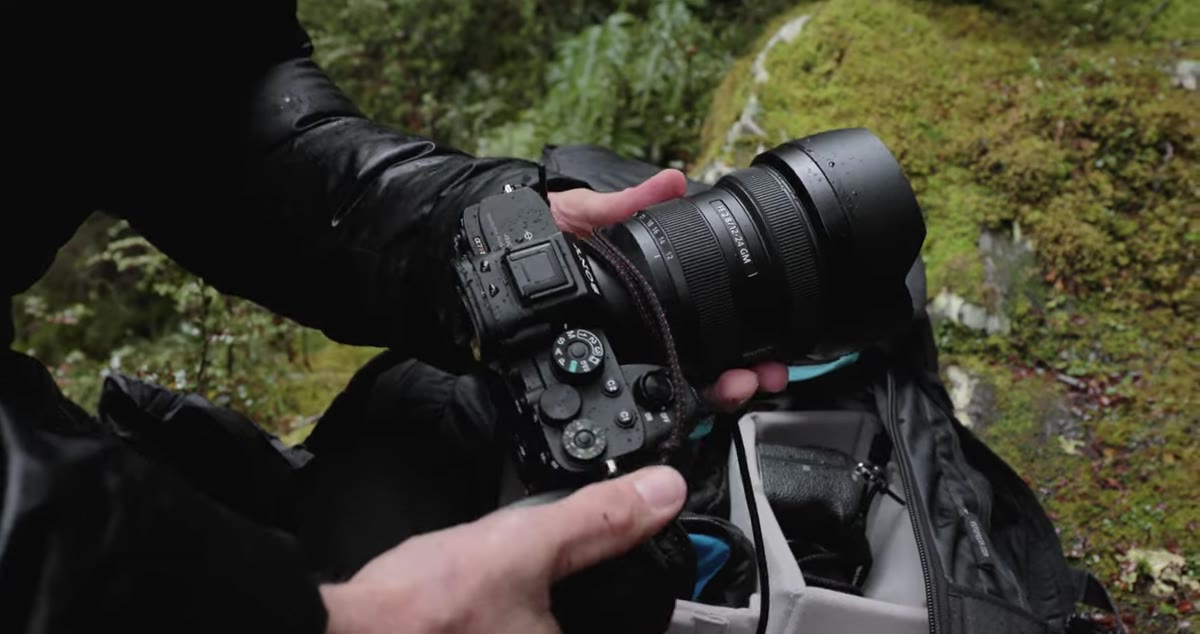 Ultra-wide lens mounted on camera, preparing for creek-level compositions
Patino is shooting at 12mm on a wide zoom, a step wider than the 16-35mm he used on his previous visit. The reason he made the switch is instructive: he wanted to see whether the additional width would pull more of the canyon environment into the frame and create a stronger sense of place. Going wider than you think you need is often worth experimenting with, especially in tight canyon environments where the walls themselves are part of the story.
Ultra-wide lens mounted on camera, preparing for creek-level compositions
Patino is shooting at 12mm on a wide zoom, a step wider than the 16-35mm he used on his previous visit. The reason he made the switch is instructive: he wanted to see whether the additional width would pull more of the canyon environment into the frame and create a stronger sense of place. Going wider than you think you need is often worth experimenting with, especially in tight canyon environments where the walls themselves are part of the story.
One technique he demonstrates is holding the camera in awkward positions and taking test shots before deciding whether a composition is even worth pursuing. You don’t need to finalize your tripod placement or nail your exposure at this stage. You’re just trying to see what the lens sees, which is a fundamentally different perspective than what your eye sees at 12mm.
Step 5: Recognize When a Composition Isn’t Working and Walk Away From It
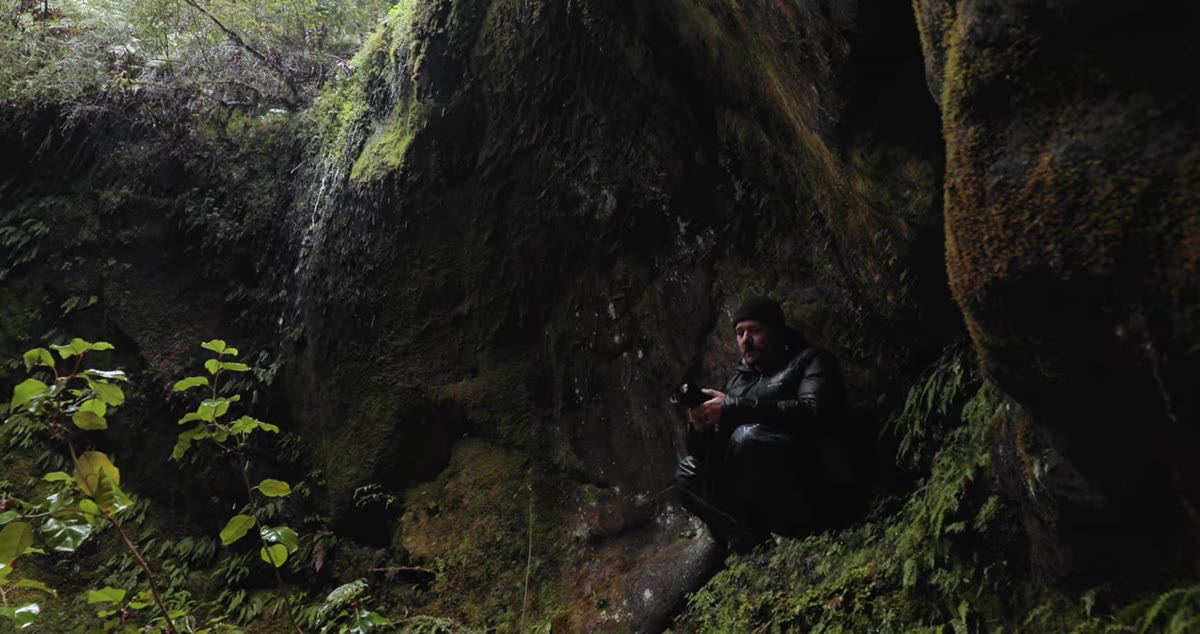 Photographer looking up at overhang, evaluating a problematic frame
This is the step most tutorials skip because it’s uncomfortable to admit on camera. Patino finds a genuinely interesting overhang with a secondary waterfall and a natural frame, but he can’t make it work. Tilting up to include the overhang pushes the main waterfall too low in the frame, and the viewer’s eye has nowhere good to land. He sits with it for a while, tries a few variations, and then moves on.
Photographer looking up at overhang, evaluating a problematic frame
This is the step most tutorials skip because it’s uncomfortable to admit on camera. Patino finds a genuinely interesting overhang with a secondary waterfall and a natural frame, but he can’t make it work. Tilting up to include the overhang pushes the main waterfall too low in the frame, and the viewer’s eye has nowhere good to land. He sits with it for a while, tries a few variations, and then moves on.
Knowing when to abandon a composition is a skill, and it’s one that takes practice to develop without guilt. The sign that it’s time to move is usually this: you’ve tried three or four meaningfully different positions and the core problem hasn’t changed. Patino’s core problem was structural. No amount of small adjustments was going to fix the relationship between the overhang and the waterfall behind it.
Step 6: Turn Around and Look at What You’ve Been Ignoring
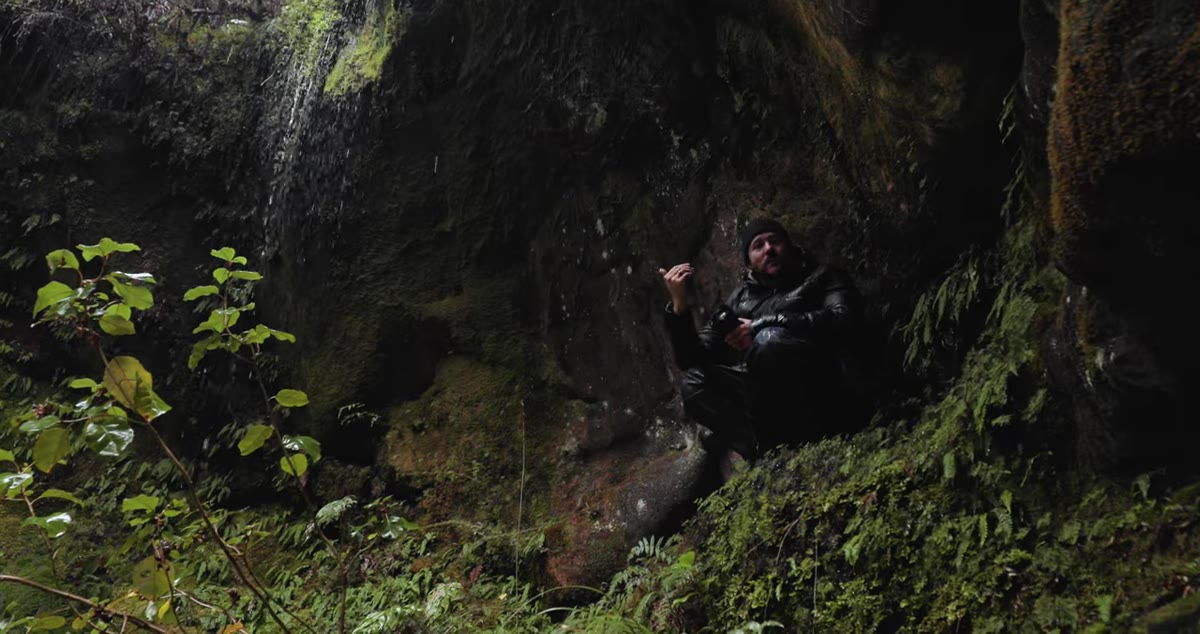 Photographer turning away from main waterfall to assess surrounding scene
After giving up on the overhang, Patino makes a point of turning away from the main subject entirely and looking at the rest of the environment. This is one of those habits that separates experienced location photographers from beginners who fixate on the obvious focal point. There are often smaller details, secondary formations, or entirely different angles behind you that are more photographically interesting than the thing you came for.
Photographer turning away from main waterfall to assess surrounding scene
After giving up on the overhang, Patino makes a point of turning away from the main subject entirely and looking at the rest of the environment. This is one of those habits that separates experienced location photographers from beginners who fixate on the obvious focal point. There are often smaller details, secondary formations, or entirely different angles behind you that are more photographically interesting than the thing you came for.
Even if the turn-around shot doesn’t become your hero image, it trains your eye to read a location more completely. Strong compositions are often found in the negative space or the unexpected corner, not the spot everyone else has already shot.
My Own Caveat: The Scouting Visit Is the Real Work
I want to add something here from my own experience. Patino mentions he’s been to this location before. That prior visit is what allowed him to make smart decisions quickly on the actual shoot day. He knew roughly where the waterfall was, what the access looked like, and what hadn’t worked previously. When you’re on location in the rain with wet gear and limited light, that mental map saves you significant time.
If you can, visit a waterfall location at least once with no pressure to come home with a final image. Take notes. Shoot phone frames just to document angles. Then plan your real session around what you learned. The photo that looks effortless in a portfolio almost always has a dry, unglamorous scouting trip behind it.
The single most important takeaway from this tutorial is that waterfall photography is problem-solving, not just showing up. You pick the right weather, protect your gear proactively, move your body into the scene, test compositions without attachment, and stay flexible when the obvious approach fails. That process is repeatable at any waterfall, anywhere.
Watch the full tutorial on YouTube to see Patino work through the full scene and hear his thinking in real time.
Comments (1)
This is going in my reference folder. Incredibly useful.
Leave a Comment