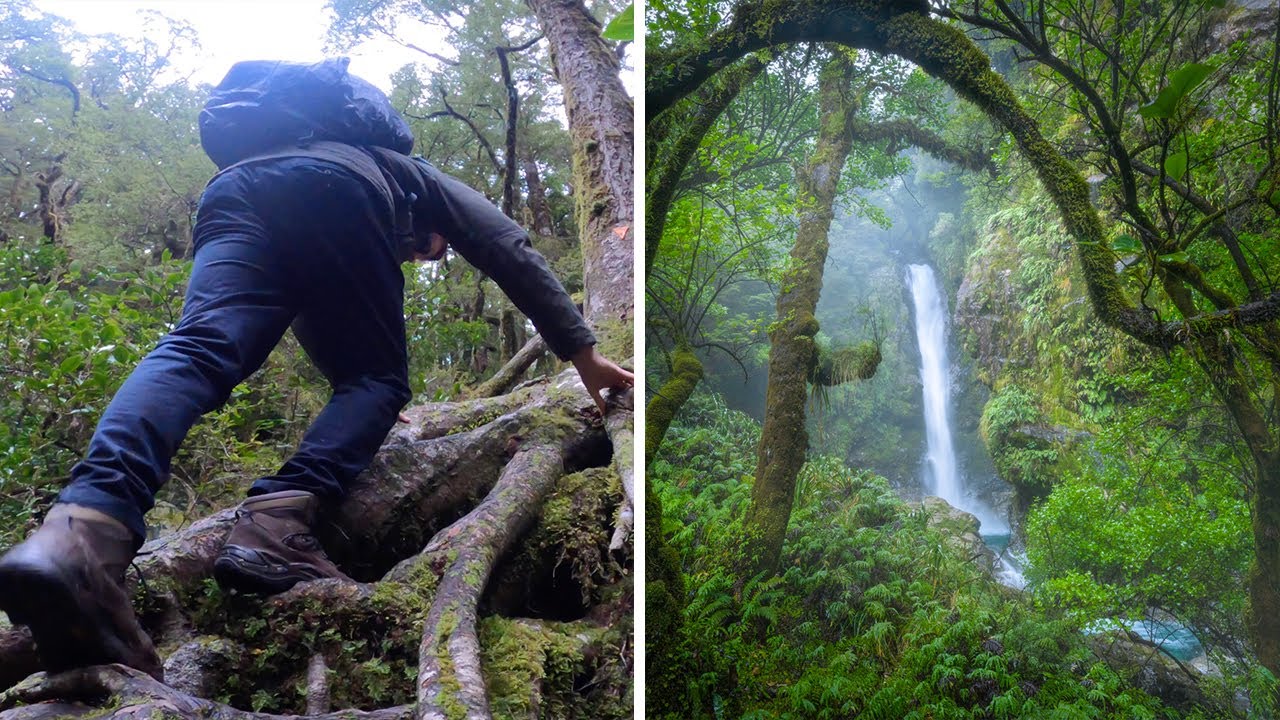
I’ve spent an embarrassing amount of time standing at the base of a waterfall convinced that being right there was the best position. Closer is better, right? More impact? It took me years, a ruined vacation, and a lot of mediocre shots before I understood that proximity is usually the enemy of a great landscape frame. The foreground, midground, and background all have to earn their place in the image, and waterfall photography is where that lesson hits hardest.
That’s exactly why William Patino’s tutorial on shooting a hidden waterfall in the New Zealand rainforest stopped me mid-scroll. In this William Patino tutorial, he takes what could be a straightforward location shoot and turns it into a real-time masterclass in patient, intentional composition. He’s not explaining technique in a studio. He’s solving actual problems in the field, in rain, with muddy knees, and that’s worth paying attention to.
What follows is my breakdown of the key steps he works through, with the specific decisions that make the difference between a snapshot and a keeper.
Step 1: Go Out Without a Fixed Agenda
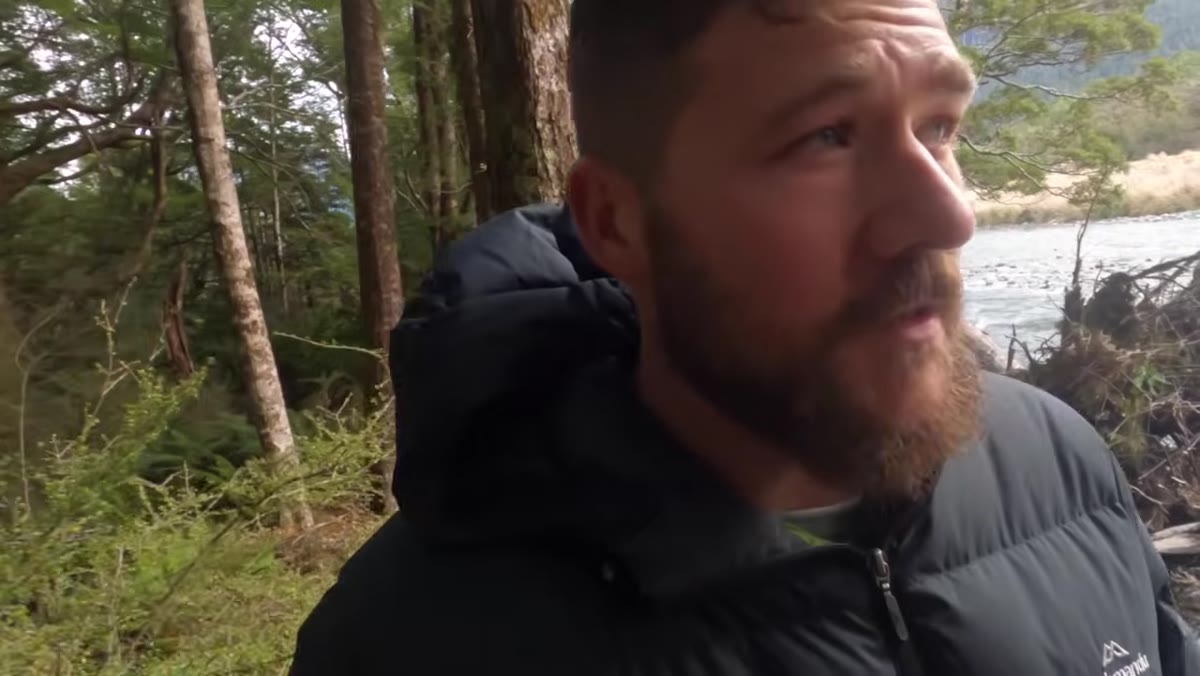 Photographer walking through overcast New Zealand valley
The first thing Patino does is something most of us resist: he heads out with no specific shot in mind. Mixed weather, patchy cloud cover, a general direction. That’s it. This isn’t laziness. It’s a deliberate way of staying receptive to what’s actually there rather than forcing a scene to match a preconceived idea.
Photographer walking through overcast New Zealand valley
The first thing Patino does is something most of us resist: he heads out with no specific shot in mind. Mixed weather, patchy cloud cover, a general direction. That’s it. This isn’t laziness. It’s a deliberate way of staying receptive to what’s actually there rather than forcing a scene to match a preconceived idea.
The practical version of this for your next shoot is to leave the Pinterest mood board at home. Pick a general area, give yourself two to three hours, and commit to following what catches your eye. Patino ends up at a waterfall he’d been meaning to explore for a while, but he only gets there because he was open to where the afternoon took him. Rigid plans in variable weather usually just create frustration.
Step 2: Let the Weather Work for You
 Rainy forest path with low cloud obscuring mountain peaks
When the sun disappears and the rain moves in, Patino doesn’t pack up. He welcomes it. Rain in a rainforest does specific things: it fills waterfalls, saturates the greens, softens the light, and kills the harsh contrast that midday sun creates. He notes that too little rain means underwhelming waterfalls, but too much can make them chaotic and hard to photograph cleanly.
Rainy forest path with low cloud obscuring mountain peaks
When the sun disappears and the rain moves in, Patino doesn’t pack up. He welcomes it. Rain in a rainforest does specific things: it fills waterfalls, saturates the greens, softens the light, and kills the harsh contrast that midday sun creates. He notes that too little rain means underwhelming waterfalls, but too much can make them chaotic and hard to photograph cleanly.
The takeaway here is that overcast and rainy conditions are often ideal for forest and waterfall work. Flat light from cloud cover acts like a giant softbox. If you’ve been waiting for sunny days to shoot in the bush or forest, you’re likely missing your best light. Pack a rain cover for your camera, dress for the weather, and start seeing rain as a feature rather than a problem.
Step 3: Resist the Pull to Rush to the Subject
 Photographer pausing to study trees behind the waterfall
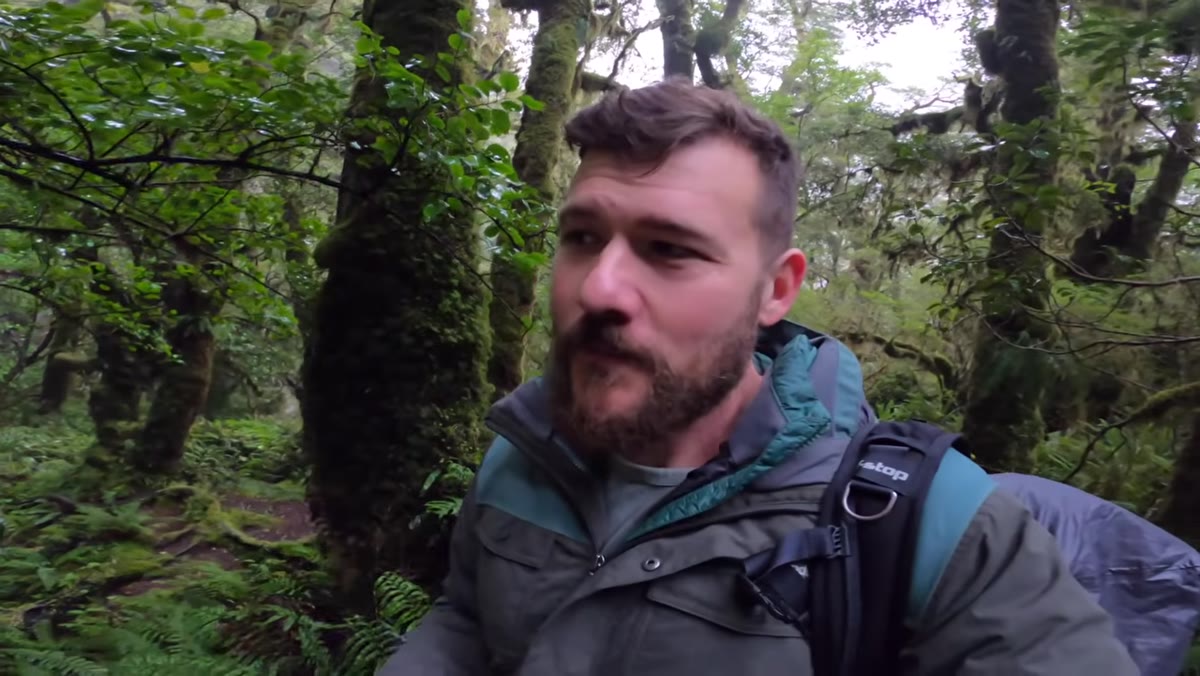
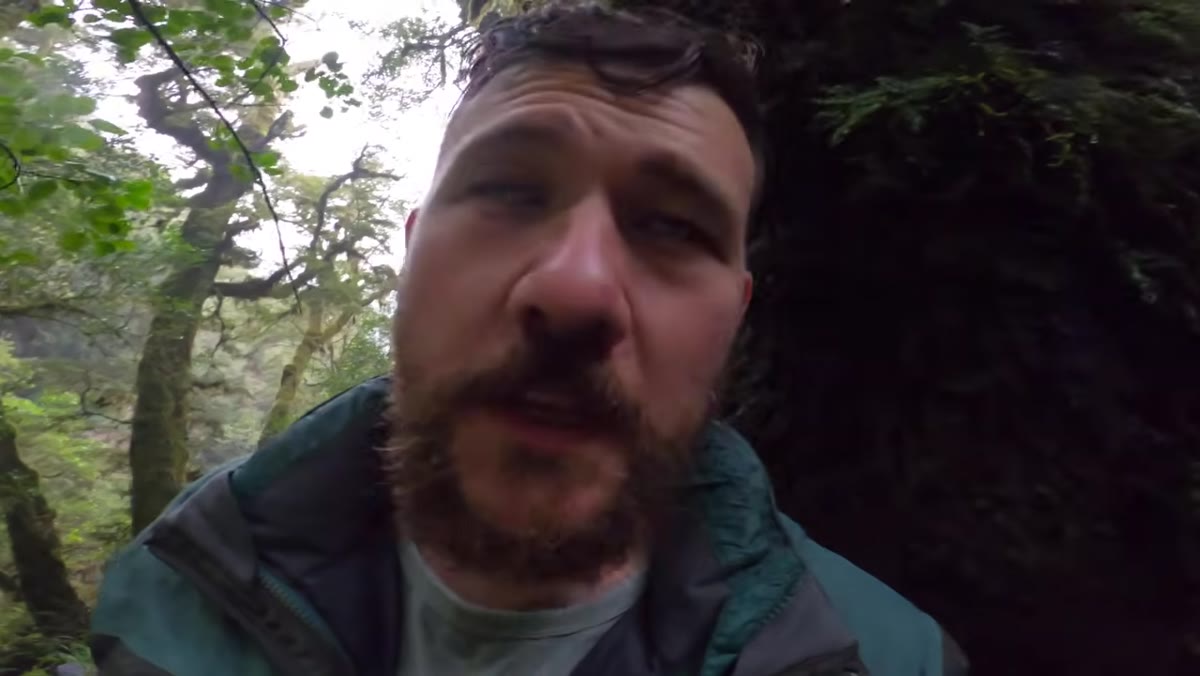
Once Patino reaches the waterfall, his instinct kicks in immediately, but he catches it and describes it out loud. There’s a pull to just walk up to the base, frame the falls, and shoot. Instead, he stops and looks at the surrounding trees. He notices that framing the waterfall through those trees would add something the straightforward shot wouldn’t have.
Photographer pausing to study trees behind the waterfall
Once Patino reaches the waterfall, his instinct kicks in immediately, but he catches it and describes it out loud. There’s a pull to just walk up to the base, frame the falls, and shoot. Instead, he stops and looks at the surrounding trees. He notices that framing the waterfall through those trees would add something the straightforward shot wouldn’t have.
This is the step most people skip because it takes time and the “good” shot is right there in front of you. Force yourself to spend at least five minutes walking around a subject before you raise the camera. Look for natural frames: tree trunks, archways of foliage, rock formations. Ask yourself what surrounds the subject and whether any of it tells a bigger story about the place.
Step 4: Build a Frame with Foreground, Midground, and Background
 Viewfinder showing foreground trees framing distant waterfall
This is where Patino gets specific about what isn’t working in his early attempts. Looking through the lens, he identifies that he has a strong foreground and a strong background, but nothing in between. The eye jumps from the nearby trees directly to the waterfall with no transition, and the image feels flat and disconnected because of it.
Viewfinder showing foreground trees framing distant waterfall
This is where Patino gets specific about what isn’t working in his early attempts. Looking through the lens, he identifies that he has a strong foreground and a strong background, but nothing in between. The eye jumps from the nearby trees directly to the waterfall with no transition, and the image feels flat and disconnected because of it.
The fix he works toward is changing his position, both horizontally and vertically, to introduce something in the midground that bridges the two zones. In practice this often means moving laterally rather than forward or backward. Try shooting from a slightly elevated position to reveal layers in the scene, or crouch low to let foreground elements rise and separate visually from what’s behind them. Three-dimensional scenes need three-dimensional composition.
Step 5: Move Your Body Before You Touch the Camera
 Photographer climbing higher on the bank for a new angle
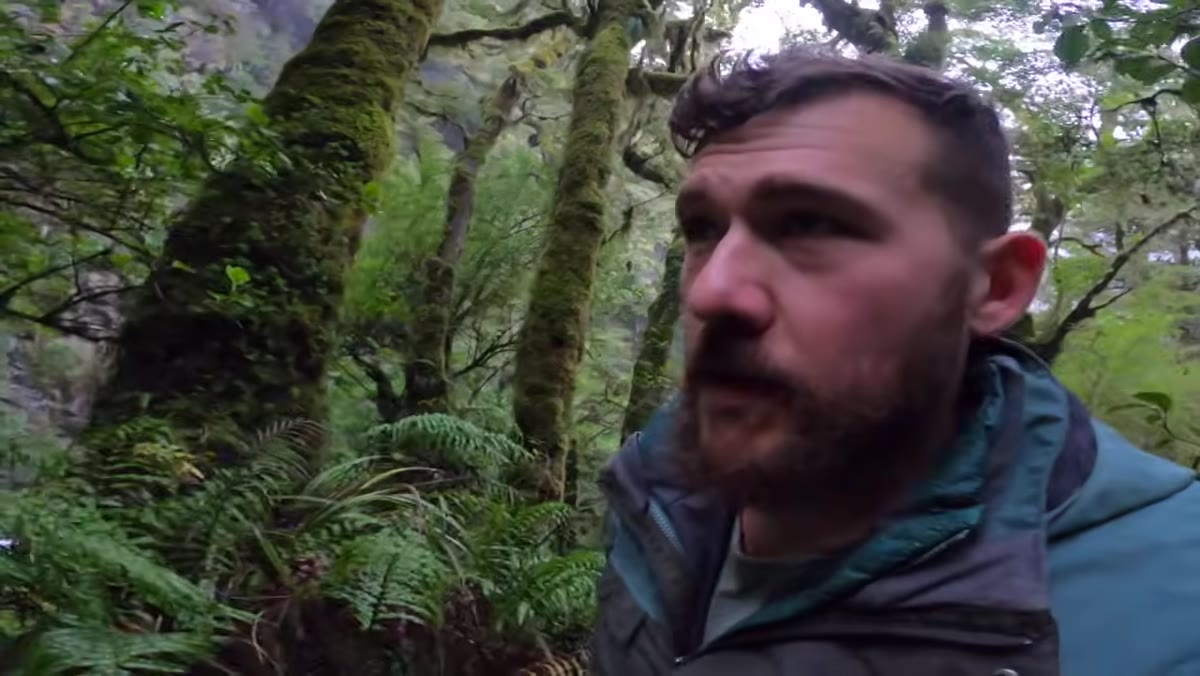
Patino spends almost 20 minutes physically moving around the location before he settles on settings. He climbs up the bank to get higher, checks that angle, comes back down, goes wider in his stance. Only after all of that does he start seriously dialing in exposure. This ordering matters enormously and it’s the opposite of what most beginners do, which is plant their feet and start chimping.
Photographer climbing higher on the bank for a new angle
Patino spends almost 20 minutes physically moving around the location before he settles on settings. He climbs up the bank to get higher, checks that angle, comes back down, goes wider in his stance. Only after all of that does he start seriously dialing in exposure. This ordering matters enormously and it’s the opposite of what most beginners do, which is plant their feet and start chimping.
Your composition determines everything that follows. If the position is wrong, the best exposure in the world won’t save the frame. Treat the first phase of any shoot as a scouting phase, even if you’ve already hiked 45 minutes to get there. The extra ten minutes of moving around will produce a better image than ten minutes of adjusting aperture from a mediocre spot.
Step 6: Lock In Your Exposure for Motion and Depth
 Camera LCD showing aperture and shutter speed settings
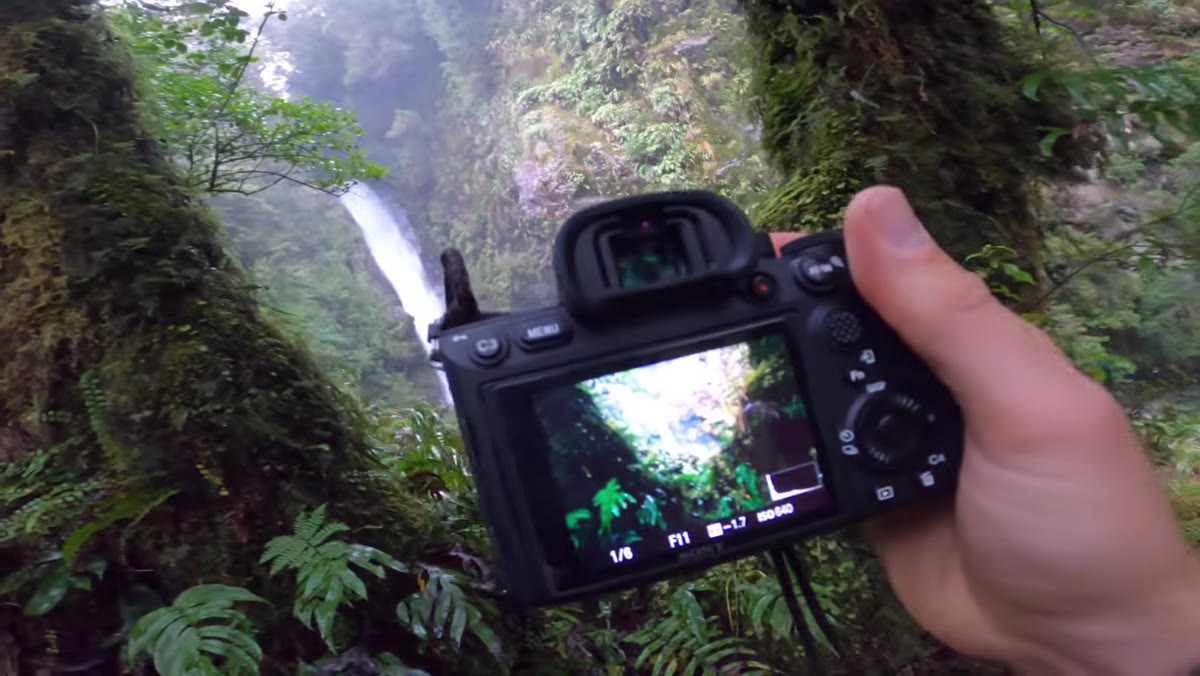
Once position is sorted, Patino walks through his exposure logic. He’s shooting at f/10 to f/11 for maximum depth of field across the layered scene. ISO is capped at 640, which he notes is the clean limit for his camera body. Shutter speed ends up somewhere between 1/6 and 1/10 of a second, producing that silky water motion on the falls without turning them into a blurred white smear.
Camera LCD showing aperture and shutter speed settings
Once position is sorted, Patino walks through his exposure logic. He’s shooting at f/10 to f/11 for maximum depth of field across the layered scene. ISO is capped at 640, which he notes is the clean limit for his camera body. Shutter speed ends up somewhere between 1/6 and 1/10 of a second, producing that silky water motion on the falls without turning them into a blurred white smear.
For your own shoots, the principle is: start with the aperture your depth of field requires, set your ISO to the highest value that stays clean for your specific camera, and then let shutter speed float from there. In low forest light with a tripod, 1/6 to 1/2 second is a useful starting range for waterfall motion. Bracket a few exposures and review on the back of the camera, paying attention to whether the water detail looks right rather than just the histogram.
What I’d Add: Give Yourself Permission to Not Get the Shot
I’ve been to locations where no amount of moving around unlocked the image I wanted. A tree was in the wrong place. The light changed too fast. The water level was off. Patino hints at this honestly, noting that incorporating the trees was genuinely difficult and he wasn’t fully satisfied after 20 minutes of trying.
Sometimes the right call is to enjoy being somewhere beautiful without the pressure of coming home with a portfolio image. I’ve found that my best forest shots have come on the days I stopped fighting the location and just responded to what was there. The shot you didn’t plan for tends to be the one you’re proudest of.
The single most important thing Patino demonstrates in this video isn’t a setting or a trick. It’s patience. He walks, watches, moves, waits, and only then shoots. That’s the actual skill, and it’s available to every photographer regardless of what gear they’re carrying.
Watch the full tutorial on YouTube to see how all of these decisions play out in real time in that New Zealand rainforest.
Comments
Leave a Comment