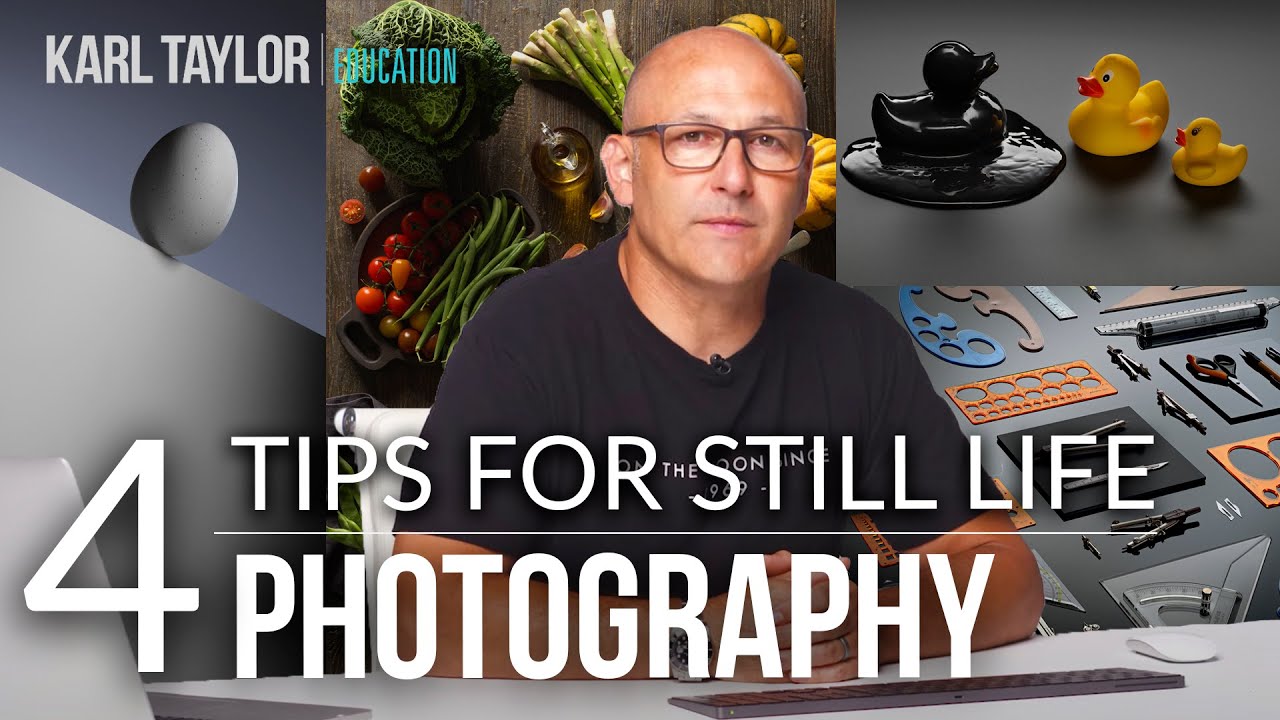
There’s a basket of oranges on my kitchen counter right now. Most mornings I walk past it without a second glance. But every now and then, I catch the light hitting one of them at a certain angle and I think, “That’s a shot.” Still life photography does that to you. It rewires how you see the ordinary.
I came across this Watch the full tutorial on YouTube from Visual Education a while back, and it stuck with me because it doesn’t oversell the genre. It lays out a clear, practical framework for shooting still life images that actually have something to say, and it reminded me why I fell in love with this kind of work in the first place. Whether you’ve never attempted a still life before or you’ve been arranging objects on a windowsill for years without quite knowing what’s missing, these four tips fill a real gap.
Still life photography gets lumped in with product photography a lot, but they’re different in an important way. Product photography sells. Still life photography expresses. That freedom is exactly what makes it such a useful creative exercise, especially when you’re feeling stuck or uninspired. You don’t need a client brief. You just need a concept and whatever’s around you.
Step 1: Understand What Still Life Photography Actually Is
 Definition of still life photography with inanimate objects on screen
Still life photography covers any image of an inanimate object, natural or man-made. That’s a wide net on purpose. Fruit, books, stationery, vintage bottles, keys, dried flowers - all fair game. The distinction that matters is intent. You’re not trying to make something look appealing so someone buys it. You’re trying to make something look interesting so someone feels something.
Definition of still life photography with inanimate objects on screen
Still life photography covers any image of an inanimate object, natural or man-made. That’s a wide net on purpose. Fruit, books, stationery, vintage bottles, keys, dried flowers - all fair game. The distinction that matters is intent. You’re not trying to make something look appealing so someone buys it. You’re trying to make something look interesting so someone feels something.
That creative freedom is also what makes it perfect for skill-building. You set the rules. You control the scene from scratch. If the image doesn’t work, there are no external variables to blame, which means you learn faster.
Step 2: Choose Your Camera and Lens Without Overthinking It
 Various camera types shown side by side on screen
The Visual Education tutorial makes a point I genuinely appreciate: camera format doesn’t matter here. Medium format, full frame, crop sensor, mirrorless - use whatever you have. I’ve shot still life setups with my phone just to test whether an idea holds up before I bring out my Sony. Sometimes the phone image is the better one. Gear is not the ceiling on your creativity.
Various camera types shown side by side on screen
The Visual Education tutorial makes a point I genuinely appreciate: camera format doesn’t matter here. Medium format, full frame, crop sensor, mirrorless - use whatever you have. I’ve shot still life setups with my phone just to test whether an idea holds up before I bring out my Sony. Sometimes the phone image is the better one. Gear is not the ceiling on your creativity.
Lens choice does matter a little more. For still life, you want minimal distortion, so something in the 50 to 100mm range is generally the sweet spot for full frame and crop sensor cameras. Macro lenses are also worth considering if you want to get close to texture or small details. A macro shot of a watch face or a piece of fruit skin can be stunning when the light is right.
Step 3: Gather a Few Simple Accessories
 Tripod and reflector boards shown as useful accessories
You don’t need much. But a few low-cost additions make a noticeable difference. A tripod is at the top of the list, not just for sharpness, but for composition discipline. When your camera is locked in place, you stop fiddling with it and start fiddling with your subject. That shift in focus produces better images.
Tripod and reflector boards shown as useful accessories
You don’t need much. But a few low-cost additions make a noticeable difference. A tripod is at the top of the list, not just for sharpness, but for composition discipline. When your camera is locked in place, you stop fiddling with it and start fiddling with your subject. That shift in focus produces better images.
A selection of backgrounds, a few props, and something to bounce light with (reflector boards or even sheets of white cardstock) round out a solid starter kit. I keep a roll of craft paper in my office and a small piece of white foam board from the dollar store. Together they’ve appeared in more setups than I can count.
Step 4: Control Your Light, Whatever the Source
 Natural light and desk lamp lighting setups demonstrated
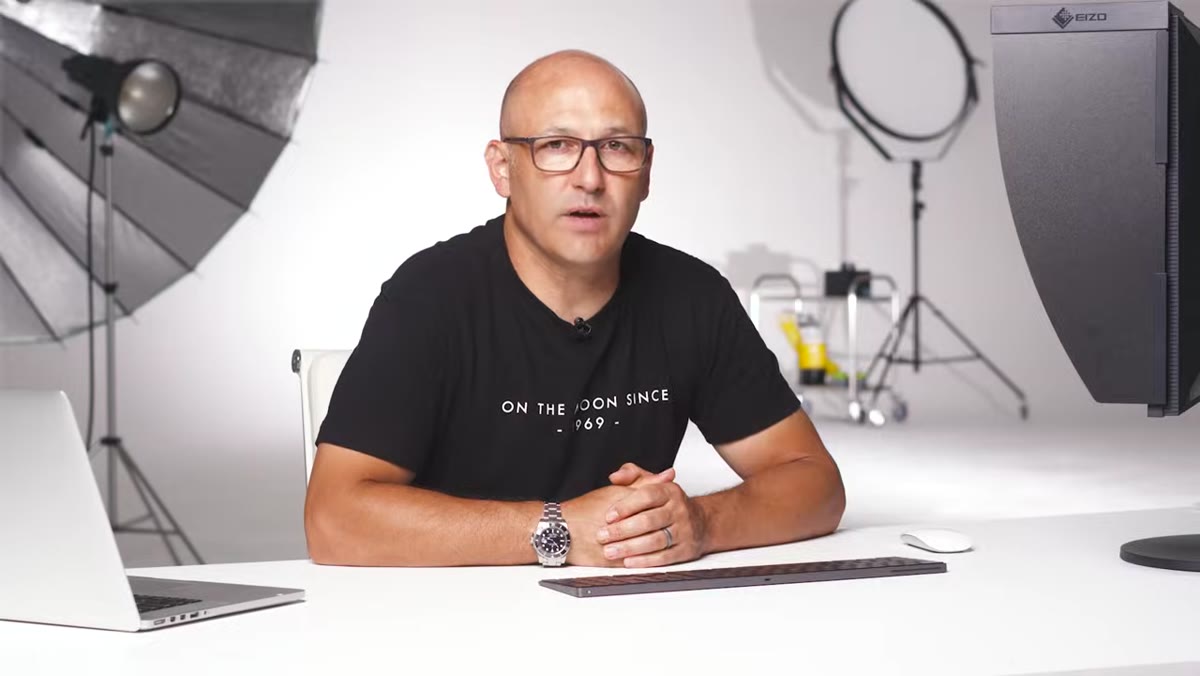
The tutorial is refreshingly honest about lighting: it doesn’t matter what you use as long as you understand how to control it. Natural window light, studio strobes, an IKEA desk lamp, even nothing but ambient room light - all of these can produce great results. What changes is how you manage the behavior of the light.
Natural light and desk lamp lighting setups demonstrated
The tutorial is refreshingly honest about lighting: it doesn’t matter what you use as long as you understand how to control it. Natural window light, studio strobes, an IKEA desk lamp, even nothing but ambient room light - all of these can produce great results. What changes is how you manage the behavior of the light.
Soft, diffused light from a north-facing window is one of the most flattering sources for still life work. But if the light is too harsh, tape some white tissue paper over the window or bounce it off a white card before it hits your subject. The goal is to see shadow and highlight working together to reveal form, not flatten it or blow it out.
Step 5: Develop a Real Creative Concept Before You Arrange Anything
 Lipstick and fish hooks arranged conceptually on a styled set
This is the tip that the tutorial spends the most time on, and it earns that emphasis. The example used is a still life featuring lipsticks arranged among fish hooks. It sounds odd in description, but it works because it was built around an idea first. The items were chosen deliberately to suggest themes of attraction, desire, and the dynamics of relationships. The props aren’t there because they looked pretty together. They’re there because they mean something together.
Lipstick and fish hooks arranged conceptually on a styled set
This is the tip that the tutorial spends the most time on, and it earns that emphasis. The example used is a still life featuring lipsticks arranged among fish hooks. It sounds odd in description, but it works because it was built around an idea first. The items were chosen deliberately to suggest themes of attraction, desire, and the dynamics of relationships. The props aren’t there because they looked pretty together. They’re there because they mean something together.
Before you touch a single object, ask yourself what you want the image to communicate. It doesn’t have to be deep or philosophical. Maybe it’s just “Sunday morning slowness” or “the chaos of a creative desk.” A clear intention shapes every decision that follows - what you include, what you leave out, where you place things, how you light them.
Spend five minutes sketching a rough layout or writing two sentences about the mood before you start. It sounds like extra work. It cuts your setup time in half.
What I’d Add From My Own Experience
The tutorial covers the fundamentals cleanly, but there’s one thing I’d layer on top: edit your props ruthlessly. When I first started shooting still life, I’d crowd the frame because I was afraid the image would look empty. Almost every time, the version with fewer objects was the stronger one.
A simple rule I use now is to set everything up the way I want it, take one test shot, then remove one item and take another. Sometimes what I removed was exactly what the image needed gone. Restraint is a compositional skill, and still life photography is one of the best places to practice it. You have full control over what’s in the frame, so there’s no excuse for clutter that doesn’t serve the image.
Still life photography rewards patience and intentionality more than almost any other genre. You can revisit the same setup a dozen times, adjust the light, swap a single prop, and get a completely different result. The techniques in this Visual Education tutorial give you a repeatable process for approaching each setup with purpose, starting with what you have, using light intelligently, and building images around concepts rather than just pretty arrangements.
If you want to see all four tips demonstrated with real examples, Watch the full tutorial on YouTube. Then go find something on your kitchen counter and try it.
Comments (2)
I've been looking for exactly this kind of tutorial. Perfect timing.
This should be required reading for anyone starting out.
Leave a Comment