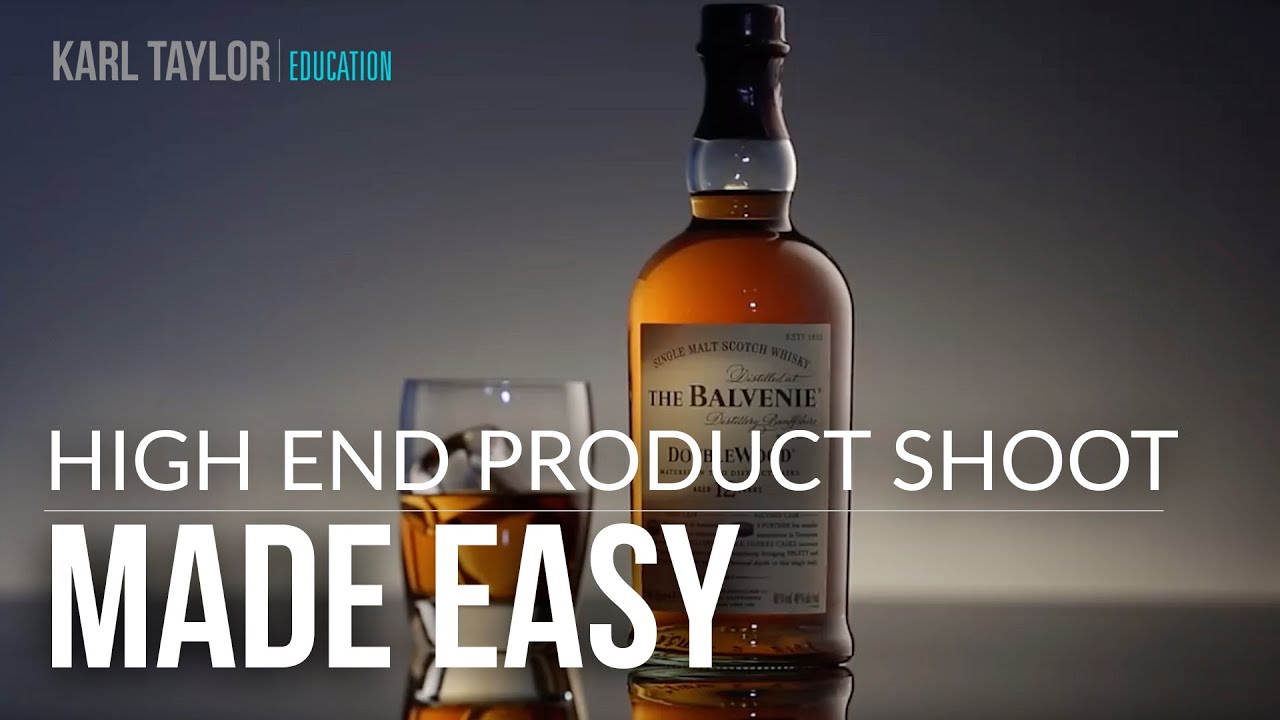
Product and bottle photography has a reputation for being the kind of specialty that requires years of training, expensive gear, and a team. I believed that for longer than I should have. The first time a client asked me to shoot a whiskey bottle for a small spirits brand, I faked confidence and then went home and panicked. Glass, liquid, reflections — each one is its own puzzle, and when you combine all three in one frame, everything that can go wrong usually does.
That’s why this Visual Education tutorial featuring Karl Taylor caught my attention. In under ten minutes, he walks through a complete, professional-level product shoot from setup to final image — lighting positions, support tools, the reasoning behind every choice. Watch the full tutorial on YouTube and then follow along here, because I want to make sure you can build this setup yourself even if you’re working with a smaller kit.
What I appreciate most is that Karl doesn’t just show what he’s doing — he explains why each element is there. That’s the difference between copying a setup and actually understanding it. Here’s the breakdown, step by step.
Step 1: Start With a Black Perspex Base
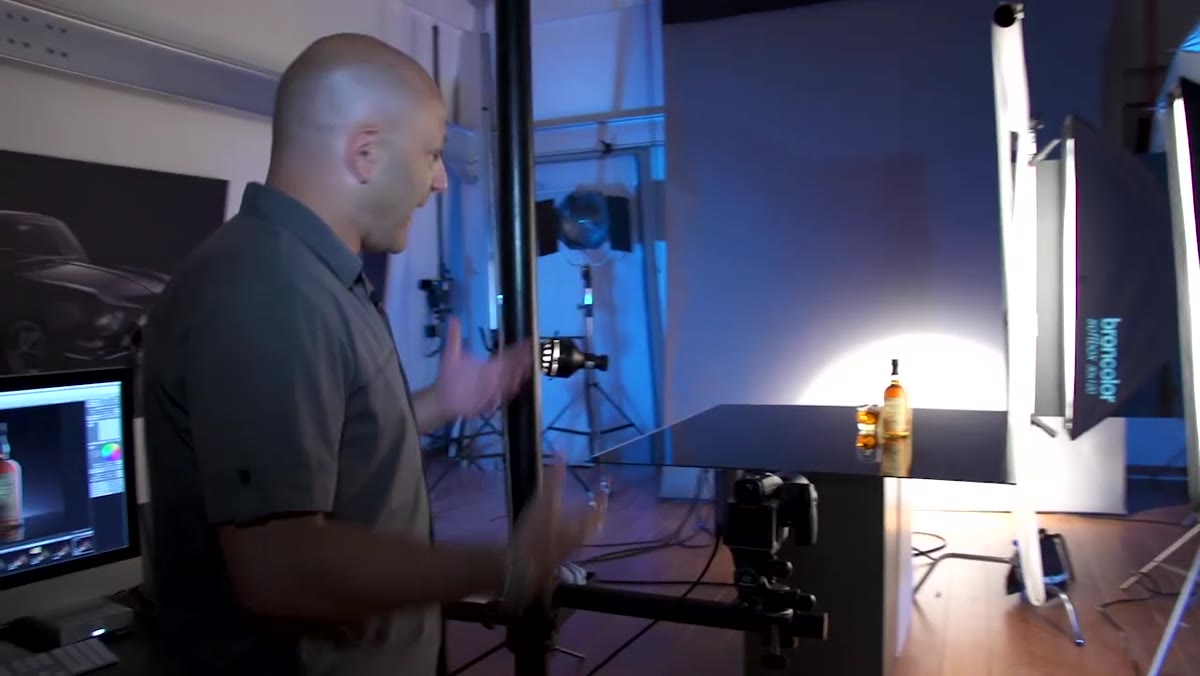 Karl’s hand indicating the black glossy surface beneath the bottle
The foundation of this shoot is a sheet of black perspex, sometimes called acrylic or melamine depending on where you’re shopping. It’s a glossy black plastic surface, and it’s one of the most reliable tools in product photography for a reason: it creates a natural, clean reflection of whatever you place on it. That reflection reads as expensive without any compositing or post-processing tricks.
You don’t need to spend a lot here. A piece from a hardware or plastics supplier works perfectly. Wipe it clean before every shot because dust and fingerprints will show up at any aperture. If you’re on a tight budget, a black glass tile or even a sheet of black foam board with a glossy coating can approximate the effect for still subjects.
Step 2: Add a Background Light for a Controlled Glow
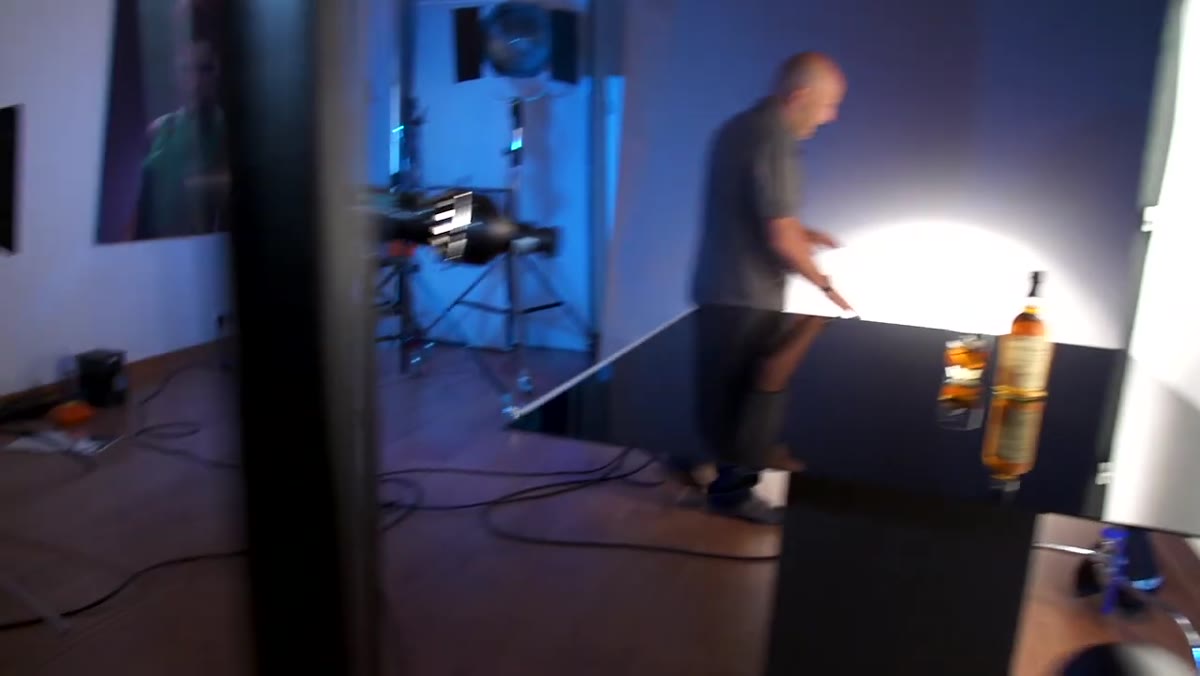 Background light creating a soft glow behind the bottle setup
Behind the bottle, Karl places a single light pointed at the background. Its job is subtle but important: it creates a soft gradient of light just above the horizon line of the shot, giving the image depth and preventing the background from going completely flat. When you see it at full modelling power it looks harsh, but once it’s dialled back and exposed correctly, it reads as a gentle, atmospheric glow.
Position this light so it isn’t spilling onto your subject directly. The falloff is what you’re after, not the beam itself. If you’re using a speedlight instead of a studio strobe, bounce it at the background from a distance and use a low power setting. The goal is a gradual transition from dark to slightly illuminated, not a hotspot.
Step 3: Use Two Strip Softboxes as Your Main Lights
 Two thin strip softboxes positioned to the side of the bottle
This is the core of the lighting setup. Karl uses two narrow strip softboxes placed on the same side of the subject, both aimed to light the bottle from the side rather than from the front. One is positioned slightly further back and acts as a broader general light across the bottle’s surface. The other is closer and tighter, creating a bright edge along the bottle’s contour.
That edge light is what makes glass and liquid photography feel dimensional. Without it, bottles look flat and lifeless. The two-light approach lets you dial in the balance independently: more fill from the back light, sharper highlight from the front edge light. Karl notes you can achieve this same effect by attaching a speedlight to a strip softbox modifier with a speed ring adapter, so this isn’t reserved for Broncolor users only.
Step 4: Diffuse Further With Tracing Paper
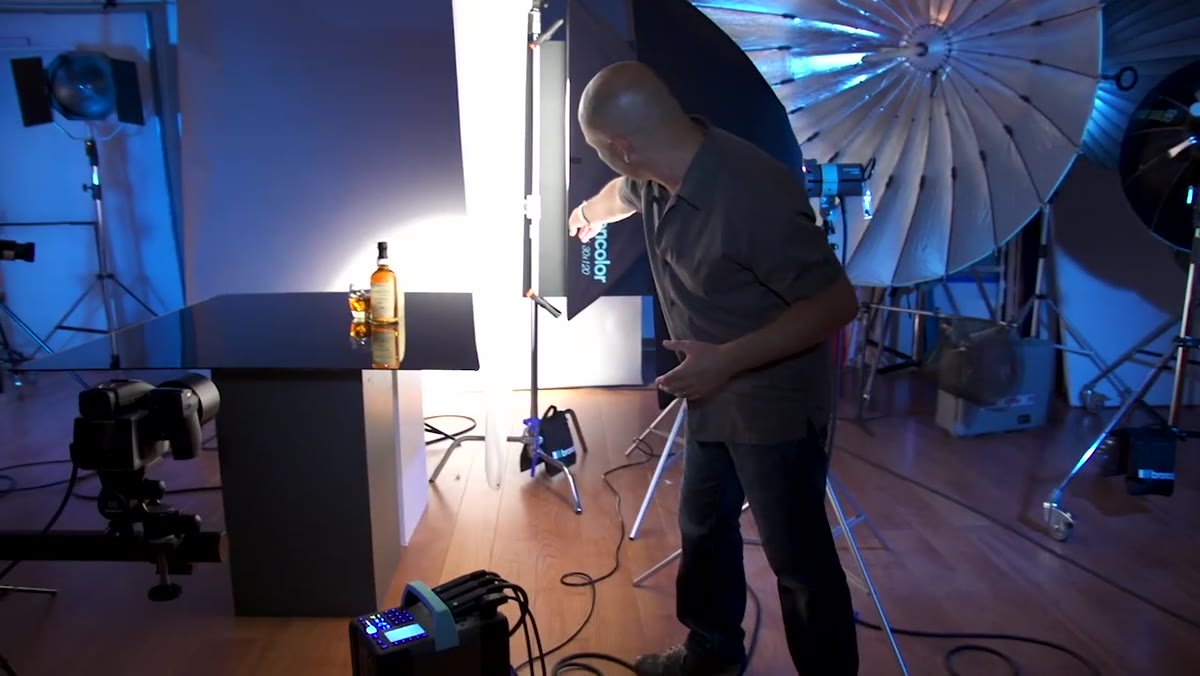 Tracing paper panel positioned between softboxes and the bottle
Between the softboxes and the bottle, Karl adds a panel of tracing paper. Even though softboxes already diffuse the light, he wants the transition across the bottle’s surface to be as smooth and gradual as possible, with no hard edges from the softbox itself. The tracing paper adds another layer of scatter, softening the light even further.
This is a technique that costs almost nothing and makes a significant difference. Tape a sheet of tracing paper to a simple frame or gobo stand and place it between your light and subject. If you’re shooting at home, a sheet of white tissue paper over a window works similarly. The goal is wrapping the light around the bottle rather than hitting it in a single defined beam.
Step 5: Flag the Softbox to Prevent Background Spill
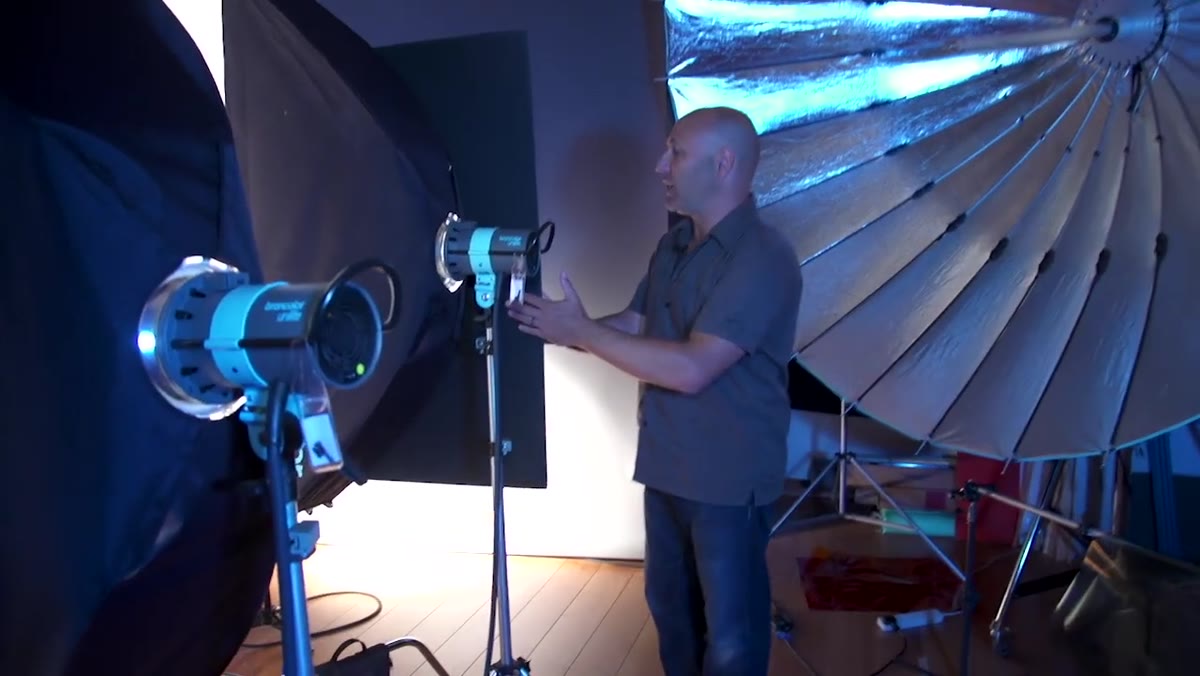 Black card flag blocking light spill toward the background
One detail Karl emphasizes that beginners often skip: once the softboxes are in position, he attaches a piece of black card to the edge of one softbox to prevent light from spilling onto the background. Without it, the same light illuminating your bottle starts contaminating your background, washing out the controlled glow you built in Step 2.
Flags like this can be as simple as a piece of black foam board held in place with a clamp. The rule is straightforward: any light that isn’t doing a specific, intentional job in the frame needs to be blocked. Controlling where light goes is just as important as controlling where it comes from.
Step 6: Place Gold Foil Reflectors Behind the Glass
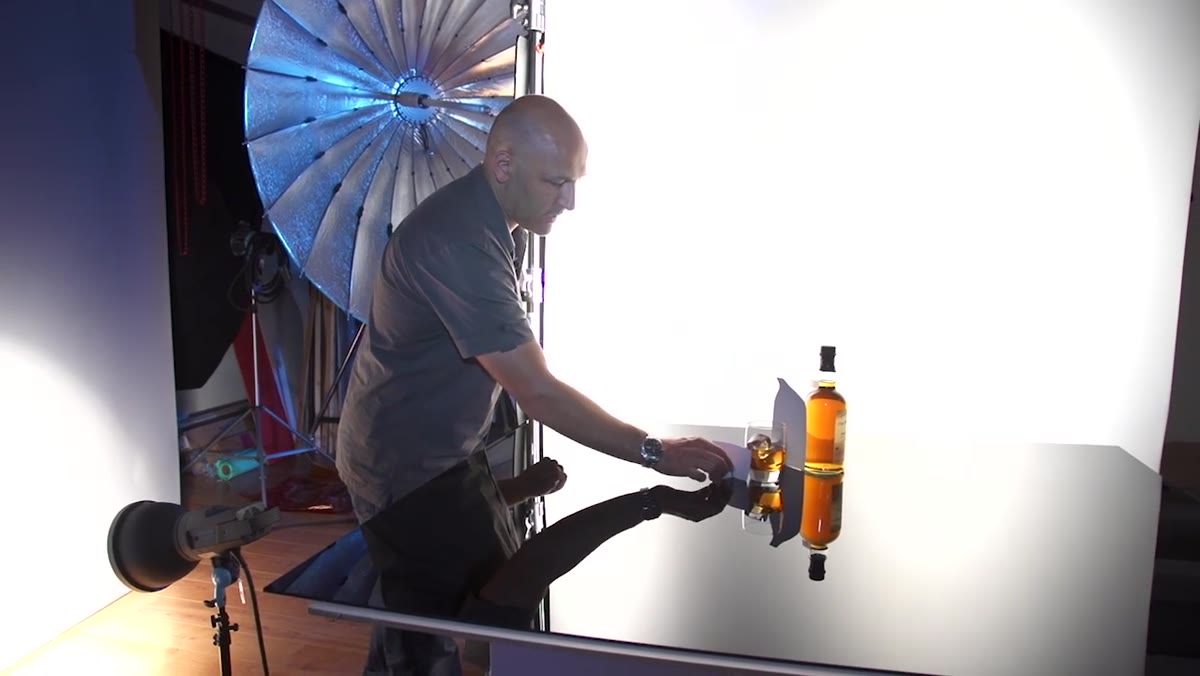 Gold foil card reflectors positioned behind the whiskey glass
Behind the glass and bottle, Karl tucks small pieces of gold foil card. These act as bounce reflectors, catching the main side light and redirecting it back through the liquids and glass from behind. The result is that warm, luminous glow that makes whiskey photography look like a magazine ad.
The placement requires some patience. Move them in small increments and check your result each time. The position that looks right to your eye through the viewfinder is the one that’s right. Gold foil from a craft store works well and costs next to nothing. Silver foil is a cooler, more neutral option if the warmth of gold doesn’t suit your product.
Step 7: Set Depth of Field Intentionally
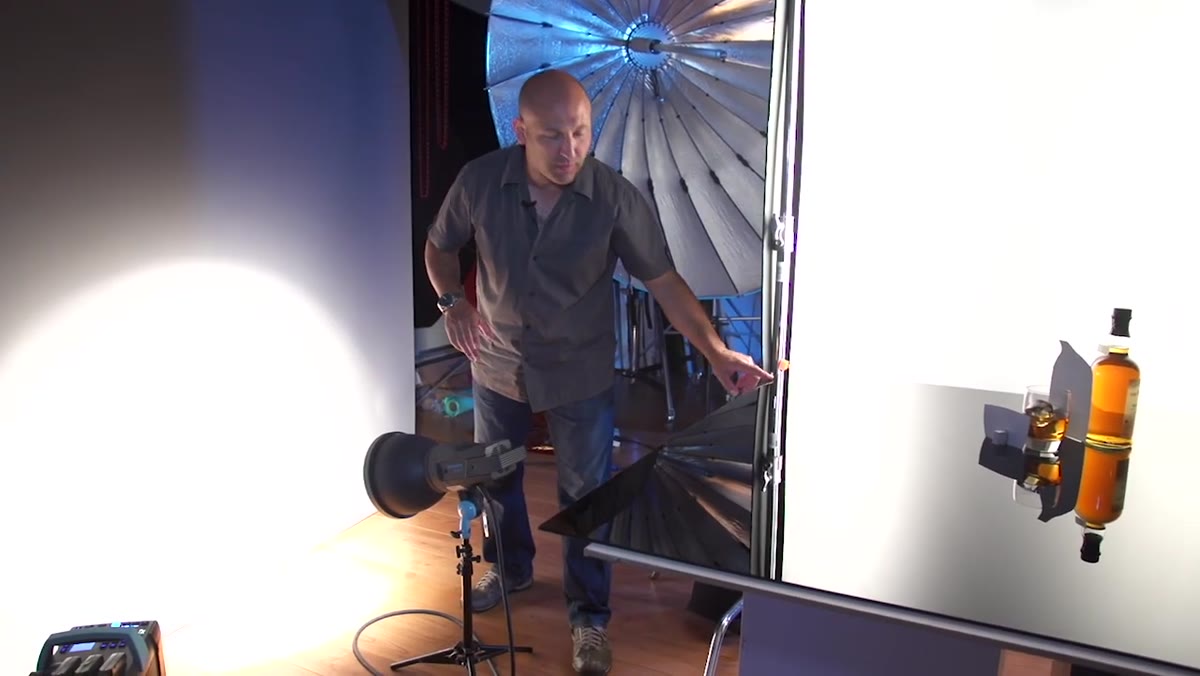 Camera position with bottle in focus and glass slightly soft
Karl’s final compositional decision is deliberate shallow depth of field. He keeps the bottle and label sharp while letting the glass go gently out of focus. This isn’t an accident of aperture — it’s a creative choice that keeps the viewer’s attention on the hero product while the glass adds atmosphere without competing.
For this kind of shot, apertures between f/8 and f/11 are common for the product itself, but the placement of your subject within the frame and the distance between elements determines how much natural separation you get. If your glass and bottle are close together, you may need to open up slightly to push the glass out of focus. Test a few frames at different apertures before committing.
What I’d Add From My Own Experience
I’ve adapted versions of this setup on location shoots where I couldn’t bring a full studio kit. One thing I’ve learned the hard way: the black perspex is non-negotiable if you want the reflection. I once tried to substitute dark grey card and the reflection was murky and dull. Spend the small amount it takes to own a proper sheet and store it carefully — scratches will ruin it.
I’d also suggest shooting tethered if you can, so you can actually see what each adjustment is doing at full scale. The subtle difference between foil reflector positions is nearly impossible to judge on a camera’s rear LCD screen.
The single most important takeaway here is that this whole setup is built from inexpensive, accessible tools, and the magic is in the control rather than the cost. Black perspex, tracing paper, foil card scraps, a couple of strip lights (or speedlights with the right modifiers) — that’s the kit. Everything else is understanding why each piece is there.
Watch the full tutorial on YouTube to see Karl walk through the before-and-after of each lighting addition in real time. Watching the light change as each element is added is genuinely one of the most useful ways to train your eye for this kind of work.
Comments
Leave a Comment