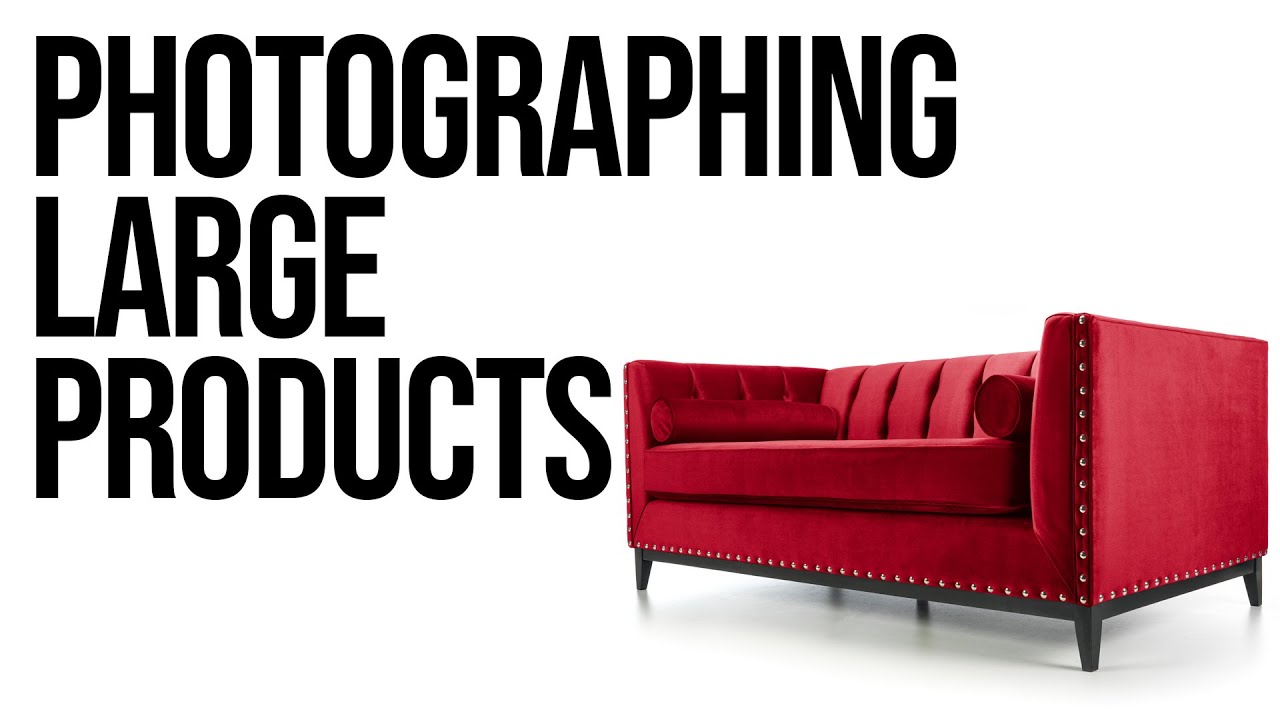
Every time someone in one of my workshops asks about product photography, the conversation lands in the same place: tabletop setups, white seamless paper, and a couple of speedlights pointed at a coffee mug. That’s genuinely useful to know. But what happens when the product is a sofa? A dining table? A chair that’s taller than your lighting stand?
I ran into this exact wall a few years back when a small furniture brand reached out asking if I could shoot their line for a product catalog. I said yes before I fully thought through the logistics, and then spent an evening down a rabbit hole looking for resources. Most of what I found was aimed at small product work. That’s what made Watch the full tutorial on YouTube from commercial photographer Sean Tucker such a useful find. He shoots large products as part of his actual day job, and this tutorial is the honest, practical version of how that work gets done, not a glossy overview.
This walkthrough covers Part One of his three-part series, focusing on environment setup, lighting, and camera settings. Parts Two and Three deal with cutting the product out onto a white background and recoloring it in post, which Tucker promises will make sense once you understand why you set the shot up this way in the first place.
Step 1: Place Your Product on a White Surface in Front of a White Wall
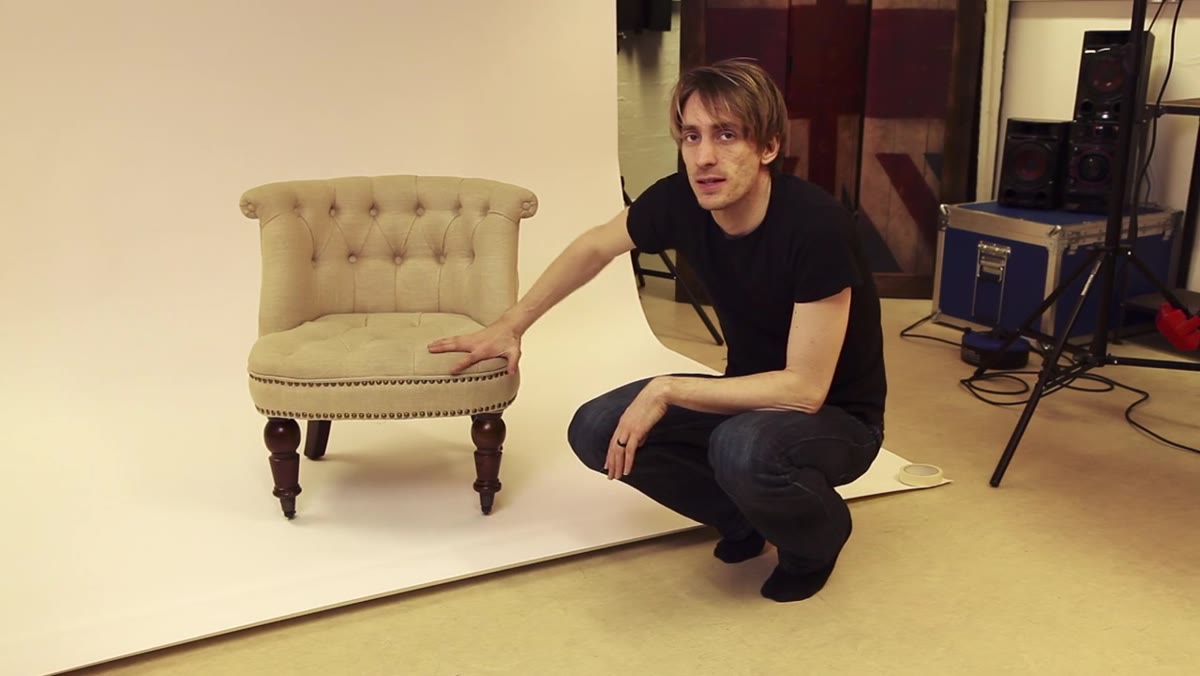 Chair positioned on white floor against white wall
Before you touch a light, your environment needs to do some work for you. Tucker is clear that the goal here is not to blow out the background to pure white in-camera. That’s a separate, technical process that requires very specific lighting ratios and a reflective floor. Instead, the reason you want white surfaces all around your subject is to neutralize color contamination.
Chair positioned on white floor against white wall
Before you touch a light, your environment needs to do some work for you. Tucker is clear that the goal here is not to blow out the background to pure white in-camera. That’s a separate, technical process that requires very specific lighting ratios and a reflective floor. Instead, the reason you want white surfaces all around your subject is to neutralize color contamination.
When light bounces off a colored wall or carpet, it picks up that color and deposits it onto your product. If you’re shooting a cream linen sofa in front of a terracotta wall, your sofa is going to look vaguely orange and you will spend a long time in post trying to fix something that shouldn’t have happened. Tape white paper to the floor if you need to. Get a roll of white seamless if your budget allows. Chrome legs and metal accents will reflect whatever is in the room, so a white environment keeps those reflections clean and neutral.
Step 2: Start with a Large, Soft Overhead Light
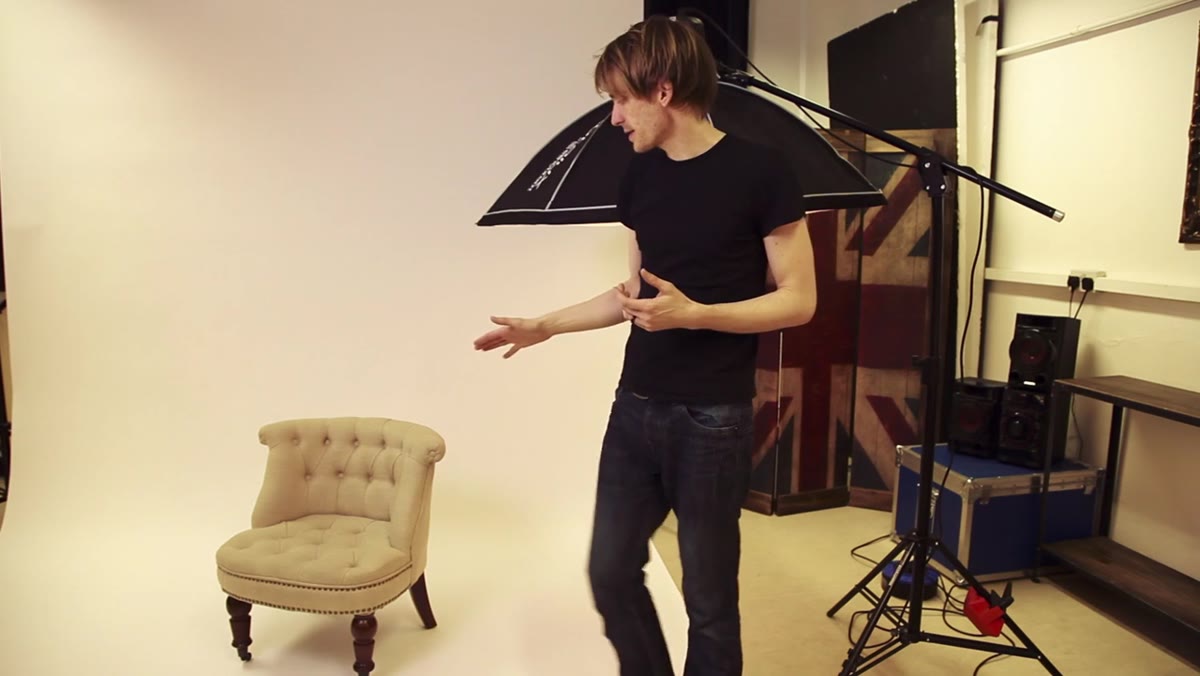 Octabox on boom stand positioned directly above chair
Tucker’s go-to first light is a big, soft source placed directly overhead, ideally on a boom stand so it hangs above the center of the product. The logic is straightforward: overhead light creates natural-feeling illumination on the top surfaces, and it produces a gradual shadow rolloff on the sides and base of the object. That gradient is what gives a three-dimensional product its sense of shape and depth. Without it, you end up with flat, uninteresting images that look like they were lit by a fluorescent ceiling panel in a storage unit.
Octabox on boom stand positioned directly above chair
Tucker’s go-to first light is a big, soft source placed directly overhead, ideally on a boom stand so it hangs above the center of the product. The logic is straightforward: overhead light creates natural-feeling illumination on the top surfaces, and it produces a gradual shadow rolloff on the sides and base of the object. That gradient is what gives a three-dimensional product its sense of shape and depth. Without it, you end up with flat, uninteresting images that look like they were lit by a fluorescent ceiling panel in a storage unit.
In the video, Tucker uses an octabox mounted on a boom, but he’s quick to say you don’t need that setup to get a similar result. If you’re shooting somewhere with a flat, white ceiling, a single speedlight bounced straight up at the ceiling above your product will diffuse the light significantly. The ceiling acts as a giant, soft reflector. Set the speedlight to a higher power to compensate for the light lost in that bounce, and you’ll get something that approximates the quality of a large overhead modifier.
Step 3: Don’t Let Gear Be the Reason You Don’t Start
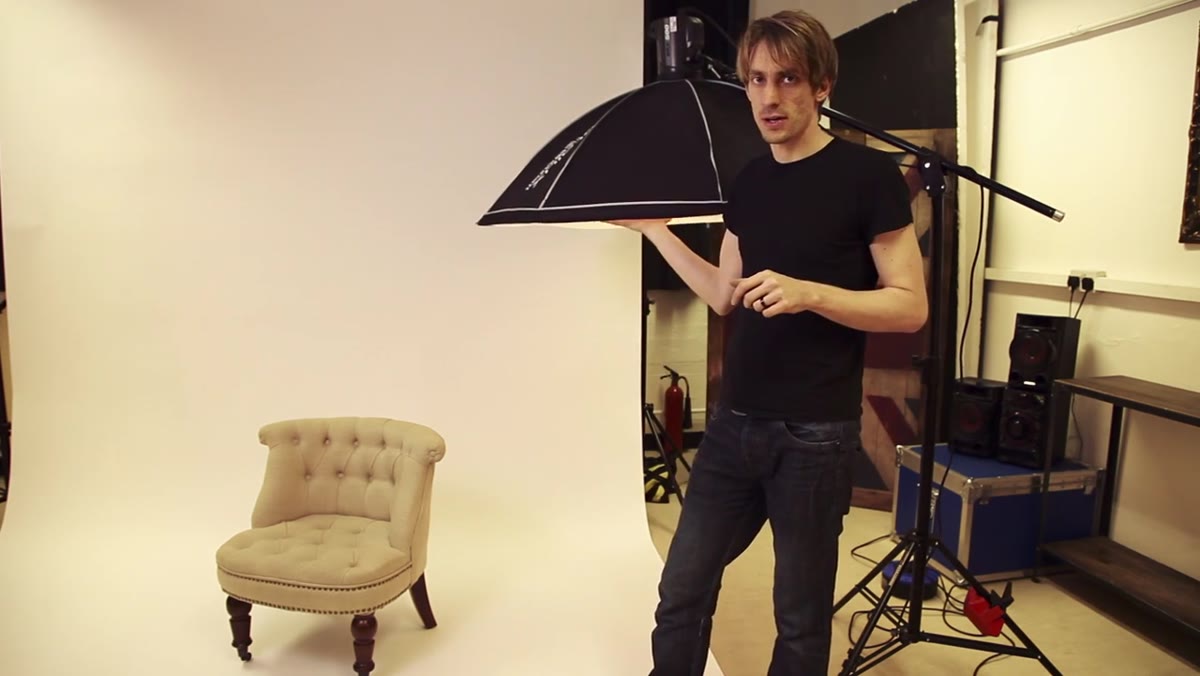 Sean Tucker holding Canon 5D Mark II beside lighting stand
Tucker shoots this tutorial on a Canon 5D Mark II, which he calls an old digital full-frame workhorse. His point is not to endorse that camera specifically. It’s to demonstrate that you don’t need the newest body to do professional product work. A current consumer-level DSLR or mirrorless camera will handle this just fine.
Sean Tucker holding Canon 5D Mark II beside lighting stand
Tucker shoots this tutorial on a Canon 5D Mark II, which he calls an old digital full-frame workhorse. His point is not to endorse that camera specifically. It’s to demonstrate that you don’t need the newest body to do professional product work. A current consumer-level DSLR or mirrorless camera will handle this just fine.
This matters more than people think, because gear anxiety is genuinely one of the biggest barriers I see in photographers who are capable of doing this kind of work. The mental calculus becomes “I’ll start when I have better equipment,” and that day never quite arrives. The techniques Tucker outlines here, environment control, a quality soft light source, good camera settings, work across a wide range of gear. Use what you have and learn the principles. The principles scale up with your budget; they don’t require it.
Step 4: Use a White Environment to Protect Product Color Accuracy
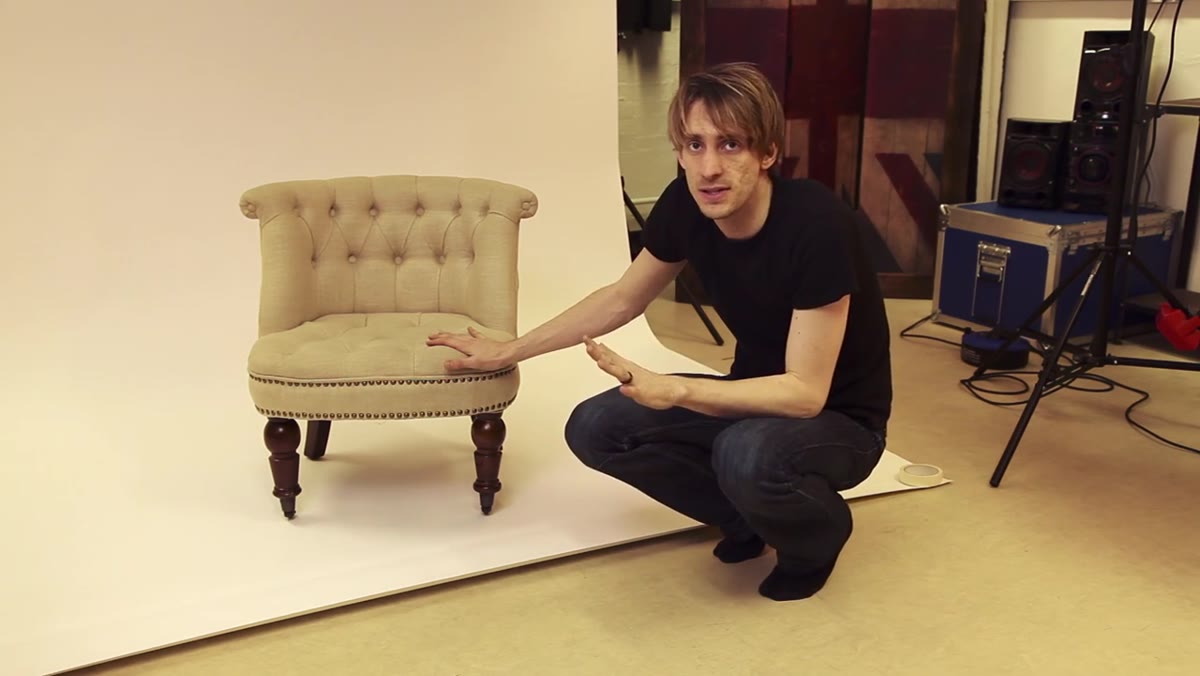 Sean Tucker gesturing toward white paper taped to floor
It’s worth dwelling on this point because it connects to the post-production work in Parts Two and Three. When Tucker eventually cuts the product out and places it on a pure white background, any color casts baked into the product during the shoot will become very obvious. A slight blue cast from a gray wall, a warm orange from a wood floor: these things compound.
Sean Tucker gesturing toward white paper taped to floor
It’s worth dwelling on this point because it connects to the post-production work in Parts Two and Three. When Tucker eventually cuts the product out and places it on a pure white background, any color casts baked into the product during the shoot will become very obvious. A slight blue cast from a gray wall, a warm orange from a wood floor: these things compound.
Shooting in a white environment from the start keeps your colors honest. It also makes your retouching faster, which if you’re shooting a furniture line with 20 or 30 color variations of the same piece, adds up to real hours saved. Prep the space before you set a single light.
A Note from My Own Experience: The Bounce Ceiling Trick Is Underrated
I want to push on Tucker’s ceiling-bounce suggestion because I think photographers who are newer to studio lighting often dismiss it as a compromise. It isn’t. Some of my cleanest large-product shots have come from a single speedlight bounced off a low, white ceiling in a rented space, no boom stand, no octabox. The key variables are ceiling height (lower and whiter is better), speedlight power (go higher than you think, start at full power and adjust down), and your white balance setting. Shoot in RAW, set a custom white balance using a gray card, and that bounce light will look remarkably refined in the final image.
The mistake I made early on was trying to add more lights to compensate for a ceiling bounce that felt too soft. Softer is usually the right direction for large products. Adding a fill card opposite your main light to open up the deepest shadows is almost always more useful than adding a second strobe.
The single most important idea in this tutorial is that your environment is a lighting modifier. White walls and a white floor aren’t just a neutral backdrop. They actively shape the quality and color of light that hits your subject. Get that right before anything else, and the rest of the process becomes significantly easier.
Watch the full tutorial on YouTube to see Tucker demonstrate the full lighting setup and camera settings before he moves into the cutting and recoloring phases in Parts Two and Three.
Comments
Leave a Comment