Noise is one of those problems that can quietly ruin an otherwise beautiful image. I’ve seen it happen with my own shots, especially when I’m pushing a high ISO on a dim travel scene or working with a camera that just doesn’t have the sensor real estate to handle low light gracefully. The result is that familiar speckled mess, random color blotches and uneven grain that make a moody, atmospheric photo look like it was dragged through gravel. For years I handled it clumsily, reaching for the Reduce Noise filter and sliding things around until the image looked like a watercolor painting. Not great.
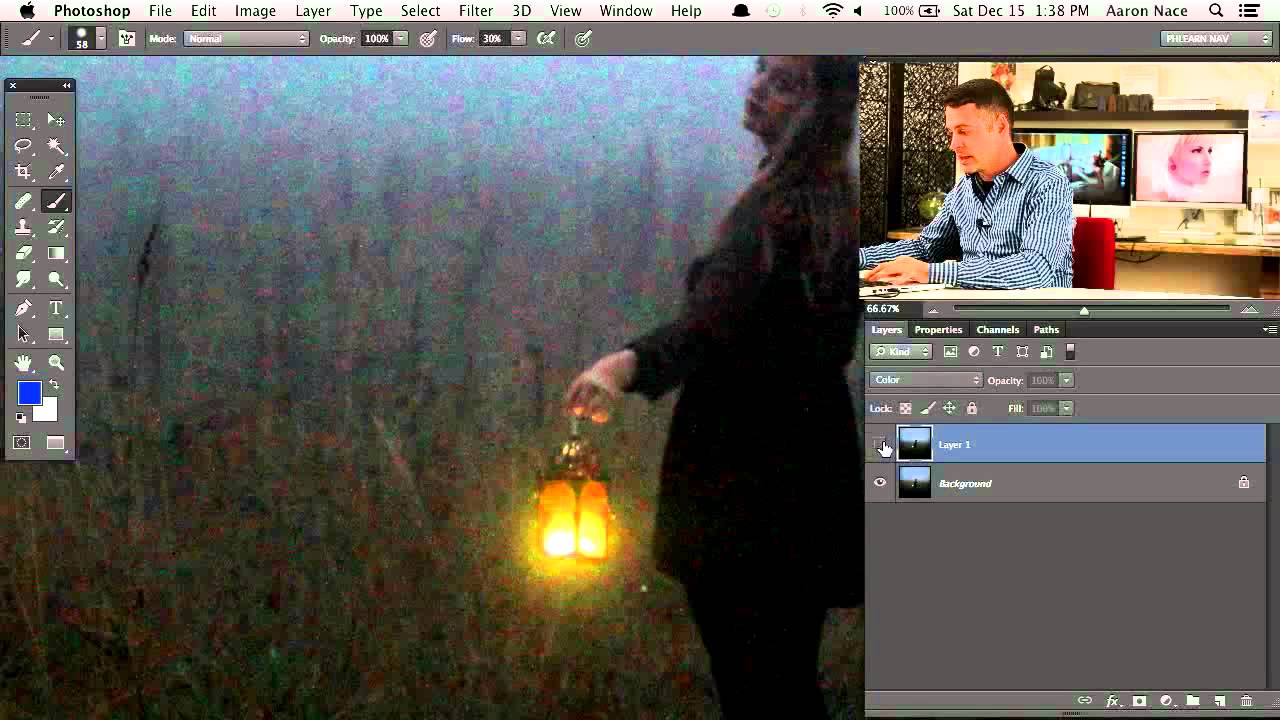
That’s why I keep coming back to this Aaron Nace (PHLEARN) tutorial on noise reduction. Watch the full tutorial on YouTube. What Aaron walks through isn’t a one-click fix. It’s a layered approach that separates color noise from luminance noise and treats each one differently. That separation is the part most beginners skip, and it makes an enormous difference. The working photo he uses is a beautiful foggy scene with a girl holding a lantern, shot on a smaller sensor camera, which is exactly the kind of real-world image that tends to suffer most from noise. Following along with your own noisy shot will make every step click faster.
Step 1: Duplicate Your Background Layer
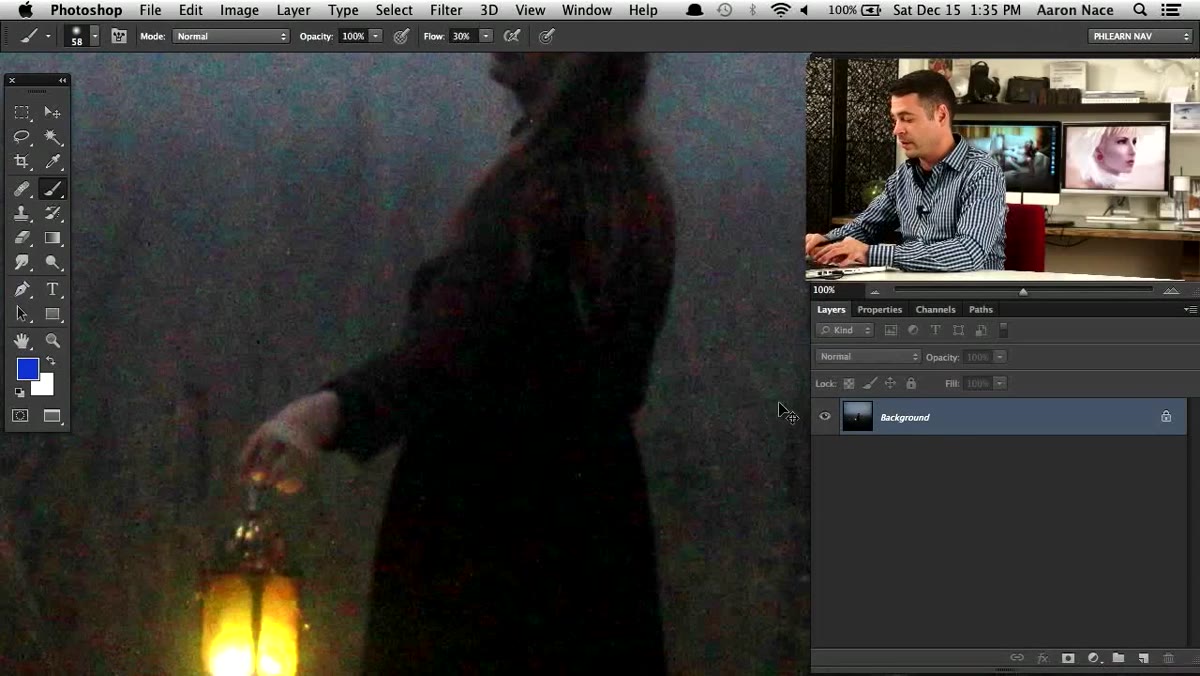 Duplicating the background layer with Command J
Before touching anything, protect your original. Click on your background layer in the Layers panel and press Command+J (Mac) or Control+J (PC). This creates an identical copy above the original, and every edit from here happens on that copy. It costs you nothing and means you can always return to the untouched original if something goes sideways. This is a habit worth locking in on every single edit, not just noise reduction.
Step 2: Identify What Kind of Noise You’re Working With
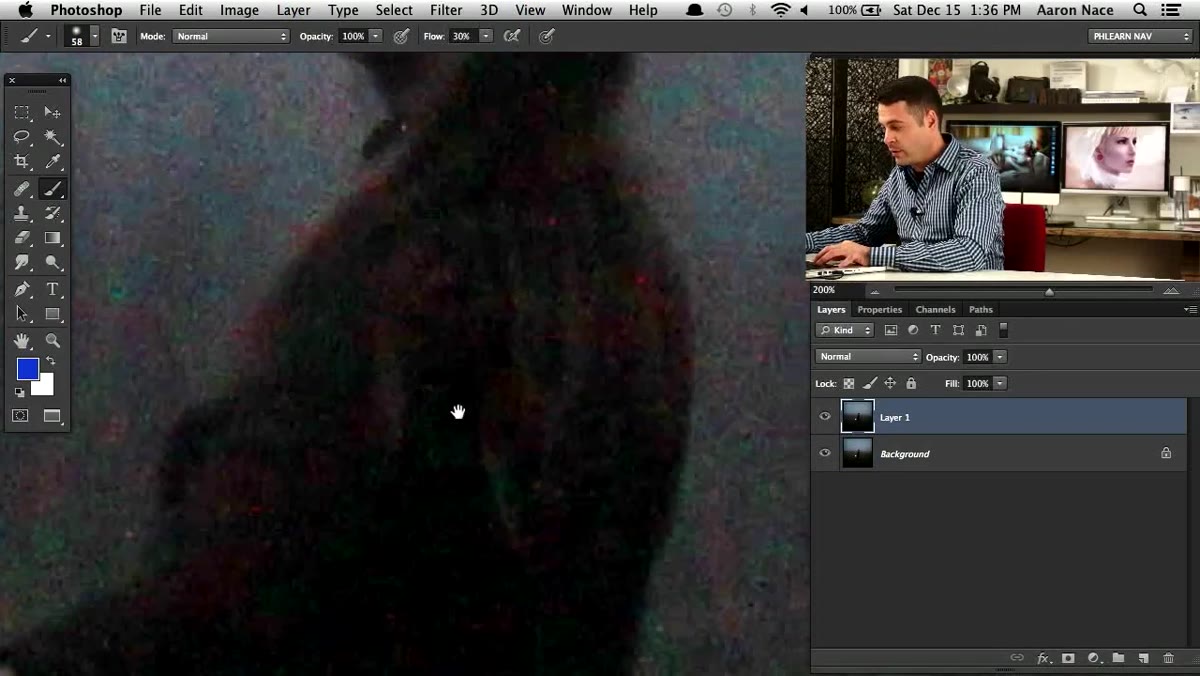 Zoomed-in view showing color speckles in the shadow areas
Zoom into your image, ideally to 100% or higher, and look closely at the noisy areas. You’re diagnosing before you treat. Aaron points out two distinct types of noise: color noise (random red, green, and blue speckles appearing where they shouldn’t) and luminance noise (the light and dark spots that create a gritty texture). Color noise is usually the more visually distracting of the two and shows up clearly as off-color flecks in areas that should be a uniform tone, like a shadowed wall or a smooth sky. Knowing which type you’re dealing with tells you which technique to reach for first.
Step 3: Apply a Surface Blur to Target Color Noise
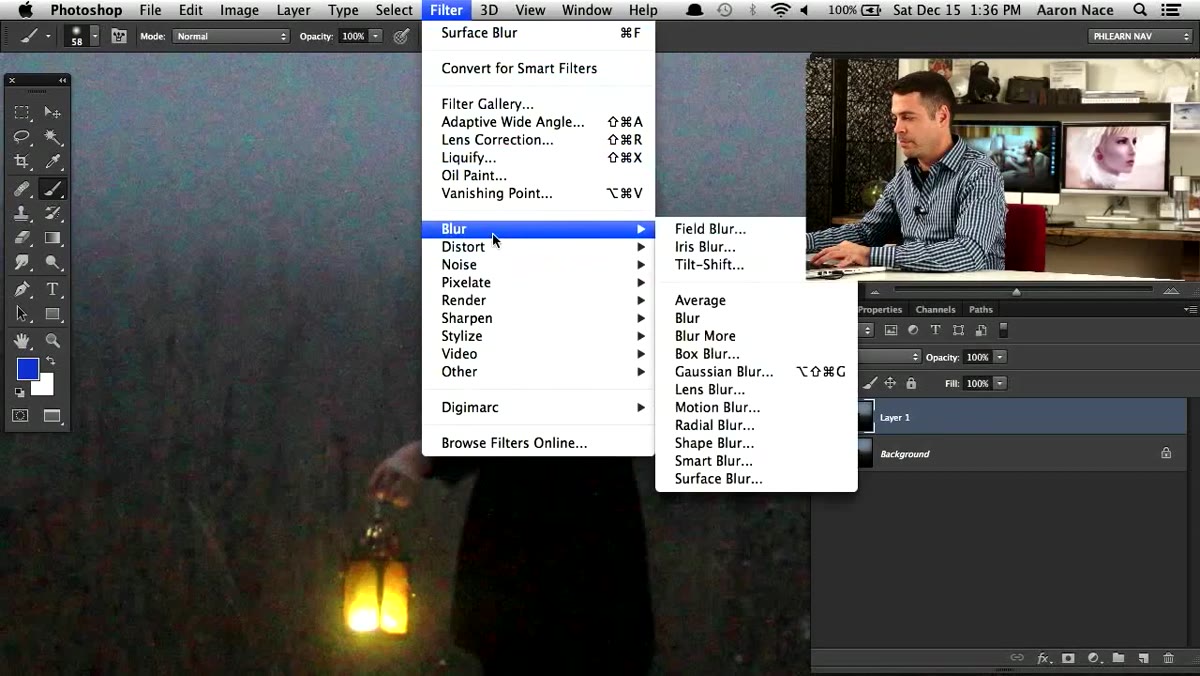 Filter menu open with Surface Blur option highlighted
With your duplicate layer selected, go to Filter > Blur > Surface Blur. What makes surface blur different from a standard Gaussian blur is that it tries to respect edges. It reads the contrast in your image and avoids blurring across sharp transitions, which preserves structure even while softening the noise.
You have two sliders: Radius and Threshold. Radius controls how strong the blur effect is. Aaron recommends going relatively high here. Threshold controls how much tonal difference is required before the blur stops at an edge. A lower threshold is more conservative; a higher threshold lets the blur affect more of the image. The goal is to get a strong enough blur to flatten the color noise without completely melting your fine detail. At this stage the image will look awful, and that’s completely fine.
Step 4: Change the Layer Blend Mode to Color
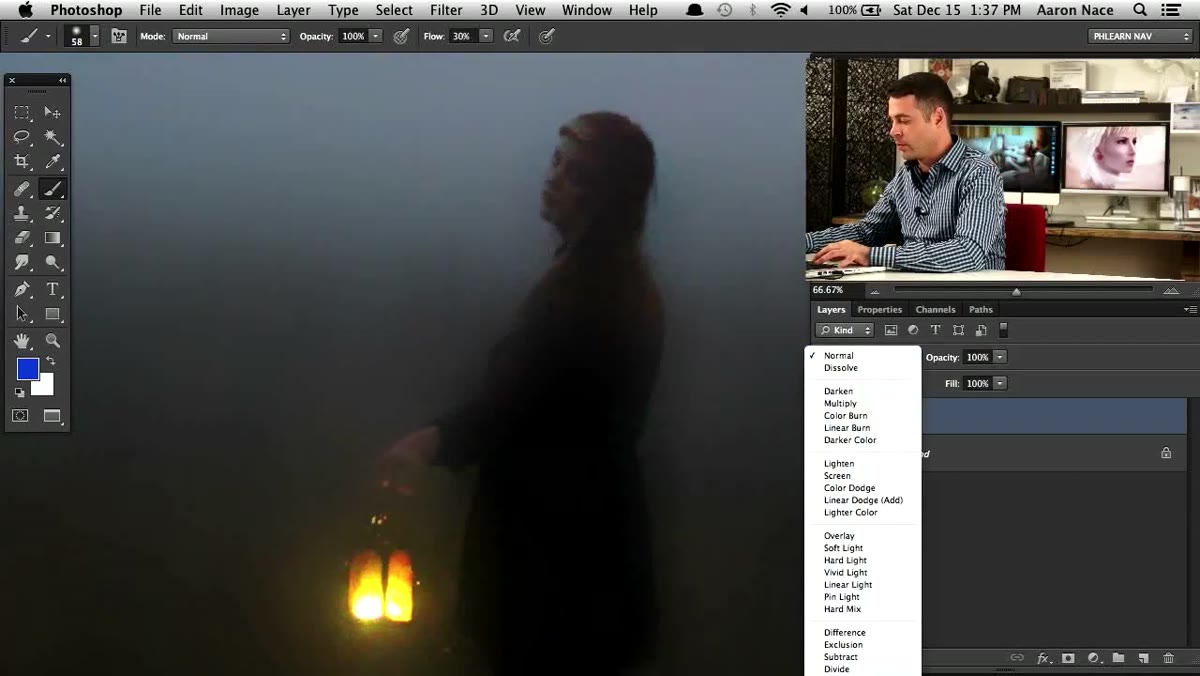 Layer blend mode dropdown being changed from Normal to Color
This is where the technique gets clever. With your blurred duplicate layer still selected, go to the blend mode dropdown at the top of the Layers panel (it defaults to “Normal”) and change it to Color. This single move is the whole trick. The Color blend mode takes only the hue and saturation information from that layer and applies it to the image below, completely ignoring the luminosity. So all that aggressive blurring you did isn’t smearing your edges anymore. It’s only smoothing out the color information, which is exactly where the color noise lives. Toggle the layer on and off and you’ll see the red, green, and blue speckles disappear cleanly while your overall sharpness stays intact.
Step 5: Merge and Address Luminance Noise Separately
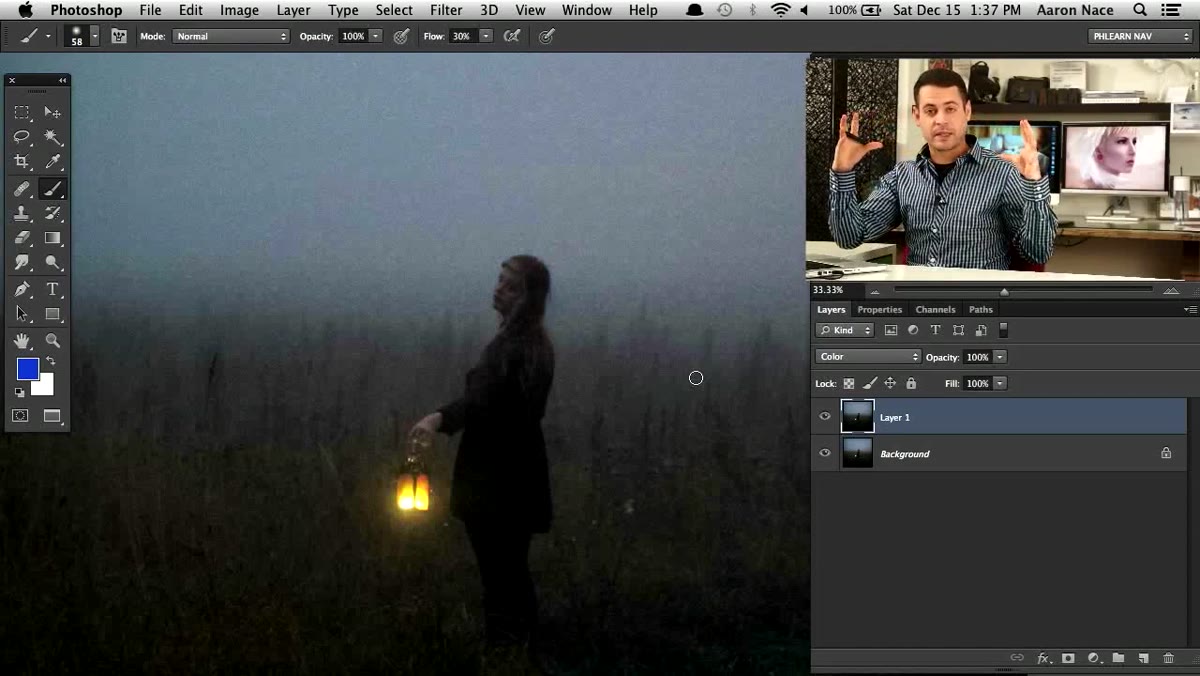 Toggling layer visibility to compare color noise before and after
Once the color noise is handled, merge your layers and make a fresh duplicate to work on luminance noise. Luminance noise, the light-dark grain pattern, often gives images a film-like texture that some photographers actually want to keep. Aaron’s approach is more surgical: use Filter > Noise > Reduce Noise for the remaining grain, keeping the “Strength” slider moderate and watching the detail preservation slider carefully. The goal is to quiet the noise without producing that waxy, over-smoothed skin effect that aggressive noise reduction always creates. Work on specific areas with a layer mask if the grain is only severe in certain parts of the frame.
Step 6: Evaluate at Actual Print or Display Size
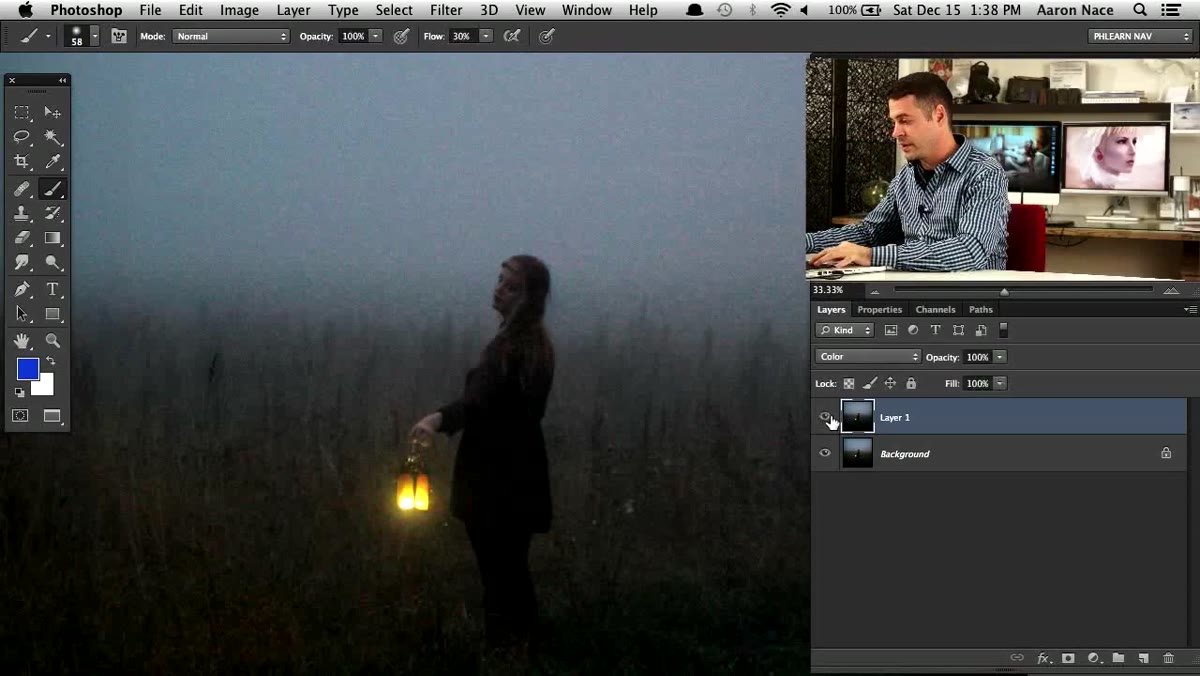 Final image comparison at zoomed-in view showing cleaner tones
Zoom back out to 100% and look at the whole frame before calling it done. Noise that looks catastrophic at 300% zoom sometimes reads as texture at normal viewing size. Aaron makes this point gently throughout the tutorial, and it’s one I’ve had to remind myself of constantly: the goal isn’t a clinically noise-free image. The goal is an image that holds up at the size and context your audience will actually see it. Overediting to remove every trace of grain at maximum zoom produces flat, lifeless images that look worse than the original noisy version did.
A Note From My Own Workflow
I want to be honest about something: some of my favorite images have grain. My most-shared Instagram photo was shot on a $200 phone in dim indoor light, and it has plenty of noise. That image started a whole series of articles I wrote about gear not being the barrier people think it is. What Aaron’s tutorial reinforced for me is that noise reduction is a tool, not a mandate. The surface blur blending mode technique is now part of my standard Photoshop workflow, but I use it at reduced layer opacity, often 60 to 70%, because I want some of that texture to stay. Dropping the layer opacity is the one tweak Aaron doesn’t cover in this particular video, and it’s worth experimenting with before you flatten your file.
The single most important thing to take away from this technique is the separation principle: handle color noise and luminance noise as two distinct problems, because they respond to different tools. Treating them as one problem is why most automatic noise reduction feels so blunt. If you’ve been living with grainy low-light shots and writing them off as unsalvageable, run one of them through these steps this week. The difference is usually striking enough to change how you think about what your existing files are worth.
Watch the full tutorial on YouTube to see Aaron walk through every step in real time, including his specific slider values on the surface blur settings.
Comments
Leave a Comment