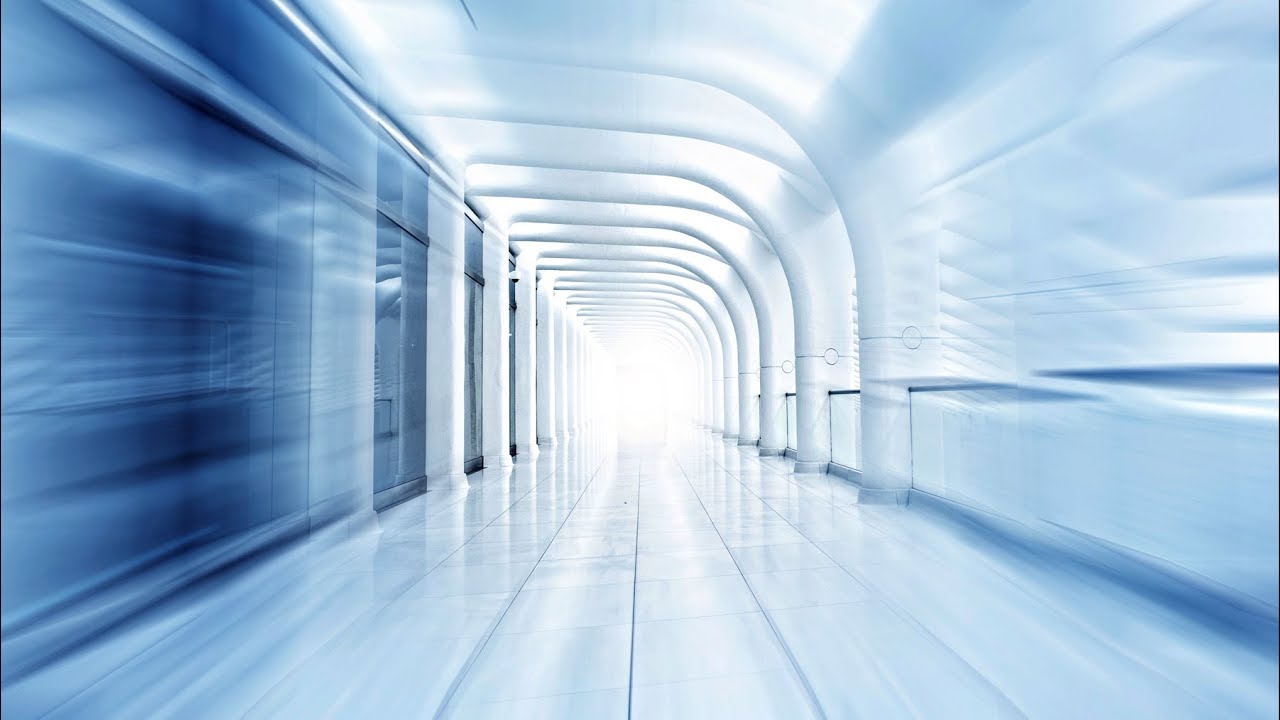
Every Sunday morning I go on a photo walk around Seattle. Sometimes I come home with something I love straight out of camera. More often, I come home with something that’s almost there — a good composition, decent light, but missing that feeling of energy or movement. That’s the gap post-processing was made to fill.
One technique I keep coming back to is the radial zoom blur, specifically the kind that makes a still photo look like it was taken at speed. If you’ve ever done a long exposure from a moving train and watched the world blur around a fixed center point, you know exactly what this looks like. The good news: you can fake it in Photoshop in well under two minutes, and the results are genuinely convincing. In this Peter McKinnon tutorial, he walks through the whole thing with his signature no-fuss speed, and I want to break it down here so you can follow along step by step without having to pause and rewind. Watch the full tutorial on YouTube if you want to see the effect in action before we dig in.
The technique works best on photos with a strong vanishing point, a road stretching into the distance, a hallway, a tunnel, a long pier. The blur radiates outward from the center, so anything that already draws the eye to a central point is going to look like it was shot from a moving vehicle. Keep that in mind when you’re pulling a photo to practice with.
Step 1: Open Your Photo and Duplicate the Layer
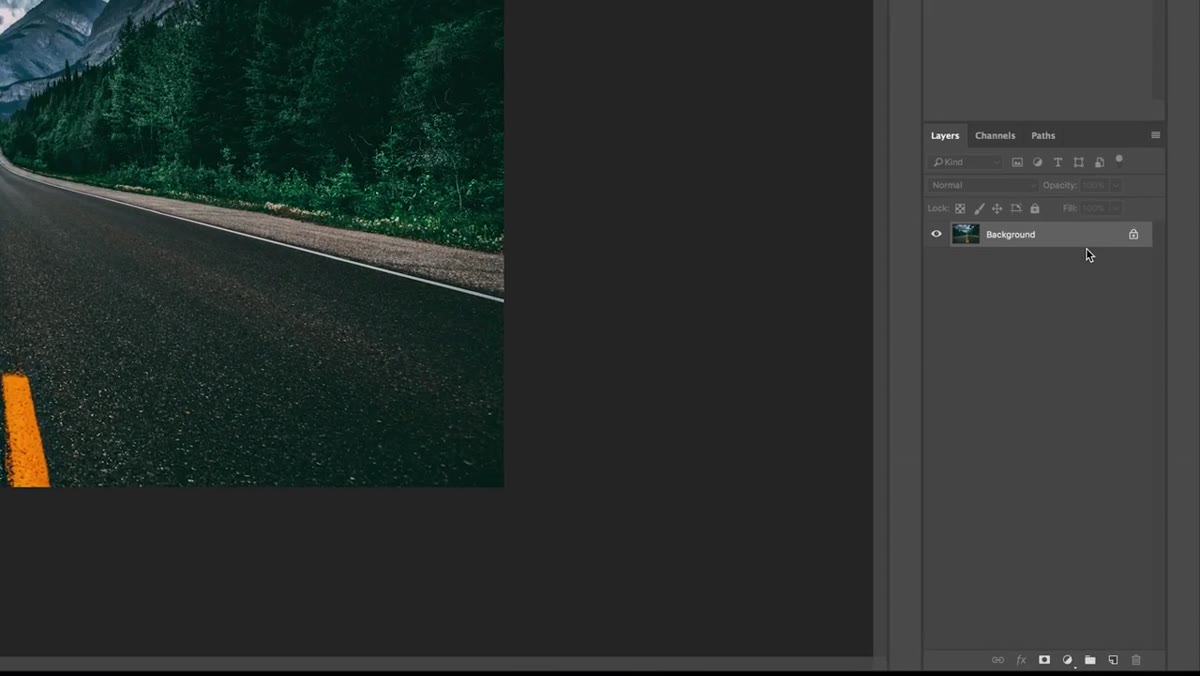 Dragging background layer to new layer icon in Photoshop
Start with your image open in Photoshop. Before you touch any filters, duplicate your background layer. Drag the background layer down to the new layer icon at the bottom of the Layers panel, or use Cmd+J on Mac, Ctrl+J on Windows. This is non-destructive habit number one. The blur effect is going to live on this duplicate, and your original stays untouched underneath it. If you go too far with any settings, you can always dial things back or start over without losing the base image.
Step 2: Apply the Radial Blur Filter
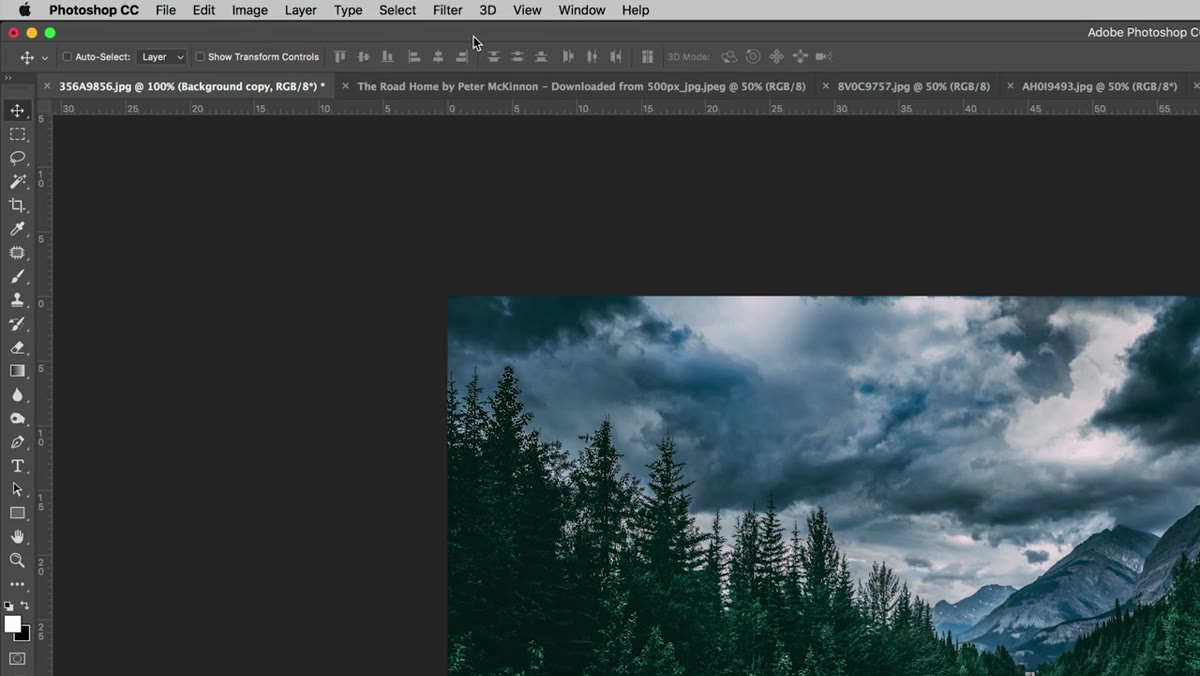 Filter menu open with Blur submenu showing Radial Blur option
With your duplicate layer selected, go to Filter at the top menu, then Blur, then Radial Blur. The dialog box that opens has a few options, and the one you need to change first is the blur method. It likely defaults to Spin, which creates a rotational swirl. Switch it to Zoom instead. That’s the setting that creates the outward-rushing speed effect rather than a circular one.
Once you’re on Zoom, push the Amount slider up. Peter tends to max it out or go close to it for a dramatic result, and I agree, you can always reduce the effect later with a layer mask, so err on the side of more. Set the Quality to Best before you click OK. The rendering takes a moment, but the higher quality setting is worth the wait, especially if you’re working on anything you plan to print or post at high resolution.
Step 3: Check the Result
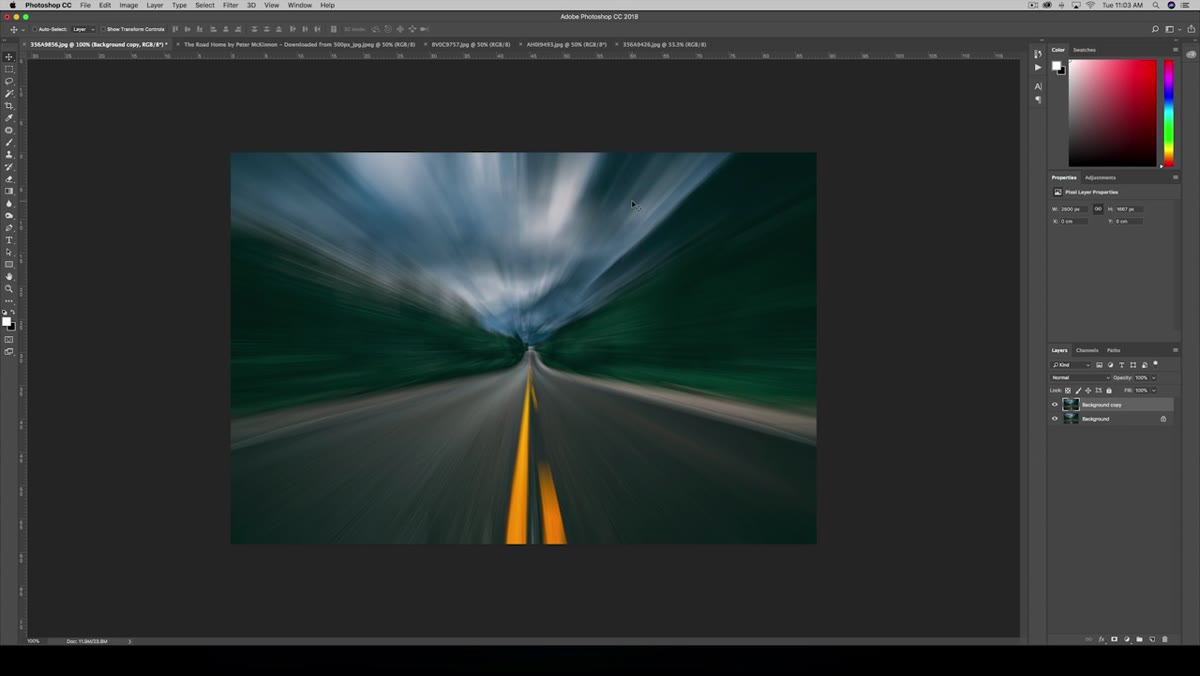 Blurred layer showing full radial zoom effect over entire image
After the filter renders, your duplicate layer will show the full radial blur applied across the entire image. It looks intense right now, almost unusable. That’s expected. The whole photo is blurred, including areas you want to stay sharp. The center subject or focal point has no detail left. Don’t worry about that yet. This is just the raw material. The next step is where you shape it into something that actually looks intentional.
Step 4: Add a Layer Mask
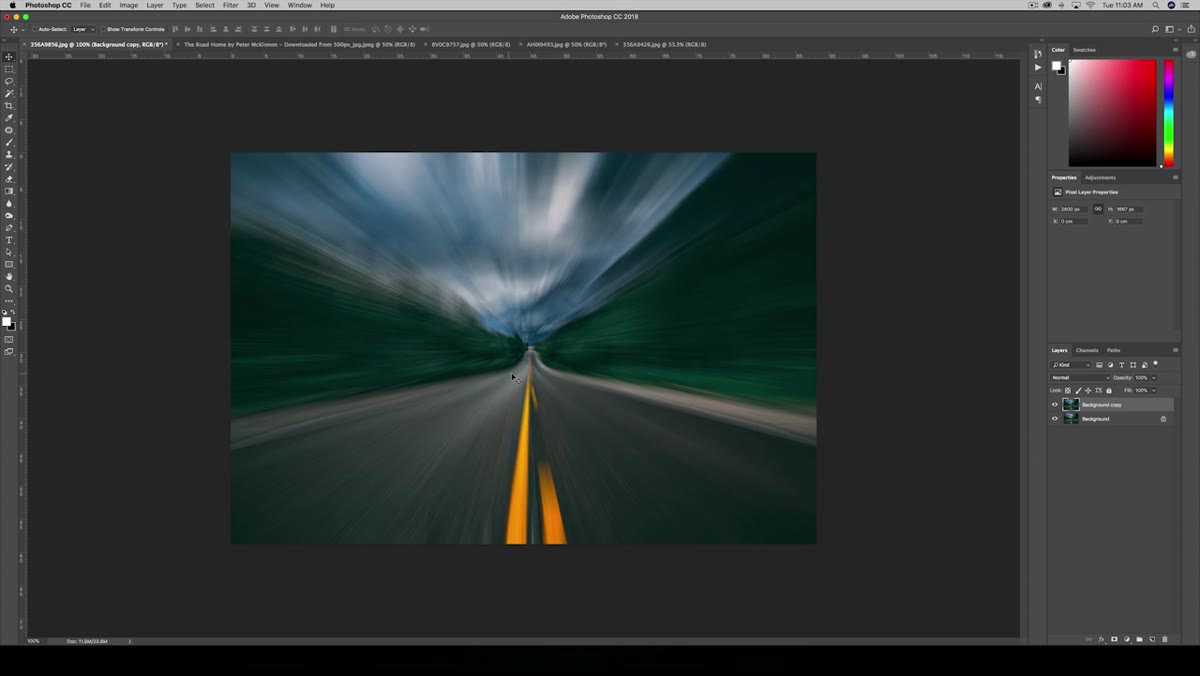 Layer mask icon being clicked at bottom of Layers panel
At the bottom of the Layers panel, click the Add Layer Mask icon. It looks like a rectangle with a circle cut out of it. This adds a white mask to your blurred layer. White means fully visible, so right now the blur is still showing everywhere. You’re about to change that by painting over the center of the image with black, which hides the blur in that area and reveals the sharp original layer underneath.
Step 5: Paint Out the Center with a Soft Black Brush
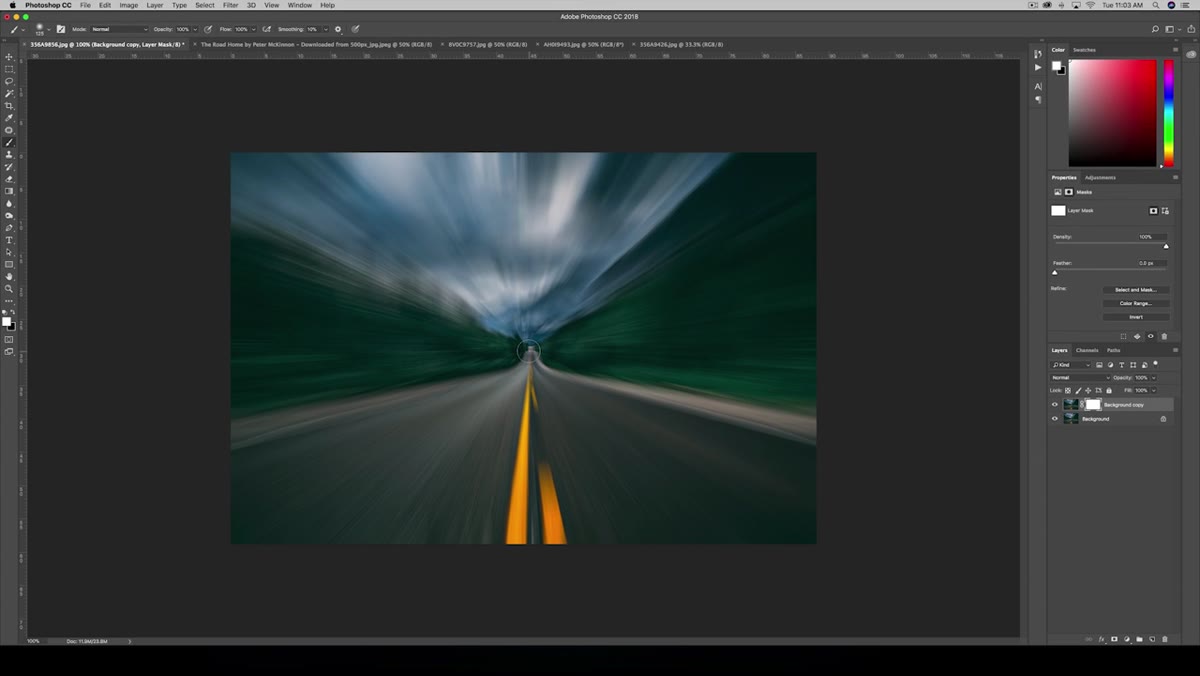 Black brush being painted over center of image on layer mask
Press B to grab the Brush tool. This is the most hands-on part of the process, and there are a few settings that matter. First, make sure your foreground color is set to black. Press X on your keyboard to toggle between foreground and background colors until black is on top. Second, and this is important, use a soft brush, not a hard-edged one. A hard brush will leave a visible ring where the blur stops and the sharp image starts. A soft brush creates a natural fade. Right-click on the canvas to open the brush settings and bring Hardness down to zero or close to it.
Use your bracket keys, the left and right square brackets, to resize the brush to something that covers your subject or the area you want sharp. Then click once, or paint slowly, over the center of the image. Watch the sharp layer come through underneath. If you remove too much blur, press X to switch to white and paint some of it back. The mask is fully editable, so you can go back and forth until the transition feels right.
Step 6: Crop and Evaluate
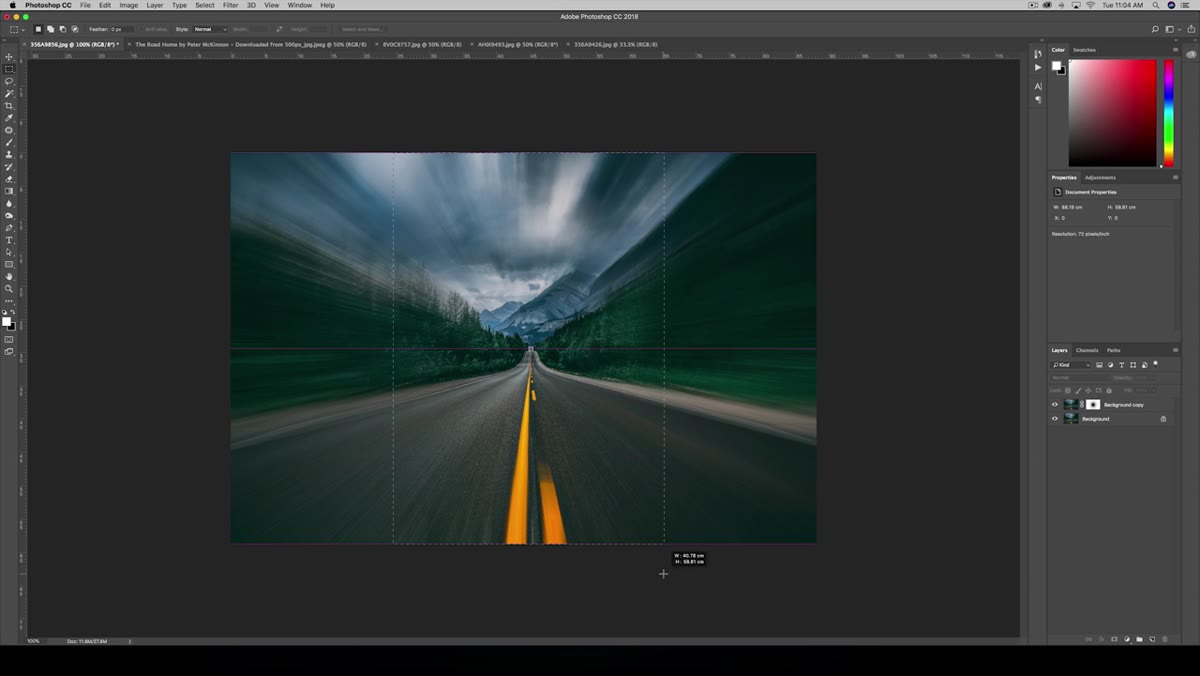 Image cropped to square Instagram format showing final speed effect
Once your mask looks good, zoom out and look at the full image. Peter crops his example to a square format to see how it would read on Instagram, and that’s a useful exercise even if you’re not posting there. Cropping forces you to evaluate whether the effect is reading clearly or just looking like a mistake. The blur should feel like it’s pulling outward from your subject. If the center reveal is too large, the effect loses impact. If it’s too small, the image looks uniformly blurry. Finding that balance is the only real judgment call in this whole process.
A Note on Photo Selection
I’ve run this technique on probably thirty or forty images by now, and the ones that fall flat are almost always photos without a clear center of interest. If the composition is ambiguous, the blur has nowhere to anchor. The shots that sing are the ones where there’s already visual tension pulling toward a point. My go-to test cases from my Sunday walks are always the long pedestrian bridges near the waterfront, something about the converging railings makes the effect feel genuinely fast rather than just blurry.
It’s also worth trying this on smartphone photos. I’ve used it on frames I shot on my phone that had interesting geometry but felt flat, and the speed effect added a layer of drama that made them competitive with DSLR shots. The technique doesn’t care what camera made the file. It just needs a decent vanishing point to work with.
The single most important thing this tutorial taught me is that motion doesn’t have to happen in-camera to feel real. A well-placed radial blur with a clean layer mask is enough to change how a viewer experiences a photo, turning something static into something that feels like it’s still moving. That’s a tool worth having.
Watch the full tutorial on YouTube to see Peter run through it at full speed, and try the technique yourself this week on a photo with a strong leading line. You’ll have it dialed in within the first attempt.
Comments (2)
Shared this with my photography group. Everyone loved it.
Printing this out and pinning it next to my monitor. That good.
Leave a Comment