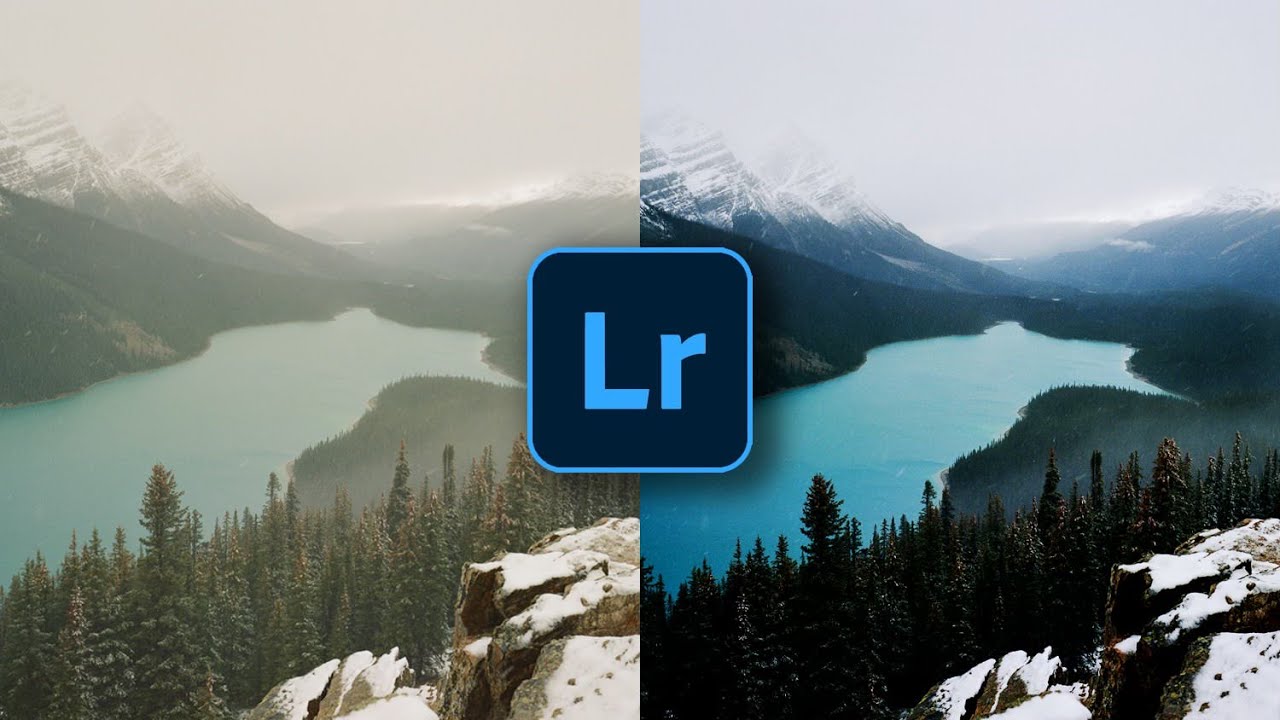
Film photography has been sneaking back into my life lately, and honestly, I wasn’t prepared for the editing side of it. I assumed shooting film meant skipping the computer entirely. Wasn’t that the whole point? Then I started getting my scans back from the lab and realized: flat profiles are the default for a reason. The lab is giving you latitude, not a finished image. You still have to show up in Lightroom.
That’s exactly the question Peter McKinnon digs into in his 2023 tutorial on editing film photos. Watch the full tutorial on YouTube. He’d been shooting film exclusively since May of that year, and he walks through ten real scans from a trip to Banff, showing exactly what he adjusts and - just as importantly - what he leaves alone. What struck me most is how restrained the whole process is. These aren’t heavy edits. They’re corrections and gentle nudges that let the film do its job.
If you’re new to editing film scans or you’ve been wondering whether all that tweaking defeats the purpose, this walkthrough is worth your time. Here’s how to follow along.
Step 1: Understand Why Film Scans Need Editing at All
 Flat film scan displayed in Lightroom before any edits
Before you touch a single slider, it helps to reset your expectations. Most labs scan your negatives using a flat, low-contrast profile so you retain the maximum amount of tonal information. This isn’t a mistake or a limitation. It’s a starting point. What you’re doing in Lightroom isn’t “fixing” the film - you’re finishing the development process digitally. Think of it as the modern darkroom.
Flat film scan displayed in Lightroom before any edits
Before you touch a single slider, it helps to reset your expectations. Most labs scan your negatives using a flat, low-contrast profile so you retain the maximum amount of tonal information. This isn’t a mistake or a limitation. It’s a starting point. What you’re doing in Lightroom isn’t “fixing” the film - you’re finishing the development process digitally. Think of it as the modern darkroom.
Peter makes this distinction clearly early in the video, and it reframes the entire workflow. You’re not undoing the film look. You’re revealing it.
Step 2: Start with the Tone Curve - Specifically the Black Point
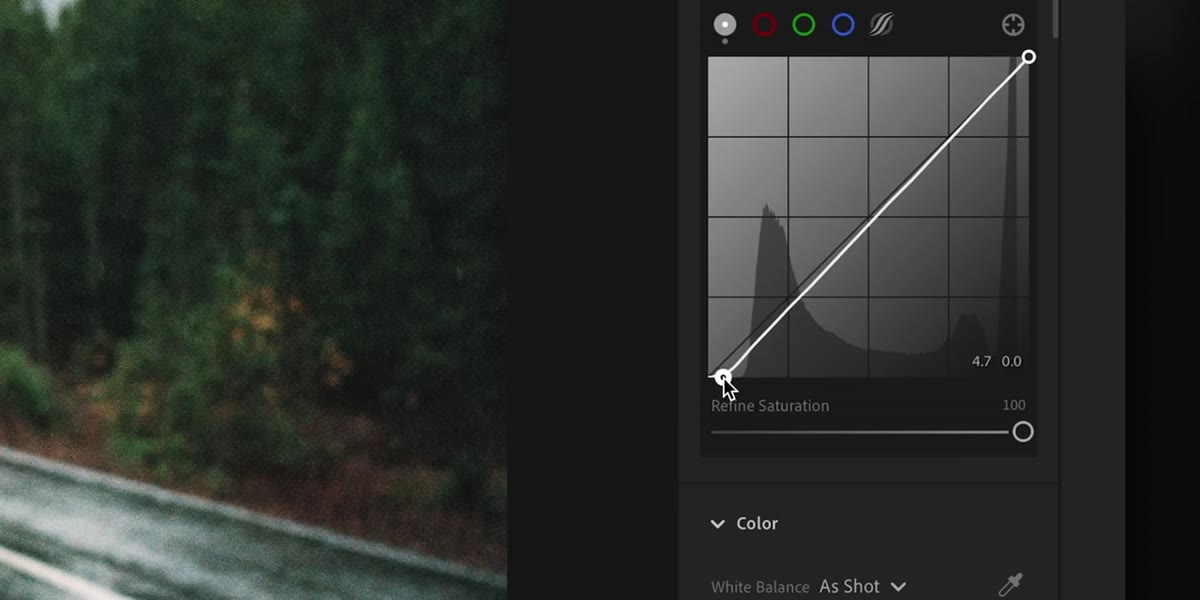 Tone curve panel open, Black Point being dragged right
This is the move that Peter returns to across nearly every single image in the tutorial, and it’s the one I’ve now applied to almost every film scan I open. Go to the Tone Curve panel in Lightroom and find the small anchor point at the bottom-left corner of the curve. Click and drag it to the right.
Tone curve panel open, Black Point being dragged right
This is the move that Peter returns to across nearly every single image in the tutorial, and it’s the one I’ve now applied to almost every film scan I open. Go to the Tone Curve panel in Lightroom and find the small anchor point at the bottom-left corner of the curve. Click and drag it to the right.
What this does is lift the blacks slightly, which softens contrast and creates that characteristic faded, airy quality that film naturally has. It looks subtle in isolation, but toggle the before-and-after view and the difference is immediately obvious. The image stops looking like a digital photo trying to imitate film and starts looking like an actual scan. Peter describes this as accounting for roughly 90 percent of his editing work on film photos, and after trying it myself, I believe him.
Step 3: Manage Highlights Carefully - Don’t Kill Them
 Highlights slider being pulled down in the Basic panel
One of the more counterintuitive things about editing film is that the highlights behave differently than digital captures. Film retains a lot of detail in bright areas even when a shot looks overexposed at first glance. Before you reach for the highlights slider, look closely at what’s actually in those bright regions. You might be surprised.
Highlights slider being pulled down in the Basic panel
One of the more counterintuitive things about editing film is that the highlights behave differently than digital captures. Film retains a lot of detail in bright areas even when a shot looks overexposed at first glance. Before you reach for the highlights slider, look closely at what’s actually in those bright regions. You might be surprised.
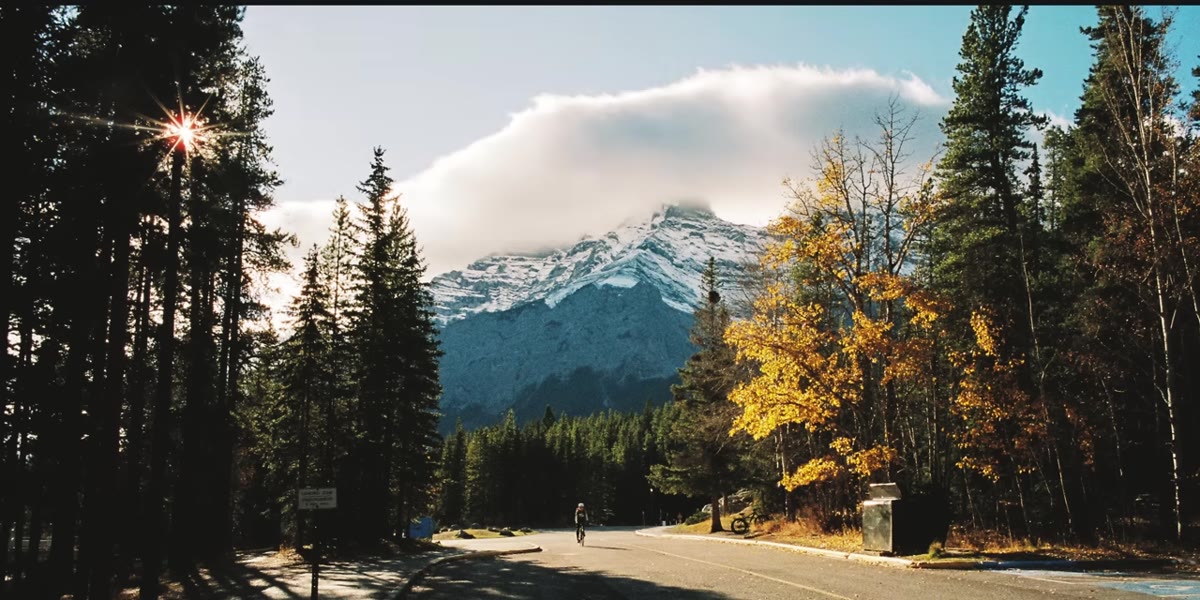
Peter pulls highlights down gently on landscape shots to recover mountain detail and sky texture, but he’s careful not to crush them completely. Blown highlights on film have a unique quality - a softness and glow that digital rarely replicates. Dragging that slider all the way down strips out exactly the thing that makes the image feel like film. A light touch here goes a long way.
Step 4: Use Exposure to Compensate for Underexposure in Camera
 Exposure slider adjusted upward on an underexposed scan
Film handles underexposure differently than digital sensors. You’ll often find scans that look washed out in the shadows when the blacks are lifted - that’s a sign the original frame was underexposed. Rather than panicking or throwing the image out, try a small exposure bump in the Basic panel combined with that tone curve adjustment from Step 2.
Exposure slider adjusted upward on an underexposed scan
Film handles underexposure differently than digital sensors. You’ll often find scans that look washed out in the shadows when the blacks are lifted - that’s a sign the original frame was underexposed. Rather than panicking or throwing the image out, try a small exposure bump in the Basic panel combined with that tone curve adjustment from Step 2.
Peter demonstrates this on a shot where the shadows had gone flat and grey. A gentle exposure increase, paired with the lifted black point, brought the image back to something close to how the scene actually felt. He’s honest that some shots can only be rescued so far, but film’s highlight retention means you have more room to work than you might expect.
Step 5: Adjust Shadows Selectively for Richer Midtones
 Shadows slider being adjusted in the Basic panel
Once you’ve handled the highlights and the tone curve, take a look at the shadows slider. On film scans, this one is more about richness than rescue. Pulling shadows down slightly - just a few points - deepens the midtones and gives the image more three-dimensional quality without making it feel like a heavily edited digital photo.
Shadows slider being adjusted in the Basic panel
Once you’ve handled the highlights and the tone curve, take a look at the shadows slider. On film scans, this one is more about richness than rescue. Pulling shadows down slightly - just a few points - deepens the midtones and gives the image more three-dimensional quality without making it feel like a heavily edited digital photo.
Peter uses this particularly on shots with trees, mountain ridges, or anything with dense dark areas. The goal isn’t dramatic contrast. It’s the difference between a scan that looks flat and one that has a little weight to it.
Step 6: Make a Final Before-and-After Check Before Moving On
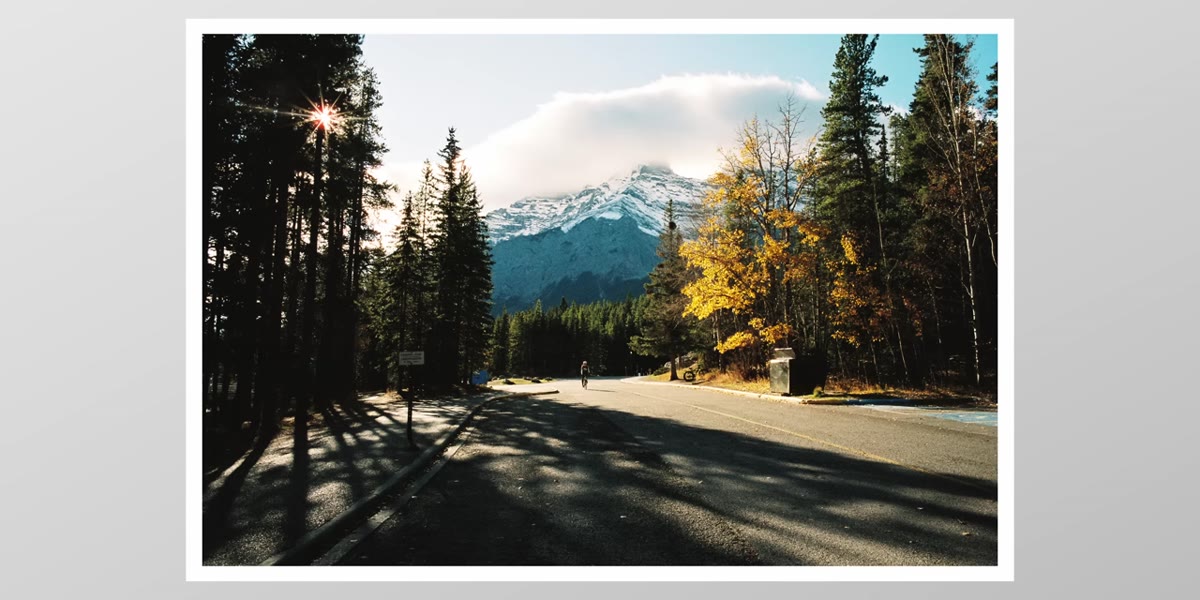 Before and after toggle showing the full edit result
This sounds obvious, but it’s easy to skip when you’re in a rhythm. After making your adjustments, hit the backslash key in Lightroom to toggle between the original and edited versions. On film scans especially, it’s easy to overcorrect incrementally - each slider move seems small, but together they can push the image further than the film aesthetic supports.
Before and after toggle showing the full edit result
This sounds obvious, but it’s easy to skip when you’re in a rhythm. After making your adjustments, hit the backslash key in Lightroom to toggle between the original and edited versions. On film scans especially, it’s easy to overcorrect incrementally - each slider move seems small, but together they can push the image further than the film aesthetic supports.
Peter does this consistently throughout the video, and what you notice is that his edits are almost always smaller than you’d expect. The scan already contains most of the information. Your job is to get out of the way and let it show.
A Note on Letting Imperfect Shots Stay Imperfect
I’ve spent more time than I’d like to admit trying to “fix” film shots that were slightly off - wrong exposure, soft focus, unusual color cast. Here’s what I’ve learned from watching photographers like Peter work through this: some of those qualities are the whole point.
I still shoot with my phone sometimes just to stay loose, and even there I’ve started applying this same restraint. The instinct to over-correct is strong, especially when you can see exactly what slider would technically improve a shot. But technically improved and emotionally resonant are not always the same thing. Film photography has a way of encoding the moment - the light, the grain, the slight overexposure from shooting into a foggy valley - and your editing job is to honor that, not override it. If a shot feels nostalgic and a little rough around the edges, consider whether that’s a flaw or the feature.
The single biggest takeaway from Peter’s tutorial is the tone curve black point drag. If you walk away and only try one thing, make it that. It takes ten seconds and it will change how every film scan you open looks from this point forward.
Watch Peter walk through all ten Banff shots himself here: Watch the full tutorial on YouTube. Seeing him move through real images in real time makes the restraint of the approach click in a way that a written breakdown can only partially capture.
Comments
Leave a Comment