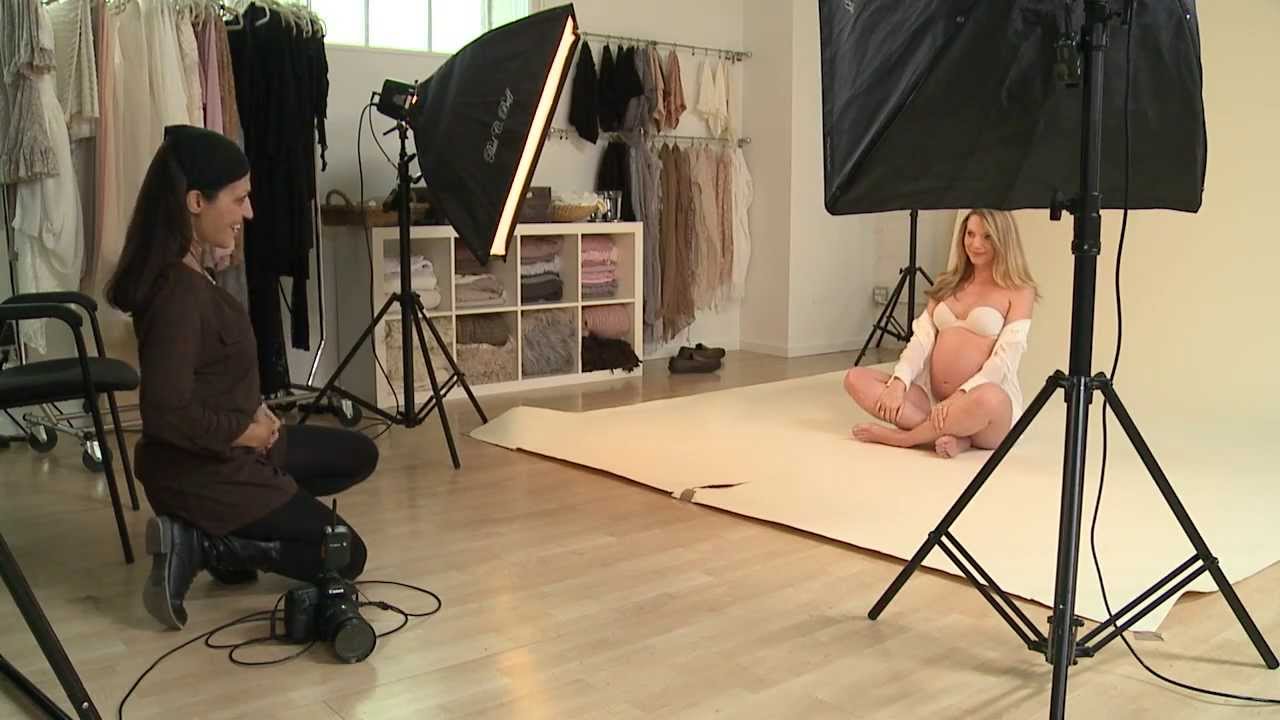
Maternity sessions used to trip me up more than almost any other genre. The pressure is real: you have one window of time, an emotional subject, and a body that doesn’t respond to generic posing cues the way a typical portrait subject does. For a long time, I relied too heavily on poses I’d pinned and not enough on reading what was actually happening in front of my camera. What changed that for me was watching working pros direct in real time, not just seeing the final images.
In this CreativeLive tutorial featuring photographer Ana Brandt, you get exactly that: a live session where Ana is actively talking through her decisions, adjusting her subject on the fly, and building the shoot one small move at a time. It’s the kind of behind-the-scenes access that’s genuinely hard to find. What struck me watching it was how little of her process is about the camera settings and how much of it is about connection, momentum, and knowing when to let a happy accident become the shot.
I’ve broken down her approach into discrete steps below so you can apply this framework to your own sessions, even if you’ve never shot maternity work before.
Step 1: Start Shooting Before You Think You’re Ready
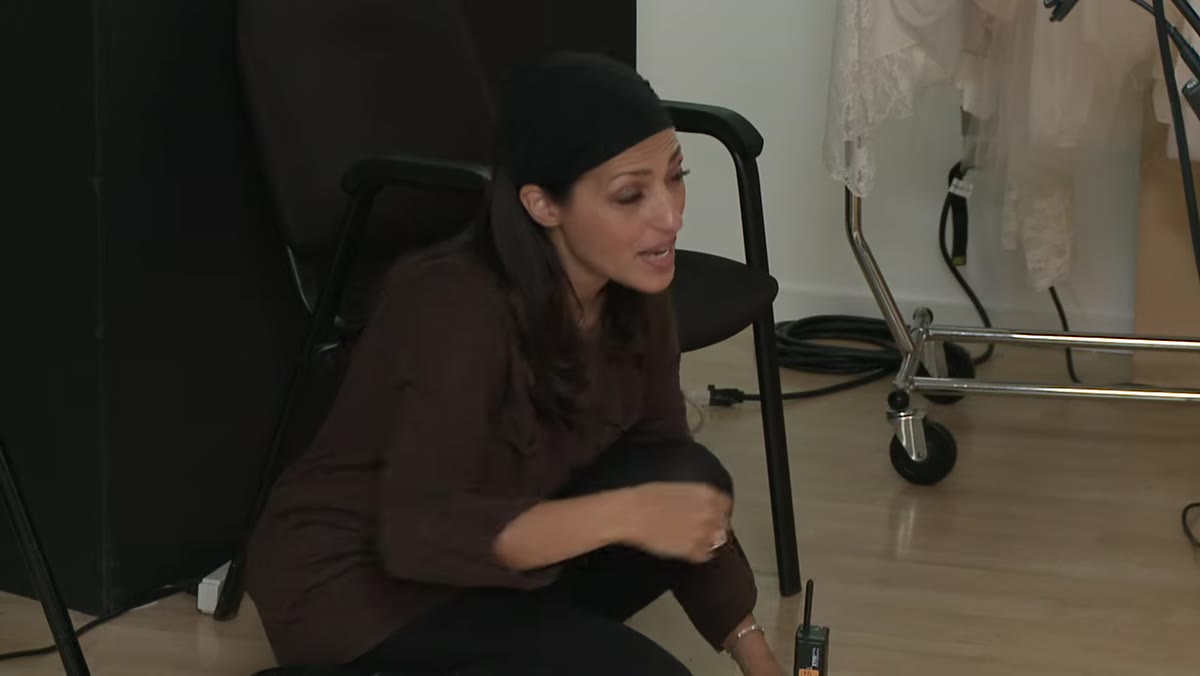 Photographer giving direction mid-movement as subject poses
Ana starts rolling before the subject has landed on a final pose. She’s already shooting while she’s still giving direction, which means she’s capturing the transitions, not just the endpoints. This is a mindset shift worth adopting immediately. Transitions are often softer and more natural than held poses because the subject isn’t bracing for the shutter.
Photographer giving direction mid-movement as subject poses
Ana starts rolling before the subject has landed on a final pose. She’s already shooting while she’s still giving direction, which means she’s capturing the transitions, not just the endpoints. This is a mindset shift worth adopting immediately. Transitions are often softer and more natural than held poses because the subject isn’t bracing for the shutter.
If you’re used to stopping, adjusting, then shooting, try flipping that order. Give a direction and start firing as they move into it. You’ll throw out more frames, but the ones you keep will feel alive.
Step 2: Use Props and Wardrobe as Active Tools, Not Just Styling Choices
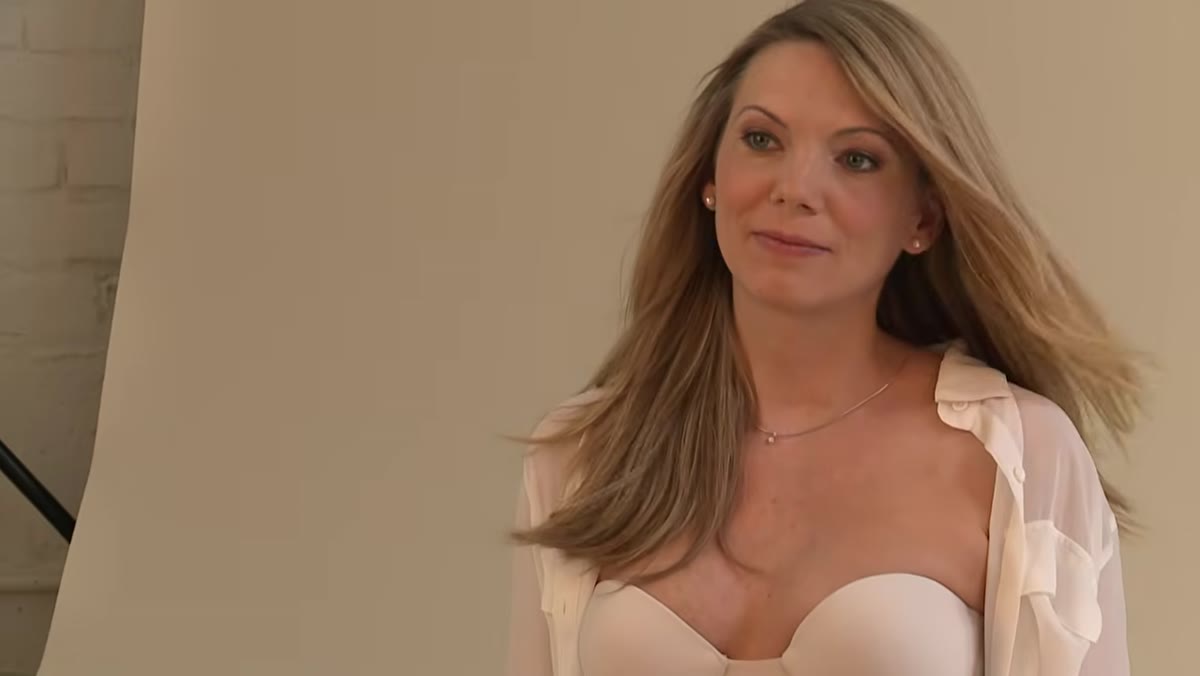 Shirt falling off the shoulder as photographer notices and redirects
When Ana notices the subject’s shirt slipping off her shoulder, she doesn’t stop to fix it. She leans into it. She recognizes a wardrobe shift as a compositional opportunity and adjusts her direction around it rather than pausing the energy of the shoot. That’s the difference between treating styling as something that happens before you shoot versus something that evolves during the session.
Shirt falling off the shoulder as photographer notices and redirects
When Ana notices the subject’s shirt slipping off her shoulder, she doesn’t stop to fix it. She leans into it. She recognizes a wardrobe shift as a compositional opportunity and adjusts her direction around it rather than pausing the energy of the shoot. That’s the difference between treating styling as something that happens before you shoot versus something that evolves during the session.
Before your next portrait session, brief your subject on which clothing elements can move and shift. Loose fabric, off-shoulder tops, and draped wraps all give you more to work with in the moment. If something falls, ask yourself whether it actually looks better before you rush to correct it.
Step 3: Give Posture Cues That Are Specific and Physical
 Subject adjusting posture, shoulders down, sitting taller
Ana gives very direct physical cues: shoulders down, sit taller, chin forward. She doesn’t say “look confident” or “relax.” She targets specific body parts with specific instructions, which removes the guesswork for the subject and gets faster results. Vague emotional directions (“feel the moment”) sound poetic but often leave subjects frozen and self-conscious.
Subject adjusting posture, shoulders down, sitting taller
Ana gives very direct physical cues: shoulders down, sit taller, chin forward. She doesn’t say “look confident” or “relax.” She targets specific body parts with specific instructions, which removes the guesswork for the subject and gets faster results. Vague emotional directions (“feel the moment”) sound poetic but often leave subjects frozen and self-conscious.
Build a short vocabulary of physical cues you can reach for quickly: “lengthen your neck,” “drop that shoulder,” “tip your chin down just slightly.” Practice them until they come out naturally, because hesitation in your direction reads as uncertainty to your subject, and uncertainty makes people tighten up.
Step 4: Incorporate Movement to Break Tension and Find New Shapes
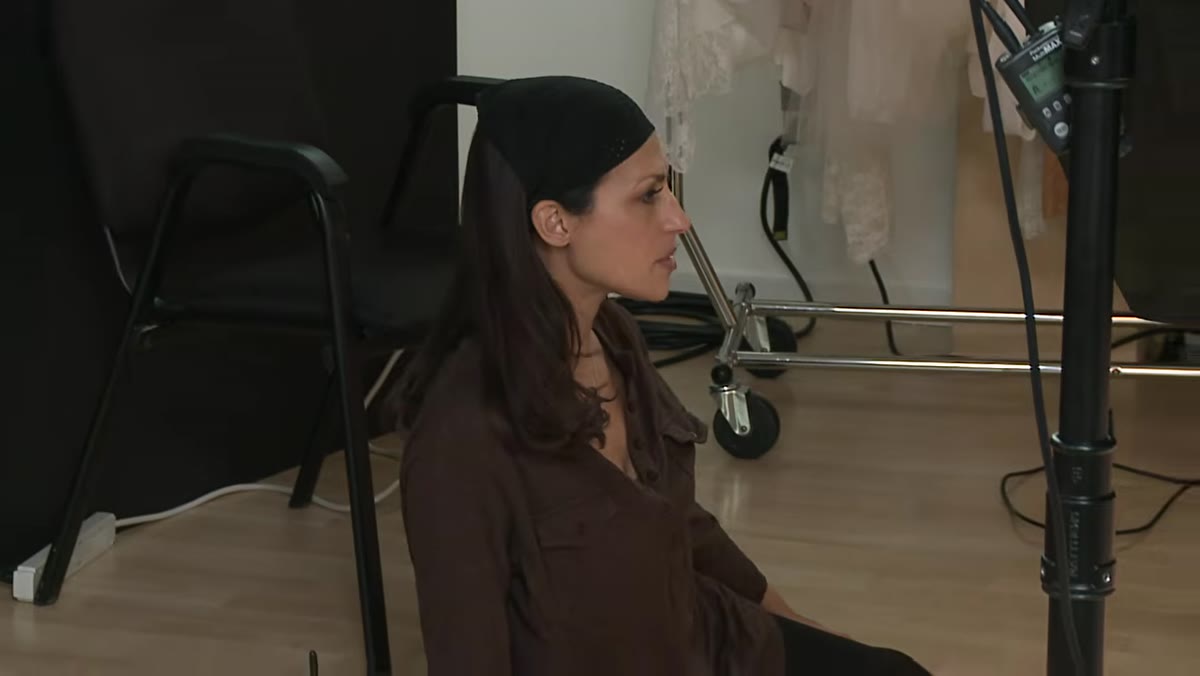 Subject swinging legs to the side while photographer adjusts angle
When the shoot starts to feel static, Ana introduces movement by asking the subject to swing her legs to the side. It’s a small physical shift, but it breaks the symmetry of a seated pose and creates a more dynamic line through the body. It also gives the subject something to do, which redirects nervous energy into something useful.
Subject swinging legs to the side while photographer adjusts angle
When the shoot starts to feel static, Ana introduces movement by asking the subject to swing her legs to the side. It’s a small physical shift, but it breaks the symmetry of a seated pose and creates a more dynamic line through the body. It also gives the subject something to do, which redirects nervous energy into something useful.
Movement cues work especially well mid-session when energy drops. “Shift your weight,” “lean slightly forward,” or “slowly turn toward the window” can all reset the mood without requiring a full pose change. The goal is to keep the body in motion so you’re capturing something that feels inhabited rather than performed.
Step 5: Direct Attention to the Belly Intentionally and Often
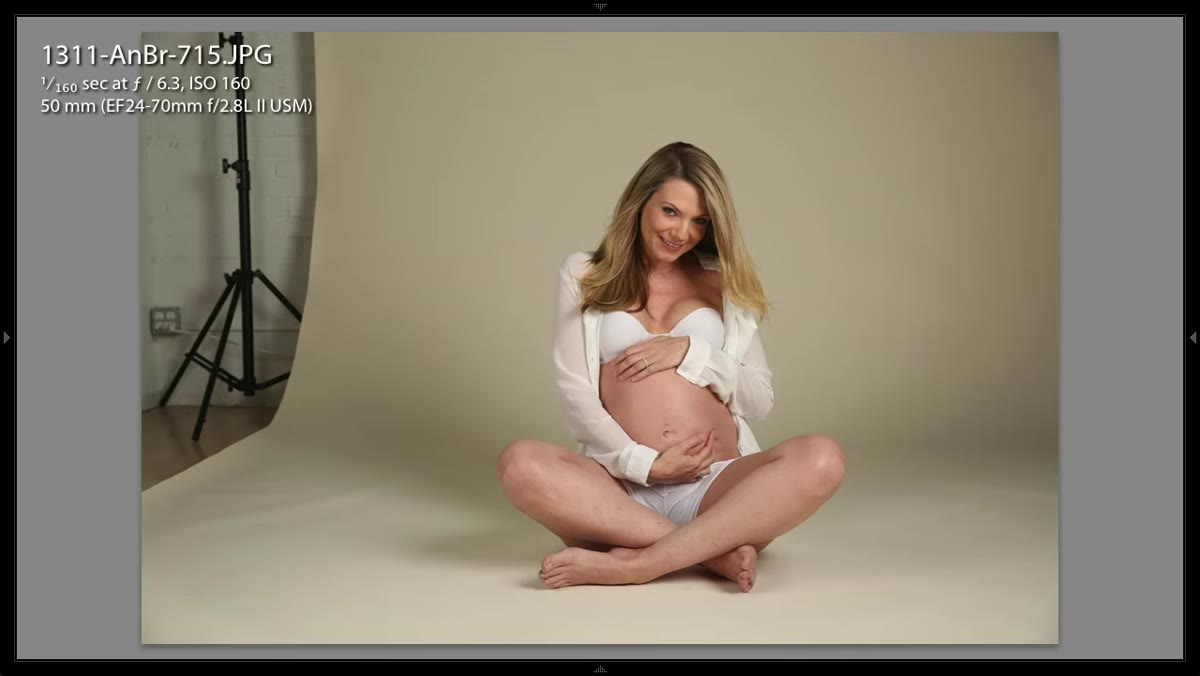
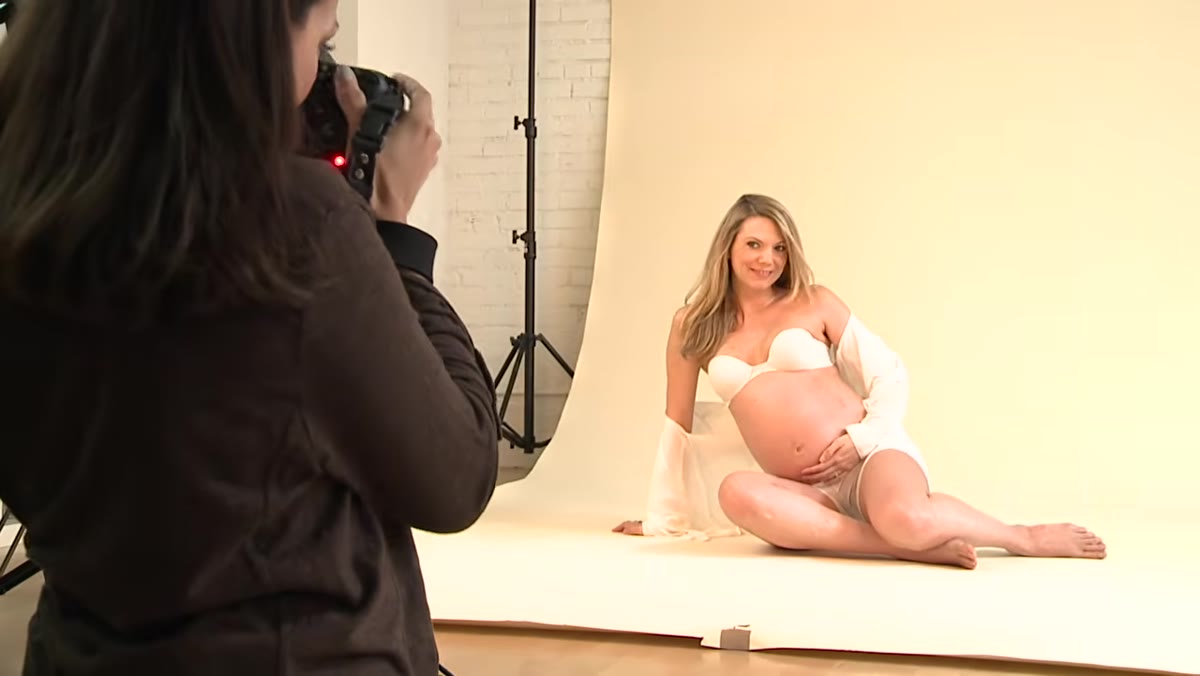 Subject placing hand on belly as photographer reminds her
Ana periodically reminds her subject to bring her hands back to her belly. In maternity work, the belly is the emotional and compositional anchor of the image. When hands drift away or the subject’s gaze disconnects from it, the image can start to feel like a generic portrait rather than a maternity portrait. Gentle reminders keep the story of the image intact.
Subject placing hand on belly as photographer reminds her
Ana periodically reminds her subject to bring her hands back to her belly. In maternity work, the belly is the emotional and compositional anchor of the image. When hands drift away or the subject’s gaze disconnects from it, the image can start to feel like a generic portrait rather than a maternity portrait. Gentle reminders keep the story of the image intact.
If you’re directing a maternity session, build belly connection into your posing flow at every transition. As you shift from one pose to the next, make “hands on belly” your reset position. It gives the subject something grounding to return to and keeps the visual emphasis where it belongs.
Step 6: Use a Fan Strategically to Add Dimension to Hair and Fabric
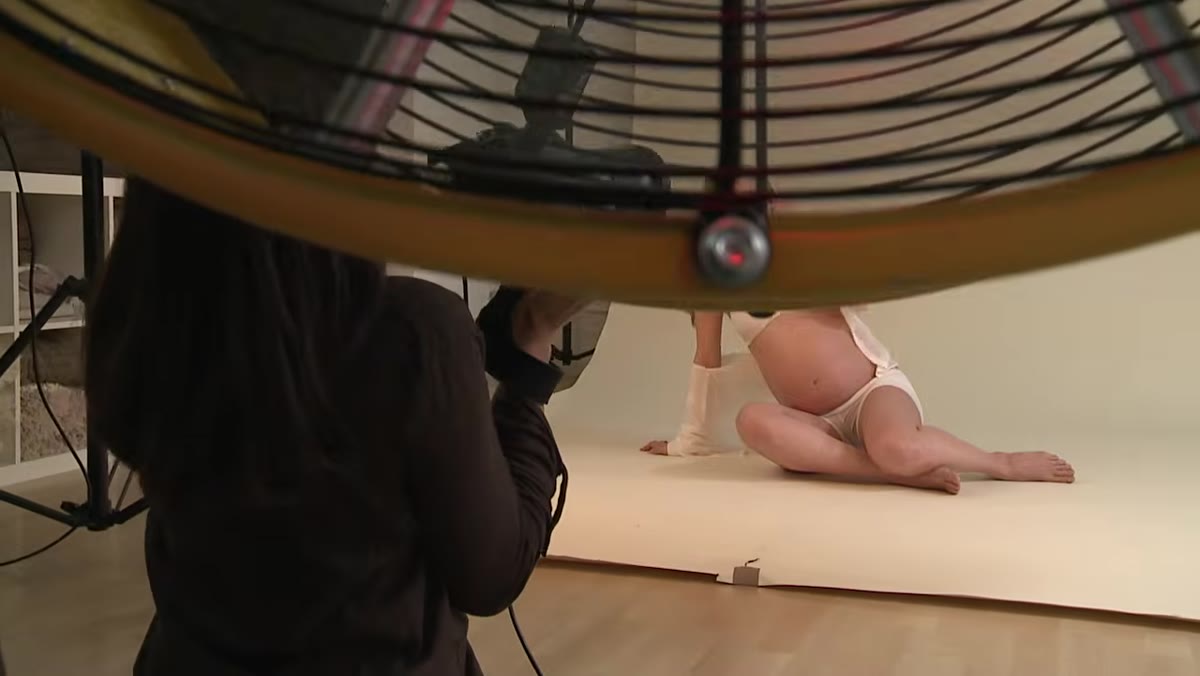 Fan blowing hair as photographer watches the movement and adjusts direction
Ana uses a fan throughout the session, toggling it on and off depending on what she needs. When it’s on, it introduces movement in the hair and any loose fabric, which adds a sense of softness and dimension that’s very hard to achieve in a still environment. When it’s off, she can control the composition more precisely for tighter or more intimate moments.
Fan blowing hair as photographer watches the movement and adjusts direction
Ana uses a fan throughout the session, toggling it on and off depending on what she needs. When it’s on, it introduces movement in the hair and any loose fabric, which adds a sense of softness and dimension that’s very hard to achieve in a still environment. When it’s off, she can control the composition more precisely for tighter or more intimate moments.
A small desktop fan or a handheld option will do the job in most studio situations. Position it slightly off to one side rather than dead-on, and have an assistant or remote switch control it so you don’t have to break your shooting rhythm. Watch the hair carefully: too much fan and it becomes distracting, but a gentle lift can turn a flat shot into something that feels editorial.
Step 7: Work Progressively Down the Body to Build a Shot Sequence
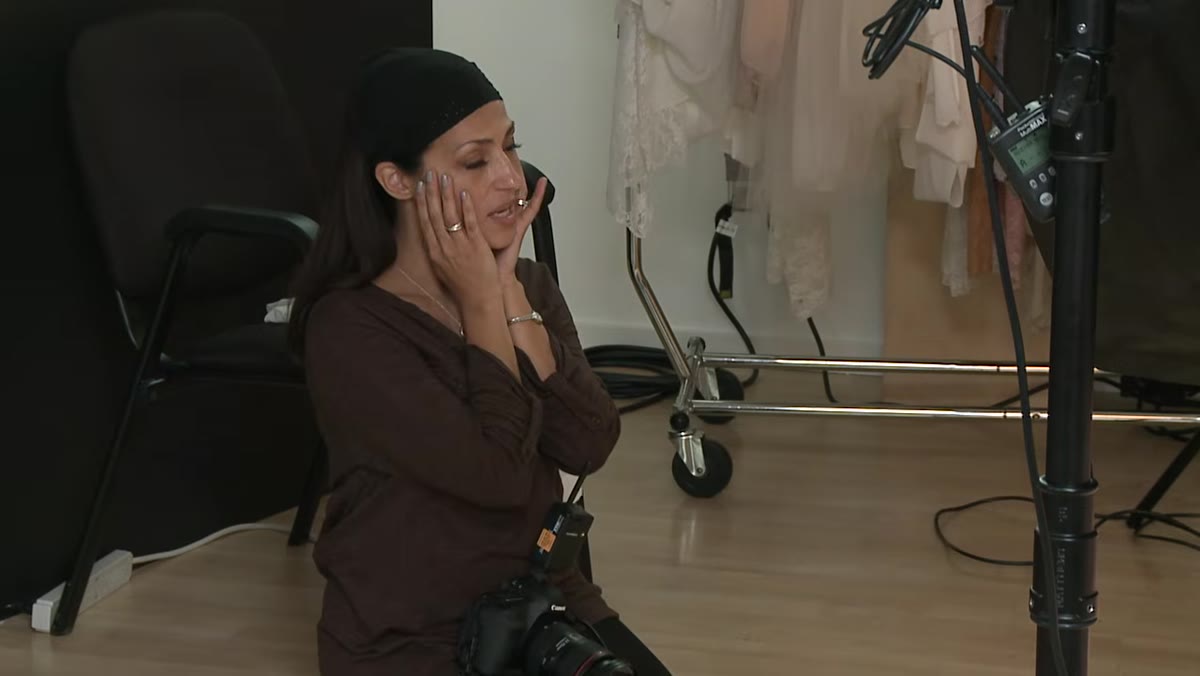 Photographer directing subject through a sequence from upper body down to belly
One of the smartest structural choices Ana makes is building her shot sequence in a deliberate direction: she starts with upper body compositions and progressively works her way down toward the belly. This creates a natural arc within the session and ensures she captures a variety of framings without feeling scattered.
Photographer directing subject through a sequence from upper body down to belly
One of the smartest structural choices Ana makes is building her shot sequence in a deliberate direction: she starts with upper body compositions and progressively works her way down toward the belly. This creates a natural arc within the session and ensures she captures a variety of framings without feeling scattered.
Plan your maternity sessions in sections: establishing full-length shots, three-quarter crops, close detail shots of hands on the belly, and intimate close-ups. Moving through them in order keeps the session feeling organized and helps your editing later when you’re curating a gallery that tells a complete story.
What I’d Add From My Own Experience
The thing Ana demonstrates so well is that posing direction is a conversation, not a command. What I’ve found shooting portrait sessions of my own is that the fastest way to build that conversational rhythm is to narrate what you’re seeing. When something works, say so immediately and specifically: “That right there, that look, hold that.” When it doesn’t, pivot quickly without dwelling. Subjects take their emotional cues from you. If you seem excited by what you’re capturing, they lean into it. If you seem uncertain, they tighten up. Your energy is part of the lighting.
I’ve also started asking subjects to describe how they’re feeling in a single word before we begin. It sounds small, but it shifts them out of “I’m being photographed” mode and into something more reflective. In maternity work especially, that emotional grounding shows up in the images in ways no pose can manufacture.
The single most transferable lesson from Ana’s approach is this: keep the shoot moving. Don’t stop to achieve perfection in a single frame. Build momentum, let the subject settle into her body, and trust that the right moments will surface when energy is flowing. The adjustments you make should feel like collaboration, not correction.
Watch the full tutorial on YouTube to see Ana’s direction and timing in real time. Watching it once is helpful. Watching it while actively taking notes on her exact phrasing will change how you direct people in front of your camera.
Comments
Leave a Comment