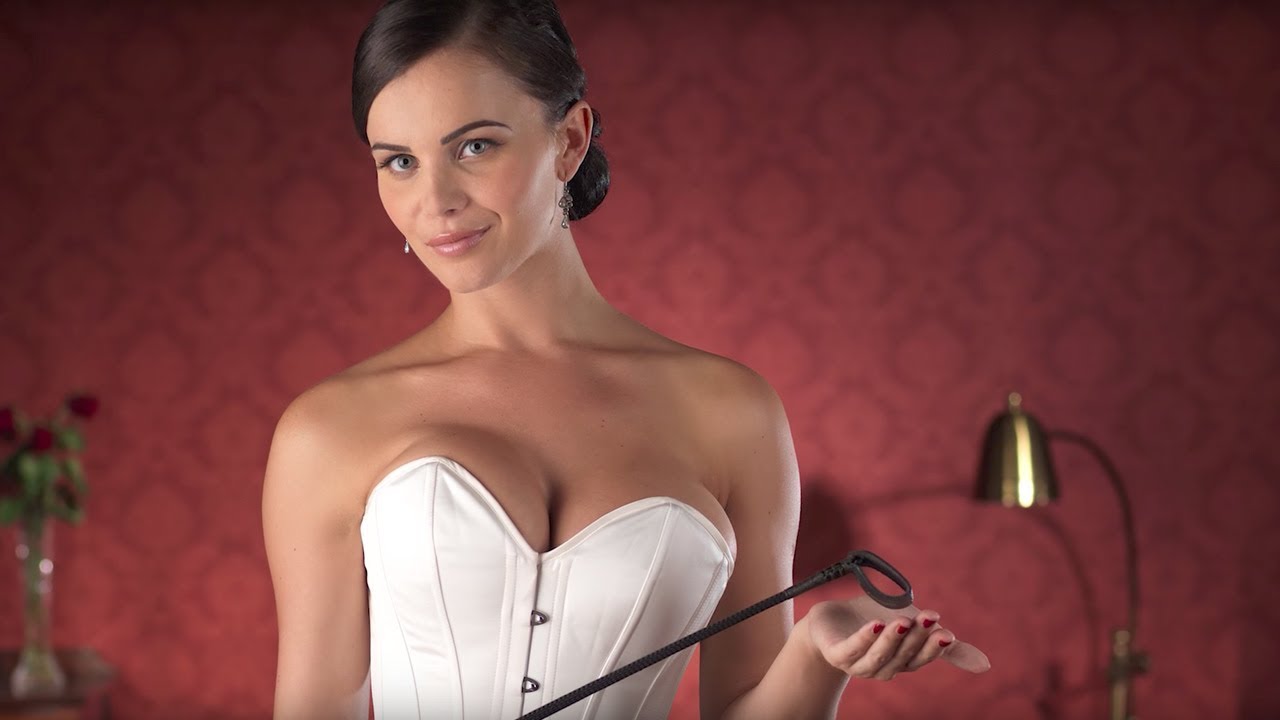
There’s a particular kind of stress that comes from arriving at a boudoir shoot with a bare white wall, a single light, and a model who’s already a little nervous. I’ve been there. The lighting guesswork alone adds an hour of post-processing you didn’t plan for, and if the set feels clinical rather than intimate, even great posing can’t save the mood. Boudoir photography lives or dies on atmosphere, and atmosphere is something you have to build deliberately, before a single frame is shot.
That’s exactly what stopped me mid-scroll when I found this Visual Education tutorial with photographer Carl Taylor. Watch the full tutorial on YouTube. What Carl lays out isn’t just a lighting diagram, it’s a complete production philosophy: build the world first, then put your subject in it, then sculpt the light around her. He specifically calls out that careful lighting meant minimal retouching on the final shots. That alone is worth understanding in detail.
Here’s how he does it, step by step.
Step 1: Build a Controlled Set Before Anything Else
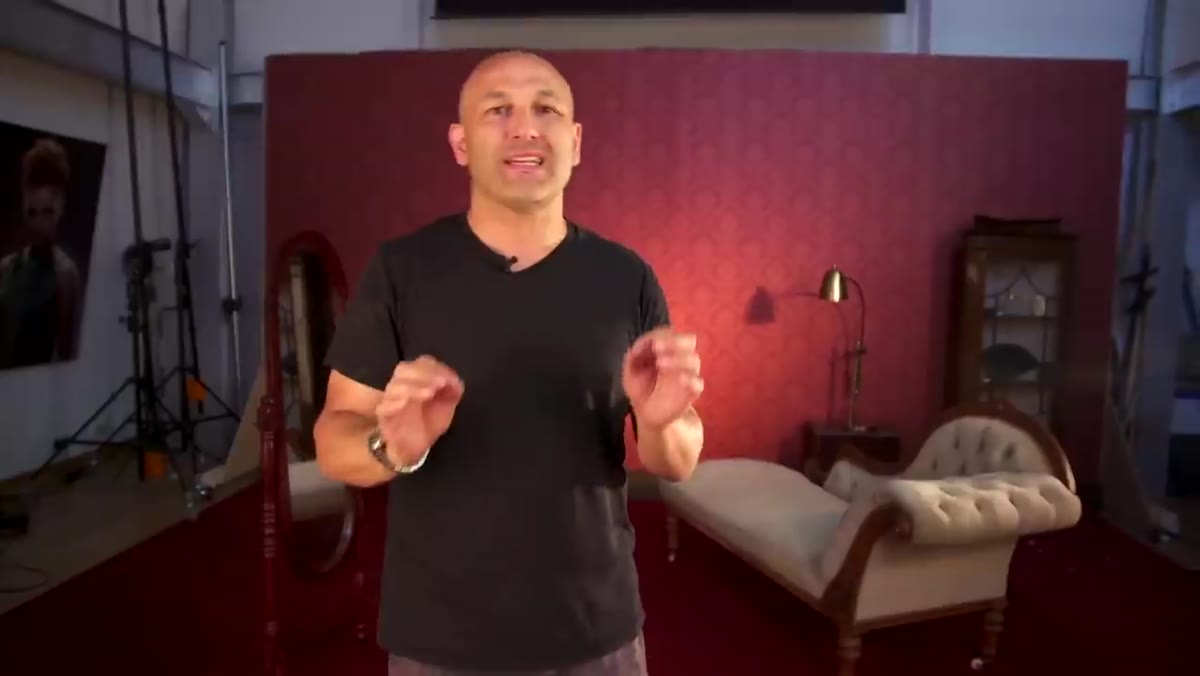
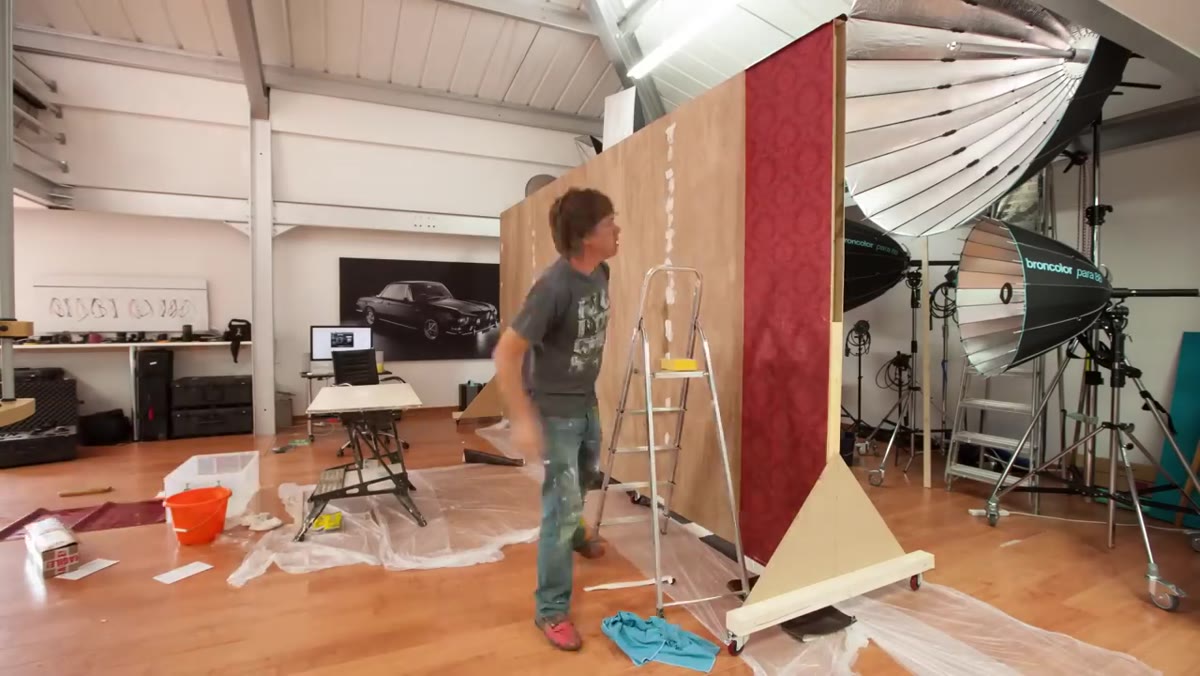 Mobile wall being constructed as a custom studio backdrop
Carl builds a mobile wall to act as his background, which gives him something a bare rental studio often won’t: complete control over what’s behind the model. The wall gets wallpapered, fitted with skirting board at the base, and a roll of carpet is laid down in front of it to extend the “room” feeling into the frame. This matters because seams, floor transitions, and unfinished edges all create extra retouching work later.
Mobile wall being constructed as a custom studio backdrop
Carl builds a mobile wall to act as his background, which gives him something a bare rental studio often won’t: complete control over what’s behind the model. The wall gets wallpapered, fitted with skirting board at the base, and a roll of carpet is laid down in front of it to extend the “room” feeling into the frame. This matters because seams, floor transitions, and unfinished edges all create extra retouching work later.
The practical lesson here is to treat your set like a stage flat. Even if you’re not building a wall from scratch, the same principle applies to shooting on location: frame out anything you can’t control, bring rugs or fabric to cover ugly floors, and use furniture and props to create layered depth. Carl notes that the props weren’t just decorative, they were chosen to theme the shoot and set the mood. A set with intention reads completely differently on camera than a room you just happened to be standing in.
Step 2: Assemble Your Full Team Before the Model Arrives
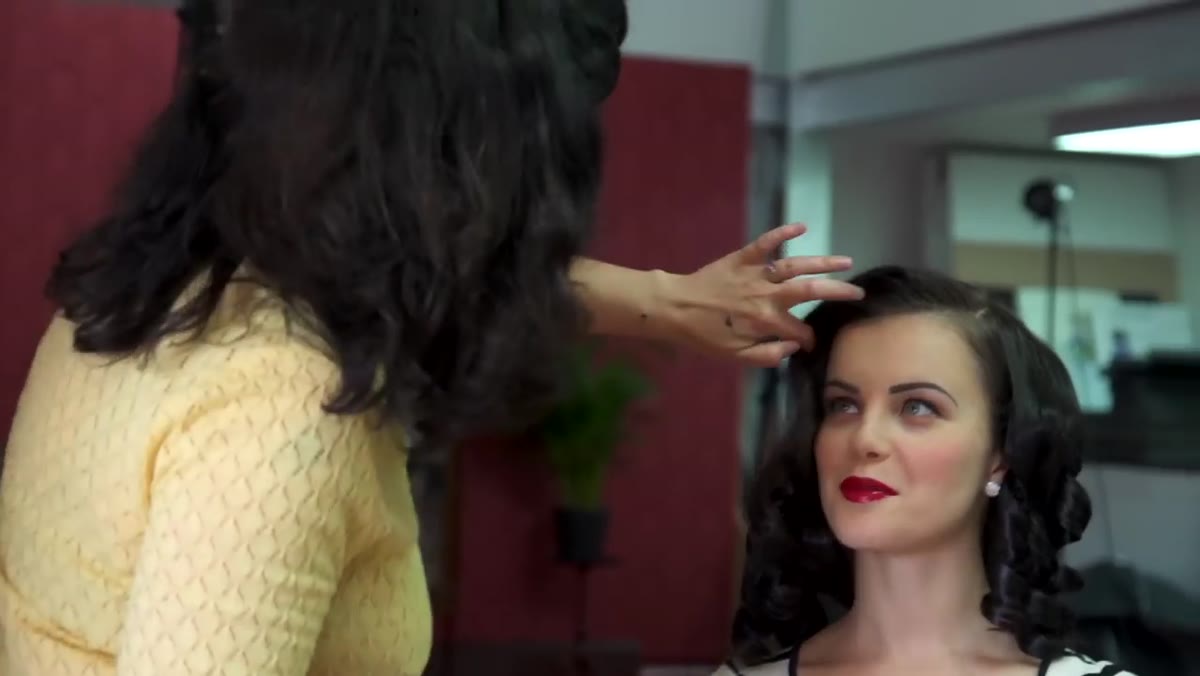 Hair stylist and makeup artist preparing the model pre-shoot
Carl runs through his crew: hair stylist, makeup artist, himself as photographer, and the lighting setup. This order matters. Having hair and makeup completed before you start adjusting lights means your model isn’t sitting under hot strobes while someone tries to set a curl. It also means your lighting test shots reflect the actual finished look, not a half-done version of it.
Hair stylist and makeup artist preparing the model pre-shoot
Carl runs through his crew: hair stylist, makeup artist, himself as photographer, and the lighting setup. This order matters. Having hair and makeup completed before you start adjusting lights means your model isn’t sitting under hot strobes while someone tries to set a curl. It also means your lighting test shots reflect the actual finished look, not a half-done version of it.
If you’re shooting solo without a dedicated team, build this buffer in another way. Ask the model to arrive camera-ready, or schedule an extended prep window before you even touch your equipment. The shoot rhythm is easier to maintain when you’re not context-switching between curling irons and light modifiers.
Step 3: Set Your Key Light for Dramatic, Skin-Flattering Output
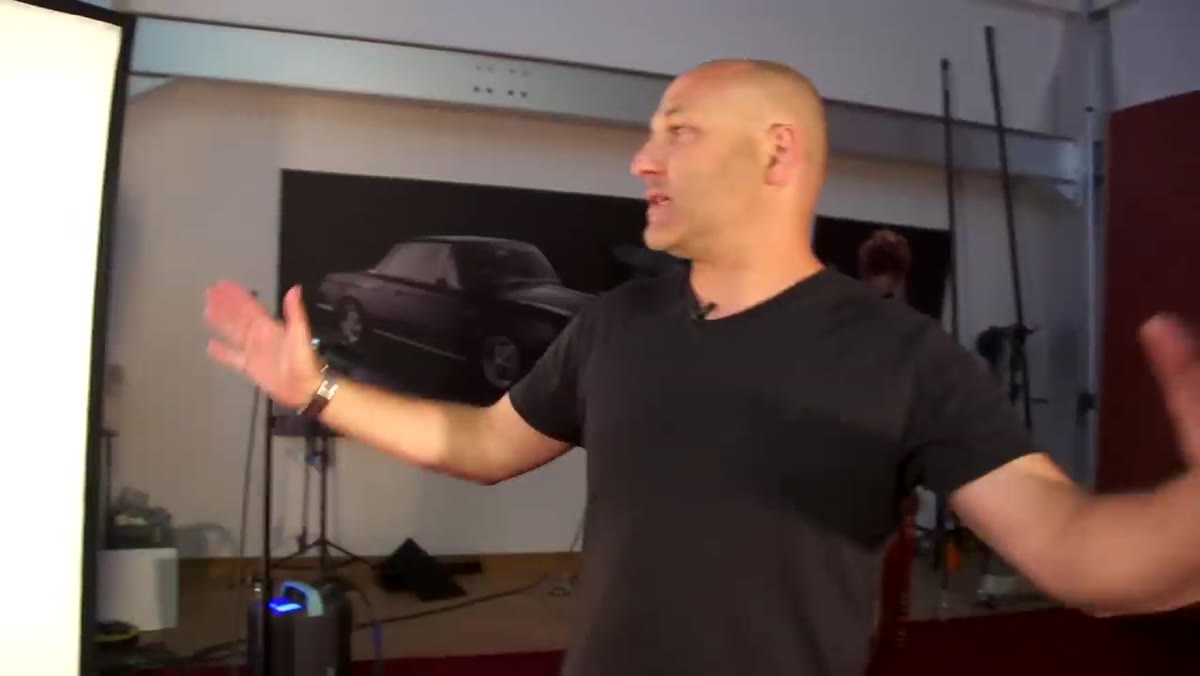 Carl explaining the PAR 88 key light position above the set
For most of the session, Carl uses a PAR 88 as his main key light, positioned above and angled down toward the model’s location on set. The PAR 88 produces a focused, directional beam that wraps beautifully across curves and creates strong shadows that define shape without needing to be harsh. He places it so it hits the model from a position that flatters without flattening.
Carl explaining the PAR 88 key light position above the set
For most of the session, Carl uses a PAR 88 as his main key light, positioned above and angled down toward the model’s location on set. The PAR 88 produces a focused, directional beam that wraps beautifully across curves and creates strong shadows that define shape without needing to be harsh. He places it so it hits the model from a position that flatters without flattening.
This is the kind of light choice that reduces your retouching load significantly. Soft, flat light is forgiving but it also removes the dimensionality that makes boudoir images feel tactile and real. A more directional source like the PAR 88 lets the light do the contouring work your dodge-and-burn brush would otherwise have to do in post.
Step 4: Use a Fresnel Light to Glow the Background Independently
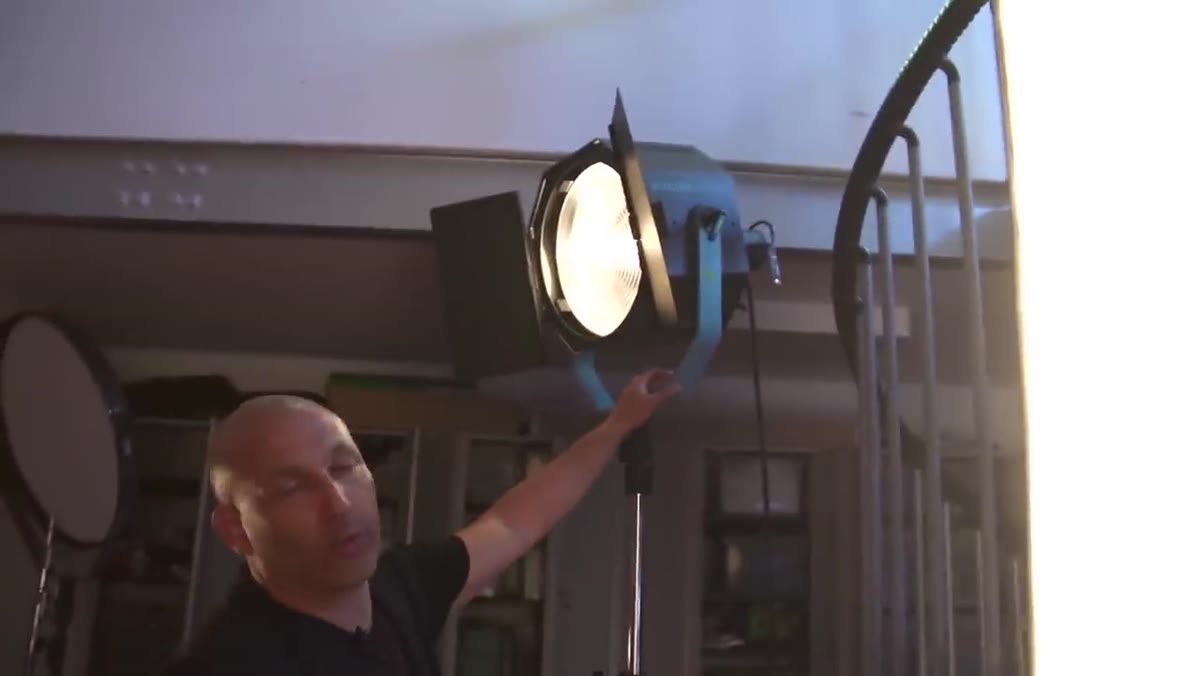 Broncolor Fresnel creating a soft radiating glow on the back wall
Carl adds a Broncolor fresnel unit aimed at the back wall to create what he describes as a soft, radiating glow. The key word is “independently.” The fresnel’s focused beam stays on the background without bleeding onto the subject or the furniture, which means Carl can control the background brightness as a completely separate variable from his key light.
Broncolor Fresnel creating a soft radiating glow on the back wall
Carl adds a Broncolor fresnel unit aimed at the back wall to create what he describes as a soft, radiating glow. The key word is “independently.” The fresnel’s focused beam stays on the background without bleeding onto the subject or the furniture, which means Carl can control the background brightness as a completely separate variable from his key light.
This separation is what gives boudoir images that sense of depth, where the subject feels like she exists inside a lit environment rather than in front of a lit backdrop. If you don’t have a fresnel, a gridded standard head aimed at the background achieves something similar. The grid keeps the spill contained, which is the main thing you’re after.
Step 5: Add Accent Lights to Create Pockets of Mystery
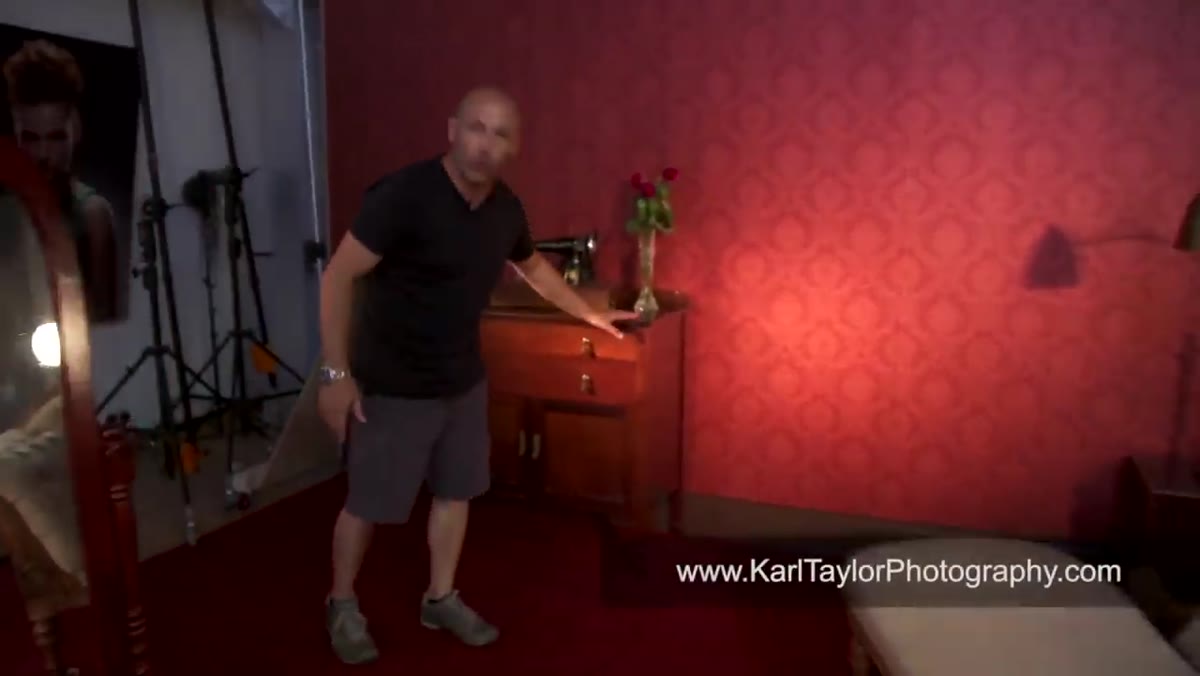 Small Pico lights with fresnel adapters highlighting furniture details
This is the step most beginners skip because it seems fussy, but it’s what separates a finished set from one that still looks like a studio. Carl uses smaller Broncolor Pico lights fitted with fresnel adapters to pick out specific details on the furniture. One light catches the corner of a chaise. Another brings out a decorative element nearby. The effect is a series of small, warm pools of light scattered through the frame.
Small Pico lights with fresnel adapters highlighting furniture details
This is the step most beginners skip because it seems fussy, but it’s what separates a finished set from one that still looks like a studio. Carl uses smaller Broncolor Pico lights fitted with fresnel adapters to pick out specific details on the furniture. One light catches the corner of a chaise. Another brings out a decorative element nearby. The effect is a series of small, warm pools of light scattered through the frame.
You don’t need Pico units to do this. A small continuous LED with a snoot or a homemade gobo made from black wrap can do the same job. The technique is: identify two or three elements in your set that would look beautiful if they caught a little glow, then place a tightly controlled, low-power light source on each one. Keep the output subtle so it reads as environmental light rather than a studio artifact.
Step 6: Switch Softbox for Softer, Bridal-Style Lingerie Looks
 Large 120x180cm Broncolor softbox replacing the PAR 88 for softer shots
Partway through the session, Carl swaps out the PAR 88 for a large Broncolor softbox, 120 by 180 centimeters, when the shoot transitions to wedding lingerie and corsetry. The reason is straightforward: different garments and different aesthetic intentions call for different qualities of light. The dramatic edge of the PAR 88 suits bold, confident imagery. The wrap of a large softbox reads as gentle, ethereal, and romantic.
Large 120x180cm Broncolor softbox replacing the PAR 88 for softer shots
Partway through the session, Carl swaps out the PAR 88 for a large Broncolor softbox, 120 by 180 centimeters, when the shoot transitions to wedding lingerie and corsetry. The reason is straightforward: different garments and different aesthetic intentions call for different qualities of light. The dramatic edge of the PAR 88 suits bold, confident imagery. The wrap of a large softbox reads as gentle, ethereal, and romantic.
This is a habit worth building: plan your lighting transitions the same way you plan your wardrobe changes. If a session has more than one “mood,” the lighting should shift to match. It doesn’t have to be a complete rebuild. Sometimes swapping one modifier is enough to change the entire emotional register of the frame.
A Note on Posing as a Lighting Variable
One thing Carl demonstrates throughout the shoot that deserves its own moment: he treats foot position as a finishing detail, not an afterthought. He walks the model through angling her feet to a single point rather than leaving them parallel, specifically noting that even if it feels slightly uncomfortable, it photographs as elegant. The same principle applies to hands, shoulders, and chin angle.
I bring this up because lighting and posing are not separate categories in boudoir work. The way a subject holds her body determines where shadows fall, how the key light rakes across her skin, and whether the overall image reads as confident or stiff. If you’re spending time perfecting your lighting setup but rushing through posing directions, you’re leaving a lot on the table.
The single biggest takeaway from Carl’s approach is this: time spent on lighting precision before the shoot is time you don’t spend retouching after it. Build the set. Separate your light sources so each one does one job. Control your background, your key, and your accent lights as independent elements. The images that come out of that kind of preparation look finished straight from the camera.
Watch the full tutorial on YouTube to see the behind-the-scenes footage and get a sense of how Carl moves through the session in real time. Seeing the set, the model, and the lights all in frame together makes the layering logic click in a way that’s hard to get from descriptions alone.
Comments
Leave a Comment