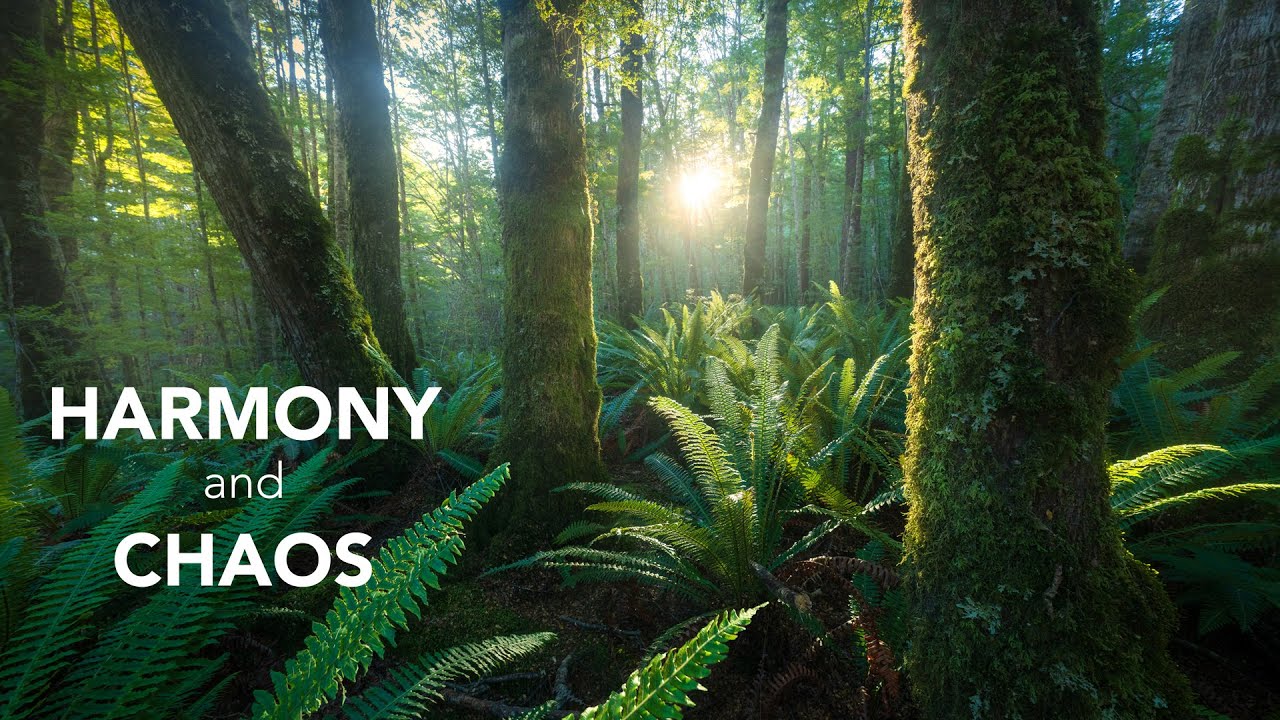
Forest photography has a way of humbling you fast. I’ve walked into beautiful woodland scenes with a full bag of gear and walked out with nothing I wanted to keep. The problem was never the forest. It was me, rushing, forcing compositions that looked good in my head but fell flat on the sensor. I’d frame up a shot, decide it wasn’t working, move twenty feet, try again, and repeat until the light was gone.
That changed when I started treating the forest the way Watch the full tutorial on YouTube creator William Patino does in his woodland photography walkthrough. Patino shot this entire session at a location ten minutes from his home during golden hour, with no grand plan, just good timing and the patience to let the place speak first. What comes through isn’t just technique. It’s a whole different relationship with the environment you’re shooting in. And it’s practical in ways that will immediately change how you behave on your next forest walk.
I’ve been doing Sunday morning photo walks for years, and this tutorial reorganized how I think about every single one of them. Here’s what Patino covers, broken down into steps you can take into the field today.
Step 1: Arrive Early, Sit Down, and Stop Shooting
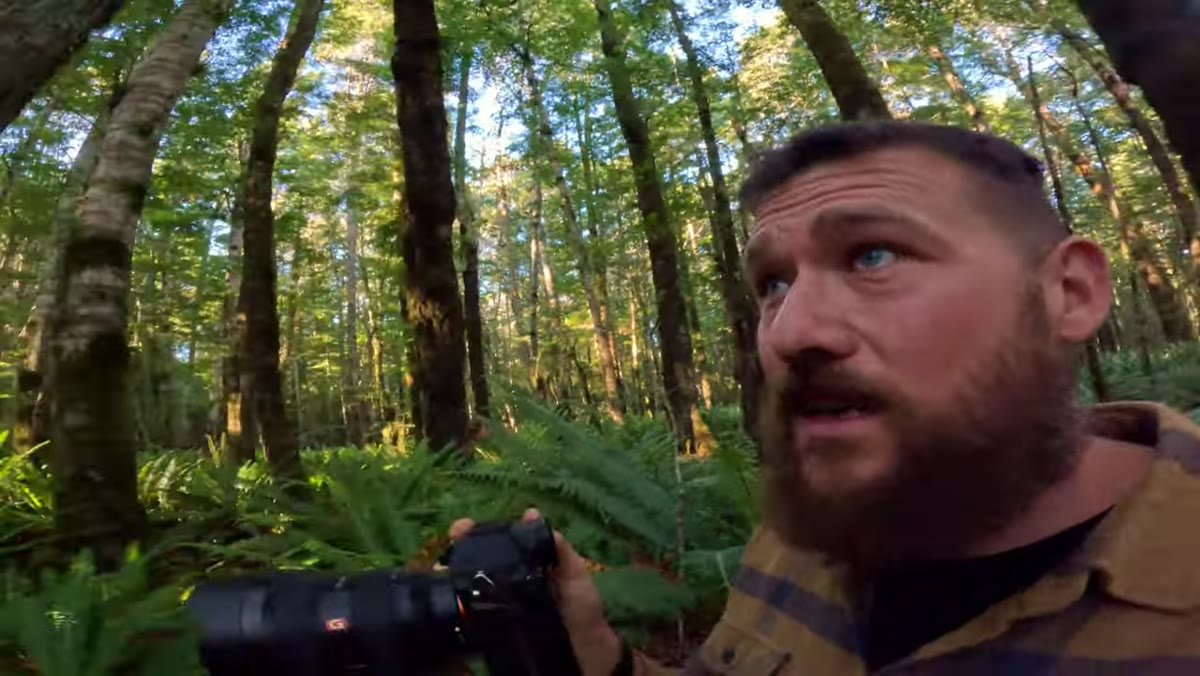
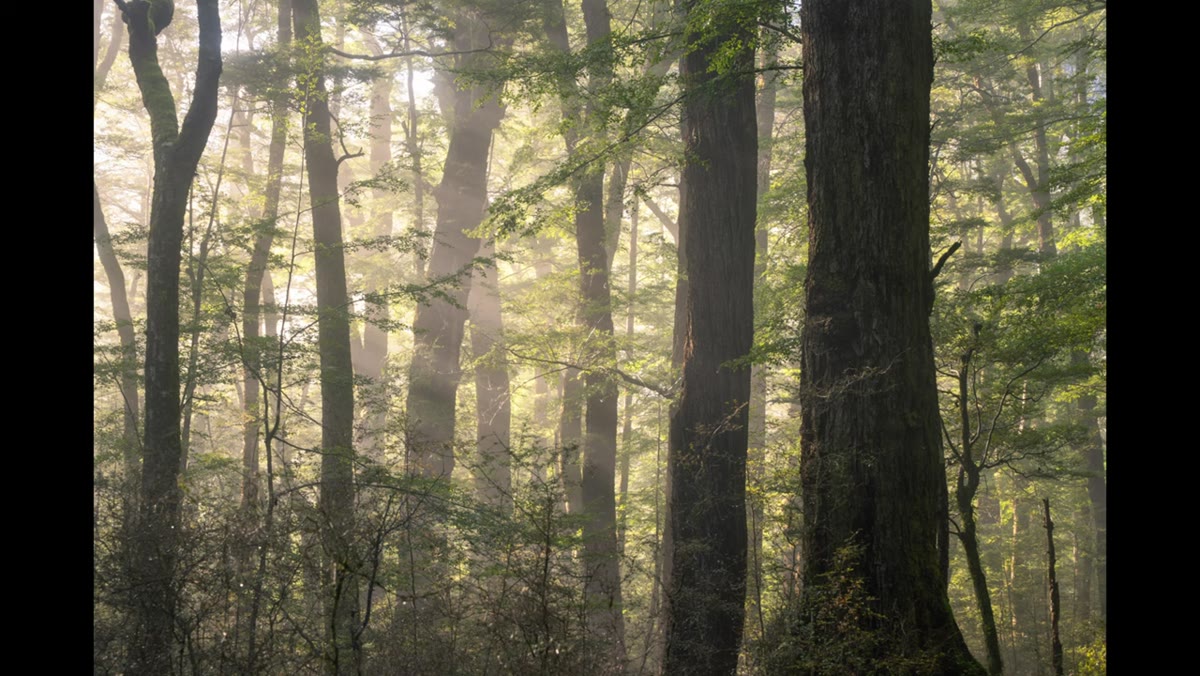 Photographer walking calmly into a quiet forest scene
Before you raise the camera, give yourself a few minutes to just be in the space. Patino is explicit about this. He talks about getting into the rhythm of the forest, and he means it literally. When you first arrive, your nervous system is still in transit mode. You’re thinking about parking, about whether you packed the right lens, about the shot you planned on the drive over. None of that is useful here.
Photographer walking calmly into a quiet forest scene
Before you raise the camera, give yourself a few minutes to just be in the space. Patino is explicit about this. He talks about getting into the rhythm of the forest, and he means it literally. When you first arrive, your nervous system is still in transit mode. You’re thinking about parking, about whether you packed the right lens, about the shot you planned on the drive over. None of that is useful here.
Sit somewhere for two or three minutes. Watch where the light is moving. Notice which trees are catching it, where the shadows are falling, what’s in the foreground versus the middle distance. You’re not wasting time. You’re doing the compositional work that most photographers try to do while also managing their camera, which means they do both things poorly.
Step 2: Use Groups of Three as Your Compositional Anchor
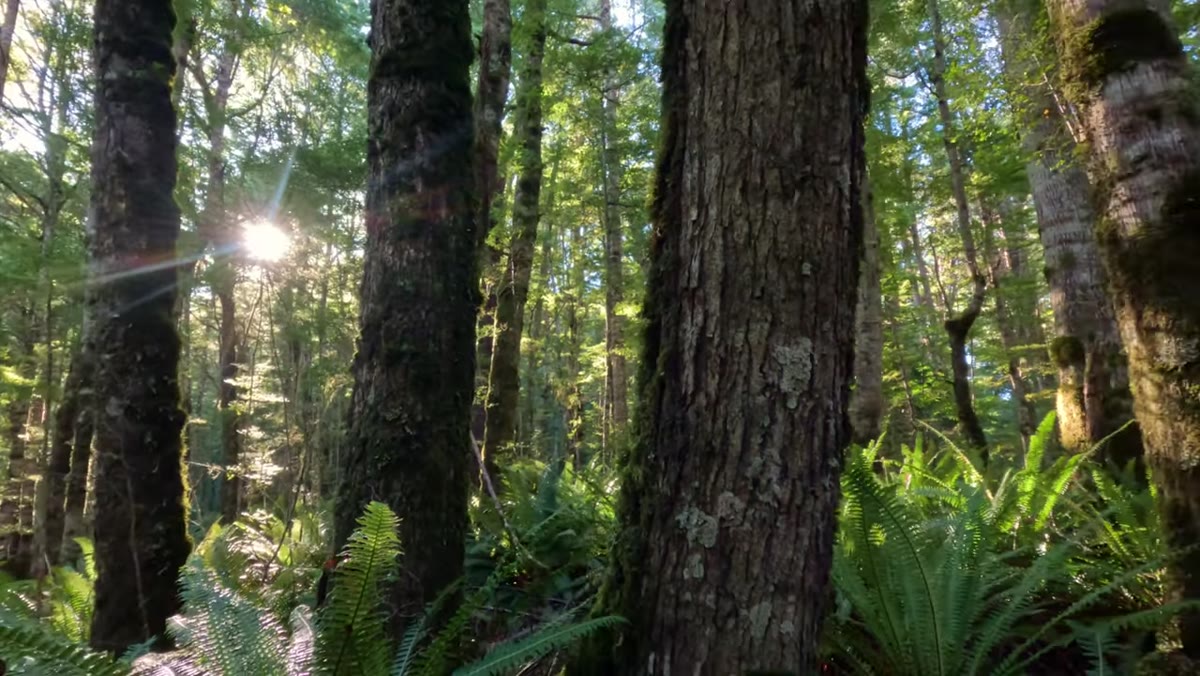 Three trees framing a sunstar breaking through the canopy
When Patino finds a composition he likes, he counts his elements. Three is the number he keeps returning to, and there’s a real reason for it. Odd numbers create visual tension in the best sense. Your eye doesn’t land on one element and stop. It moves between them, which keeps the viewer engaged longer. Two trees feel static. Three trees feel like a scene.
Three trees framing a sunstar breaking through the canopy
When Patino finds a composition he likes, he counts his elements. Three is the number he keeps returning to, and there’s a real reason for it. Odd numbers create visual tension in the best sense. Your eye doesn’t land on one element and stop. It moves between them, which keeps the viewer engaged longer. Two trees feel static. Three trees feel like a scene.
Look for natural groupings as you move through the forest. It might be three vertical trunks, three pools of light on the ground, or a foreground element plus a mid-ground subject plus a light source in the background. You don’t need to manufacture the grouping. Train yourself to notice where it already exists, and then position yourself so the camera sees it cleanly.
Step 3: Control Your Sun Star With Position, Not Just Aperture
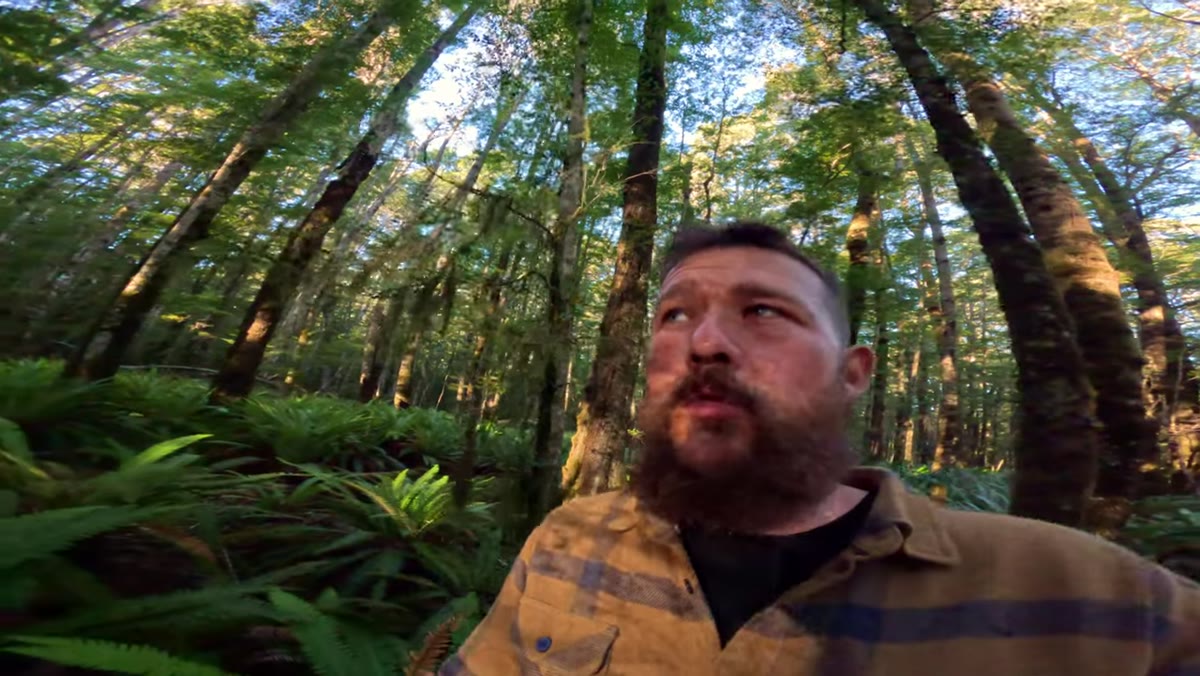
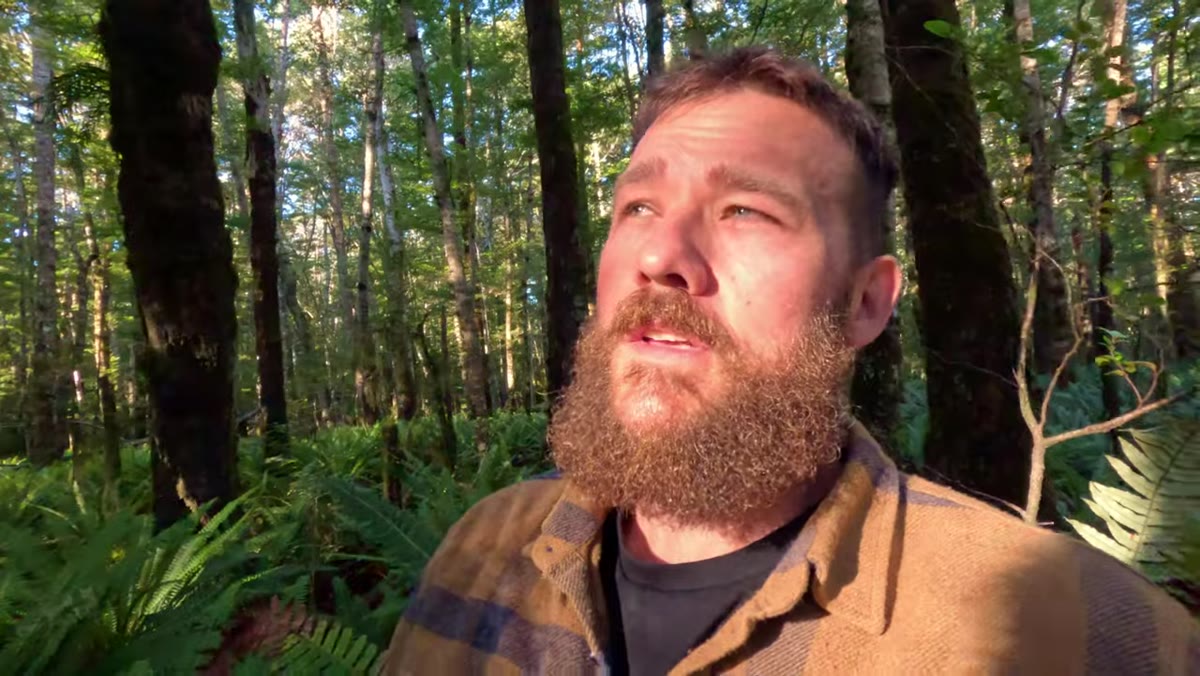 Photographer edging sideways to partially block the sun behind a tree trunk
Sun stars are one of those effects that look magical when they work and distracting when they don’t. Patino’s advice here is the clearest breakdown of sun star technique I’ve heard. The first and most important thing is positioning: the sun needs to be partially blocked by a solid object, in this case a tree trunk. If the full sun is hitting your lens directly, you won’t get a clean star. You’ll get flare and blown highlights.
Photographer edging sideways to partially block the sun behind a tree trunk
Sun stars are one of those effects that look magical when they work and distracting when they don’t. Patino’s advice here is the clearest breakdown of sun star technique I’ve heard. The first and most important thing is positioning: the sun needs to be partially blocked by a solid object, in this case a tree trunk. If the full sun is hitting your lens directly, you won’t get a clean star. You’ll get flare and blown highlights.
Move laterally, left and right, until the sun is just peeking around the edge of a trunk. You’ll be able to feel when you’ve got it right because the light will stop hitting you directly in the face. From there, aperture controls the character of the star. A wider aperture like f/8 gives you fewer, softer points. Stop down to f/16 or beyond and the points multiply and sharpen. Shoot several frames across that range, and also shoot frames without the sun star entirely. Sometimes the cleaner image wins in post.
Step 4: Decide Whether You’re Shooting Landscape or Wildlife Before You Raise the Camera
 Wide angle shot attempting to keep both bird and background in sharp focus
When Patino encounters a group of fantail birds during his shoot, he makes a deliberate decision. He’s not going for a wildlife portrait. He wants a landscape image that happens to include a living creature in the foreground. That distinction completely changes your approach to focus, depth of field, and framing.
Wide angle shot attempting to keep both bird and background in sharp focus
When Patino encounters a group of fantail birds during his shoot, he makes a deliberate decision. He’s not going for a wildlife portrait. He wants a landscape image that happens to include a living creature in the foreground. That distinction completely changes your approach to focus, depth of field, and framing.
For a wildlife portrait, you’d isolate the subject with a shallow depth of field. For a landscape with a foreground subject, you need the whole scene to read. Patino switches to a wide angle lens and uses focus bracketing to keep both the nearby birds and the distant trees acceptably sharp. This is a focus stacking setup: shoot multiple frames with focus pulled to different distances, then blend them in post. If you’re not doing focus stacking yet, at minimum stop down to f/11 or f/14 and focus about a third of the way into the scene.
Step 5: Use Light to Direct the Eye, Not Just to Illuminate the Subject
 Forest foreground in shade with bright light drawing the eye toward the background
One of the quieter lessons in Patino’s tutorial is how he positions himself relative to the available light. He keeps his foreground in shade or low light and lets the brighter patches further back in the frame do the work of pulling the viewer’s eye through the scene. This is an old landscape painting principle and it translates directly to forest photography.
Forest foreground in shade with bright light drawing the eye toward the background
One of the quieter lessons in Patino’s tutorial is how he positions himself relative to the available light. He keeps his foreground in shade or low light and lets the brighter patches further back in the frame do the work of pulling the viewer’s eye through the scene. This is an old landscape painting principle and it translates directly to forest photography.
When you’re composing, ask yourself where the brightest part of your frame is. If it’s the foreground, that’s where attention will land and stay. If you want depth, you want the foreground to be relatively darker so the eye naturally travels toward the light in the mid-ground or background. You often don’t need to change your position dramatically. A few steps in one direction can shift which parts of the scene are in direct light and which are shaded by the canopy.
Step 6: Be Cautious With Vertical Framing in Dense Forest
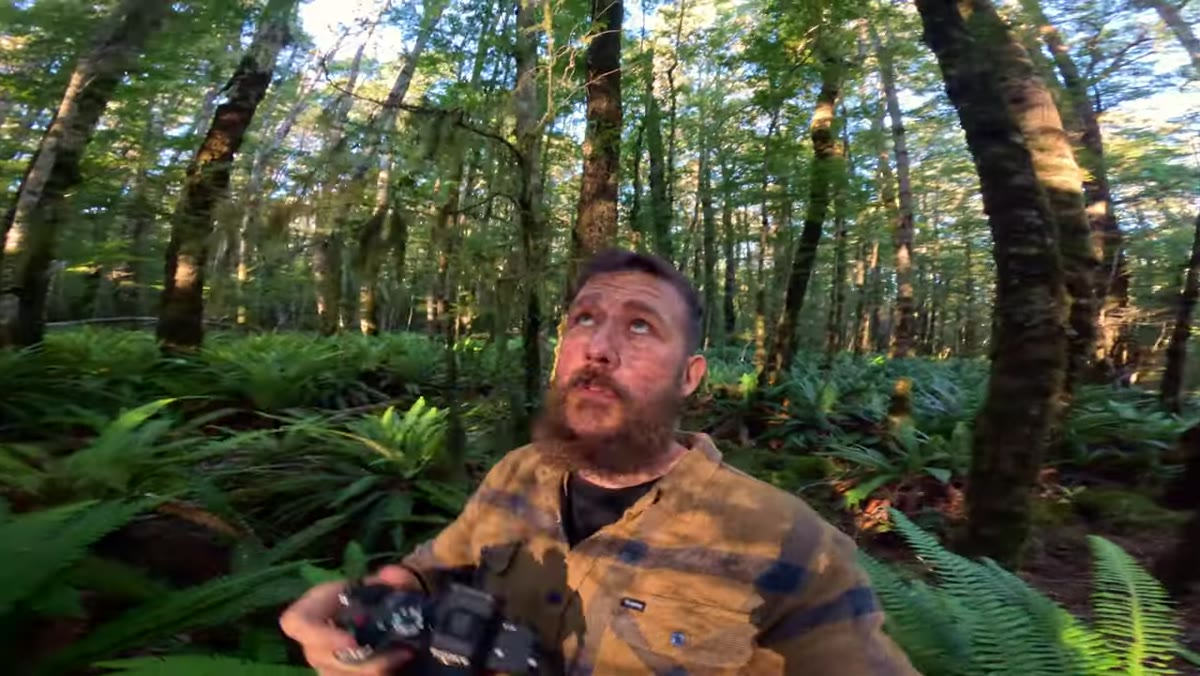 Vertical frame showing distracting open sky above the tree line
Patino briefly flags this and it’s worth slowing down on. He rarely shoots vertical in forest environments because going portrait orientation almost always pulls in a chunk of sky at the top of the frame, and sky competes with the forest for attention in a way that weakens the image.
Vertical frame showing distracting open sky above the tree line
Patino briefly flags this and it’s worth slowing down on. He rarely shoots vertical in forest environments because going portrait orientation almost always pulls in a chunk of sky at the top of the frame, and sky competes with the forest for attention in a way that weakens the image.
Horizontal framing keeps the eye inside the trees, where the interesting tonal relationships and depth cues live. If you do shoot vertical, make sure the canopy closes in enough overhead that sky isn’t dominating the top third of your frame.
What I’d Add From My Own Experience
The one thing this tutorial doesn’t address directly is sound, which I know sounds strange for a photography article. But on my Sunday walks, I’ve started leaving my earbuds at home. When you can hear the forest, you notice movement before you see it. That’s how I’ve caught light shifting through the canopy, birds landing nearby, fog rolling through a gap in the trees. Your ears can give you a few extra seconds of preparation that your eyes alone won’t. It’s a small habit change that has genuinely improved my keeper rate in natural environments.
The single most transferable idea in Patino’s tutorial is this: you cannot force a forest image. You can only position yourself well and stay patient long enough for the image to show itself. Everything else, the sun star technique, the compositional groupings, the light direction, follows from that starting point. Get yourself into the right place at the right time, and then actually slow down enough to see what’s in front of you.
Watch the full tutorial on YouTube and pay attention to how Patino moves through the scene. The technique is worth learning. The pace is worth stealing entirely.
Comments (4)
Just subscribed. If the rest of your content is this good, I'm in.
This is fantastic. I've been recommending this approach to my readers too.
Quality content like this is rare. Keep it up.
Excellent tutorial. I'd add that from a color grading standpoint, this technique is incredibly versatile.
Leave a Comment