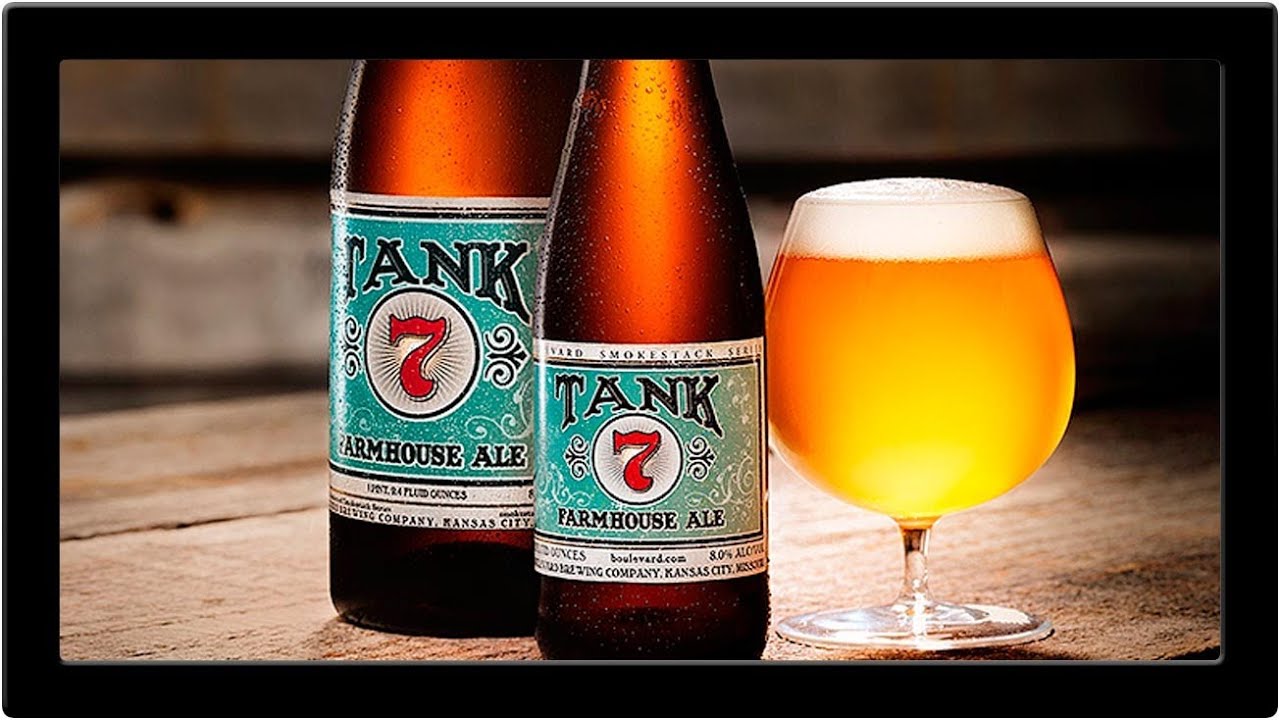
Product photography has humbled me more than once. I shoot lifestyle and travel almost exclusively, so when someone asks me about tabletop product work, I used to quietly change the subject. The lighting logic is different, the margins for error are smaller, and glass and liquid together are basically a nightmare for reflections. So when I came across this Aaron Nace (PHLEARN) tutorial featuring St. Louis beverage photographer Rob Grimm, I watched it three times in a row. Watch the full tutorial on YouTube
What Rob does in this video is walk through a real portfolio shoot for Boulevard Brewing’s Tank 7 Farmhouse Ale, and he doesn’t skip the messy, decision-making parts. You see how the set came together, why he adjusted his camera angle on the fly, and how he solved specific lighting problems with specific tools. That’s the kind of breakdown I can actually use. Here’s what I took away, step by step.
Step 1: Build a Set That Tells the Product’s Story
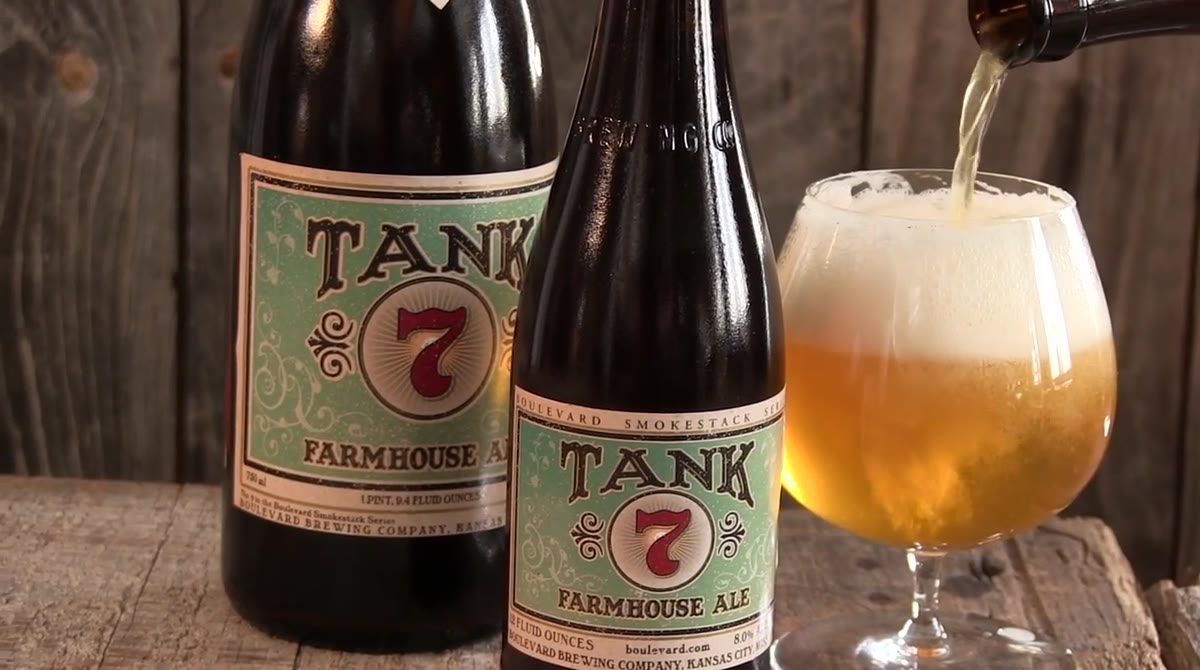 Rob gesturing toward rustic barn wood background and surface
Before a single light goes up, Rob makes a deliberate prop and styling choice: the background and shooting surface are both reclaimed barn wood sourced from an old sawmill. The beer is a farmhouse ale, so the environment earns its place. This isn’t decoration for decoration’s sake. Every element on your set is communicating something to the viewer, and if your props don’t match the product’s identity, the image feels hollow no matter how good your lighting is.
Rob gesturing toward rustic barn wood background and surface
Before a single light goes up, Rob makes a deliberate prop and styling choice: the background and shooting surface are both reclaimed barn wood sourced from an old sawmill. The beer is a farmhouse ale, so the environment earns its place. This isn’t decoration for decoration’s sake. Every element on your set is communicating something to the viewer, and if your props don’t match the product’s identity, the image feels hollow no matter how good your lighting is.
When you’re building a tabletop set, start with the brand story and work outward. What does this product feel like? What world does it belong to? Then find materials that physically represent that world. Barn wood, linen, concrete, marble - surface and background choices set the emotional tone before the camera is even pointed at anything.
Step 2: Choose Your Camera Angle to Reveal the Surface and the Product
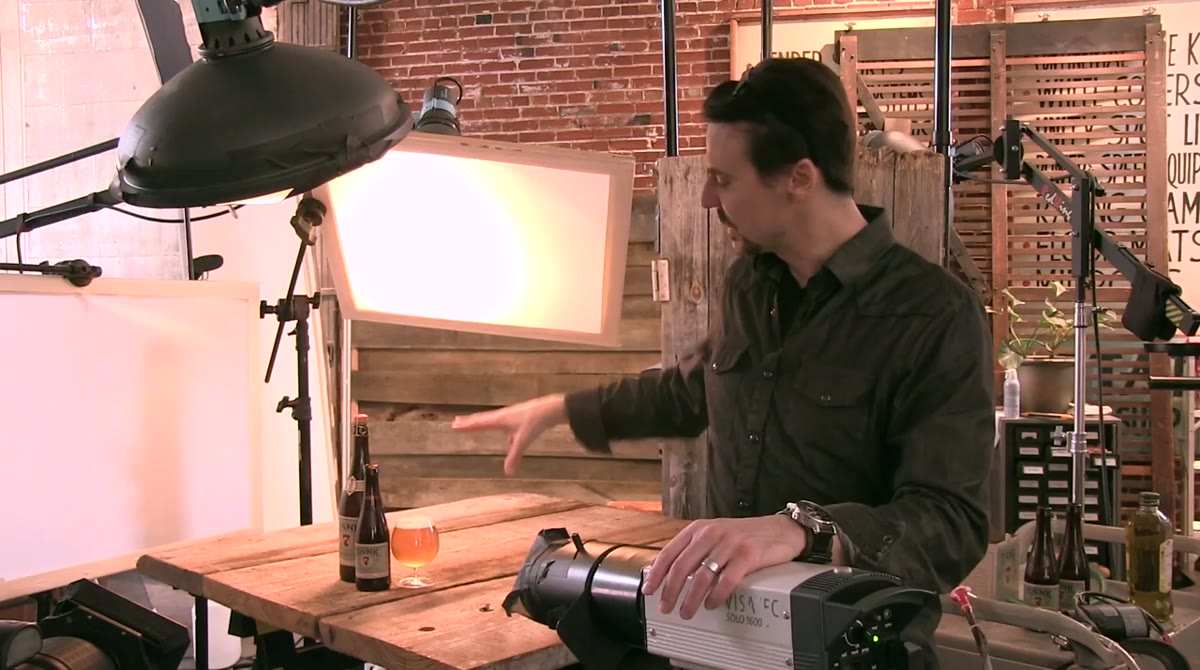 Rob standing behind camera showing slightly elevated angle toward bottles
Rob initially planned a lower, more dramatic “heroic” angle that would make the bottles feel large and imposing. He raised the camera slightly from that original position for a specific reason: he wanted to catch the front edge of the wooden surface and let it read as part of the scene. His final angle puts the lens almost level with the neck of the bottles.
Rob standing behind camera showing slightly elevated angle toward bottles
Rob initially planned a lower, more dramatic “heroic” angle that would make the bottles feel large and imposing. He raised the camera slightly from that original position for a specific reason: he wanted to catch the front edge of the wooden surface and let it read as part of the scene. His final angle puts the lens almost level with the neck of the bottles.
The lesson here is that your camera angle isn’t just about the subject, it’s about what else you want the frame to hold. A slightly higher angle can include the texture of a surface and ground the product in its environment. A lower angle can make a bottle feel monumental but risks flattening the background into an abstract smear. Try both before committing, and ask yourself what secondary elements you’re gaining or losing with each choice.
Step 3: Use a Cross-Polarization Setup to Kill Unwanted Glare on Glass
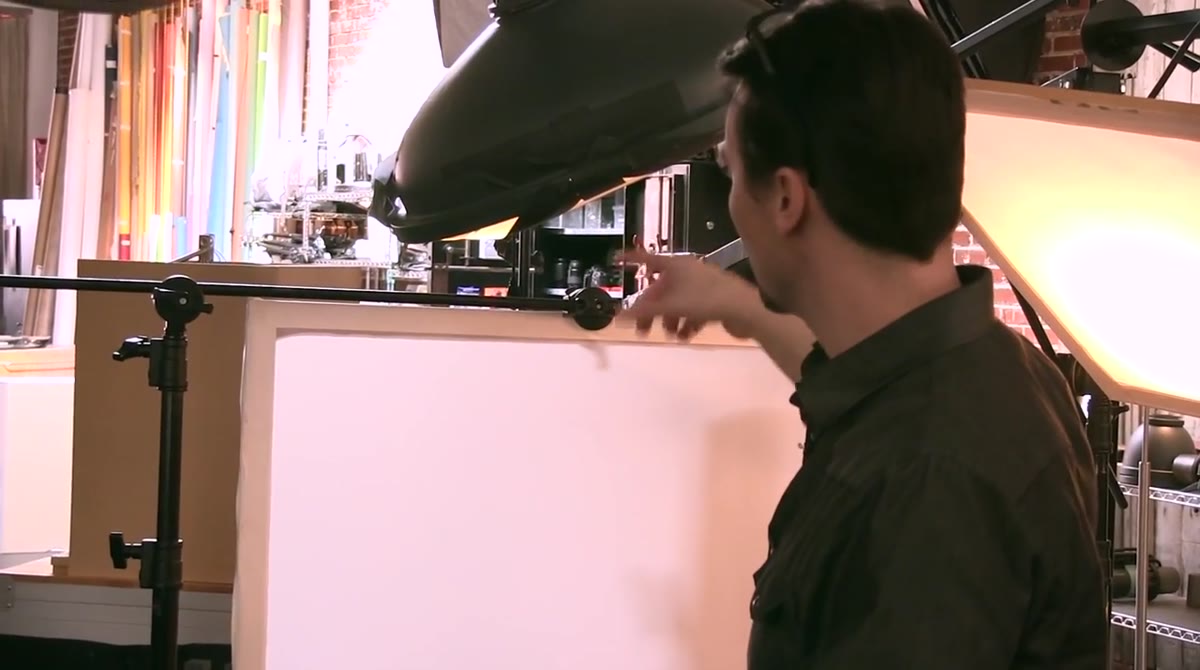 Rob pointing to polarizing gel on main light and polarizer on lens
This is the technique I had never seen explained so clearly before. Rob uses a two-part polarization system: a polarizing gel placed directly over one of his main lights, and a circular polarizing filter on the lens. He first dials in the lens polarizer to clean up general scene glare. Then he rotates the gel on the light independently until the large, oblong highlight that would otherwise bloom across the front of the bottle disappears entirely.
Rob pointing to polarizing gel on main light and polarizer on lens
This is the technique I had never seen explained so clearly before. Rob uses a two-part polarization system: a polarizing gel placed directly over one of his main lights, and a circular polarizing filter on the lens. He first dials in the lens polarizer to clean up general scene glare. Then he rotates the gel on the light independently until the large, oblong highlight that would otherwise bloom across the front of the bottle disappears entirely.
Without this setup, curved glass under direct light produces that chunky, blown-out hot spot that makes a bottle look plasticky and cheap. Cross-polarization gives you full control over which highlights stay and which ones go. If you shoot glass products regularly and you’re not using this technique, it’s worth the investment in polarizing gels. They’re not expensive, and the difference in your glass shots will be immediate and significant.
Step 4: Isolate the Label with a Focused Spot Light
 Rob holding small Visatec Monobloc with Infraspot attachment
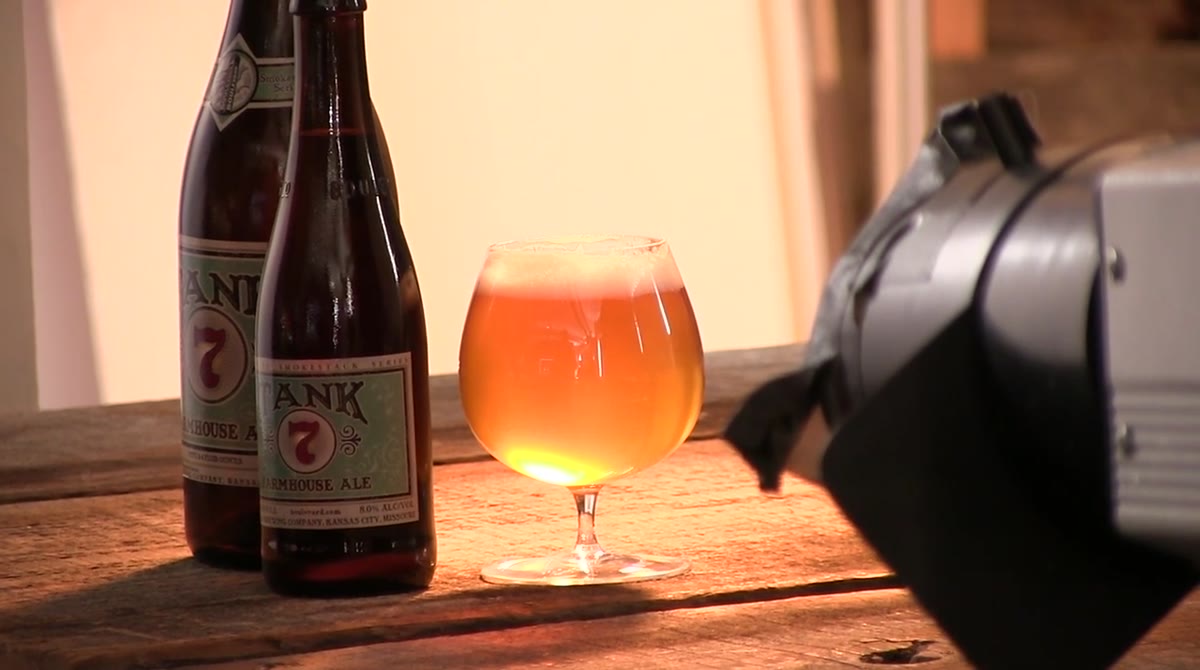
Rob pulls out a small Visatec Monobloc fitted with an Infraspot attachment specifically to light the label. His main lighting approach sculpts light around and through the bottle, which tends to leave the label dark by comparison. Rather than compromising the overall lighting to compensate, he adds a dedicated, tightly controlled spot aimed only at the label.
Rob holding small Visatec Monobloc with Infraspot attachment
Rob pulls out a small Visatec Monobloc fitted with an Infraspot attachment specifically to light the label. His main lighting approach sculpts light around and through the bottle, which tends to leave the label dark by comparison. Rather than compromising the overall lighting to compensate, he adds a dedicated, tightly controlled spot aimed only at the label.
The principle is worth internalizing: in beverage and product photography, different parts of the subject often need different light sources working independently. The label needs legibility. The liquid inside the bottle needs translucency. The bottle shape needs rim light. Trying to solve all three problems with one or two lights usually means solving none of them well. A small spot light like an Infraspot (or even a gridded snoot on a speed light) gives you surgical control so the label pops without blowing out everything around it.
Step 5: Use a Diffusion Panel and Reflector as a Dual-Purpose Background Light
 Rob pointing to diffusion panel and reflector setup behind the bottles
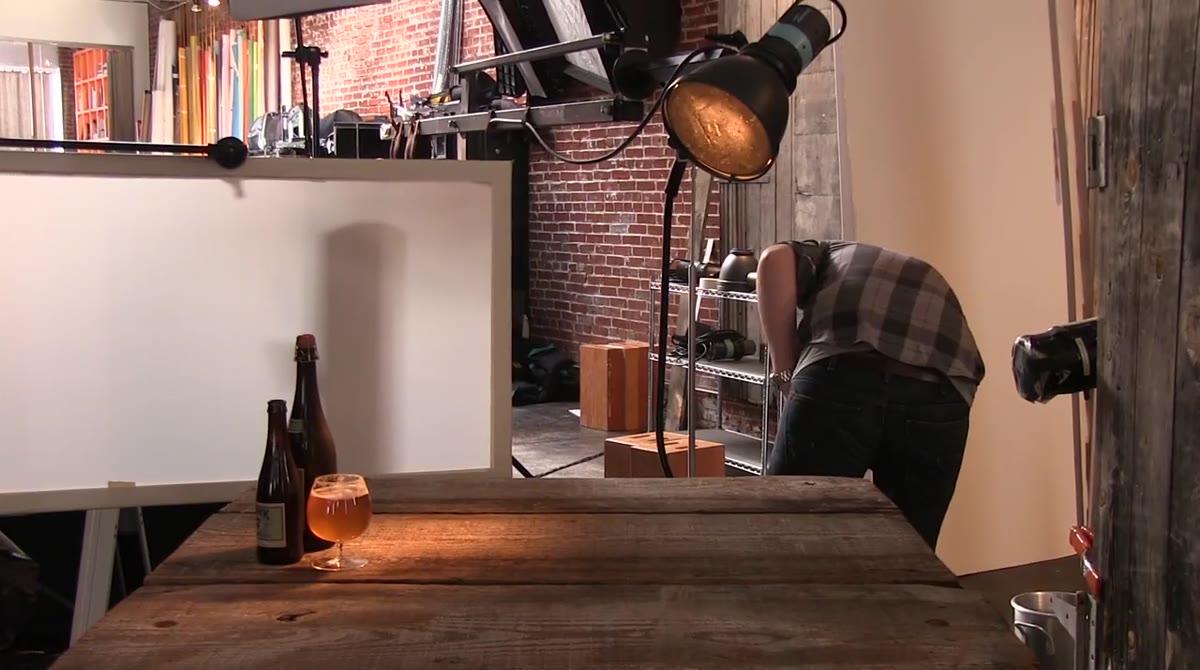
Behind the bottles, Rob has a diffusion panel in front of a reflector head. He uses this setup two different ways at different points in the shoot. With the diffusion panel in place and a gold card introduced into the scene, the light wraps evenly across the full width of the shot and produces a warm, consistent reflection through the bottles. When he removes the diffusion panel and swaps in a grid insert on the reflector head, the light becomes more directional and rakes across the base of the bottles, creating a sense of depth and making it look like light is traveling forward toward the camera.
Rob pointing to diffusion panel and reflector setup behind the bottles
Behind the bottles, Rob has a diffusion panel in front of a reflector head. He uses this setup two different ways at different points in the shoot. With the diffusion panel in place and a gold card introduced into the scene, the light wraps evenly across the full width of the shot and produces a warm, consistent reflection through the bottles. When he removes the diffusion panel and swaps in a grid insert on the reflector head, the light becomes more directional and rakes across the base of the bottles, creating a sense of depth and making it look like light is traveling forward toward the camera.
That two-in-one approach is smart resource management. One light position, two modifiers, two distinct looks. If you’re working with a limited number of lights, think about how modifying a single source changes its behavior rather than reaching for another stand.
My Honest Caveat About Applying This at Home
Most of us aren’t working with a Hasselblad and a dedicated studio full of Visatec lights, and that’s fine. The cross-polarization technique is the one I’d prioritize if you’re shooting glass products with whatever gear you have. You can tape a polarizing gel to a speed light and use a $15 circular polarizer on your lens and see real results. The Infraspot concept also translates: a speed light inside a cardboard snoot, cut to shape, will give you a controllable label light in a pinch.
What doesn’t translate easily without purpose-built modifiers is the precision Rob has over each zone of light. That’s where the gap between a controlled studio setup and a home tabletop shows up. But understanding why he’s making each choice means you can approximate the result even with improvised tools. That’s how I approach most techniques I pick up from working pros: steal the logic first, figure out the gear second.
The single most important thing Rob demonstrates in this tutorial is that every light in a beverage setup has one specific job. The moment you’re clear on what each light is responsible for, the whole setup becomes less overwhelming and more solvable. Watch the full tutorial on YouTube to see the before-and-after results and watch Rob work through each adjustment in real time.
Comments (1)
Love how you break down complex stuff into manageable steps.
Leave a Comment