
If you’ve ever stood in front of a stunning scene - a glowing city skyline, a backlit canyon, a window-lit interior - and felt your heart sink knowing your camera couldn’t capture what your eyes were seeing, HDR is the technique that was built for that exact frustration. High dynamic range photography lets you shoot multiple exposures and merge them together in post, essentially giving your final image more light information than any single frame could hold. I’ve been leaning on it for travel and architectural work for years.
What I hadn’t seriously tested, though, was whether stacking more exposures actually makes a meaningful difference. Newer cameras are pushing bracket counts higher and higher - nine exposures is becoming standard on some Sony bodies - and I started wondering whether all that extra data was genuinely improving my results or just filling up my memory cards. When I found this Aaron Nace (PHLEARN) tutorial doing a direct head-to-head comparison of a single-image HDR, a three-exposure HDR, and a nine-exposure HDR using the same scene, I watched it twice. Watch the full tutorial on YouTube before or after reading this - the visual comparison he does at the end is worth seeing with your own eyes.
The test was shot in downtown Chicago with a Sony a7R IV, bracketed at 0.7-stop increments across nine frames. Aaron walks through building all three HDR versions inside Lightroom, then compares them side by side. Here’s exactly how he does it, and what it means for your shooting decisions going forward.
Step 1: Understand What Each Exposure in the Bracket Is Doing
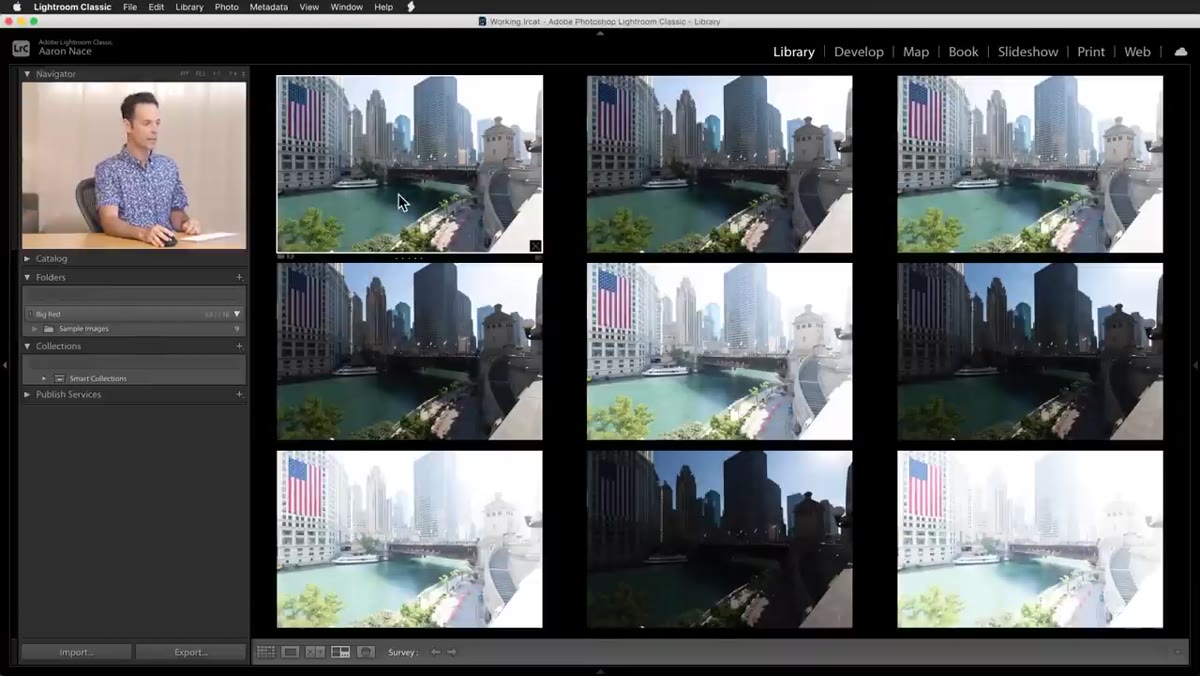 Nine bracketed exposures displayed in Lightroom grid view
Before you merge anything, it helps to look at your bracketed sequence and understand the job each frame is doing. In a nine-exposure bracket at 0.7-stop increments, your darkest frames are capturing highlight detail - the bright sky, the sun, the glowing windows. Your lightest frames are opening up the shadows, pulling in detail from the dark corners and underlit areas your normal exposure would lose entirely. The middle frames handle the midtones. When you understand this, you’re not just merging photos randomly. You’re combining specialized exposures, each doing a specific job.
Nine bracketed exposures displayed in Lightroom grid view
Before you merge anything, it helps to look at your bracketed sequence and understand the job each frame is doing. In a nine-exposure bracket at 0.7-stop increments, your darkest frames are capturing highlight detail - the bright sky, the sun, the glowing windows. Your lightest frames are opening up the shadows, pulling in detail from the dark corners and underlit areas your normal exposure would lose entirely. The middle frames handle the midtones. When you understand this, you’re not just merging photos randomly. You’re combining specialized exposures, each doing a specific job.
Step 2: Merge Nine Exposures into an HDR in Lightroom
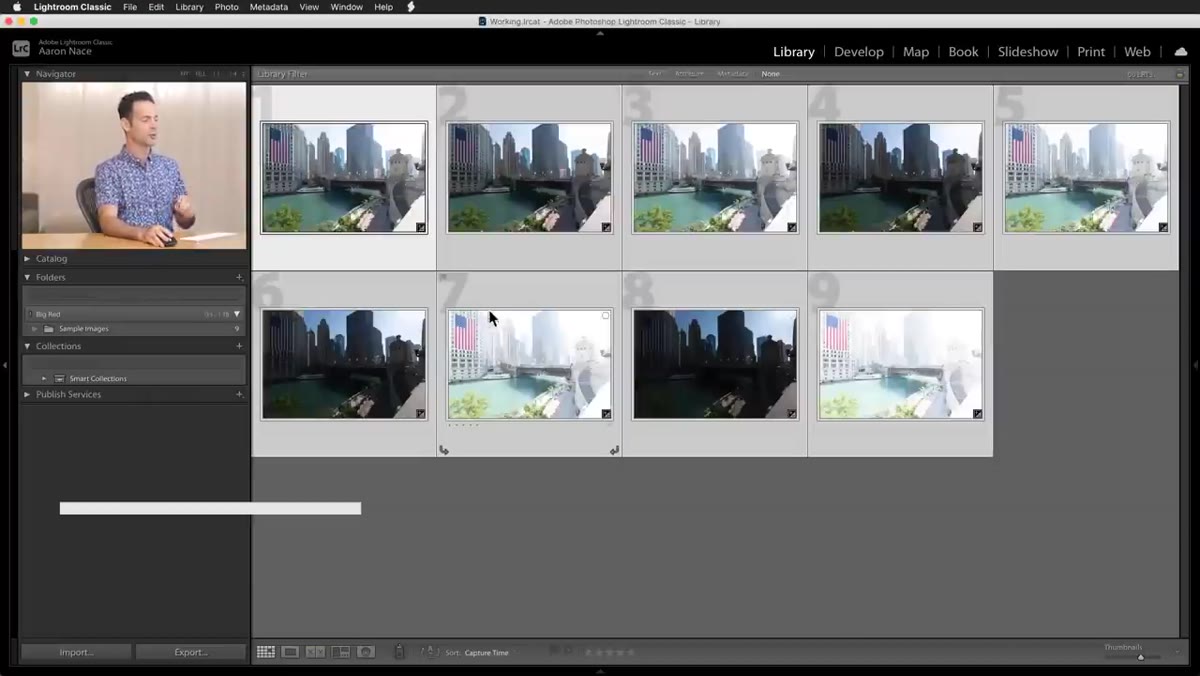 Lightroom right-click menu showing Photo Merge and HDR options
Select all nine images in Lightroom’s grid view using Command-A (Mac) or Control-A (Windows). Right-click, go to Photo Merge, and choose HDR. Lightroom will generate a preview and then, once you click Merge, produce a new DNG file that contains the combined dynamic range of all nine frames. The whole process takes a couple of minutes and requires almost no manual input - Lightroom handles the alignment and tone mapping automatically. Rename this file something clear like “nine-exposure” so your comparison stays organized.
Lightroom right-click menu showing Photo Merge and HDR options
Select all nine images in Lightroom’s grid view using Command-A (Mac) or Control-A (Windows). Right-click, go to Photo Merge, and choose HDR. Lightroom will generate a preview and then, once you click Merge, produce a new DNG file that contains the combined dynamic range of all nine frames. The whole process takes a couple of minutes and requires almost no manual input - Lightroom handles the alignment and tone mapping automatically. Rename this file something clear like “nine-exposure” so your comparison stays organized.
Step 3: Build the Three-Exposure HDR Using the Same Set
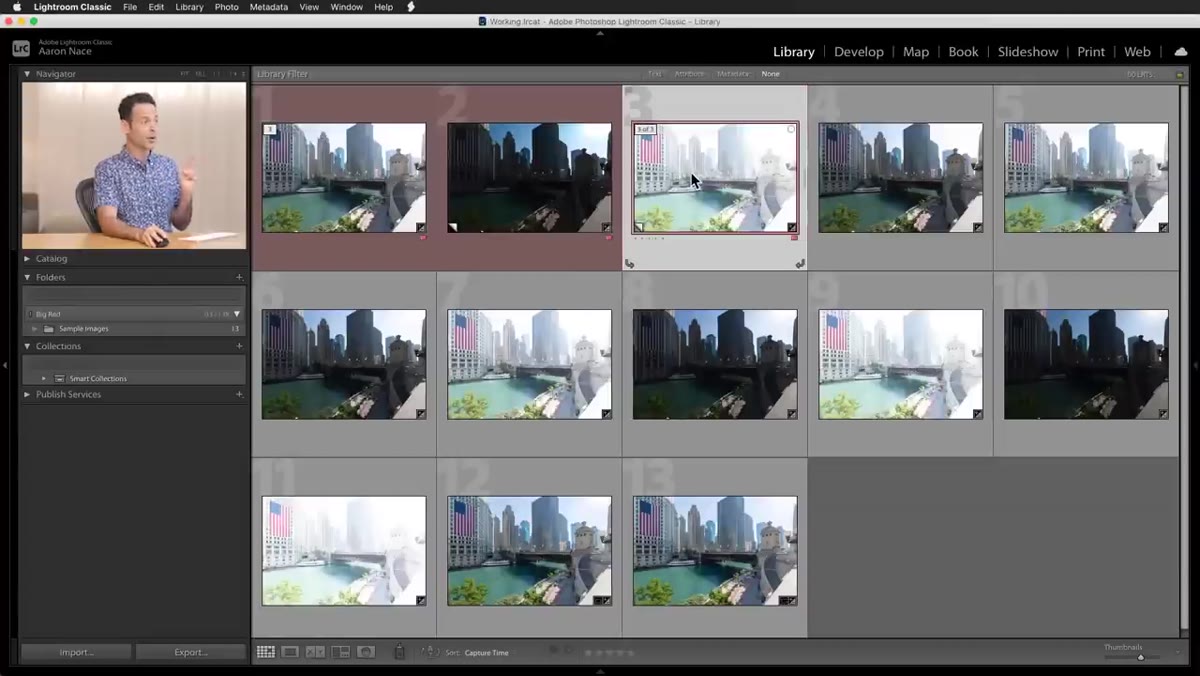
 Three selected images showing underexposed, normal, and overexposed frames
From your original nine-image bracket, pull out three frames: one properly exposed, one significantly underexposed (for highlight recovery), and one significantly overexposed (for shadow detail). You’re selecting from the ends and middle of your bracket, not three frames clustered together. Merge these the same way - right-click, Photo Merge, HDR - and rename the result “three-exposure.” This is the traditional HDR method most photographers learned, and it’s still the baseline a lot of people are working from.
Three selected images showing underexposed, normal, and overexposed frames
From your original nine-image bracket, pull out three frames: one properly exposed, one significantly underexposed (for highlight recovery), and one significantly overexposed (for shadow detail). You’re selecting from the ends and middle of your bracket, not three frames clustered together. Merge these the same way - right-click, Photo Merge, HDR - and rename the result “three-exposure.” This is the traditional HDR method most photographers learned, and it’s still the baseline a lot of people are working from.
Step 4: Create a Single-Image HDR Using Virtual Copies
 Virtual copy creation menu in Lightroom right-click panel
This is the clever part of the tutorial. If you only have one raw file - maybe you didn’t bracket on location, or you’re working with an existing image - you can simulate an HDR by creating virtual copies of that single file and adjusting the exposure on each copy. Right-click your base image in Lightroom and choose “Create Virtual Copy.” Make one copy and push the exposure up significantly in the Develop module to simulate an overexposed frame. Create another copy and pull the exposure down to simulate an underexposed frame. Now you have three versions of the same file: dark, normal, and light. Merge them the same way you would with real bracketed images.
Virtual copy creation menu in Lightroom right-click panel
This is the clever part of the tutorial. If you only have one raw file - maybe you didn’t bracket on location, or you’re working with an existing image - you can simulate an HDR by creating virtual copies of that single file and adjusting the exposure on each copy. Right-click your base image in Lightroom and choose “Create Virtual Copy.” Make one copy and push the exposure up significantly in the Develop module to simulate an overexposed frame. Create another copy and pull the exposure down to simulate an underexposed frame. Now you have three versions of the same file: dark, normal, and light. Merge them the same way you would with real bracketed images.
- Right-click your base image, select “Create Virtual Copy”
- Open the copy in Develop and raise exposure to simulate overexposure
- Repeat, creating a second copy, and lower the exposure to simulate underexposure
- Select all three, merge to HDR
This won’t produce the same result as real bracketed shots - virtual copies are just mathematical interpretations of existing data, not new captured information - but it’s a genuinely useful trick when bracketing wasn’t possible.
Step 5: Compare All Three Results Side by Side
 Three HDR results displayed side by side in Lightroom compare view
Once all three HDRs are merged, pull them into Lightroom’s compare view and look critically at the shadow areas, the highlights, and any transitional zones between bright and dark regions. Pay attention to noise in the shadows and smoothness in the sky gradients. This is where the real answer to the tutorial’s question lives - not in theory, but in the actual pixel data. Aaron’s comparison in the video is the payoff of the whole exercise, and what he finds is more nuanced than “more exposures always wins.”
Three HDR results displayed side by side in Lightroom compare view
Once all three HDRs are merged, pull them into Lightroom’s compare view and look critically at the shadow areas, the highlights, and any transitional zones between bright and dark regions. Pay attention to noise in the shadows and smoothness in the sky gradients. This is where the real answer to the tutorial’s question lives - not in theory, but in the actual pixel data. Aaron’s comparison in the video is the payoff of the whole exercise, and what he finds is more nuanced than “more exposures always wins.”
What I’d Add From My Own Experience
The honest takeaway from this comparison is that three well-chosen exposures hold up remarkably well against nine. For most scenes, you won’t see a difference that justifies filling your memory card with three times the files. Where nine exposures genuinely earns its keep is in extreme contrast situations - think direct sun in the frame, or a bright interior window shot where the outside is blowing out completely. In those edge cases, having more exposures to pull highlight detail from can make a visible difference in the final DNG.
The single-image virtual copy method surprised me. I’ve used it in a pinch before, but I always assumed the quality gap was large. It’s actually workable for scenes that aren’t pushing extreme contrast - which means if you missed bracketing on a shot with reasonable dynamic range, you’re not necessarily out of options in Lightroom.
One practical thing I’d suggest: if your camera offers a choice of bracket increments, don’t default to the tightest spacing. Wider increments like one stop or 1.3 stops give your frames more separation and more distinct data to work with. Seven exposures at one stop apart will often outperform nine exposures at 0.3 stops apart, because the tightly-spaced frames overlap so much they’re not contributing meaningfully different information.
The single most important thing to take from this: for the overwhelming majority of HDR situations, three solid exposures - one underexposed, one properly exposed, one overexposed - will give you results that are virtually indistinguishable from nine. Save the full bracket for genuinely extreme lighting. Watch the full tutorial on YouTube to see Aaron’s side-by-side pixel comparison, which makes this point more clearly than any written description can.
Comments (1)
Tried this technique this morning. Game changer for real.
Leave a Comment