I used to think studio lighting was something you either had an instinct for or you didn’t. For the first couple of years I shot portraits seriously, I’d spend more time second-guessing my light placement than actually shooting. It wasn’t until I started watching photographers work through setups in real time, out loud, in front of an audience, that I started to understand the logic underneath it all. There’s something about watching a pro troubleshoot on their feet that no static tutorial can replicate.
That’s exactly why this live demonstration from Karl Taylor, recorded at The Photography Show 2014 by Visual Education, is worth your time. Watch the full tutorial on YouTube. Taylor is working in front of a live audience, building a shot from background to foreground, adjusting power levels in real time, and directing subjects without missing a beat. The crowd reactions tell you everything you need to know about how rare it is to see someone explain this process with that kind of clarity and ease.
What follows is my breakdown of the core technique, rewritten so you can actually apply it at your next shoot without having to pause and rewind seventeen times.
Step 1: Start With the Background, Not the Subject
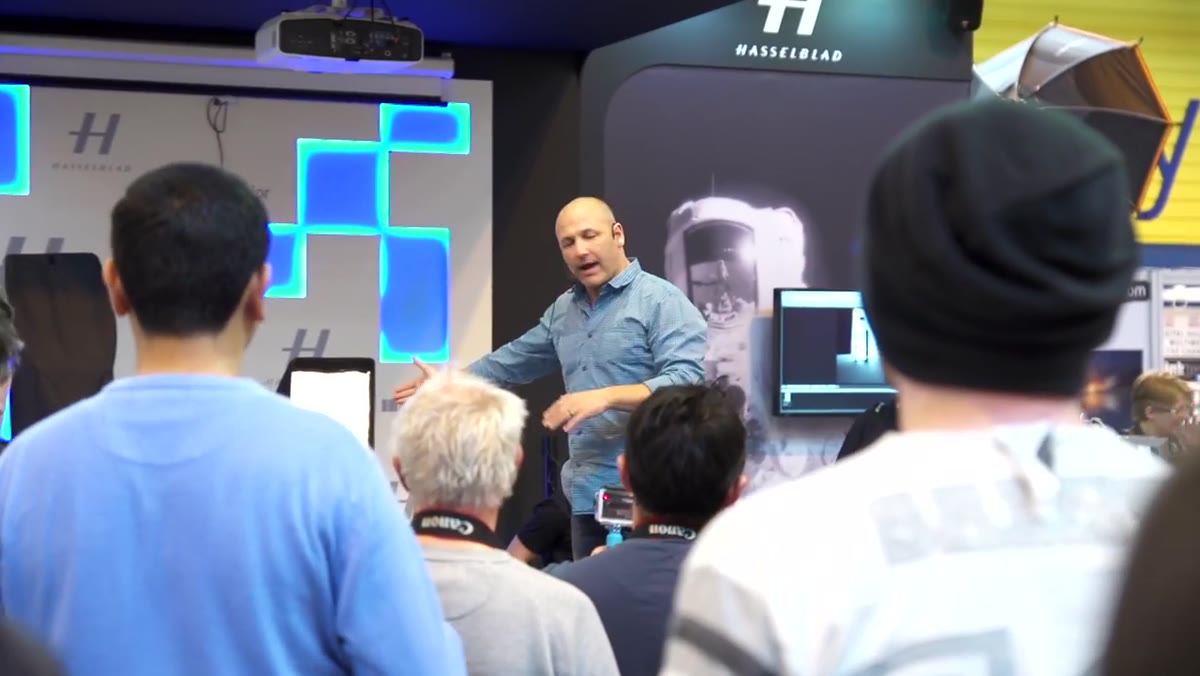 Photographer explaining background-to-foreground lighting build
Most beginners set up their main light first and treat the background as an afterthought. Taylor flips this completely. He builds the shot from the back of the frame forward, which means the background lighting is established and locked before a single light touches the subject. This forces you to think about depth and separation from the beginning, not as a fix at the end.
Photographer explaining background-to-foreground lighting build
Most beginners set up their main light first and treat the background as an afterthought. Taylor flips this completely. He builds the shot from the back of the frame forward, which means the background lighting is established and locked before a single light touches the subject. This forces you to think about depth and separation from the beginning, not as a fix at the end.
Before your subject even steps in front of the camera, decide what you want the background to do. Should it be dark and dramatic? Bright and airy? Graduated? Set that first. Adjust the power on your background light until you’re happy with it on its own, then leave it alone.
Step 2: Adjust Light Power Levels Separately
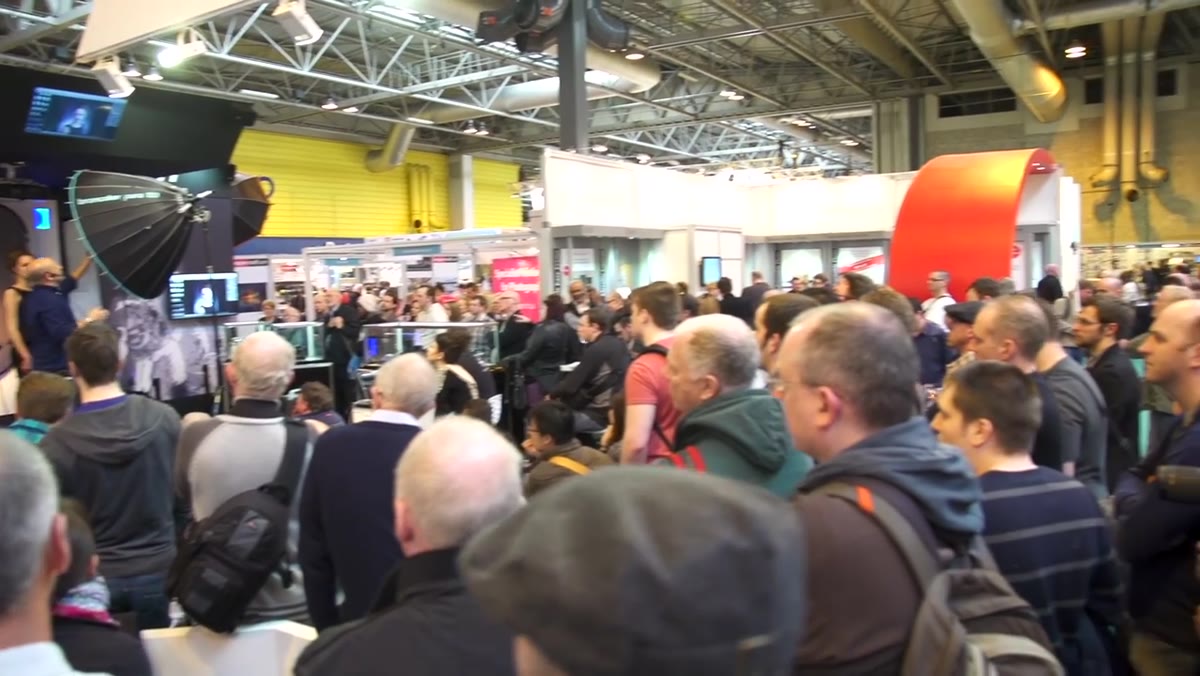 Demonstrating power level adjustments on lighting unit
Once the background is set, Taylor adjusts the power on each subsequent light individually rather than changing everything at once. This is the part that trips people up when they’re troubleshooting a setup that isn’t working. If you shift multiple lights at the same time, you lose track of what actually changed. You end up chasing your tail.
Demonstrating power level adjustments on lighting unit
Once the background is set, Taylor adjusts the power on each subsequent light individually rather than changing everything at once. This is the part that trips people up when they’re troubleshooting a setup that isn’t working. If you shift multiple lights at the same time, you lose track of what actually changed. You end up chasing your tail.
The discipline here is to change one thing, check it, and then move on. Set your background light. Dial in your main light. Then your fill. Then your hair light. Check each in isolation before you evaluate the whole picture. It takes a few more minutes upfront and saves you from twenty minutes of confusion later.
Step 3: Introduce Modifiers Thoughtfully
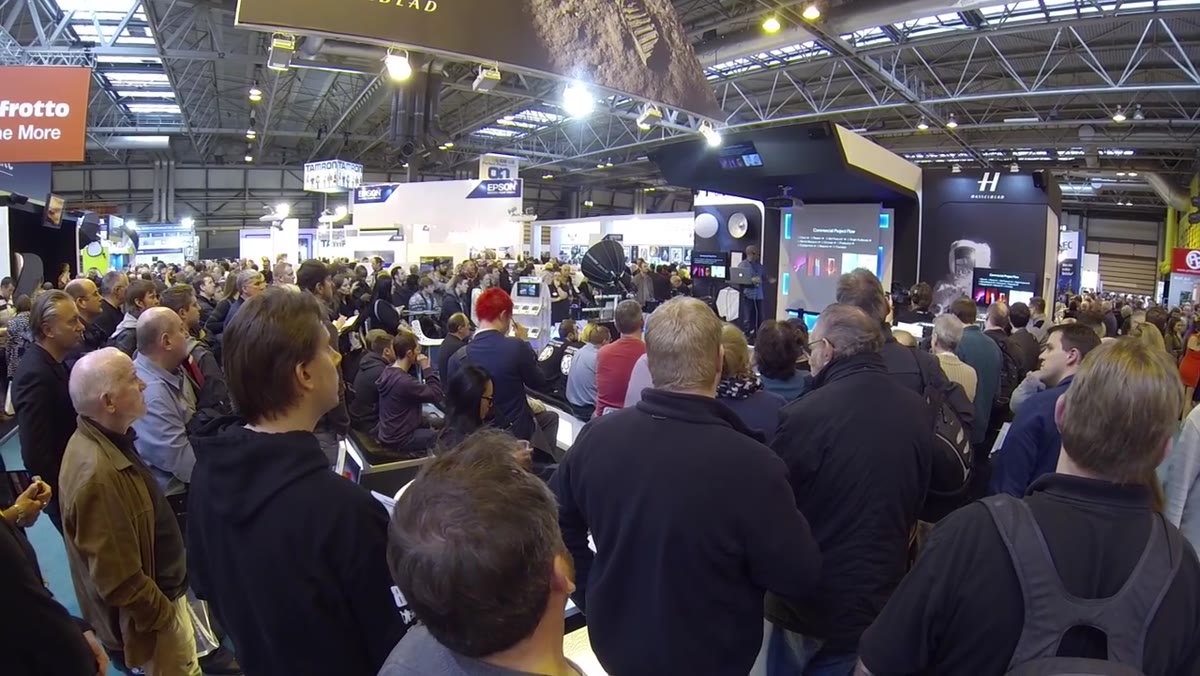 Two softboxes positioned around the subject setup
Taylor mentions working with two softboxes, one on either side of the subject. Softboxes are a go-to for portrait work because they produce a large, diffused light source that wraps around faces and reduces harsh shadows. But placement matters just as much as the modifier itself.
Two softboxes positioned around the subject setup
Taylor mentions working with two softboxes, one on either side of the subject. Softboxes are a go-to for portrait work because they produce a large, diffused light source that wraps around faces and reduces harsh shadows. But placement matters just as much as the modifier itself.
A softbox directly to the side creates dramatic side lighting with a clear shadow on the opposite cheek. Move it more toward the front and you get a flatter, more commercial look. The key variable is the angle between the light and the subject’s face. Pay attention to where the catchlights land in the eyes and where the shadow falls under the nose. Those two details tell you almost everything about whether your light is in the right place.
Step 4: Use a Sheet of Gloss to Transform the Foreground
 Gloss sheet being introduced into the foreground of the frame
One of the most practical tricks Taylor introduces is using a sheet of gloss material in the foreground. This is a product photography technique that crosses over beautifully into portraits and still life. A reflective surface in the foreground adds a sense of polish and depth to the image without any additional lights.
Gloss sheet being introduced into the foreground of the frame
One of the most practical tricks Taylor introduces is using a sheet of gloss material in the foreground. This is a product photography technique that crosses over beautifully into portraits and still life. A reflective surface in the foreground adds a sense of polish and depth to the image without any additional lights.
If you shoot product or food photography at all, this one is worth experimenting with immediately. A sheet of acrylic or even a glossy tile from a hardware store can achieve the same effect. Position it just out of the frame at the bottom, angled so it picks up a reflection of the subject. It makes even a simple composition feel intentional and finished.
Step 5: Direct Your Subject with Specifics, Not Generalities
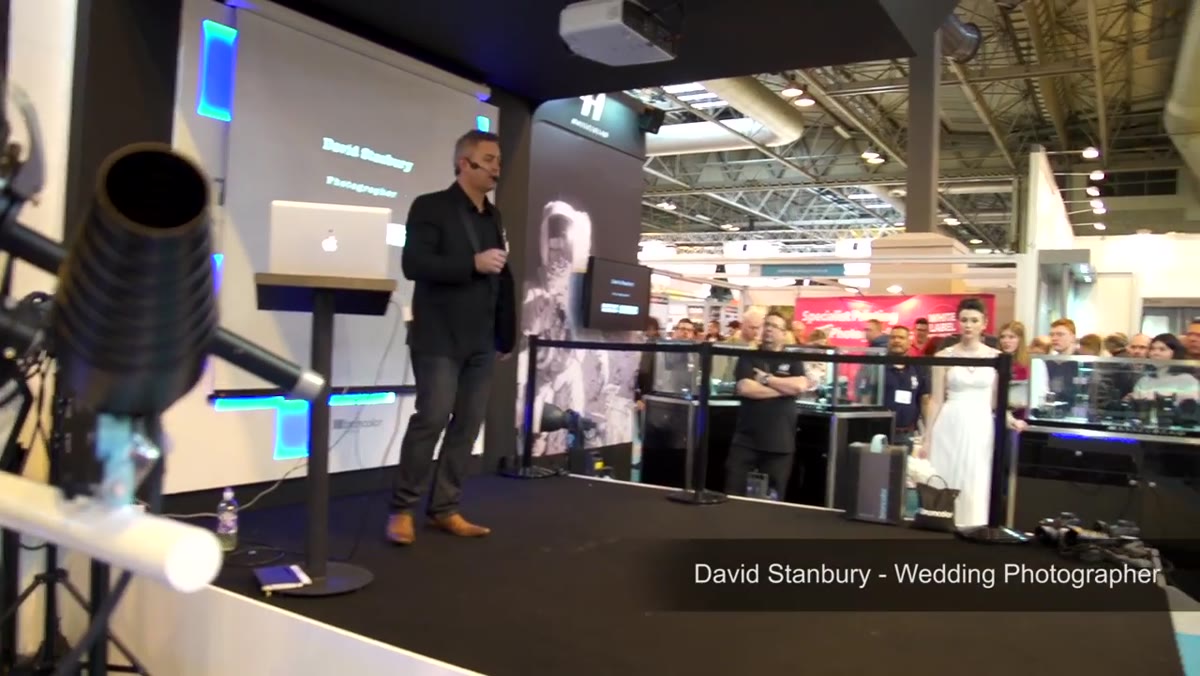 Karl Taylor directing two subjects on the Hasselblad stand
Posing direction is where a lot of technically strong photographers fall apart. Taylor works with two subjects during the live demo, and the direction he gives is extremely specific. He’s not saying “look natural.” He’s telling them exactly where to place a hand, how to hold their gaze, what emotion to aim for.
Karl Taylor directing two subjects on the Hasselblad stand
Posing direction is where a lot of technically strong photographers fall apart. Taylor works with two subjects during the live demo, and the direction he gives is extremely specific. He’s not saying “look natural.” He’s telling them exactly where to place a hand, how to hold their gaze, what emotion to aim for.
The difference between “look at each other” and “look lovingly into each other’s eyes” is not small. Vague direction puts the pressure on your subject to figure out what you mean. Specific direction takes that weight off them and lets them actually relax into the moment. If you’re not getting the expression you want, the problem is often the direction, not the subject.
Step 6: Refine the Hair Light Last
 Hair light being adjusted to add dimension to portrait
Hair lights are the detail that separates a flat portrait from one with real dimension. Taylor dials in a light from above to add definition to the model’s hair after the main setup is already working. This is the right order. The hair light should complement what’s already there, not compete with it.
Hair light being adjusted to add dimension to portrait
Hair lights are the detail that separates a flat portrait from one with real dimension. Taylor dials in a light from above to add definition to the model’s hair after the main setup is already working. This is the right order. The hair light should complement what’s already there, not compete with it.
Keep the hair light powered lower than your main. You want it to add a rim of separation and a little shine, not blow out the top of the frame. A small strip softbox or a grid spot both work well for this. The grid keeps the light controlled so it doesn’t spill onto the background you worked so hard to set in Step 1.
What I’d Add From My Own Experience
The thing I’d add to Taylor’s framework is this: shoot a test frame between every adjustment, and keep the frames. I know it feels tedious, but when something finally clicks, you’ll want to be able to trace exactly what you changed to get there. I started keeping a simple note in my phone alongside each shoot, something like “moved main light 10 degrees forward, dropped power by half a stop, got the catchlight I wanted.” Over time those notes become your own personal lighting manual.
Taylor mentions that you can watch and rewatch this kind of material to check where you went wrong and try again. That advice applies to your own test frames just as much as it does to tutorials.
The single most transferable lesson from this whole demonstration is the order of operations: background first, subject lights second, refinements last. Build the shot in layers, adjust one thing at a time, and direct your subjects with specifics. Get that sequence right and everything else becomes a lot easier to troubleshoot.
Watch the full tutorial on YouTube to see Taylor work through all of this live. Watching him adjust and problem-solve in front of an audience is genuinely one of the better ways to absorb how a working professional actually thinks on set.
Comments
Leave a Comment