There’s a specific frustration I know a lot of photographers feel when they open a raw file from a trip they were genuinely excited about. The scene looked stunning in person. The light was doing something real. But the flat file sitting on screen feels like a photocopy of a memory. For a long time, my go-to fix was to push exposure and contrast until things looked “better,” which usually meant they looked louder, not more intentional. What I actually needed was a smarter way to direct attention rather than just adding brightness everywhere and hoping for the best.
That’s exactly the problem that this Mark Denney tutorial addresses. Watch the full tutorial on YouTube before or after reading through these steps. Mark is a landscape photographer I’ve followed for a while, and what caught my attention in this particular video isn’t that he’s using a rare or hidden tool. It’s that he’s using a common tool, the radial gradient in Lightroom, in a way most of us have never thought to try. The shift in thinking is small but it changes everything about how you approach exposure from the start of your edit.
The core idea is this: instead of exposing your base image for what looks correct on screen, you intentionally underexpose it slightly, then use a radial gradient to bring targeted light back into the focal area of the frame. You’re essentially painting light rather than lifting the whole image. Here’s how to do it.
Step 1: Make Your Basic Adjustments First
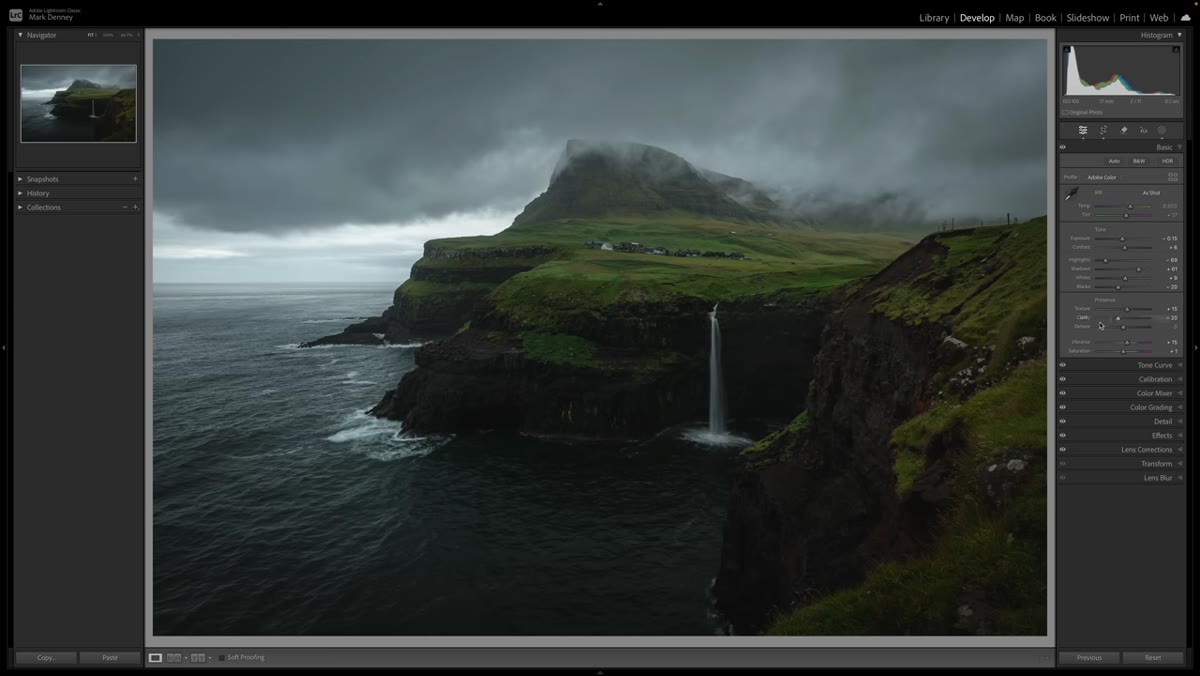 Basic panel adjustments and tone curve shown in Lightroom
Before touching the radial gradient, do your standard foundational work. Mark applies a subtle tone curve adjustment and tweaks the calibration panel before anything else. These aren’t dramatic moves. The goal is to get your colors reading cleanly so you’re working with accurate information when you start shaping light. Don’t skip this step and jump straight to masking. If your base color is off, any gradient work on top of it will look strange.
Step 2: Intentionally Underexpose Your Base Image
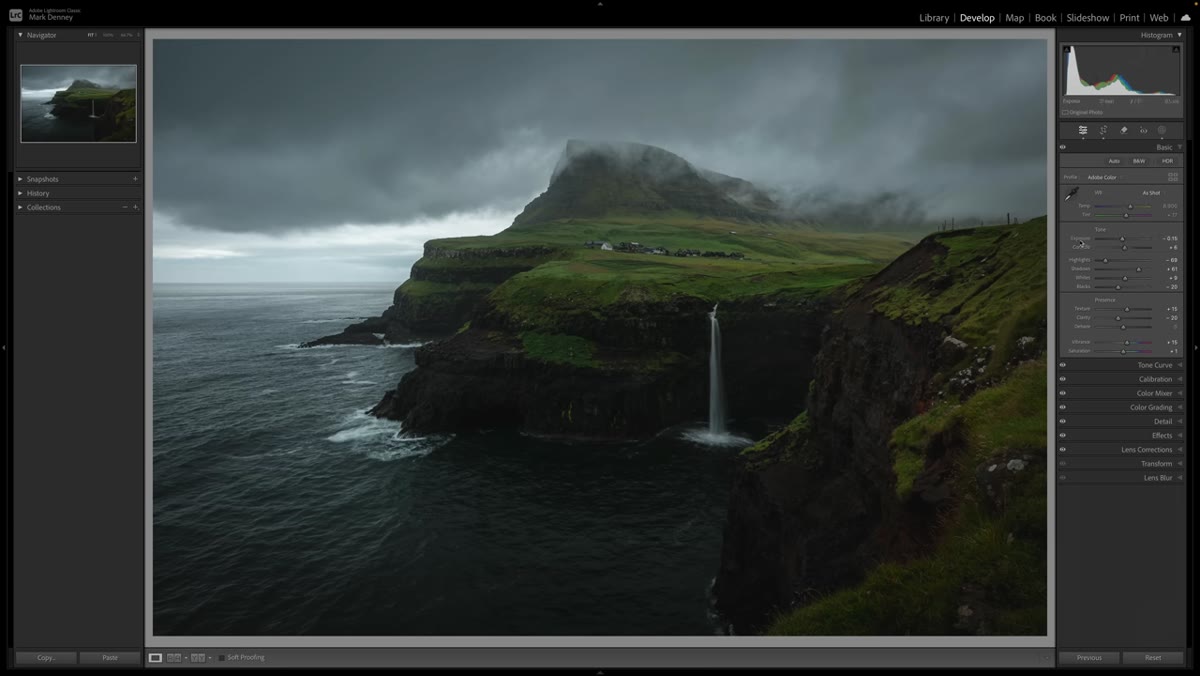 Exposure slider set below Lightroom’s suggested value
This is the step that reframes everything. In Lightroom, you can hold Shift and double-click the Exposure slider to let the software suggest what it considers a neutral exposure. Mark uses that number as a reference point, then deliberately sets his exposure lower than the suggestion. In his example, Lightroom recommends around +0.34 and he brings it down to -0.15 instead.
The image will look underexposed. That’s the point. You’re creating a darker canvas so that when you add light back through the radial gradient, it has somewhere meaningful to go. If you start at full brightness, any light you add will push into overexposure or just look flat. Think of this like subtracting before you add. The underexposure is a setup, not a mistake.
Step 3: Ask Yourself Where the Focal Interest Lives
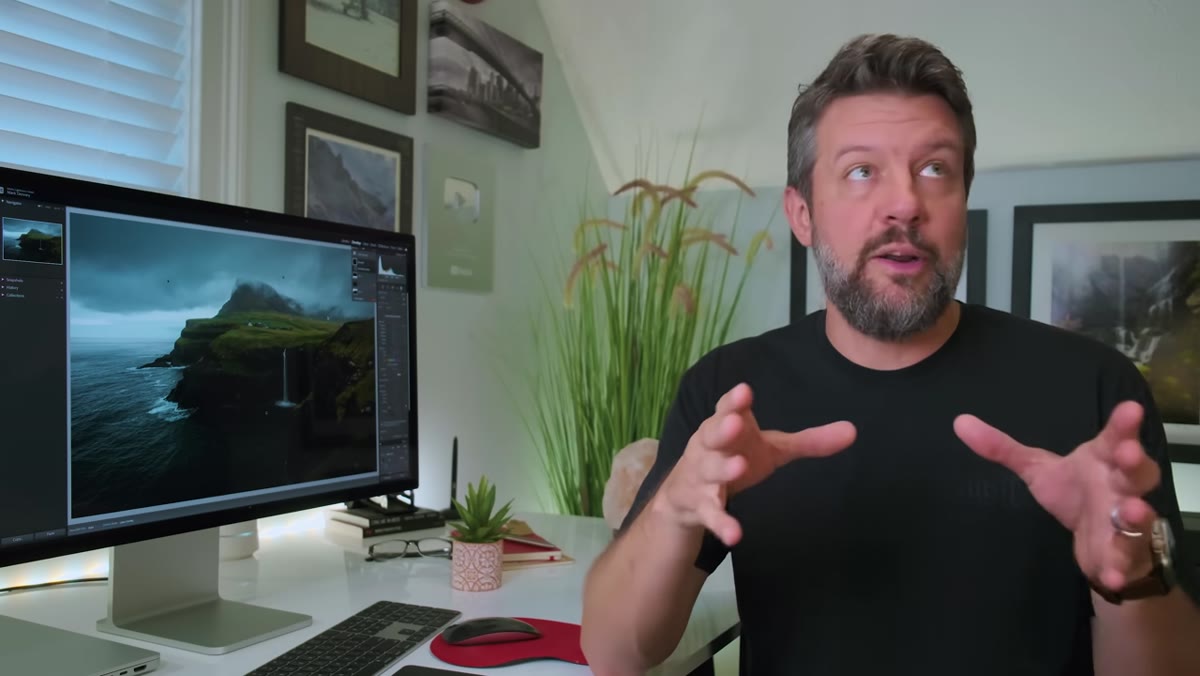
 Mark gesturing toward the focal area of the landscape image
Before you draw a single gradient, pause and genuinely answer this question: where do I want the viewer’s eye to land? Not just the subject, but the whole zone of interest. For Mark’s Faroe Islands image, that zone includes a waterfall, a small village, and mountain peaks peeking through moody clouds. It’s not one object but a region of the frame that holds the most story.
This step sounds obvious but most people skip it and go straight to drawing shapes. If you don’t know where you’re directing attention, your gradient will be a guess. Take thirty seconds and actually look at the image before you open the mask panel.
Step 4: Create a New Radial Gradient Mask
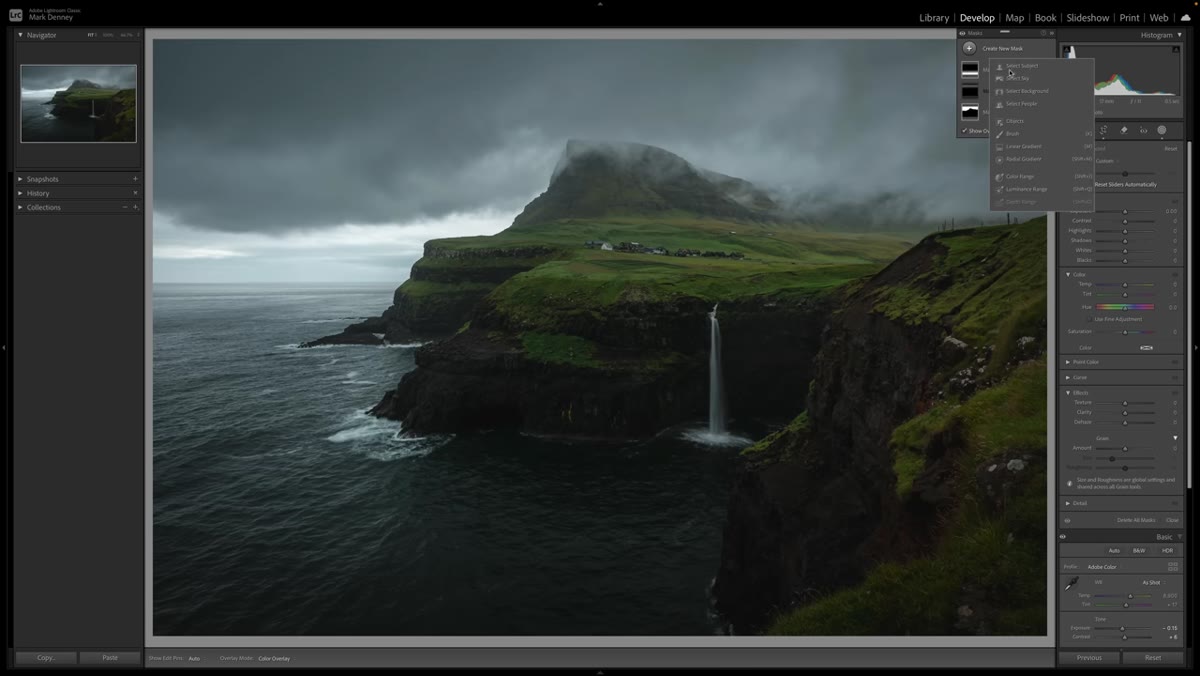 New radial gradient being drawn over the image’s focal zone
Go to the Masking panel in Lightroom and select Radial Gradient. Draw an oval or circular shape that covers your focal zone generously. You want the gradient to wrap around the entire area of interest, not hover over just one tight element. Mark draws his to cover the waterfall area and the surrounding landscape that supports it.
By default, Lightroom applies radial gradient adjustments to the outside of the circle. You’ll want to invert this so the effect applies to the inside of the shape. Look for the Invert toggle in the mask options and make sure it’s turned on. The feathering on the gradient should be set fairly high, somewhere in the 70 to 100 range, so the light transition feels natural rather than like a spotlight.
Step 5: Raise Exposure Inside the Gradient
 Exposure being increased inside the radial gradient mask
Now bring up the Exposure slider for this mask specifically. You’re not touching the base exposure you set in Step 2. This increase applies only inside the radial gradient area. Push it until the focal zone looks naturally lit and your eye wants to stay there. The surrounding areas will remain in the slightly darker state from your base adjustment, which is exactly what creates the visual pull.
Go slowly here. The goal is for the effect to be felt rather than noticed. If a viewer can clearly see a gradient circle in your image, you’ve pushed too far or the feathering is too low.
Step 6: Use Existing Linear Gradients for Supporting Adjustments
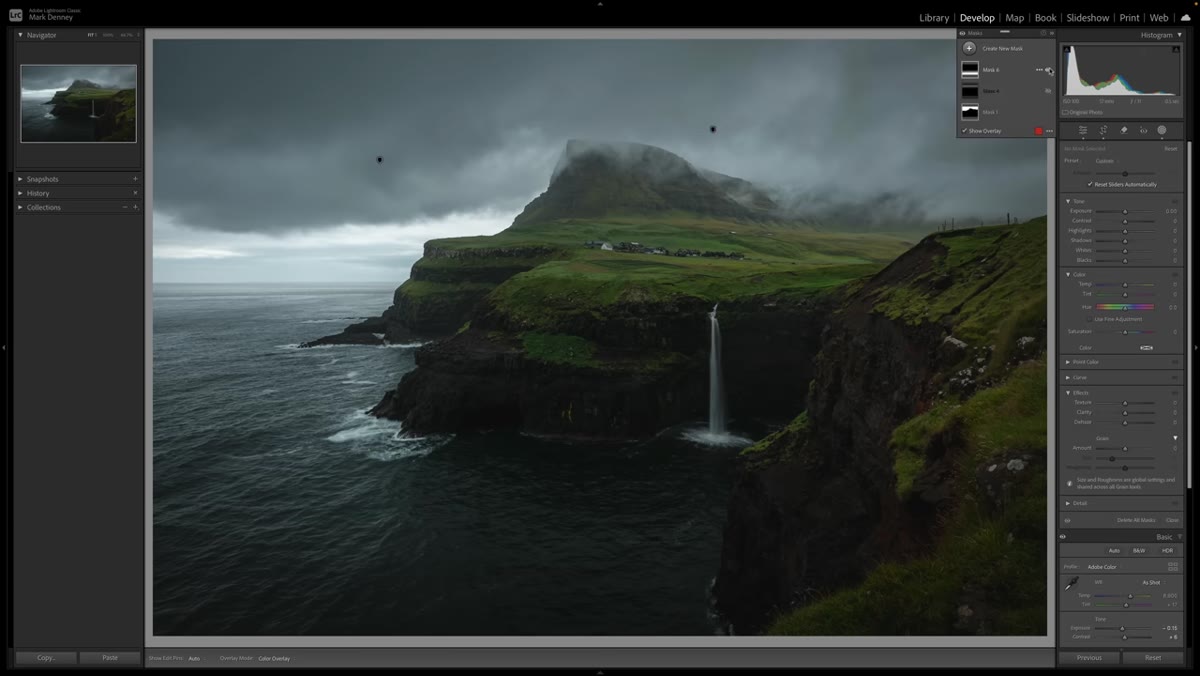 Linear gradients toggled to show sky and foreground darkening
Mark also uses linear gradients to handle the sky and foreground separately before the radial work. A sky selection with a subtle contrast and drama boost, and a bottom linear gradient to deepen the foreground slightly, both serve to push even more visual weight toward the focal zone. These aren’t required for the technique to work, but they reinforce the direction you’re already creating. Think of them as supporting actors. The radial gradient is the lead.
A Note From My Own Workflow
I started applying this approach to some travel shots from last spring and ran into one thing Mark doesn’t cover specifically: images where the focal interest is off-center. A radial gradient defaults to a circle or oval, which works best when your subject sits near the middle of the frame. When I’m working with a subject in the lower third or along an edge, I find it helps to draw the gradient generously past the frame edge on one side so the brightest part of the gradient lands on the subject without the falloff cutting awkwardly across the frame. Lightroom lets you drag the gradient anchor well outside the image boundary, which gives you a lot of flexibility.
One more thing. This technique is just as useful for phone shots as it is for full raw files. I’ve run my Sunday morning walk photos through this same process and it works. The logic is the same regardless of what camera made the file.
The single most important shift this technique offers is treating exposure as something you sculpt rather than something you correct. You’re not asking “is this photo bright enough?” You’re asking “where should the light live?” Those are very different questions, and the second one makes you a better editor every time you sit down.
Watch the full tutorial on YouTube to see Mark walk through both images from his Faroe Islands trip and watch the before-and-after in real time. Seeing the effect toggle on and off is worth your five minutes.
Comments (3)
Bookmarked. Coming back to this one for sure.
Excellent tutorial. I'd add that from a photoshop standpoint, this technique is incredibly versatile.
This should be required reading for anyone starting out.
Leave a Comment