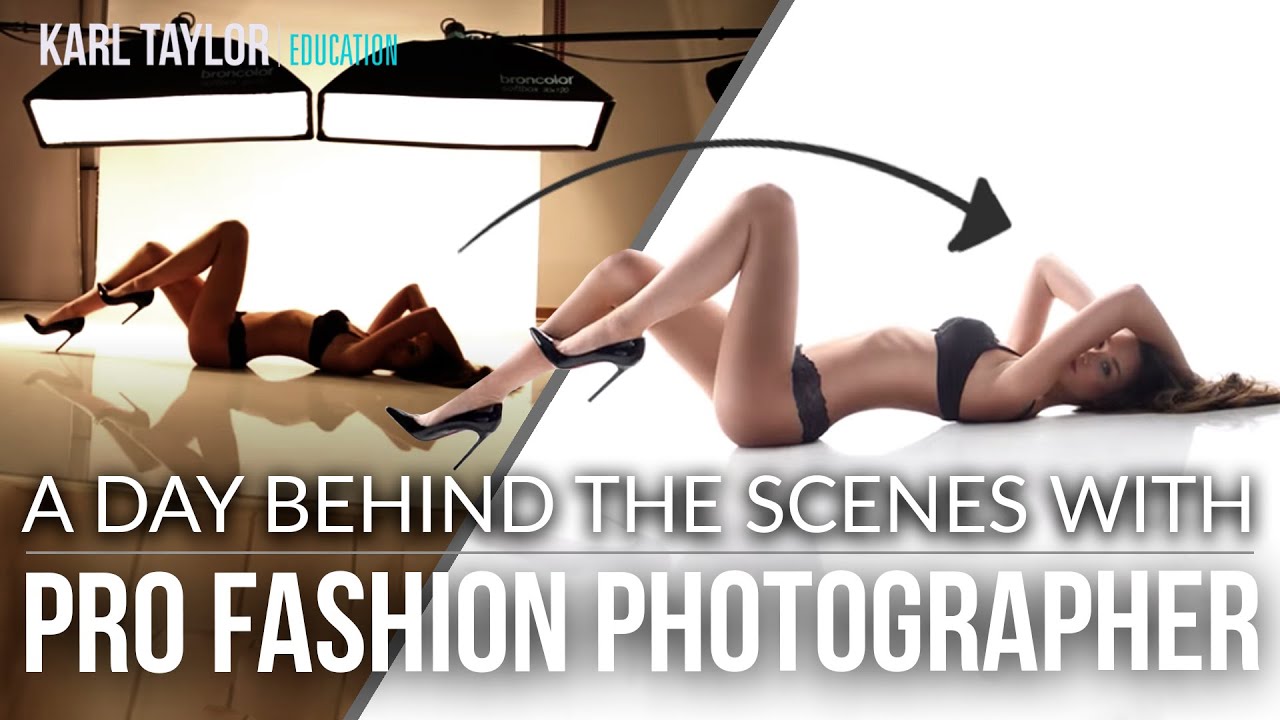
There’s a version of fashion photography that lives in my head as very polished and choreographed. Perfectly timed jumps. Effortless posing. A model who just knows what to do the moment you pick up your camera. Then I watched this behind-the-scenes tutorial and felt genuinely relieved. Real fashion shoots are messier, more collaborative, and more iterative than the final images ever let on. That gap between what I imagined and what actually happens on set is exactly why I keep coming back to footage like this.
In this Visual Education tutorial, Watch the full tutorial on YouTube, you get an honest, uncut look at how a professional fashion photographer moves through a full shoot day. No highlight reel. No performance. Just the actual work: directing movement, course-correcting in real time, switching outfits, and building toward a set of images that hold together. If you’ve ever frozen up trying to direct a model or felt unsure how to push past a shot that’s “almost there,” this one is worth your time.
What I pulled from it wasn’t a single trick. It was a workflow. A way of thinking about each moment on set that keeps things moving without losing the model or the creative vision. Here’s how it breaks down.
Step 1: Set Up the Shot With a Clear Physical Anchor
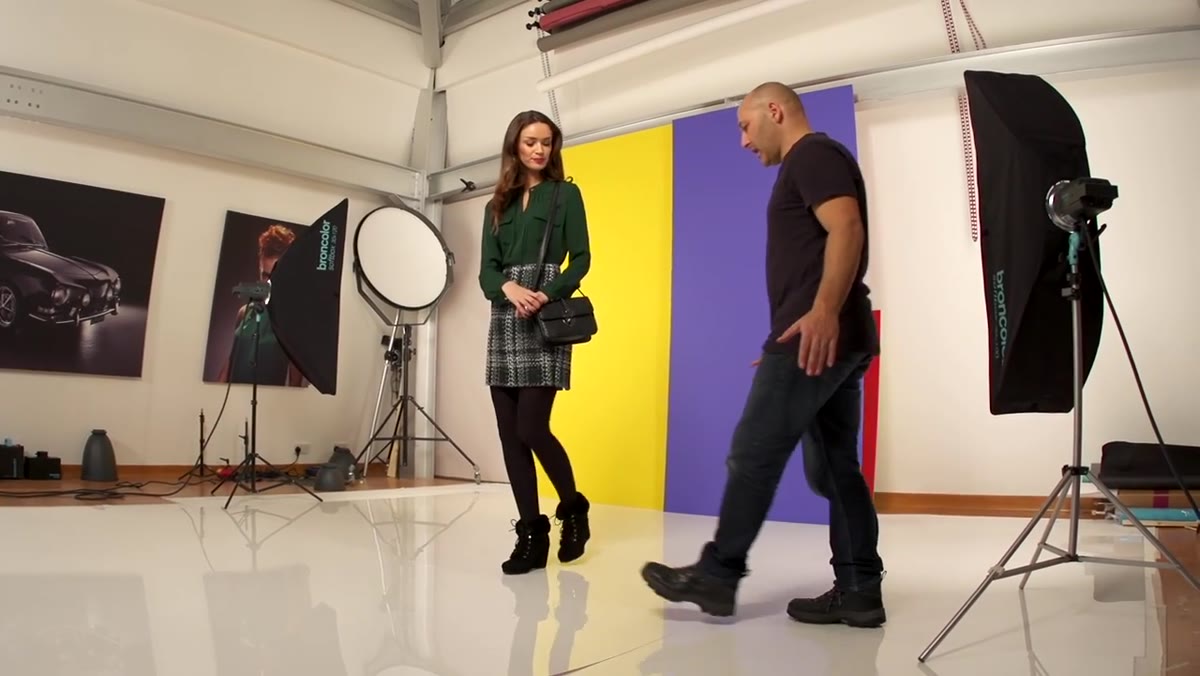 Photographer positioning model to align with a background panel
Before you worry about expression or energy, figure out exactly where your subject needs to land in the frame. In the tutorial, the photographer identifies a specific panel in the background and uses it as a target point for the model’s movement. This isn’t just compositional preference. It’s practical. When you give a model a physical mark or reference point, you eliminate guesswork for both of you. The shot becomes repeatable, which means you can run it multiple times and actually refine it rather than chasing a moving target.
Photographer positioning model to align with a background panel
Before you worry about expression or energy, figure out exactly where your subject needs to land in the frame. In the tutorial, the photographer identifies a specific panel in the background and uses it as a target point for the model’s movement. This isn’t just compositional preference. It’s practical. When you give a model a physical mark or reference point, you eliminate guesswork for both of you. The shot becomes repeatable, which means you can run it multiple times and actually refine it rather than chasing a moving target.
If you’re shooting outdoors or in a location without obvious markers, create your own. A piece of gaffer tape on the ground, a shadow line, a doorframe. The more specific you are about where the body needs to be, the more mental bandwidth your model has to focus on energy and expression.
Step 2: Build the Motion Before You Lock the Expression
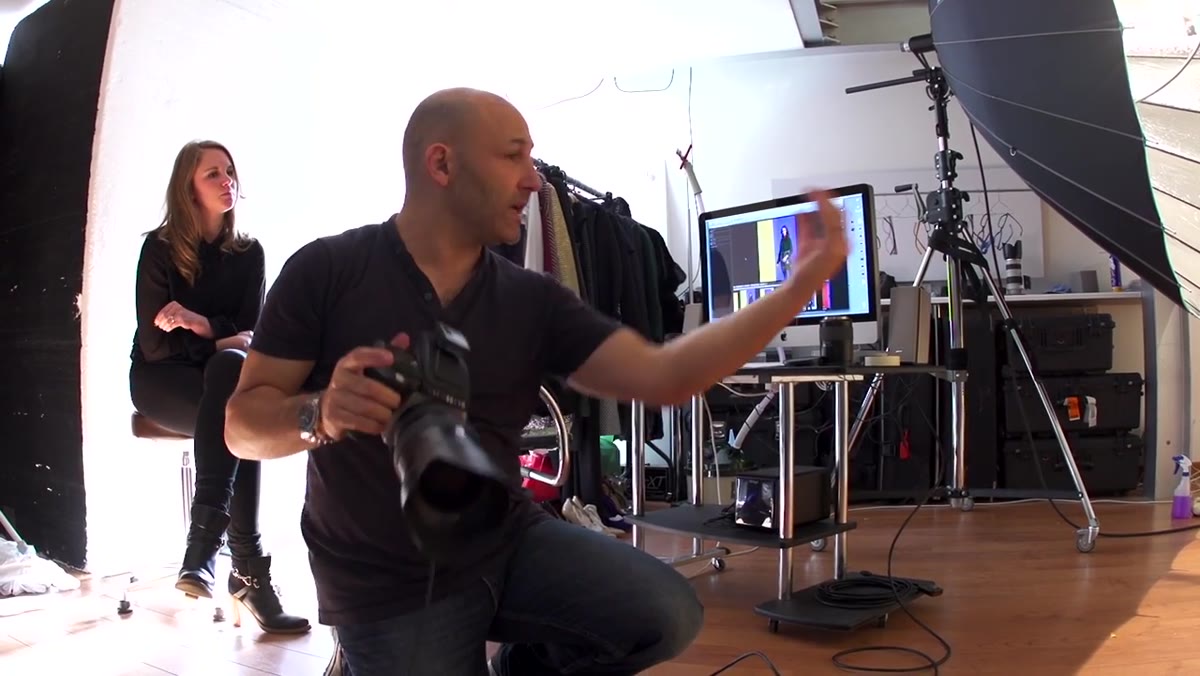 Model skipping into frame, photographer calling direction during movement
Once placement is sorted, introduce the movement before asking for anything emotionally. The photographer here asks the model to skip into the frame, walking through the physical action several times without pressure to nail the expression simultaneously. This is a smart sequencing choice. Asking someone to move naturally AND emote at the same time, before they’ve even found their footing, is how you get awkward, stiff results.
Model skipping into frame, photographer calling direction during movement
Once placement is sorted, introduce the movement before asking for anything emotionally. The photographer here asks the model to skip into the frame, walking through the physical action several times without pressure to nail the expression simultaneously. This is a smart sequencing choice. Asking someone to move naturally AND emote at the same time, before they’ve even found their footing, is how you get awkward, stiff results.
Let the body get comfortable first. Run the action a few times. Then layer in the mood. By the time you start asking for that “happy, bouncy” energy, the model’s limbs already know what they’re doing and the expression has somewhere to land.
Step 3: Review the Frame and Call Specific Fixes
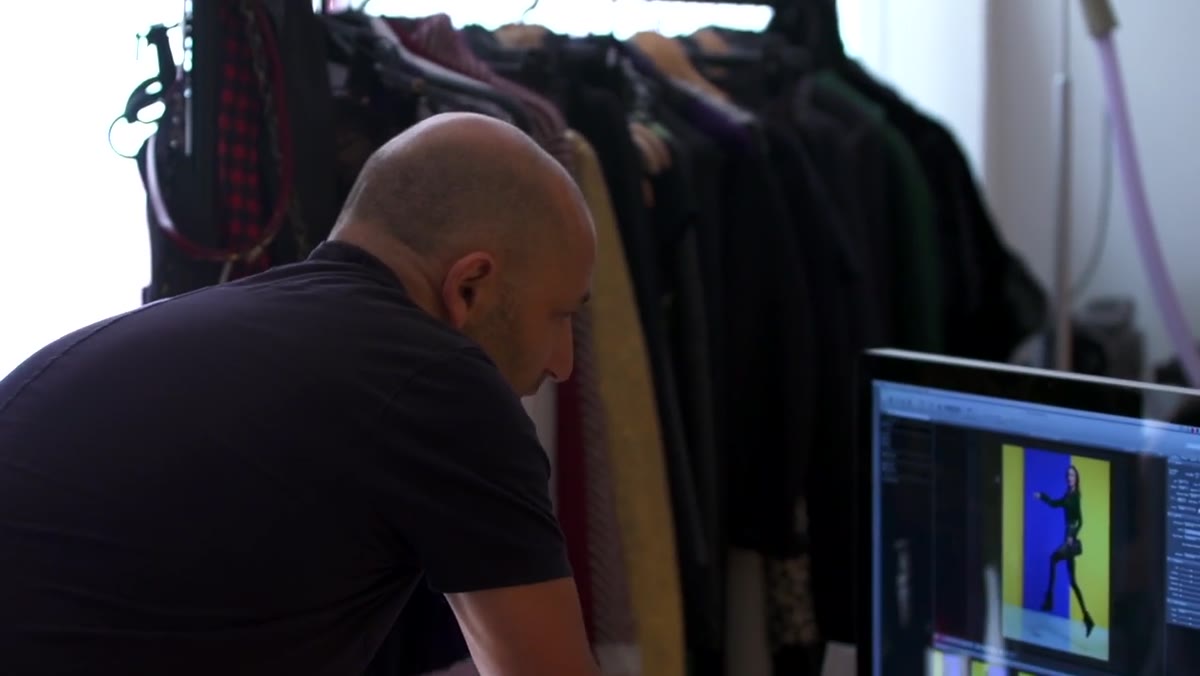 Photographer reviewing image on camera, pointing out hand position issue
The photographer stops, looks at the back of the camera, and identifies one specific problem: the hand position looks off. Not “that didn’t work,” but “the hand looks a bit weird, here’s what to change.” This is the difference between a director and someone just pressing a shutter. Vague feedback stalls momentum. Specific feedback keeps it going.
Photographer reviewing image on camera, pointing out hand position issue
The photographer stops, looks at the back of the camera, and identifies one specific problem: the hand position looks off. Not “that didn’t work,” but “the hand looks a bit weird, here’s what to change.” This is the difference between a director and someone just pressing a shutter. Vague feedback stalls momentum. Specific feedback keeps it going.
When you review mid-shoot, train yourself to name one thing. Not a list. One thing. The model adjusts, you shoot again, and now you’re building incrementally toward the image instead of resetting completely. That approach also keeps the energy on set from dipping, which matters more than people think when you’re going for natural expression.
Step 4: Acknowledge What’s Working Out Loud
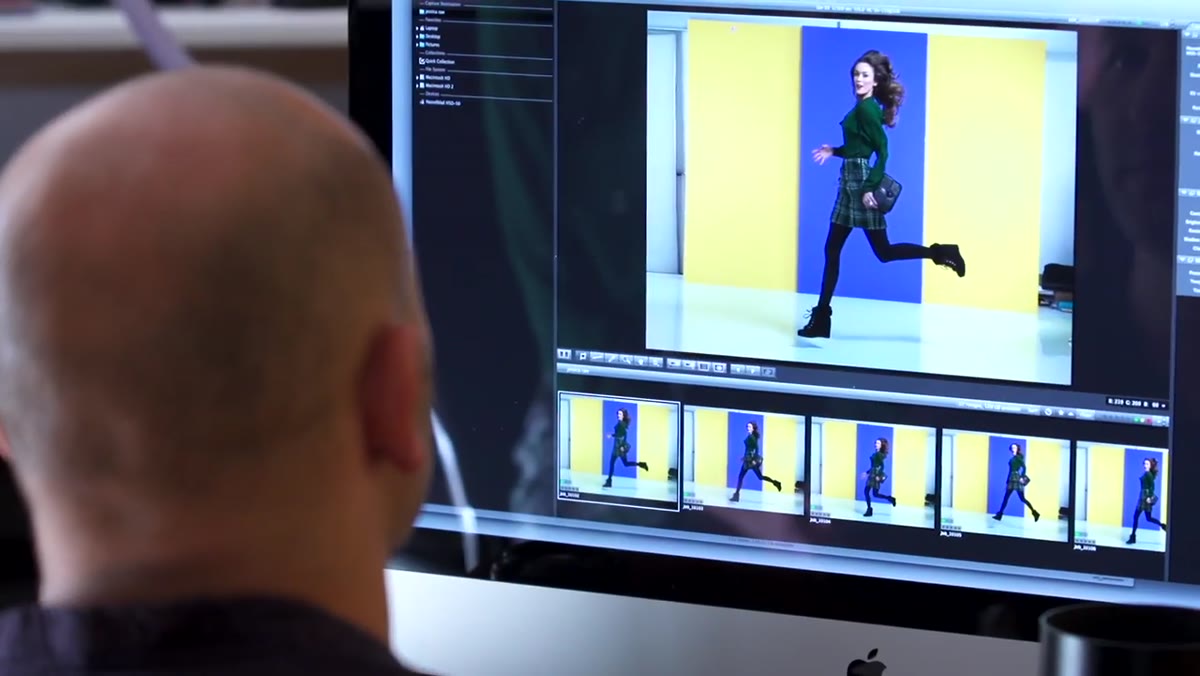 Photographer responding enthusiastically after reviewing a strong frame
After a successful adjustment, the photographer’s response is immediate and specific: that movement worked, the crop is going to be great, the color in the background is going to pop in post. He’s not just being nice. He’s telling the model exactly which choices landed so she can repeat them. Positive reinforcement with specifics is a tool, not just good manners.
Photographer responding enthusiastically after reviewing a strong frame
After a successful adjustment, the photographer’s response is immediate and specific: that movement worked, the crop is going to be great, the color in the background is going to pop in post. He’s not just being nice. He’s telling the model exactly which choices landed so she can repeat them. Positive reinforcement with specifics is a tool, not just good manners.
On set, silence reads as criticism. If a frame works, say so. If it almost worked, say that too. Keeping your model informed about what’s happening on your screen builds trust, and trust is what makes someone willing to try a weird pose or commit fully to an awkward movement.
Step 5: Shift Styling Mid-Shoot to Extend Creative Range
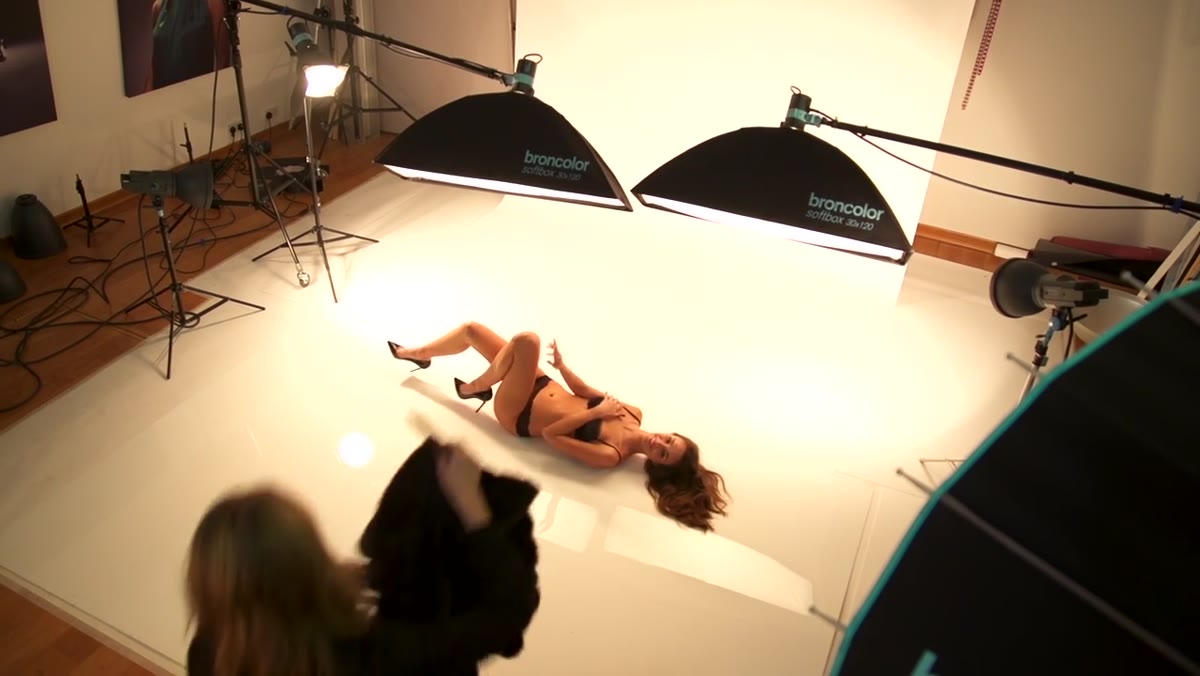 Transition between outfits, team discussing new look on set
Roughly midway through the day, the shoot moves into a second outfit. What’s interesting here isn’t just the wardrobe change. It’s how the whole energy shifts with it. A different silhouette invites different poses. A coat that reads structured wants different body language than something soft and flowy. The photographer and team discuss the pieces on the model, noting how accessories interact with necklines, how the overall look reads on camera versus in person.
Transition between outfits, team discussing new look on set
Roughly midway through the day, the shoot moves into a second outfit. What’s interesting here isn’t just the wardrobe change. It’s how the whole energy shifts with it. A different silhouette invites different poses. A coat that reads structured wants different body language than something soft and flowy. The photographer and team discuss the pieces on the model, noting how accessories interact with necklines, how the overall look reads on camera versus in person.
When you’re planning a shoot, build outfit changes into your shot list intentionally. Each look should unlock something the previous one couldn’t. If all your outfits are pulling in the same direction, you’re not getting the range a client actually needs.
Step 6: Develop Mood Through Incremental Direction
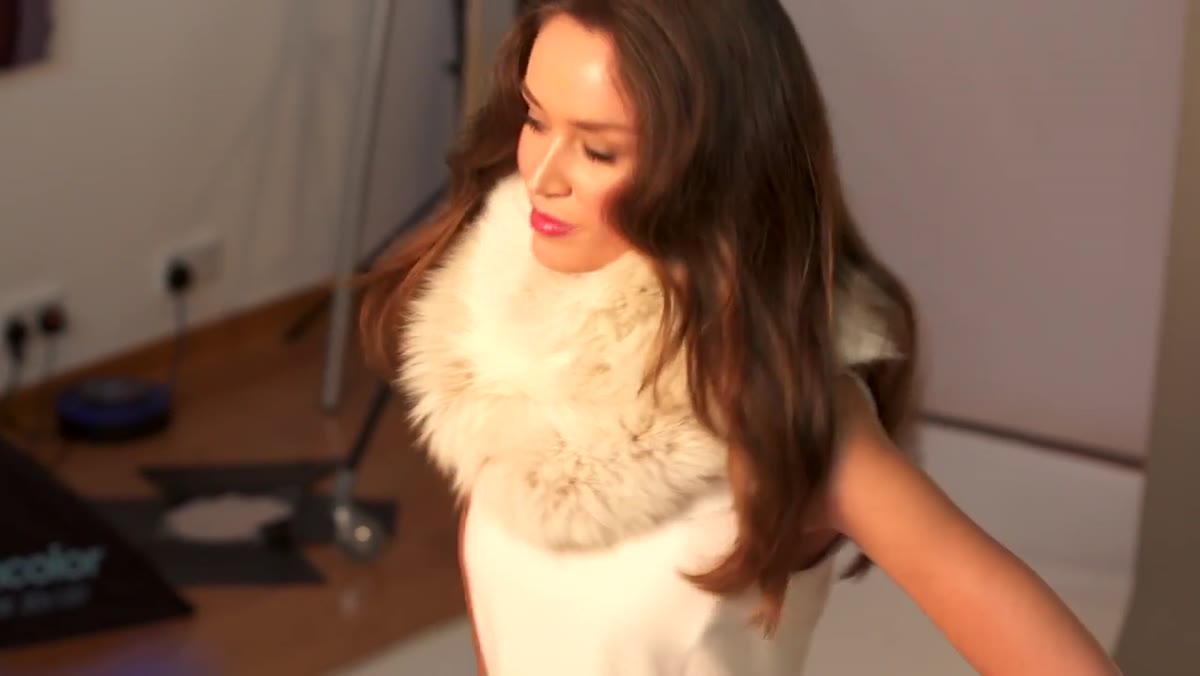 Photographer directing model toward more editorial, seductive energy
Later in the shoot, the direction shifts toward something more editorial. The language changes too: more elegant, more seductive, one hand on the head, eyes slightly obscured. These aren’t big leaps. They’re small calibrations stacked on top of each other, each one moving the image a little further along a tone axis.
Photographer directing model toward more editorial, seductive energy
Later in the shoot, the direction shifts toward something more editorial. The language changes too: more elegant, more seductive, one hand on the head, eyes slightly obscured. These aren’t big leaps. They’re small calibrations stacked on top of each other, each one moving the image a little further along a tone axis.
This is worth paying attention to if you tend to shoot everything at the same emotional temperature. Fashion photography covers a lot of ground between “happy and approachable” and “cold and high fashion,” and you can travel that range within a single session by adjusting your direction incrementally rather than trying to jump between extremes.
From My Own Experience: Direction Is a Skill You Practice Separately
I spent a long time thinking that good direction was something you either had naturally or you didn’t. Turns out it’s a craft, and you can get better at it the same way you get better at lighting. I started keeping a running list on my phone of direction phrases that actually worked on set, things that got a real reaction from a model, and I’d add to it after every shoot. Over time that list became one of my most-used tools.
If you’re newer to directing, try this: before your next shoot, write down five ways to describe the mood you’re going for that don’t use the word “natural.” Limiting yourself to specific, physical, or emotional language forces you to get more creative, and it gives your models something they can actually act on.
The single most important thing this tutorial reinforced for me is that fashion photography is a conversation, not a performance. You’re not waiting for a magic moment to appear. You’re building it, shot by shot, adjustment by adjustment, with constant feedback moving in both directions.
Watch the full tutorial on YouTube to see the full shoot unfold in real time. Watching the rhythm of how this photographer moves through a day is something you can’t fully absorb from a breakdown alone.
Comments (2)
This is the kind of content that keeps me coming back.
Just used this on a wedding shoot edit. Client was thrilled.
Leave a Comment