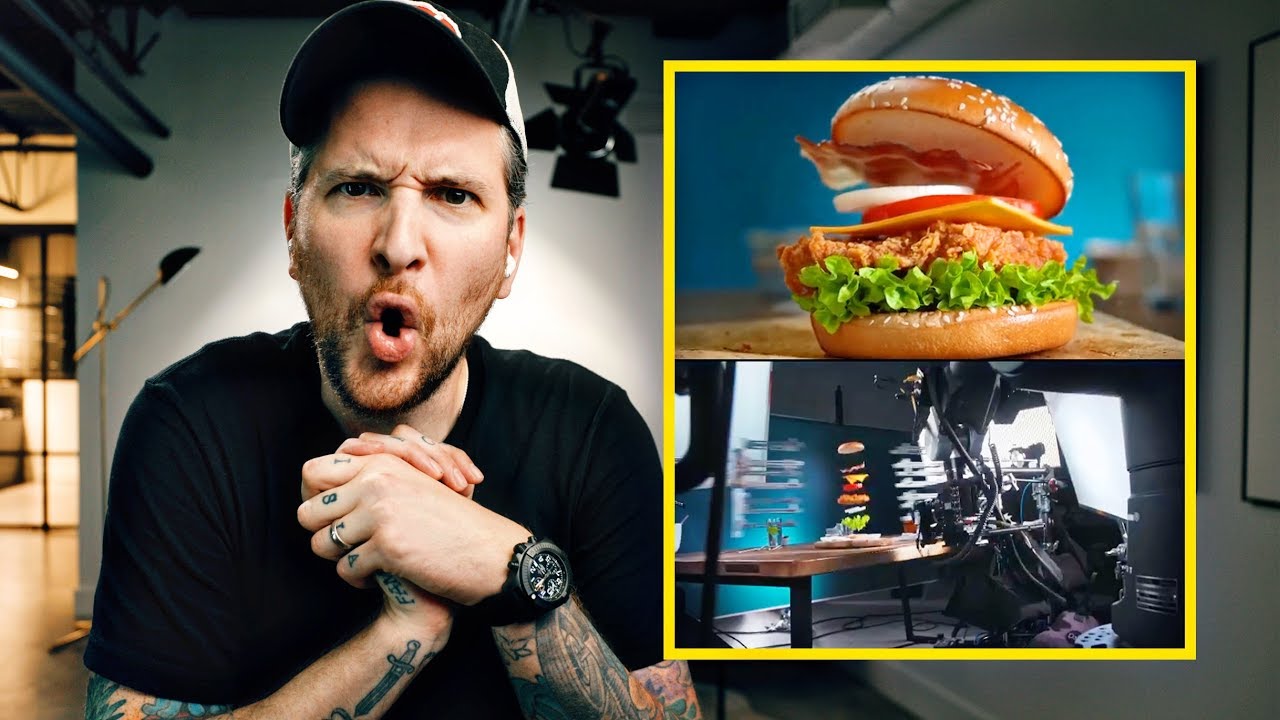
I used to think seamless transitions and those looping, reality-bending shots were the exclusive territory of production houses with six-figure budgets. Then I started paying closer attention to what working filmmakers were doing on Instagram with a slider, a phone, and a lot of intentional planning. That gap between “Hollywood magic” and “something I can actually try this Sunday” turned out to be much smaller than I assumed.
In this Peter McKinnon tutorial, Watch the full tutorial on YouTube, Peter reacts to a collection of behind-the-scenes clips sent in by his community, breaking down how specific visual tricks are actually executed. What I love about this format is that you get to see both the raw technique AND the finished result side by side. No guessing. No mystique. Just craft. Here is what I pulled from it, reframed for photographers and filmmakers who want to start experimenting now.
Step 1: Understand the Power of the Seamless Cut
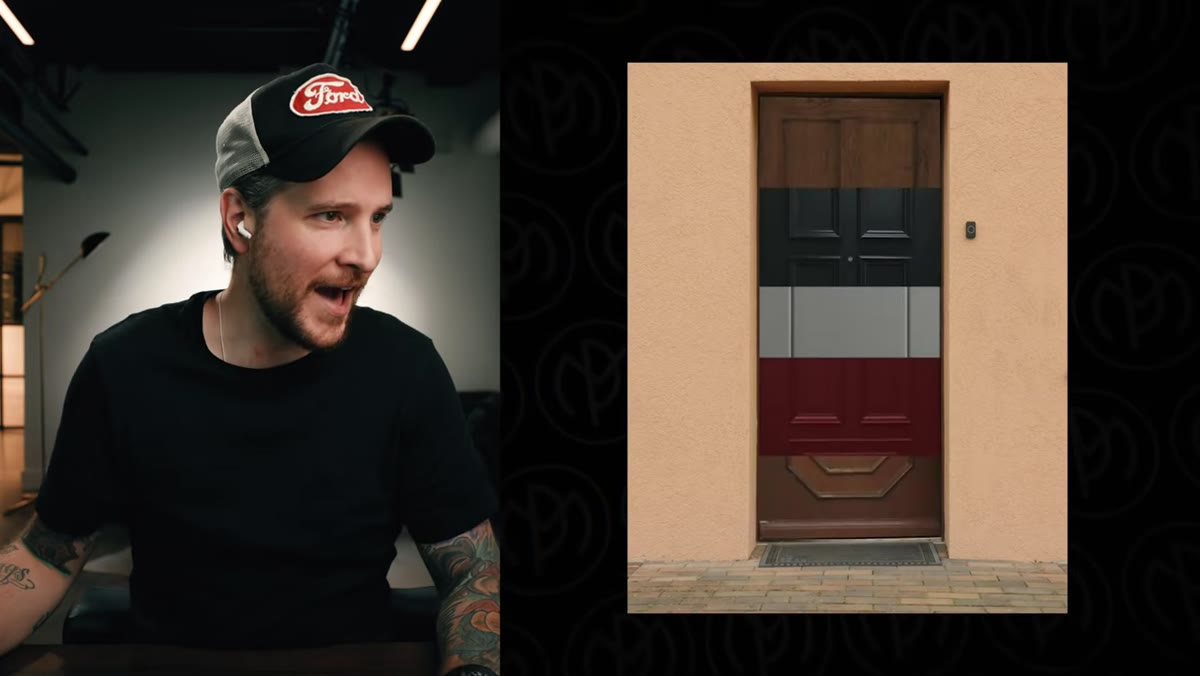 Filmmaker watching a seamless multi-clip transition play back
The foundation of every trick in this video is editorial thinking that starts before you press record. The first clip Peter reacts to looks like one continuous shot of a person walking through a space, but it is actually stitched together from several separate clips. The magic is that you cannot tell where one ends and the next begins.
Filmmaker watching a seamless multi-clip transition play back
The foundation of every trick in this video is editorial thinking that starts before you press record. The first clip Peter reacts to looks like one continuous shot of a person walking through a space, but it is actually stitched together from several separate clips. The magic is that you cannot tell where one ends and the next begins.
Before you shoot anything experimental, ask yourself: what is the one movement or action that can serve as a natural “wipe” between clips? A person walking through a doorway, a hand passing in front of the lens, or a pan to a blank wall can all act as invisible edit points. Shoot each segment with that transition moment at both the tail of one clip and the head of the next, giving yourself overlap to work with in post.
Step 2: Use a Slider to Create Controlled, Repeatable Motion
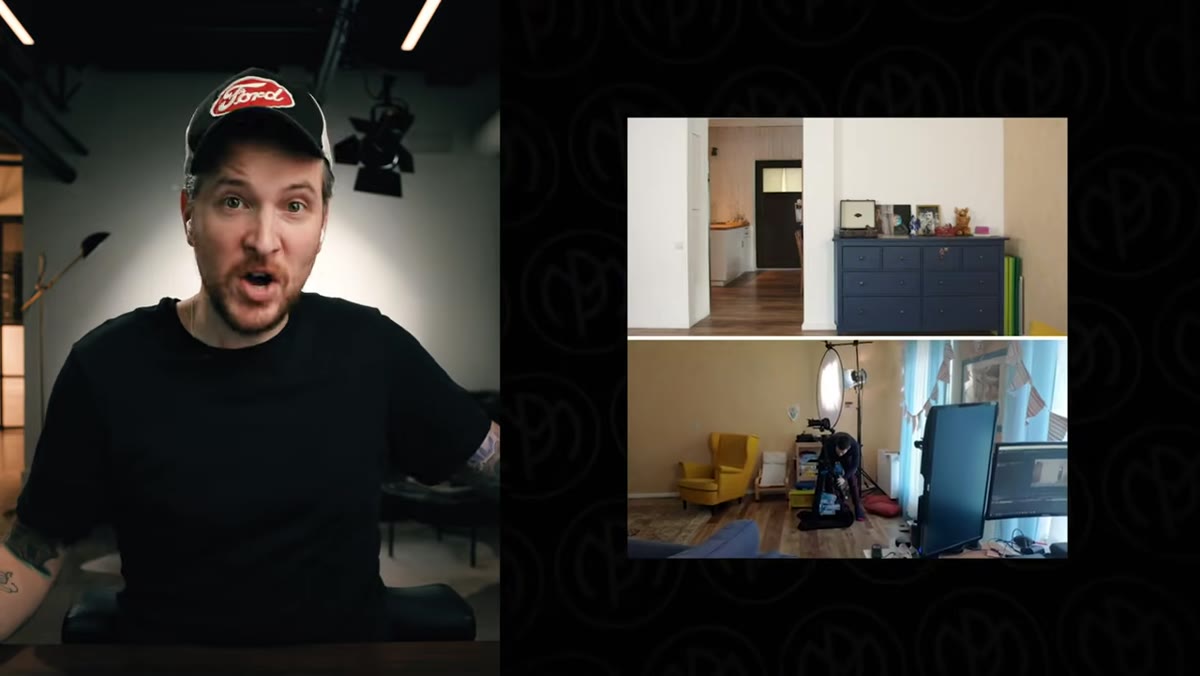 DIY slider setup on a flat surface being demonstrated
One of the behind-the-scenes clips shows a makeshift slider rig, and Peter’s reaction makes clear that the tool itself matters far less than the consistency of movement. A slider, even a budget one, gives you smooth lateral motion that is almost impossible to fake convincingly with handheld shooting.
DIY slider setup on a flat surface being demonstrated
One of the behind-the-scenes clips shows a makeshift slider rig, and Peter’s reaction makes clear that the tool itself matters far less than the consistency of movement. A slider, even a budget one, gives you smooth lateral motion that is almost impossible to fake convincingly with handheld shooting.
If you do not own a slider yet, a skateboard on a flat surface, a furniture dolly, or even a rolling office chair can work for low-budget experiments. The key is to keep your speed consistent across every take. If you are trying to match two clips together for a seamless edit, inconsistent speed is what will blow the illusion. Practice the move several times before you record anything you plan to use.
Step 3: Shoot More Coverage Than You Think You Need
 Creator reviewing multiple takes of the same slider shot
Every seamless transition trick you see in this video required multiple takes of the same motion from multiple angles. Peter notes that these creators are shooting separate clips, which means they are thinking like editors from the very start of production.
Creator reviewing multiple takes of the same slider shot
Every seamless transition trick you see in this video required multiple takes of the same motion from multiple angles. Peter notes that these creators are shooting separate clips, which means they are thinking like editors from the very start of production.
Get into the habit of shooting each movement at least three times: once from your primary angle, once from a complementary angle that gives you a cut option, and once more as insurance. When you are on a solo shoot, this discipline feels slow. But in the edit, having options is the difference between a sequence that flows and one that feels stuck. I started doing this on my Sunday photo walks and it completely changed how I think about shooting in a series rather than chasing single frames.
Step 4: Design a Loop That Earns the Rewatch
 Loop sequence playing back, creator reacting with excitement
The moment Peter identifies that a clip is a loop, his reaction says everything. A well-designed loop makes a viewer want to watch again immediately, not because they missed something, but because the craft itself is satisfying to experience twice.
Loop sequence playing back, creator reacting with excitement
The moment Peter identifies that a clip is a loop, his reaction says everything. A well-designed loop makes a viewer want to watch again immediately, not because they missed something, but because the craft itself is satisfying to experience twice.
A loop works by ending on the same frame, or nearly the same frame, that it begins on. This means you need to plan your final shot before you plan anything else. Shoot your ending first so you know exactly what visual state you need to return to. The middle can be flexible, but both endpoints need to match in terms of light, position, and camera angle. For photographers experimenting with video, this is a great entry point because it rewards the same careful compositional thinking you already use.
Step 5: Treat Instagram as a Proof-of-Concept Lab
 Creator describing the Instagram filmmaking community and its output
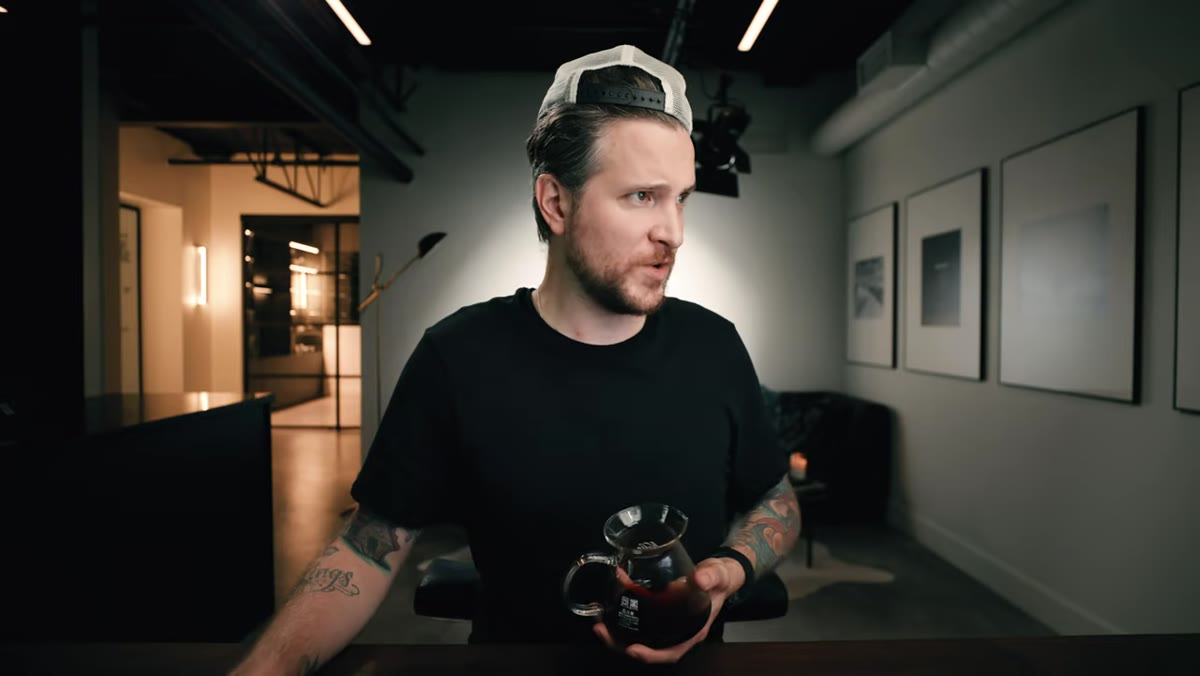
Peter describes these clips as Instagram filmmaking, and that framing matters. The platform’s short format forces creators to distill a technique down to its most essential, visually striking form. There is no room for buildup or explanation. The trick has to land in the first two seconds or it does not land at all.
Creator describing the Instagram filmmaking community and its output
Peter describes these clips as Instagram filmmaking, and that framing matters. The platform’s short format forces creators to distill a technique down to its most essential, visually striking form. There is no room for buildup or explanation. The trick has to land in the first two seconds or it does not land at all.
Use that constraint as a creative brief. Before your next shoot, set yourself a ten-second limit and ask: what is the single most visually surprising thing I can show in that window? Constraints like this break you out of default habits faster than any piece of gear will. My most-liked Instagram photo was taken on a two-hundred-dollar phone, and it taught me more about intentionality than most paid workshops I have attended.
A Note on DIY Rigs and “Good Enough” Equipment
Peter’s enthusiasm for the makeshift slider in this video is not performative. He genuinely appreciates the ingenuity because the result on screen is what matters, not the price tag on the rig that made it. I want to echo that, with one practical addition: whatever DIY solution you use, test it for wobble before you shoot anything you care about.
Wobble in a slider move that is supposed to look controlled reads as amateur immediately. A smooth move on cheap gear beats a shaky move on expensive gear every single time. Tape down the legs, add weight to the base, or slow the move down enough that micro-vibrations are not visible. My husband built me a custom tethering rig partly out of love and partly because I kept complaining about inconsistent results from budget gear. The lesson I took from that is: understand exactly which variable is causing your problem before you spend money on a solution.
The single most transferable idea from this entire video is this: Hollywood-level visual tricks are mostly the result of planning, not budget. If you can design your shot around a specific transition or loop point before you press record, you are already thinking like the filmmakers Peter is reacting to.
Watch the full tutorial on YouTube and pay close attention to how Peter identifies the structural logic behind each trick. That analytical habit, watching something beautiful and immediately asking “how did they do that,” is the real skill worth building.
Comments (1)
I tried this on a client project yesterday and the results were way better than expected.
Leave a Comment