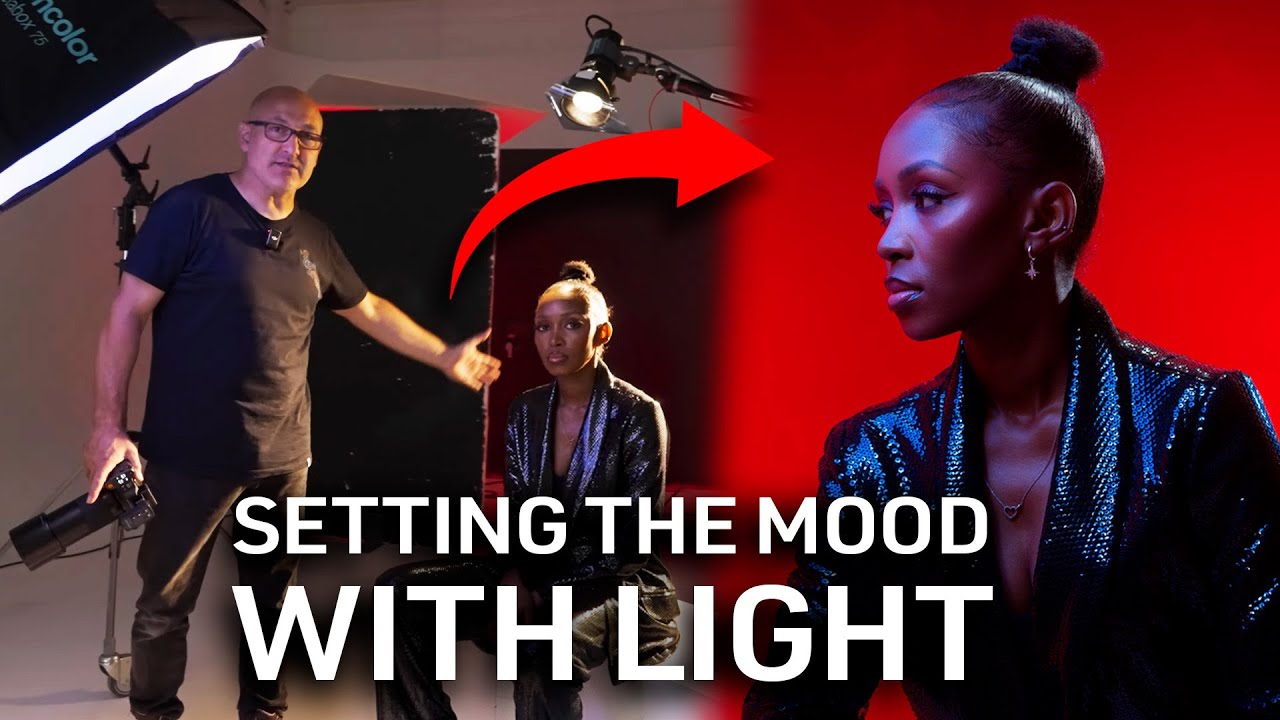
Color gels have been sitting in a drawer in my studio bag for longer than I’d like to admit. I bought a full set after seeing some editorial work I loved, used them once, got muddy results, and quietly moved on. The problem wasn’t the gels — it was that I had no mental model for how to layer them intentionally across multiple light sources without everything turning into a murky mess. That changed when I watched a studio session from Visual Education where the photographer builds out a full multi-light gel setup from scratch, then pivots to a completely different look using a massive parabolic reflector and movement. Watch the full tutorial on YouTube
What makes this tutorial worth your time is that it doesn’t just show you a finished frame and work backward. You see the actual logic behind each light placement — why a specific modifier goes where it goes, what problem each light is solving, and how the photographer adapts on the fly when the shot changes. Whether you’re working in a fully kitted studio or adapting these principles to a smaller space with a couple of speedlights, the thinking here transfers.
I’ve broken the session into the core steps below so you can follow along without pausing and rewinding every thirty seconds.
Step 1: Decide What Your Background Is Actually Doing
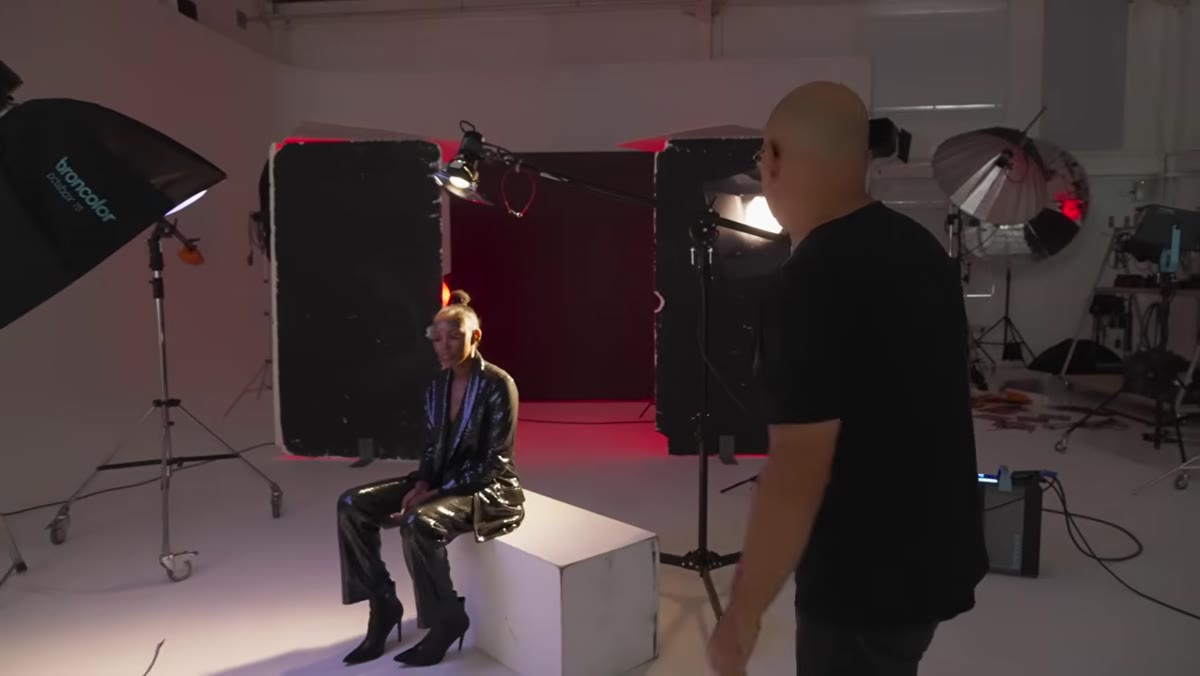 Photographer explaining two gelled lights aimed at poly boards
Most photographers treat the background as a thing to be hidden or blurred. This setup flips that. Here, two lights are gelled and aimed directly at poly boards positioned in front of a dark gray background. The poly boards bounce the colored light back onto the background, turning it into a rich, saturated red. The dark gray surface is what makes that saturation possible — it absorbs any spill and lets the bounced gel color read cleanly.
The practical takeaway: if you want a vivid background color without painting a wall or buying colored paper, gel a light, bounce it off a white or near-white surface, and let the background sit in that reflected wash. The darker your background’s base tone, the richer your gel color will read.
Step 2: Use Edge Lighting to Separate the Subject From the Color
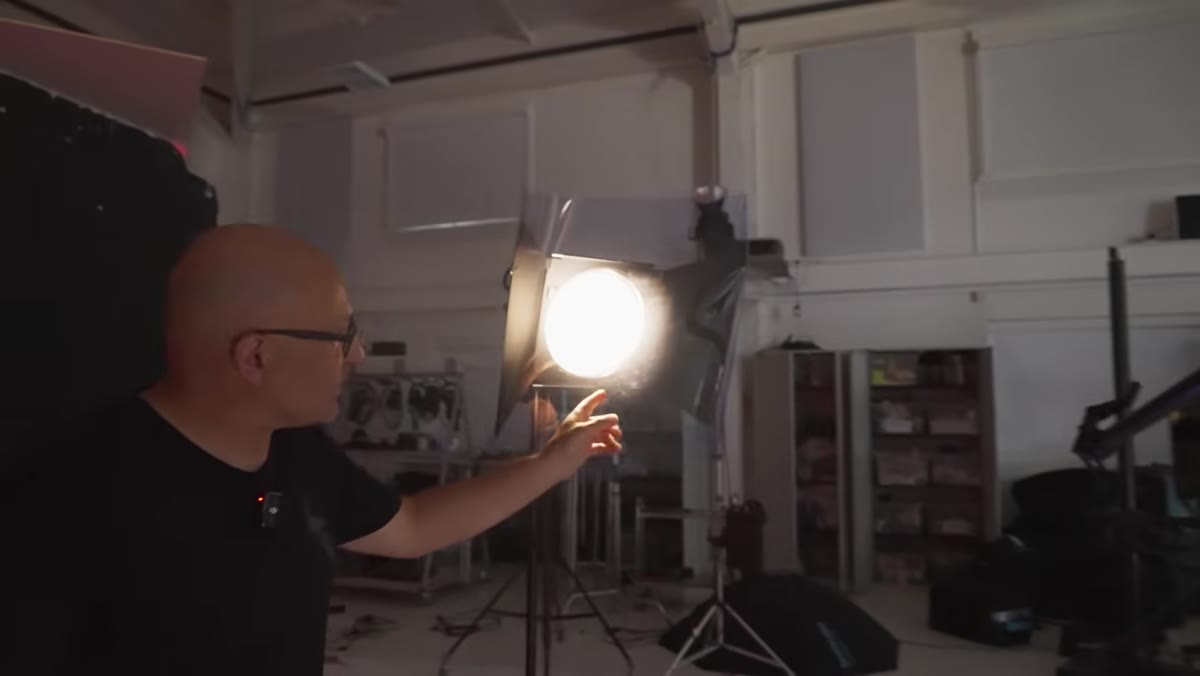 P70 with honeycomb grid and light blue gel aimed at model’s edge
Once the background is glowing red, the subject needs to pop off it without blending in. A P70 fitted with a honeycomb grid and a light blue gel handles edge separation here. The grid keeps the light narrow and controlled so it wraps just along the subject’s silhouette without spilling forward onto the face. The blue is intentionally subtle — it reads as cool contrast against the warm red background rather than a competing color statement.
When you’re placing an edge light like this, the honeycomb grid is doing most of the work. Without it, the gel color can creep forward and flatten the effect you’re trying to build. Start with the light at roughly a 90-degree angle to your subject’s profile, then fine-tune until the color catches the shoulder and arm without hitting the cheek.
Step 3: Add a Hair Light With a Matching Gel for Cohesion
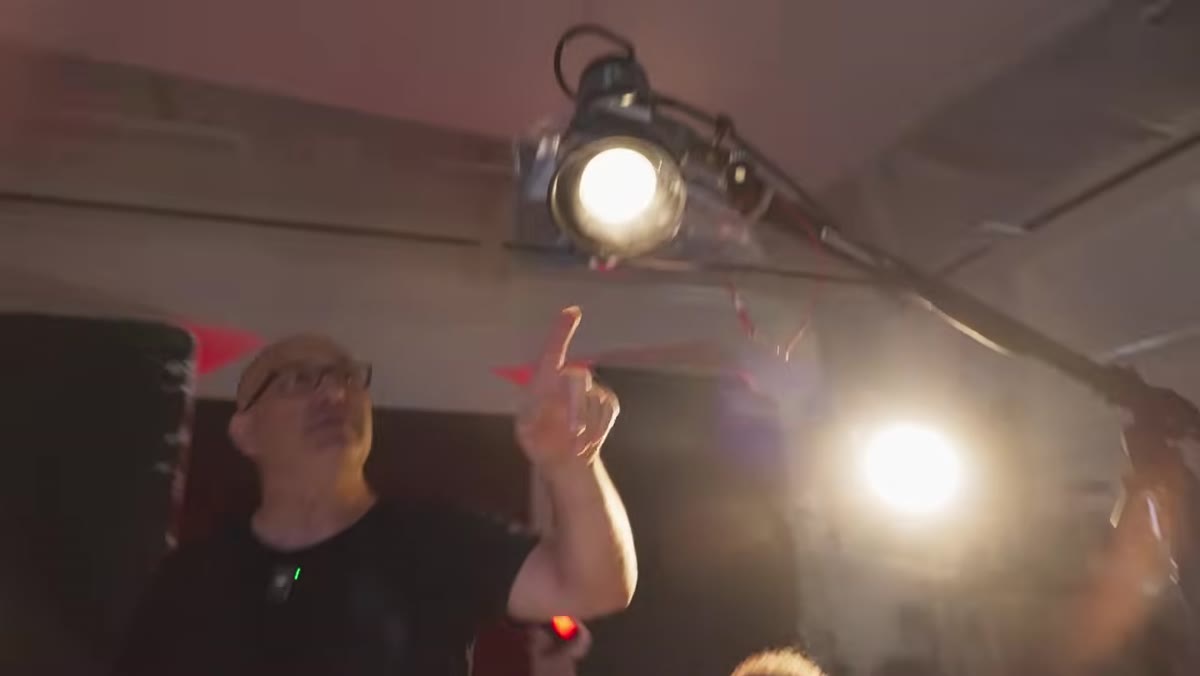 Pico light with fresnel and light blue gel positioned above model
A Pico light fitted with a fresnel lens and another light blue gel comes in as the hair light. Using the same gel family for both the edge light and the hair light is a deliberate choice — it keeps the cool tones unified on the subject so the color story reads clearly. If the hair light were a different color, you’d introduce a third color into the frame and the image would start competing with itself.
The fresnel is worth noting here because it allows precise focusing of the beam. You can dial it from a wide wash to a tight spot, which matters when you’re trying to light hair without spilling onto the background you’ve worked hard to control. If you don’t have a fresnel modifier, a standard small reflector with a grid can approximate this.
Step 4: Set Your Key Light to Contrast the Background
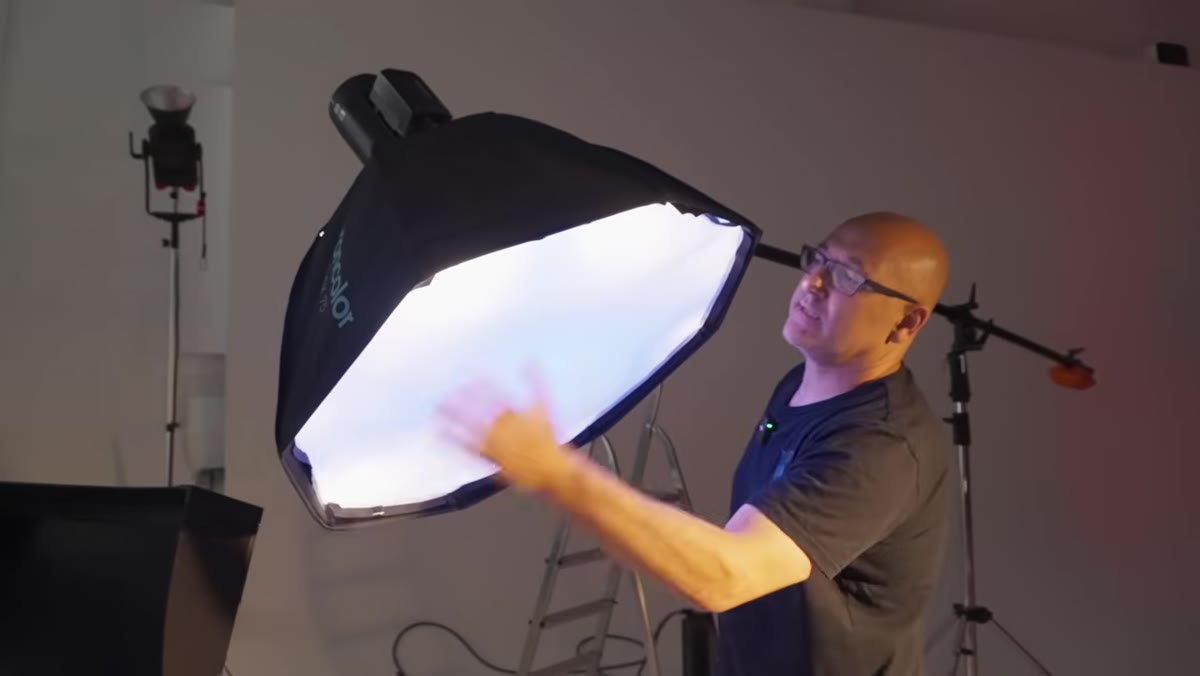 Broncolor Stellos in 75cm octabox with blue gel as main key light
The main key light is a strobe inside a 75cm octabox with a blue gel fitted inside. Placing the gel inside the modifier rather than over the front of the light gives the color more evenness across the spread. The blue key against the red background creates the core visual tension in the image — complementary colors working hard to give the portrait that editorial punch.
Power settings will vary by your gear, but the principle is that your key light needs to be strong enough to override the ambient color bounce from the background. Meter your key first, then adjust your background and edge lights around it rather than the other way around.
Step 5: Test for Flash Duration Before Introducing Movement
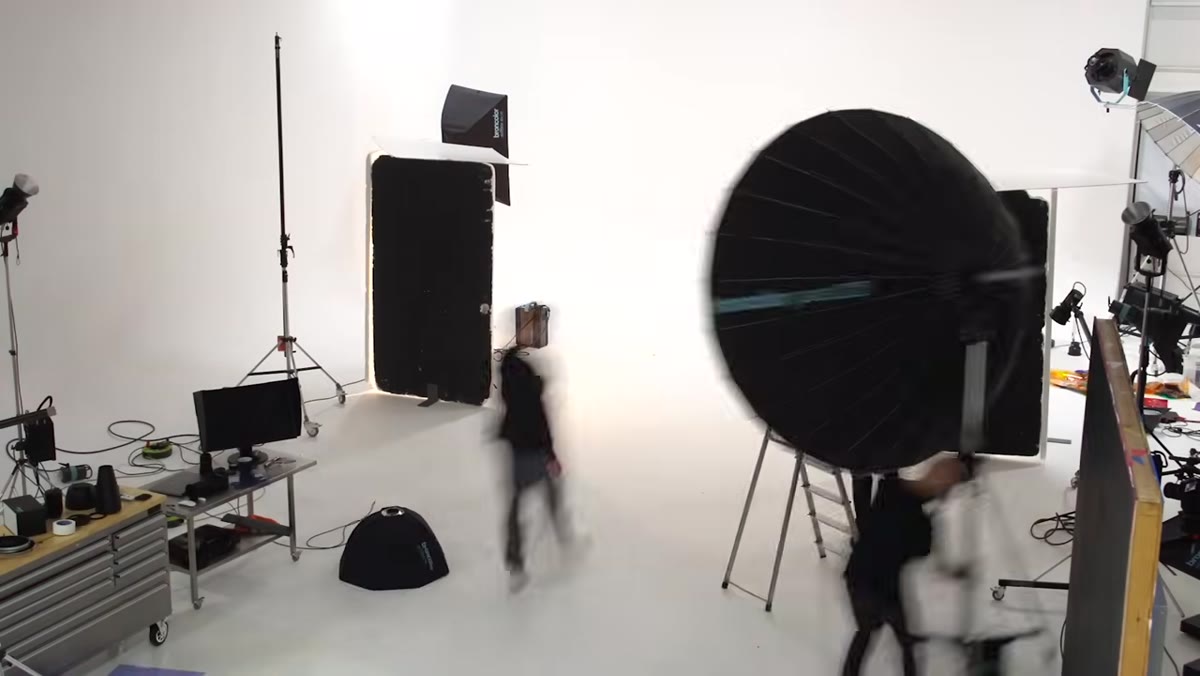 Photographer testing Stellos in large 222 parabolic reflector at high power
The second setup in this session involves a large parabolic reflector running at high power — and that’s where flash duration becomes critical. When models are skipping, jumping, or throwing shapes, a slow flash duration will give you motion blur even at a high sync speed. The photographer specifically tests whether the strobe can maintain a fast enough duration at full power before bringing models in and asking for movement.
This is a step a lot of photographers skip, and it costs them. Run a test shot of your own hand moving quickly through the frame before your subject arrives. If you see blur on the fingers, you need to either reduce power, switch modifiers, or choose a strobe with better duration specs at high output.
Step 6: Build the Fill With Poly Boards on the Background
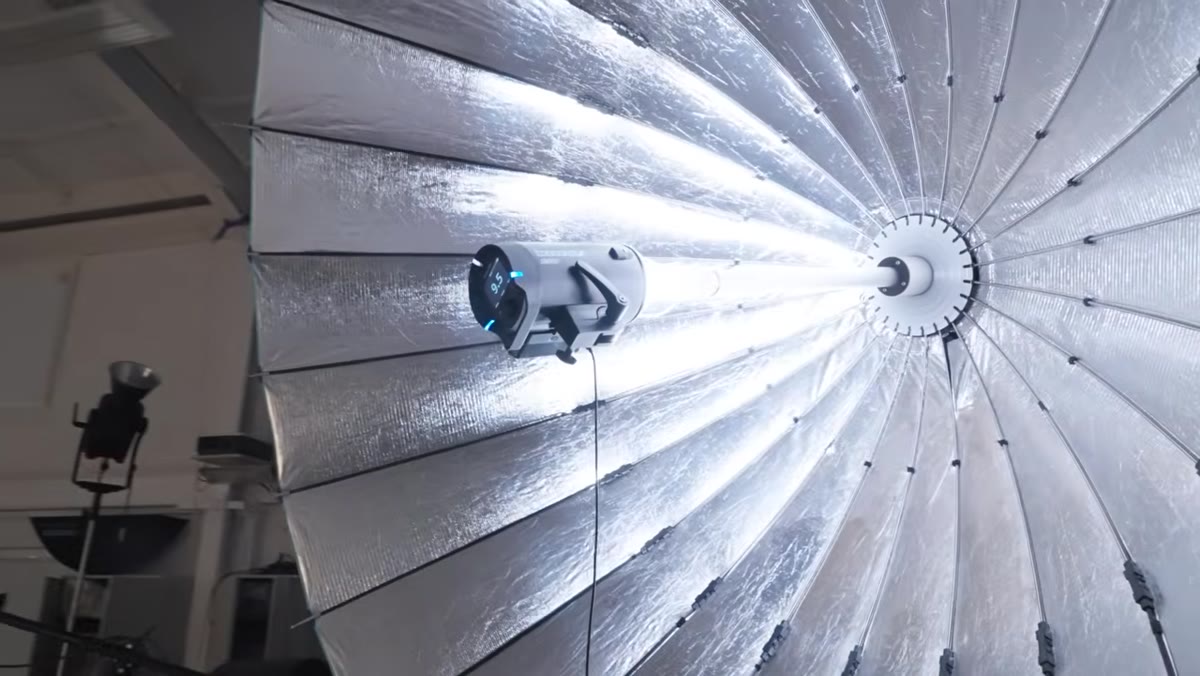 Two uni lights aimed into poly boards to illuminate white background evenly
For the bright, clean second setup, two lights shine into poly boards positioned against a white background. This creates a soft, even illumination across the entire background plane rather than a hot spot in the center. The result is that fresh, overexposed-looking white background you see in a lot of commercial and fashion work — but it’s not actually overexposed, it’s just very evenly lit.
The poly board bounce method is forgiving and affordable. Even if you’re working with two speedlights at home, you can replicate this by bouncing them off large white foam core boards. The key is spacing — position the lights so their spread overlaps at the center of the background before it hits the boards.
My Take: Matching Your Modifier to Your Intention
One thing this session reinforced for me is that the modifier choice and the gel work together — they aren’t separate decisions. A large parabolic reflector at high power for a movement shot makes sense because you need speed and reach. An octabox for a tighter, controlled portrait makes sense because you want that soft wraparound quality. When I first started experimenting with gels, I’d swap colors without thinking about whether my modifier was actually delivering the quality of light the gel needed to sing. A beautiful gel in the wrong modifier just looks dull.
If you’re new to this, start with one gelled light on your background and one ungelled key light on your subject. That contrast alone will teach you more than adding four lights at once.
The single biggest thing to take away here is this: treat each light as solving a specific problem, then ask whether your gel choice makes that solution better or worse. Build the frame one light at a time and you’ll always know what to adjust when something isn’t working.
Watch the full tutorial on YouTube to see the full session, including the live shooting with models and how the photographer directs movement during the parabolic setup.
Comments
Leave a Comment