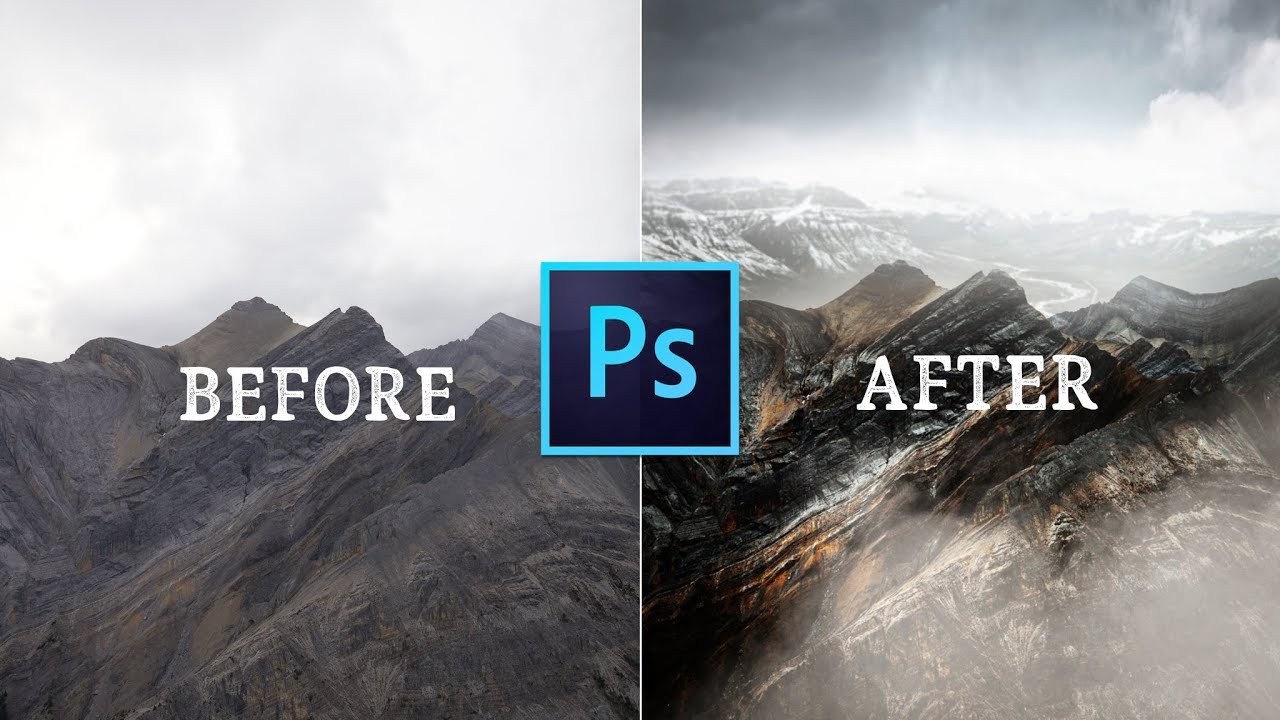
There’s a specific kind of frustration that comes from shooting in beautiful conditions and still ending up with a flat image. You were there. The mountains were massive. The light felt cinematic. And then you open the file and the sky is a washed-out grey blob that flattens the whole frame. I’ve been there more times than I’d like to admit, usually on a Sunday morning walk when the foreground is perfect and the sky just isn’t cooperating.
That’s exactly the problem this Peter McKinnon tutorial tackles head-on. Watch the full tutorial on YouTube before or alongside this walkthrough. McKinnon takes a mountain landscape with a blown-out sky and transforms it into something that genuinely looks like it belongs in a travel magazine, using Photoshop’s masking tools and some smart compositional thinking about light and depth. What I appreciate most is that he doesn’t stop at the basic sky swap. He pushes further, asking the harder question: does this actually look real?
This guide walks through his process step by step, with enough detail that you can follow along in Photoshop without pausing the video every thirty seconds. I’ve added a few notes from my own experience where the technique connects to broader editing habits worth building.
Step 1: Duplicate Your Background Layer
 Photoshop open with mountain photo on canvas
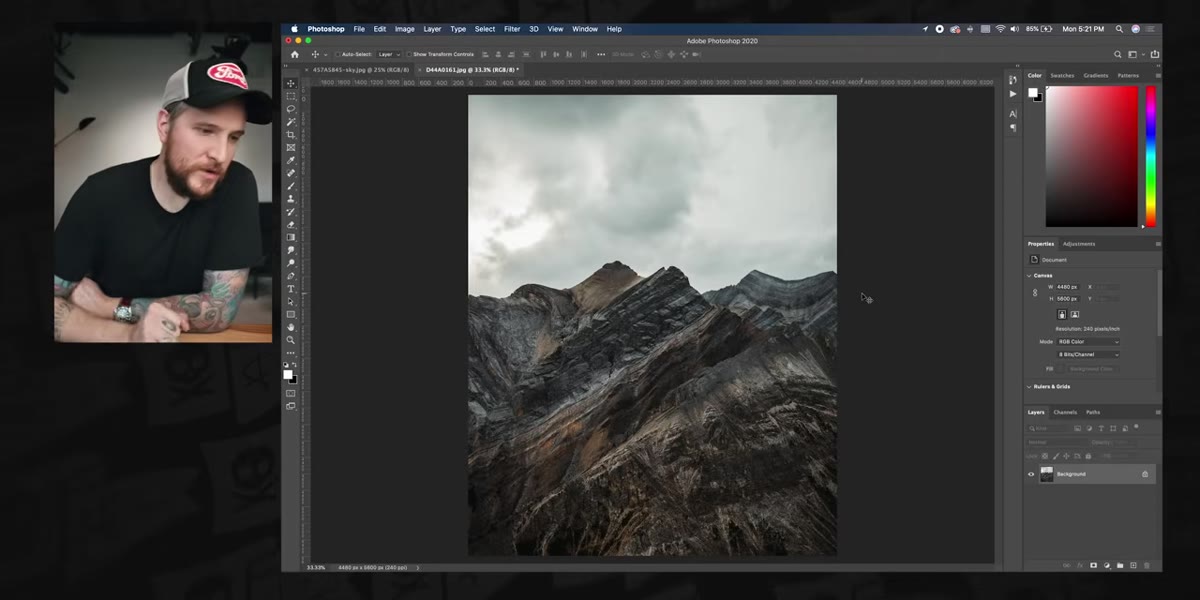
Before you touch anything, duplicate your background layer. Drag it to the new layer icon at the bottom of the Layers panel. This gives you a safety net. Every edit from here happens on the copy, so your original stays untouched. It’s a habit that has saved me from myself more times than I can count, especially when a client asks for “the original” three weeks after you’ve closed the file.
Photoshop open with mountain photo on canvas
Before you touch anything, duplicate your background layer. Drag it to the new layer icon at the bottom of the Layers panel. This gives you a safety net. Every edit from here happens on the copy, so your original stays untouched. It’s a habit that has saved me from myself more times than I can count, especially when a client asks for “the original” three weeks after you’ve closed the file.
Step 2: Open Select and Mask
 Select and Mask dialog opening with red overlay visible
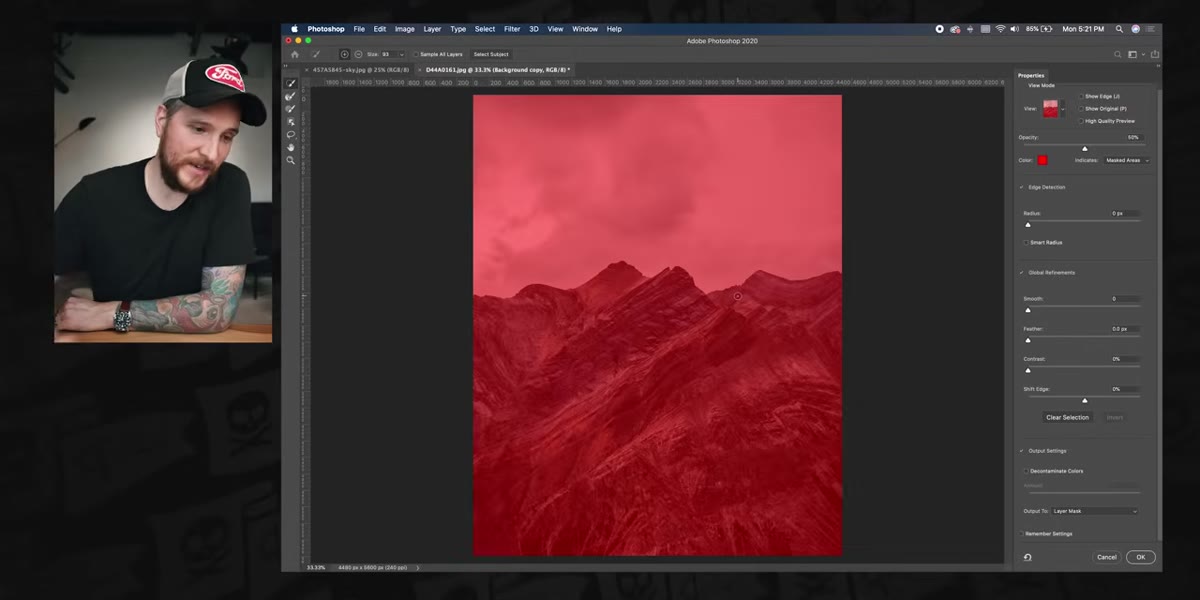
With your duplicated layer selected, go to the top menu and choose Select, then Select and Mask. A new dialog window opens. McKinnon sets his view mode to Overlay, which tints the masked area red so you can clearly see what you’re working with. You can also view it on black or white, but the red overlay makes it easy to catch spots you’ve missed, especially along edges where the sky meets complex shapes.
Select and Mask dialog opening with red overlay visible
With your duplicated layer selected, go to the top menu and choose Select, then Select and Mask. A new dialog window opens. McKinnon sets his view mode to Overlay, which tints the masked area red so you can clearly see what you’re working with. You can also view it on black or white, but the red overlay makes it easy to catch spots you’ve missed, especially along edges where the sky meets complex shapes.
Before you start painting, scroll down in the Properties panel on the right and find Output Settings. Set the output to Layer Mask. This is important: it keeps everything non-destructive and gives you a mask you can refine later instead of flattening your selection permanently.
Step 3: Paint the Foreground With the Brush Tool
 Brush painting over mountain peaks to preserve foreground
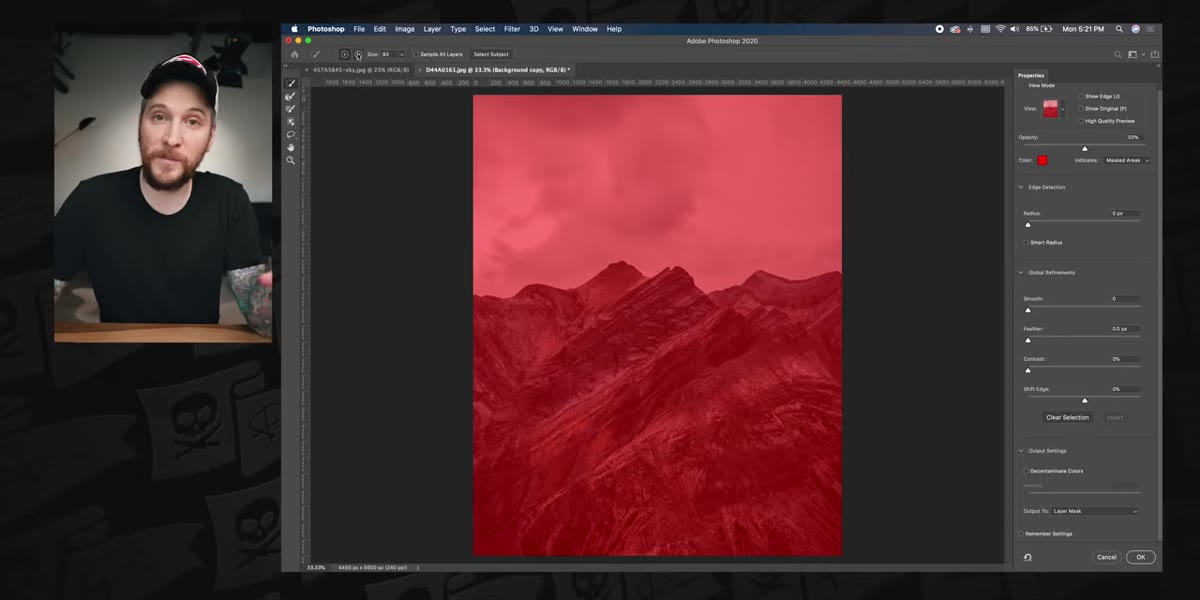
Select the regular Brush tool from the top-left of the Select and Mask toolbar. McKinnon sets his brush size to around 93. Paint over the area you want to keep, which in this case is the mountains. Because the mountain ridgeline is sharp and clearly defined against the sky, a single confident brushstroke along the peaks is often all it takes. Photoshop’s edge detection does the heavy lifting. The result is a clean selection without hours of manual cleanup.
Brush painting over mountain peaks to preserve foreground
Select the regular Brush tool from the top-left of the Select and Mask toolbar. McKinnon sets his brush size to around 93. Paint over the area you want to keep, which in this case is the mountains. Because the mountain ridgeline is sharp and clearly defined against the sky, a single confident brushstroke along the peaks is often all it takes. Photoshop’s edge detection does the heavy lifting. The result is a clean selection without hours of manual cleanup.
Sharp-edged subjects like mountain silhouettes, architecture, or leafless trees are ideal candidates for this workflow. Subjects with soft, wispy edges (think hair or fur) need more careful treatment, but for hard geometry, this is remarkably fast.
Step 4: Refine Any Leftover Problem Areas
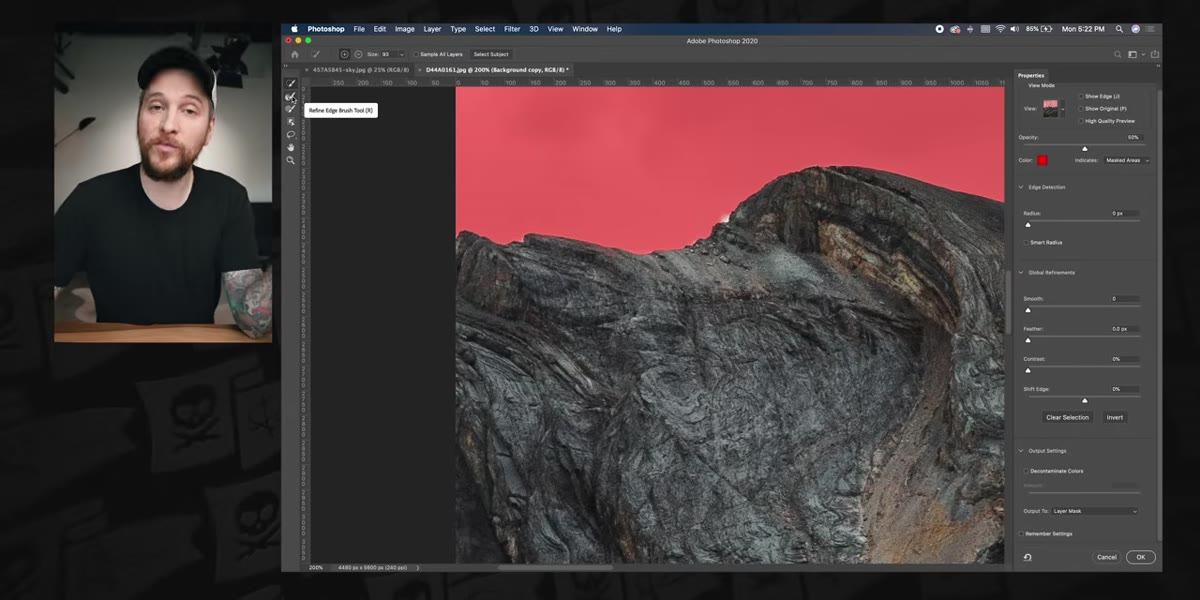 Refine Edge Brush cleaning a white spot near the horizon
If you notice small problem spots after the initial paint pass, switch to the Refine Edge Brush tool. It’s the second brush icon on the left panel inside the Select and Mask dialog. Paint lightly over any edges that look rough or any white fringing left behind from the original sky. McKinnon uses this to clean up a small bright spot near the horizon, and the result is seamless.
Refine Edge Brush cleaning a white spot near the horizon
If you notice small problem spots after the initial paint pass, switch to the Refine Edge Brush tool. It’s the second brush icon on the left panel inside the Select and Mask dialog. Paint lightly over any edges that look rough or any white fringing left behind from the original sky. McKinnon uses this to clean up a small bright spot near the horizon, and the result is seamless.
Once you’re satisfied, click OK. Your layer now has a mask that hides the sky and reveals only the foreground subject.
Step 5: Copy and Paste Your Replacement Sky
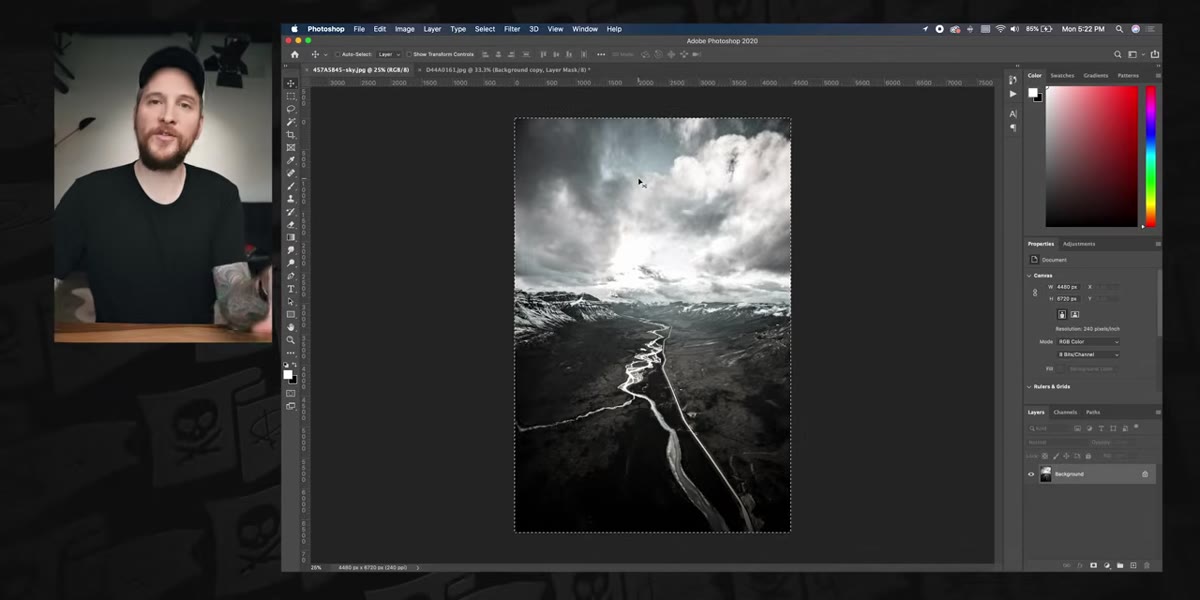 New sky image open in a separate Photoshop tab
Open your replacement sky image in a separate Photoshop tab. Use Command+A to select all, then Command+C to copy. Switch back to your mountain image tab and press Command+V to paste. The sky drops in as a new layer at the top of your layer stack.
New sky image open in a separate Photoshop tab
Open your replacement sky image in a separate Photoshop tab. Use Command+A to select all, then Command+C to copy. Switch back to your mountain image tab and press Command+V to paste. The sky drops in as a new layer at the top of your layer stack.
Here’s the key move: drag that new sky layer below your masked mountain layer but above the original background. When you do this, the sky fills in behind your foreground subject naturally, and the mask does the work of blending them together. At this point, you technically have a completed sky replacement.
Step 6: Reposition the Sky for Composition
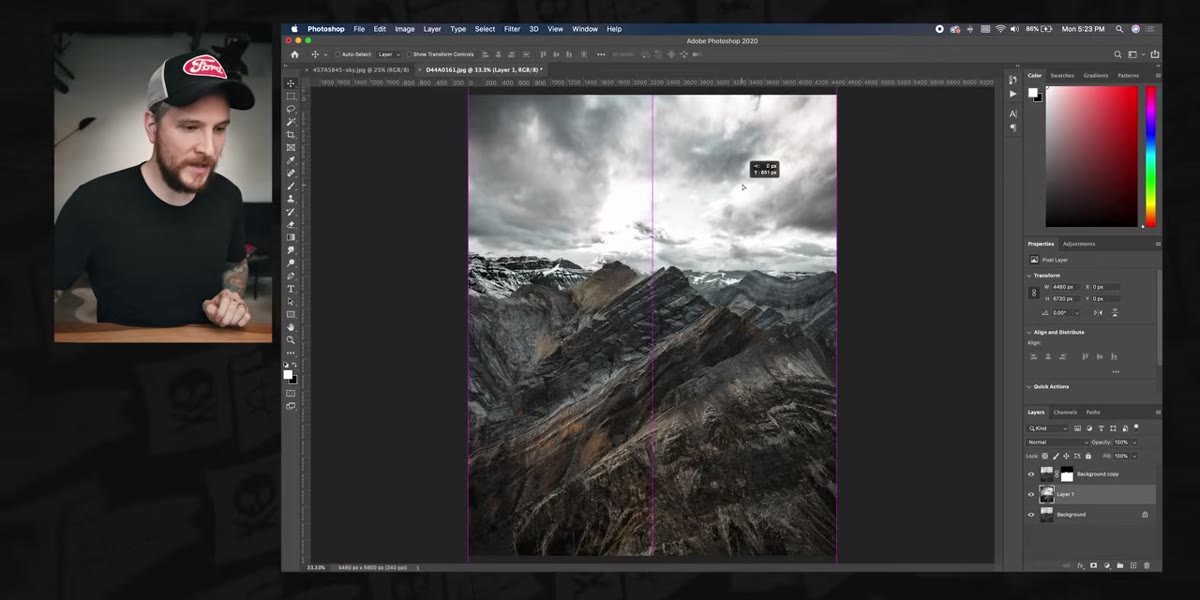 Sky layer being dragged upward, revealing new landscape beneath
This is where McKinnon does something I hadn’t thought to try before. He nudges the sky layer upward slightly and notices that the replacement image reveals what looks like an entirely different landscape below the horizon, almost like a second scene emerging from behind the mountains. It’s a happy accident that turns into a creative choice.
Sky layer being dragged upward, revealing new landscape beneath
This is where McKinnon does something I hadn’t thought to try before. He nudges the sky layer upward slightly and notices that the replacement image reveals what looks like an entirely different landscape below the horizon, almost like a second scene emerging from behind the mountains. It’s a happy accident that turns into a creative choice.
Don’t just accept the default placement of your sky layer. Move it around. Scale it. Flip it horizontally if the light is coming from the wrong direction. The goal is a composition that feels intentional, not pasted together.
Step 7: Ask Whether the Light Actually Makes Sense
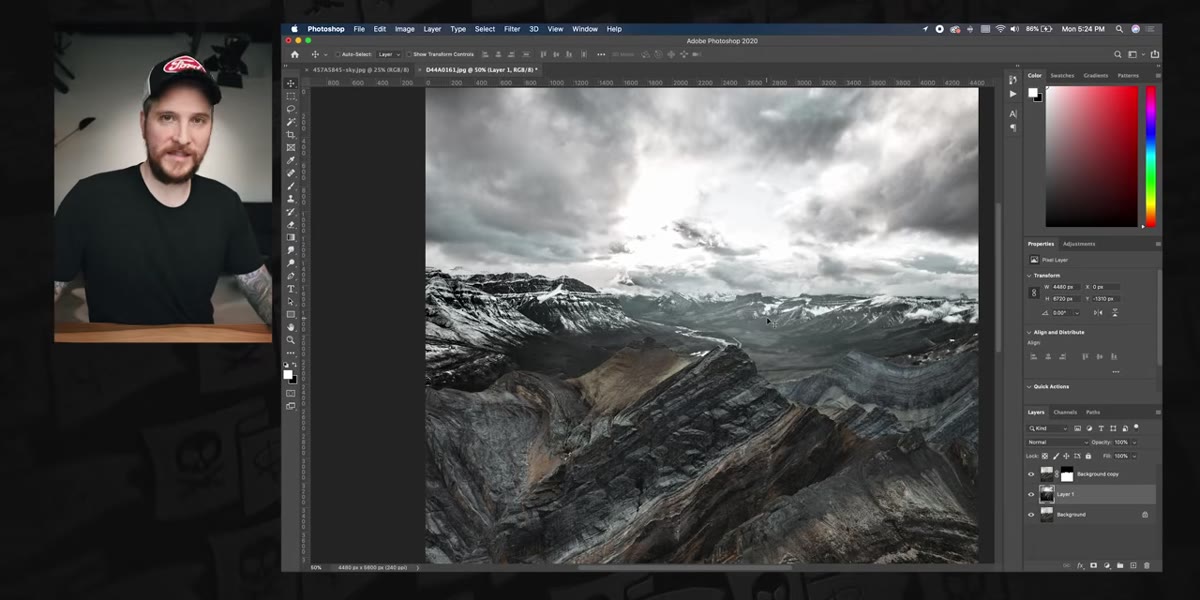 Composite showing mismatched lighting between mountains and sky
McKinnon pauses here to do something that separates competent editing from good editing: he looks at the composite critically and asks what’s wrong with it. The answer is that the light doesn’t match. The mountains in the foreground look sharp and lit from one direction, while the replacement sky implies a completely different light source. No amount of color grading will fix that if the underlying logic is broken.
Composite showing mismatched lighting between mountains and sky
McKinnon pauses here to do something that separates competent editing from good editing: he looks at the composite critically and asks what’s wrong with it. The answer is that the light doesn’t match. The mountains in the foreground look sharp and lit from one direction, while the replacement sky implies a completely different light source. No amount of color grading will fix that if the underlying logic is broken.
This step isn’t a tool or a menu item. It’s a habit of stopping to evaluate before you call something finished. When I’m working on a composite, I ask three questions: Does the light direction match? Does the color temperature feel consistent? Does the depth of field make sense for both elements? If any answer is no, the image will look like Photoshop, not like a photograph.
A Note on Choosing the Right Sky to Begin With
The fastest way to make a sky replacement look real is to start with a sky that was photographed under similar conditions to your foreground. I keep a personal library of sky photos organized by light direction and time of day, shot on the same walks where I’m testing compositions. Warm golden-hour mountains need a warm sky, not a flat midday overcast. Matching color temperature before you even open the masking tools cuts your blending work in half and makes the final grade much cleaner.
The single most important lesson from this tutorial isn’t the masking workflow, as useful as that is. It’s McKinnon’s instinct to stop and ask what looks wrong before declaring the image done. Technical skill gets you a clean mask. Critical vision gets you a photograph worth sharing. Both matter, and one without the other will only take you so far.
Watch the full tutorial on YouTube to see McKinnon walk through the full composite and his reasoning behind each decision in real time.
Comments
Leave a Comment