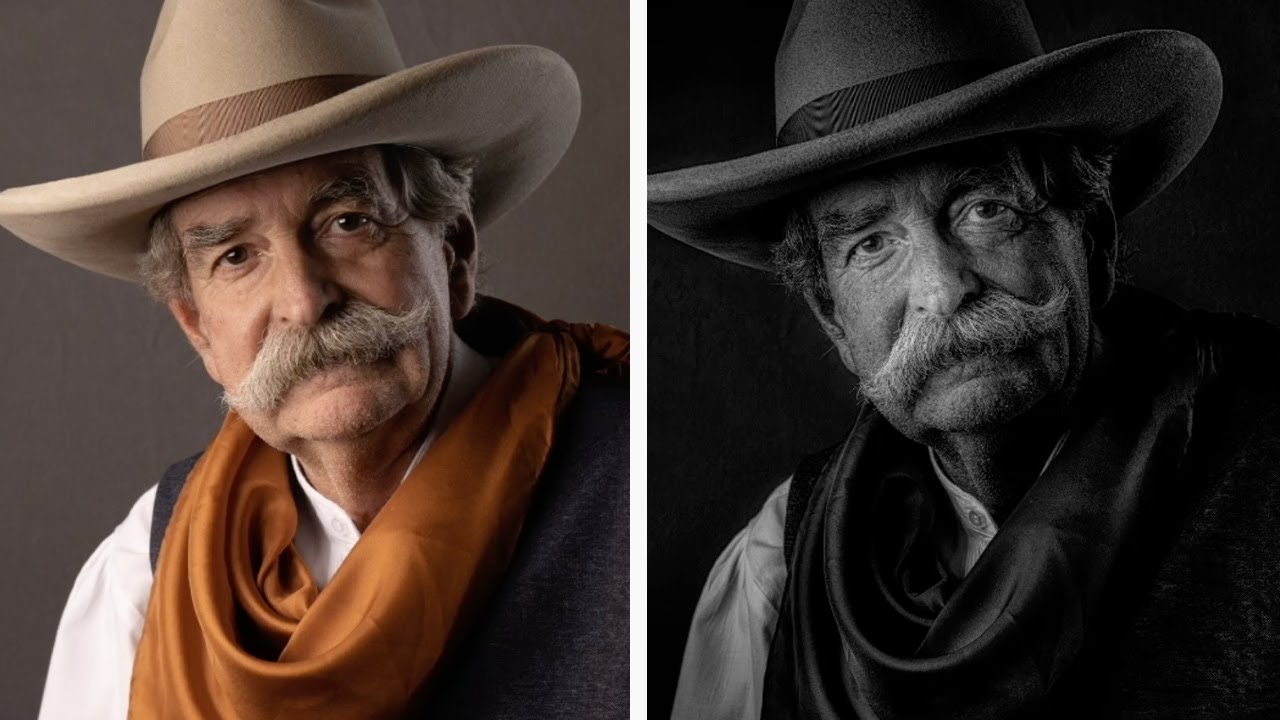
There’s a specific frustration I know well: you nail the lighting on a portrait, the subject’s expression is exactly right, and then you open the raw file and it just… sits there. Flat. Unimpressive. Nothing like what you saw in your head when you pressed the shutter. For a long time, my answer was to throw a high-contrast black and white preset at it and call it a day. The results were fine. Not dramatic. Not intentional. Fine.
That changed when I worked through this Joel Grimes tutorial on building a dramatic black and white portrait from scratch. Watch the full tutorial on YouTube. Grimes is a commercial photographer with decades of experience, and what I appreciate about his approach is that it’s genuinely methodical. He’s not slapping a filter on anything. He’s building contrast and mood decision by decision, mostly inside Camera Raw (which runs the same processing engine as Lightroom’s Develop module, so you can follow along in either).
The subject is his neighbor Bruce, photographed on a gray background in a living room with one large softbox and a small edge light. The starting image is perfectly competent. The finished portrait is the kind of thing you’d see on a gallery wall. Here’s how he gets from one to the other.
Step 1: Open Your Raw File in Camera Raw or Lightroom
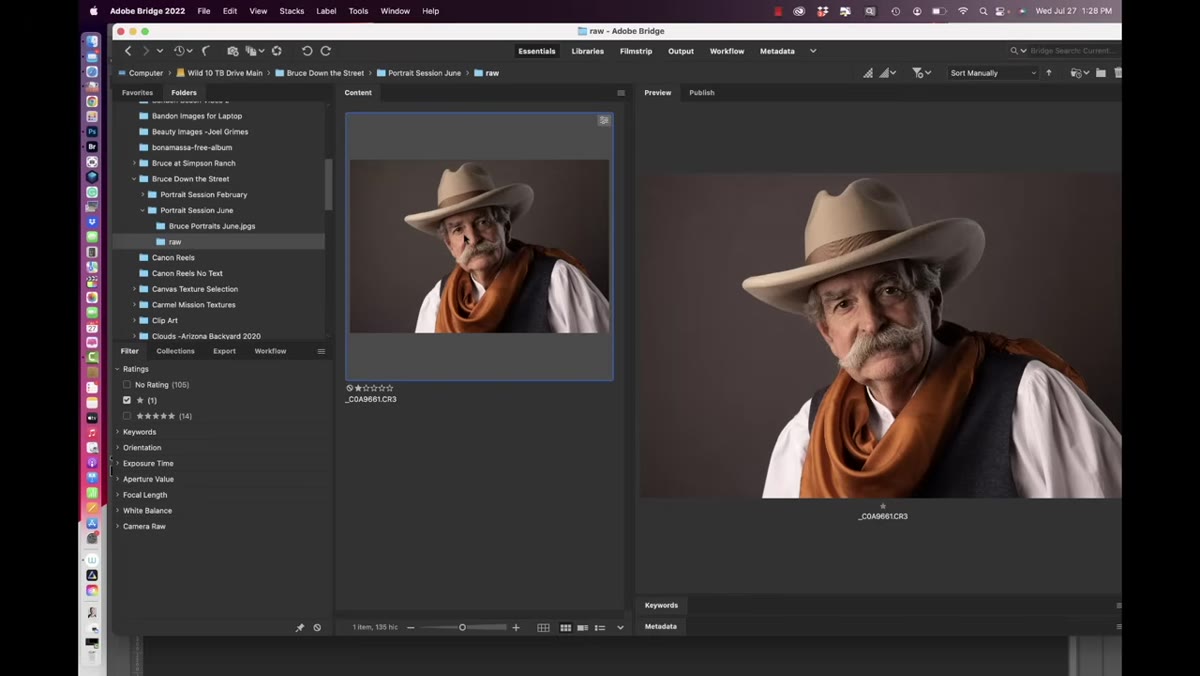 Raw file open in Camera Raw with edit panel visible
Both tools use the same processing engine under the hood, so every slider and setting Grimes touches in Camera Raw has a direct equivalent in Lightroom’s Develop module. If you’re a Lightroom user, you’re not missing anything here. Open your portrait as a raw file and make sure you’re working in the Edit panel before touching anything else. Grimes is deliberate about this starting point because raw files give you the most latitude for pushing contrast and shadow detail without the image falling apart.
Raw file open in Camera Raw with edit panel visible
Both tools use the same processing engine under the hood, so every slider and setting Grimes touches in Camera Raw has a direct equivalent in Lightroom’s Develop module. If you’re a Lightroom user, you’re not missing anything here. Open your portrait as a raw file and make sure you’re working in the Edit panel before touching anything else. Grimes is deliberate about this starting point because raw files give you the most latitude for pushing contrast and shadow detail without the image falling apart.
Step 2: Lift the Exposure First
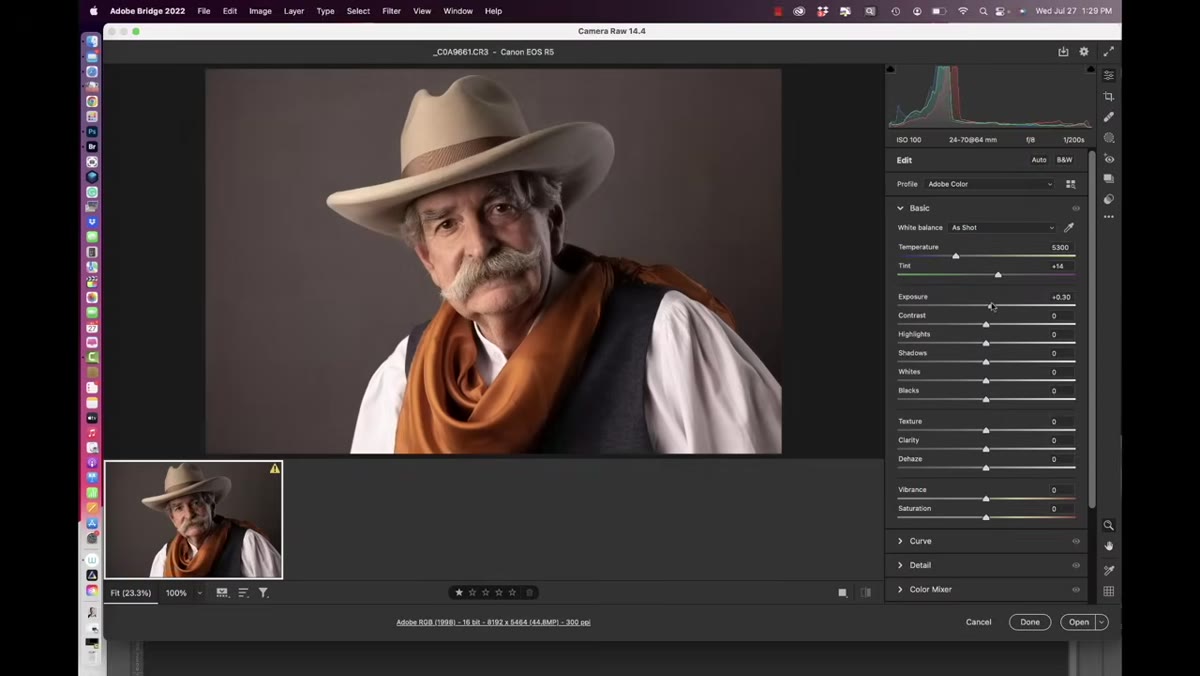 Exposure slider being increased in the basic panel
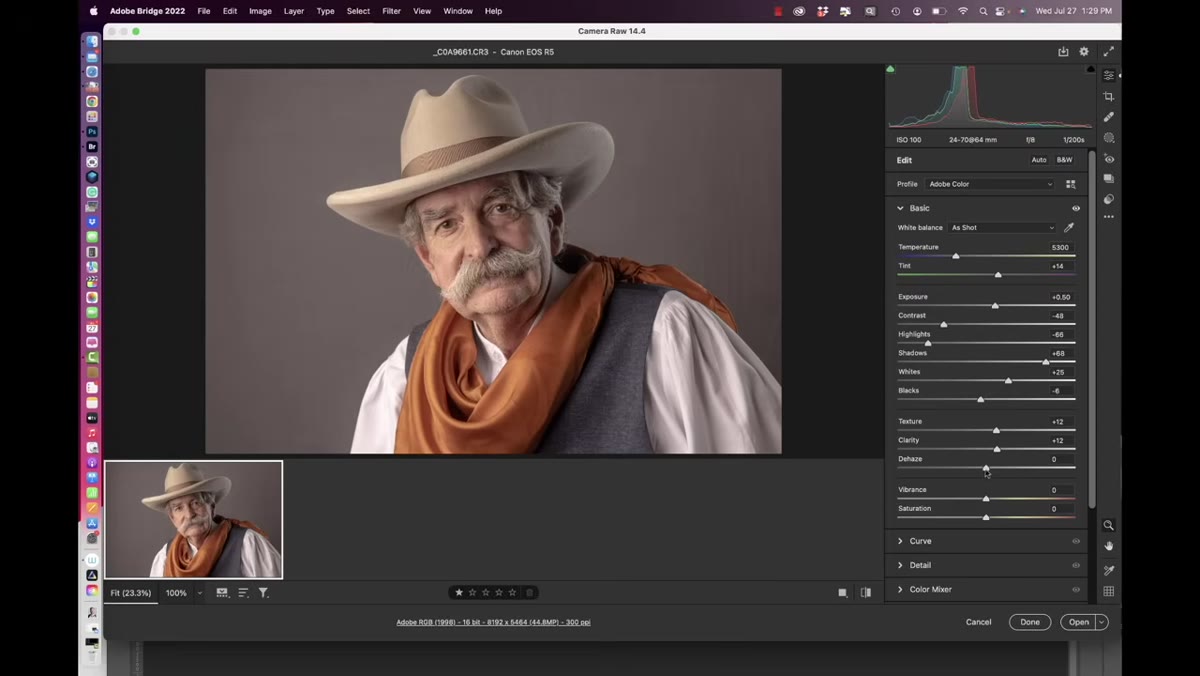
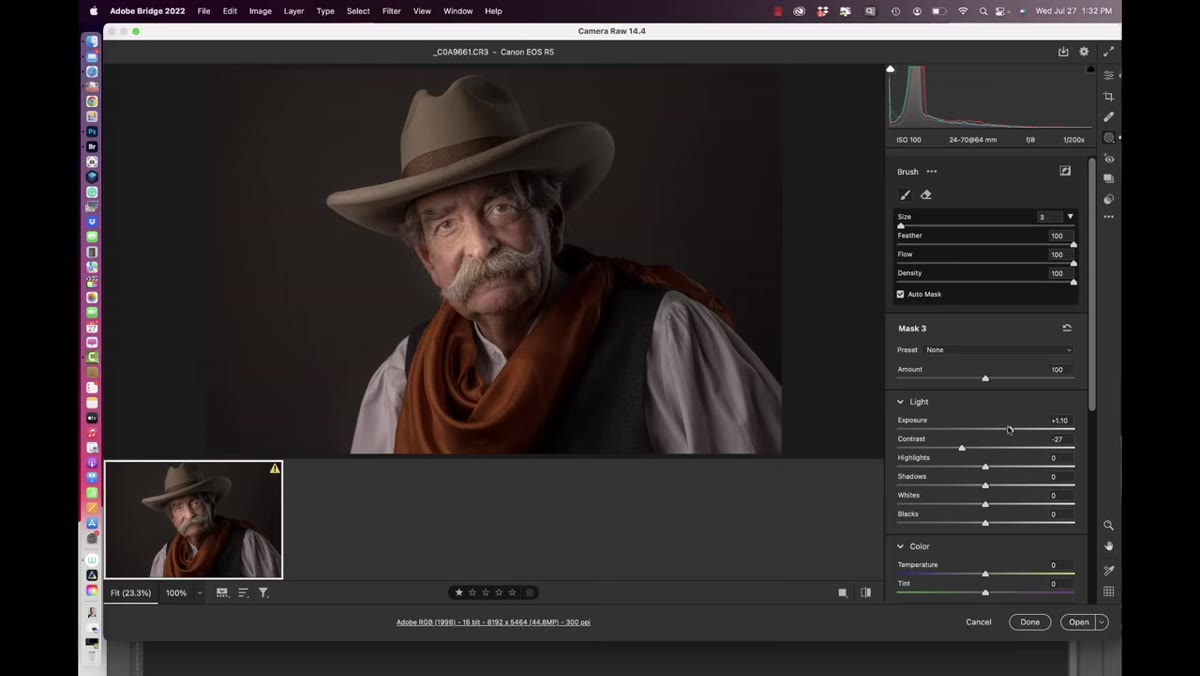
Before reaching for the contrast slider, Grimes nudges the exposure up slightly. This might feel counterintuitive for a dramatic, dark portrait, but it matters. You want tonal information spread across the histogram before you start crushing shadows and pulling highlights. Think of it as giving yourself more material to sculpt. A small positive exposure adjustment, just enough to open up the midtones, sets the foundation for everything that follows. Don’t overdo it. You’re not trying to make the image bright; you’re making room.
Exposure slider being increased in the basic panel
Before reaching for the contrast slider, Grimes nudges the exposure up slightly. This might feel counterintuitive for a dramatic, dark portrait, but it matters. You want tonal information spread across the histogram before you start crushing shadows and pulling highlights. Think of it as giving yourself more material to sculpt. A small positive exposure adjustment, just enough to open up the midtones, sets the foundation for everything that follows. Don’t overdo it. You’re not trying to make the image bright; you’re making room.
Step 3: Build Contrast Through the Tone Curve
 Tone curve panel open with an S-curve being applied
This is where the drama starts to appear. Grimes favors using the tone curve to shape contrast rather than relying solely on the basic panel’s Contrast slider, because the curve gives you precise control over where the contrast is applied. He pulls a classic S-curve: slightly darker shadows, slightly brighter highlights, with the midtones anchored. On a face, this deepens the shadows under the jaw and brow while keeping the highlight on the cheekbone and forehead crisp. For black and white portraits specifically, this separation between light and shadow is what gives the image its three-dimensional quality.
Tone curve panel open with an S-curve being applied
This is where the drama starts to appear. Grimes favors using the tone curve to shape contrast rather than relying solely on the basic panel’s Contrast slider, because the curve gives you precise control over where the contrast is applied. He pulls a classic S-curve: slightly darker shadows, slightly brighter highlights, with the midtones anchored. On a face, this deepens the shadows under the jaw and brow while keeping the highlight on the cheekbone and forehead crisp. For black and white portraits specifically, this separation between light and shadow is what gives the image its three-dimensional quality.
Step 4: Use Masking to Target Specific Areas
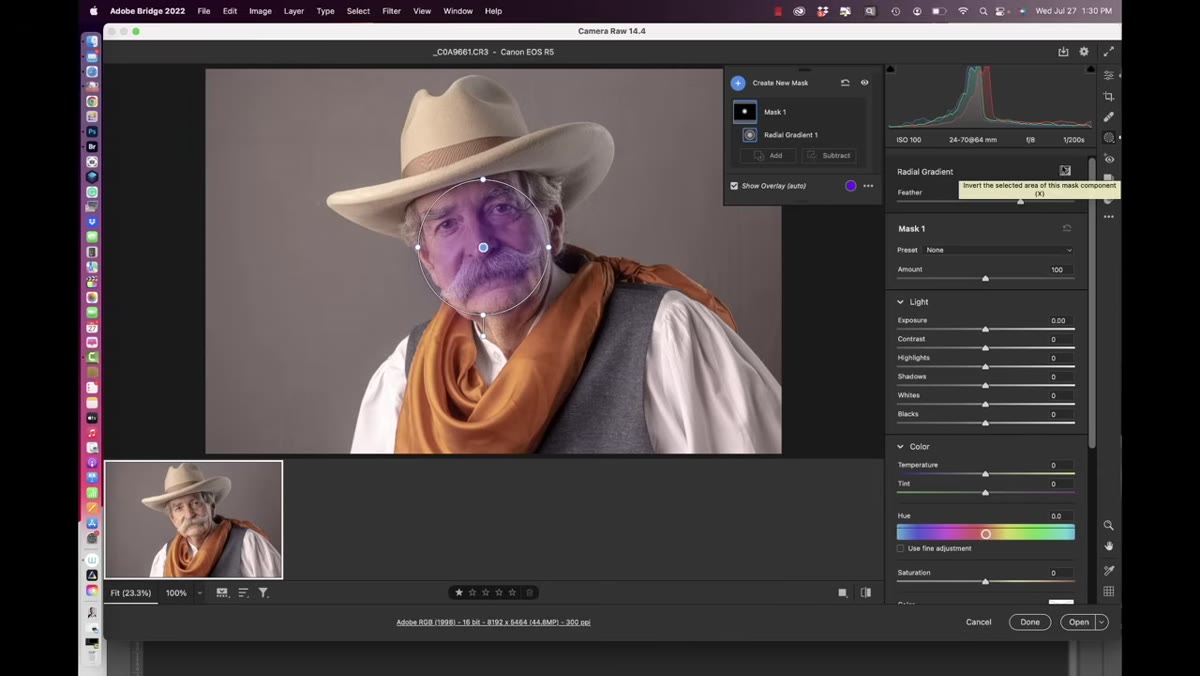 Masking panel open with subject mask selected
One of the most powerful tools in modern Camera Raw and Lightroom is the masking panel, and Grimes spends real time here. Rather than applying adjustments globally, he isolates specific areas, the face, the background, the edges, and treats them independently. For portraits, subject masking is your best friend: the software does a remarkably good job of detecting a person and creating an editable selection. Once you have your subject masked, you can deepen the background without affecting the face, or add clarity and texture just to the skin. This is the step most people skip, and it’s also the step that separates a processed photo from a crafted one.
Masking panel open with subject mask selected
One of the most powerful tools in modern Camera Raw and Lightroom is the masking panel, and Grimes spends real time here. Rather than applying adjustments globally, he isolates specific areas, the face, the background, the edges, and treats them independently. For portraits, subject masking is your best friend: the software does a remarkably good job of detecting a person and creating an editable selection. Once you have your subject masked, you can deepen the background without affecting the face, or add clarity and texture just to the skin. This is the step most people skip, and it’s also the step that separates a processed photo from a crafted one.
Step 5: Convert to Black and White Using the HSL / B&W Panel
 B&W mix panel open with color channel sliders visible
When Grimes converts to black and white, he doesn’t just flip a switch. Inside the HSL/Color panel, switching to the B&W tab gives you individual luminosity sliders for each color channel: reds, oranges, yellows, greens, blues, and so on. For portraits, the orange and red channels control skin tones directly. Pulling the orange slider down darkens the skin, which increases the feeling of texture and weight. Pulling it up brightens the skin, which reads as more luminous and clean. Grimes pushes the contrast here intentionally to match the mood he’s after. There’s no single correct setting; this is where you make a creative choice about who this person looks like in your image.
B&W mix panel open with color channel sliders visible
When Grimes converts to black and white, he doesn’t just flip a switch. Inside the HSL/Color panel, switching to the B&W tab gives you individual luminosity sliders for each color channel: reds, oranges, yellows, greens, blues, and so on. For portraits, the orange and red channels control skin tones directly. Pulling the orange slider down darkens the skin, which increases the feeling of texture and weight. Pulling it up brightens the skin, which reads as more luminous and clean. Grimes pushes the contrast here intentionally to match the mood he’s after. There’s no single correct setting; this is where you make a creative choice about who this person looks like in your image.
Step 6: Refine in Photoshop for the Final 10-20%
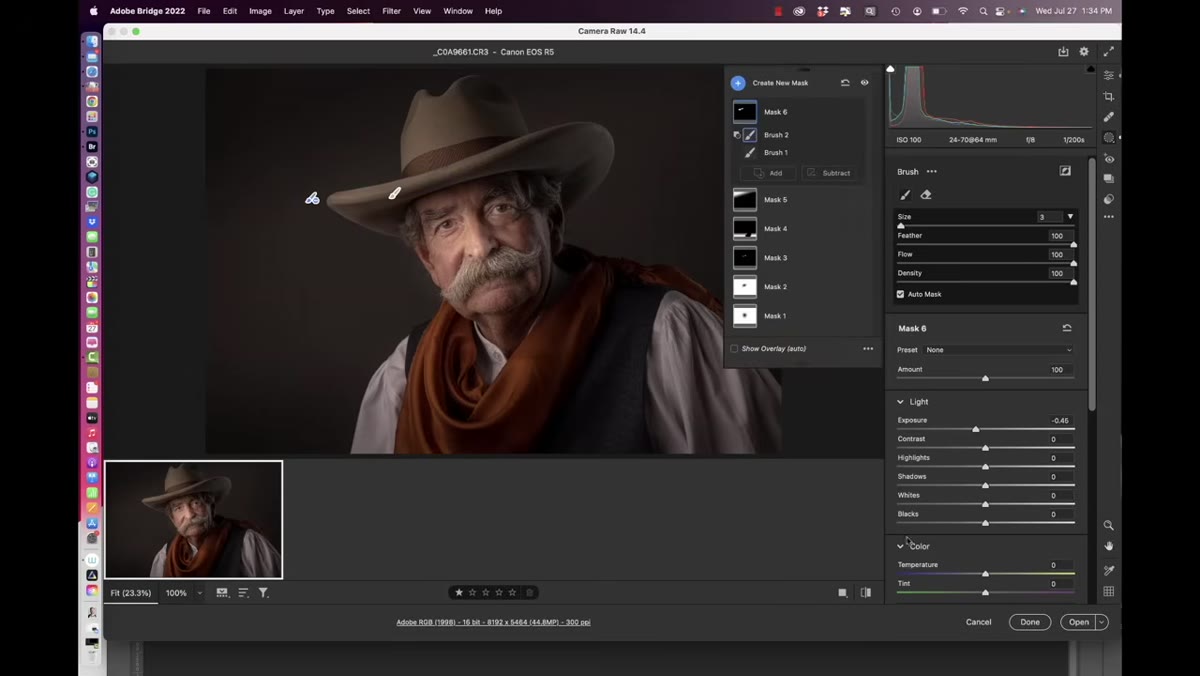 Image opened in Photoshop with layers panel visible
Grimes does roughly 80 to 90 percent of his edit in Camera Raw before moving into Photoshop. Once he opens the file there, the remaining work is about refinement rather than transformation. This might include dodging and burning to further sculpt the light on the face, sharpening selectively using a high pass layer, or making small targeted corrections that the raw processor can’t handle as precisely. His general philosophy is to use Camera Raw for the heavy lifting and Photoshop for the detail work. If you’re newer to this workflow, even getting comfortable with steps one through five will take your portraits significantly further than any preset.
Image opened in Photoshop with layers panel visible
Grimes does roughly 80 to 90 percent of his edit in Camera Raw before moving into Photoshop. Once he opens the file there, the remaining work is about refinement rather than transformation. This might include dodging and burning to further sculpt the light on the face, sharpening selectively using a high pass layer, or making small targeted corrections that the raw processor can’t handle as precisely. His general philosophy is to use Camera Raw for the heavy lifting and Photoshop for the detail work. If you’re newer to this workflow, even getting comfortable with steps one through five will take your portraits significantly further than any preset.
A Note on Knowing When to Stop
The one thing I’d add from my own experience with this workflow is that dramatic edits have a ceiling, and it’s easy to push past it without noticing. Grimes himself says during the tutorial that he may have pushed his final version a little too far, which I actually found refreshing to hear from someone at his level. I’ve ruined more than a few portraits by adding one more adjustment when the image was already done.
My rule now: export a version, take a break, and look at it fresh the next morning. What reads as powerful at midnight sometimes reads as overdone at 9am. The techniques Grimes teaches are genuinely effective, but restraint is its own skill. The goal is a portrait that feels intentional, not processed.
The single most important takeaway from this tutorial is that dramatic images are built in layers, not applied in one move. Every step Grimes takes is small and purposeful. Exposure first, then curve, then targeted masking, then black and white channel mixing, then the final polish in Photoshop. That sequence matters because each decision creates the conditions for the next one.
Watch the full tutorial on YouTube to see Grimes work through the full edit in real time. Seeing the before and after side by side on your screen, as he moves the sliders, is worth the watch even if you’ve been editing portraits for years.
Comments (3)
I keep coming back to this article. It's that useful.
Tried this technique this morning. Game changer for real.
Excellent tutorial. I'd add that from a gear standpoint, this technique is incredibly versatile.
Leave a Comment