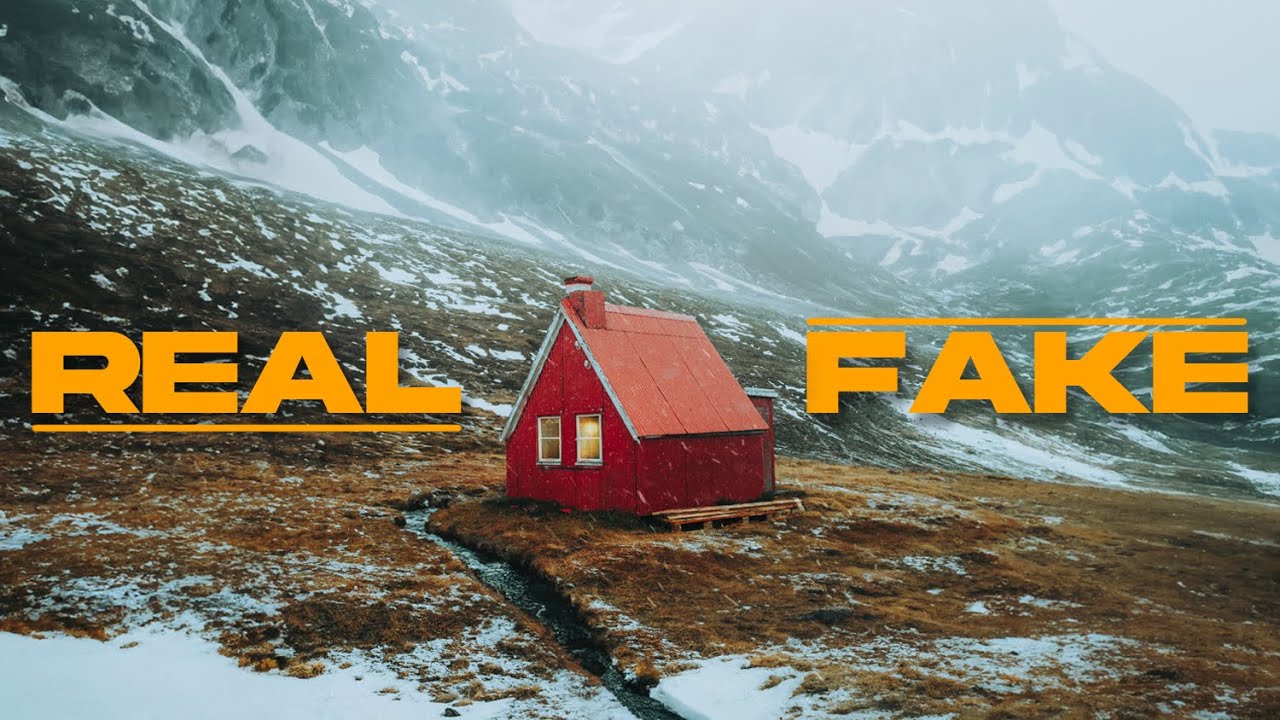
I have a folder on my hard drive called “almost.” It’s full of shots I couldn’t delete but couldn’t post either — photos where the light was right, the subject was interesting, and something annoying ruined the whole frame. A car bumper in the corner. A stranger mid-blink. A door frame cutting through the edge of a composition I actually loved. For years, those photos just sat there. Now, with Photoshop’s generative fill, some of them are finally usable. And some of them are still a mess, which is equally important to understand.
In this Peter McKinnon tutorial, he takes a genuinely bad photo shot through a car window in the Icelandic highlands and turns it into something that looks like a magazine cover. Then he strips the edits back one at a time and asks you to guess what changed. It’s one of the most instructive ways I’ve seen someone demonstrate AI editing tools, because it forces you to think critically about what looks real and what looks artificial. Watch the full tutorial on YouTube before or after reading this breakdown.
The original photo has a lot working against it. There’s gravel where there should be grass, a door frame slicing through the composition, and the whole shot has that slightly compressed, hurried quality of something grabbed through a window. Peter’s edit removes all of that. But the more interesting lesson is what he tried that didn’t work, and why.
Step 1: Start With the Honest Assessment
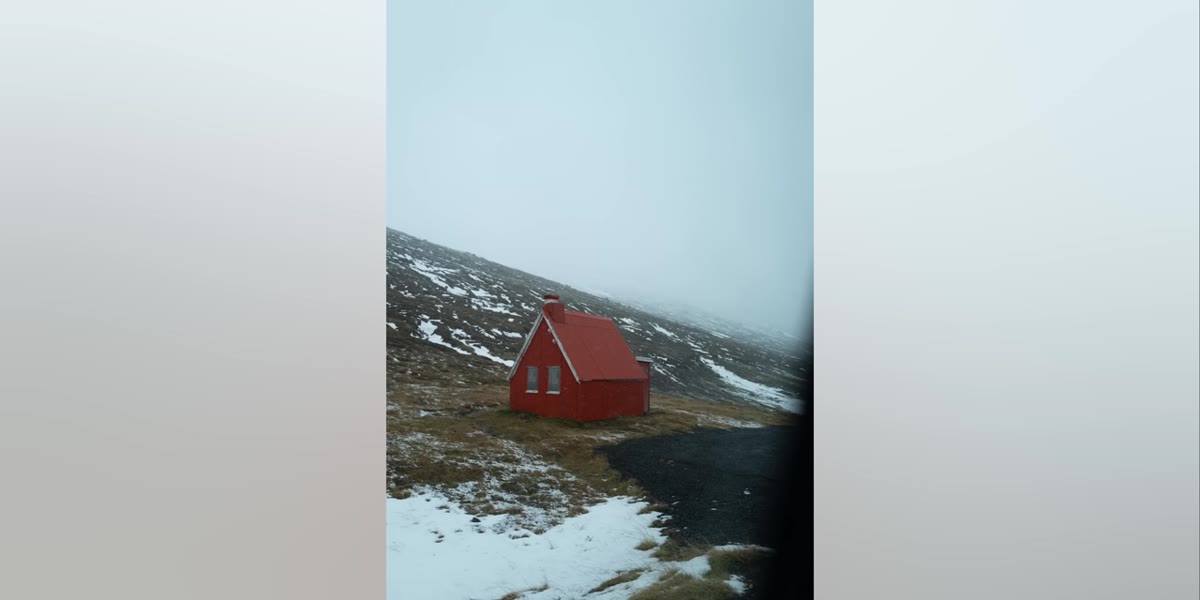 Raw photo showing door frame, gravel, and poor composition
Before you open any tools, look at your photo with clear eyes. Peter pulls up his original and lists everything wrong with it out loud: the door frame intrusion, the gravel instead of lush grass, the awkward framing. This matters because generative fill works best when you give it specific, contained problems to solve. If you go in hoping it will “fix everything,” you’ll end up with a muddy result that looks neither natural nor intentional.
Raw photo showing door frame, gravel, and poor composition
Before you open any tools, look at your photo with clear eyes. Peter pulls up his original and lists everything wrong with it out loud: the door frame intrusion, the gravel instead of lush grass, the awkward framing. This matters because generative fill works best when you give it specific, contained problems to solve. If you go in hoping it will “fix everything,” you’ll end up with a muddy result that looks neither natural nor intentional.
Make a short list of the three to five specific things that are keeping you from posting the photo. Rank them by how much they affect the composition versus how difficult they’ll be to correct. The less the AI has to invent, the more convincing the result will be.
Step 2: Remove Structural Distractions First
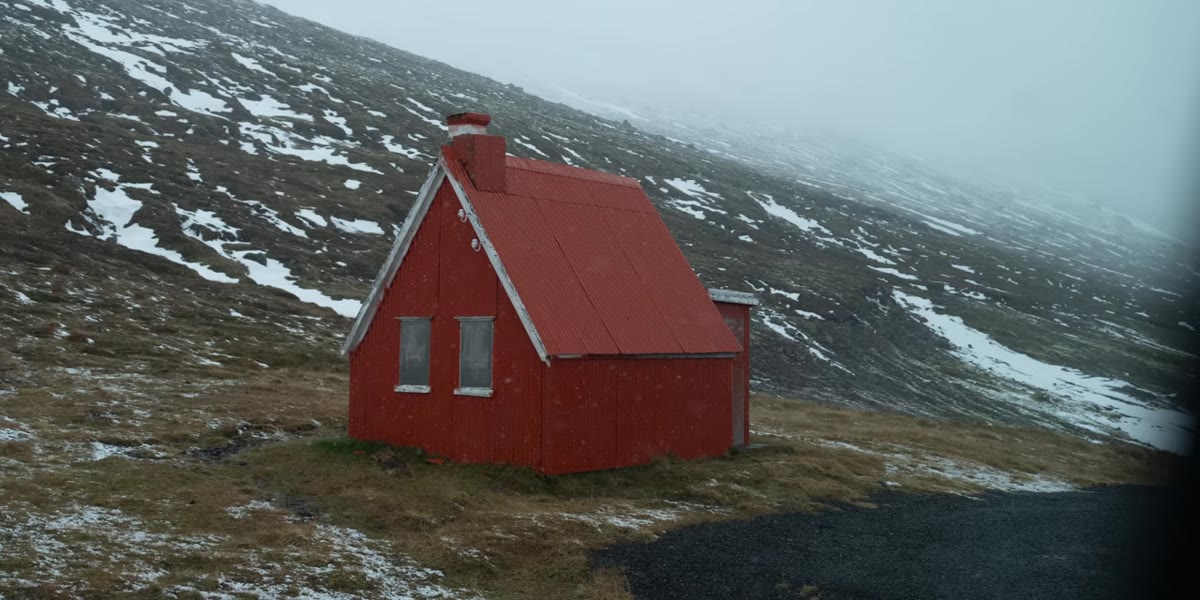 Door frame visible at photo edge before correction
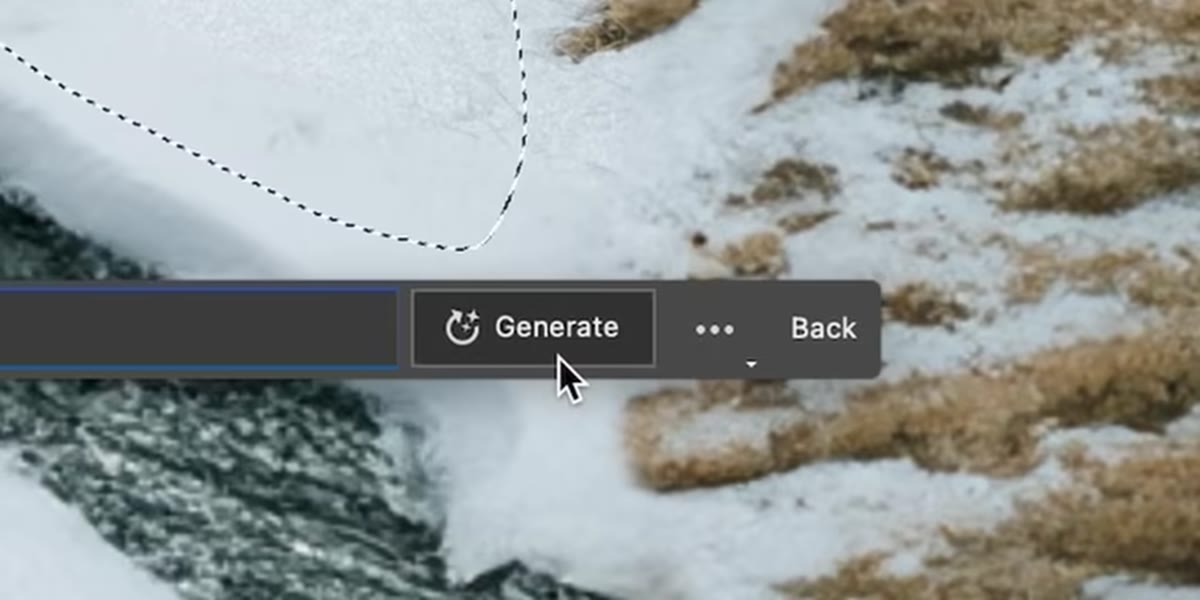
The door frame in Peter’s shot is the kind of hard-edged, obviously-wrong element that generative fill handles well. Select the problem area using the rectangular marquee or lasso tool in Photoshop, making your selection slightly larger than the issue itself so the AI has enough surrounding context to blend into. Then open the generative fill dialog and leave the text prompt blank if the surrounding area is simple enough. Blank prompts tell the tool to generate based on context alone, which usually looks more seamless on sky, ground, or flat textures.
Door frame visible at photo edge before correction
The door frame in Peter’s shot is the kind of hard-edged, obviously-wrong element that generative fill handles well. Select the problem area using the rectangular marquee or lasso tool in Photoshop, making your selection slightly larger than the issue itself so the AI has enough surrounding context to blend into. Then open the generative fill dialog and leave the text prompt blank if the surrounding area is simple enough. Blank prompts tell the tool to generate based on context alone, which usually looks more seamless on sky, ground, or flat textures.
For more complex edges, a short descriptive prompt helps. “Green grass,” “overcast sky,” or “rocky highland terrain” gives the model direction without over-specifying. The goal is invisible, not impressive.
Step 3: Replace Low-Quality Ground Textures
 Gravel foreground that should be grass in the original shot
The gravel in the foreground is a trickier fix than the door frame because it covers a larger area with more variation. Peter’s edit swaps it out for grass that matches the Icelandic highland setting. To do this well, make a careful selection of the gravel zone using the lasso tool, feather the edges slightly (3 to 5 pixels on a high-resolution file), and use a descriptive prompt that matches the light and tone of your existing scene. “Soft green highland grass, overcast light” is more useful than just “grass” because it keeps the AI from generating something that looks like a suburban lawn.
Gravel foreground that should be grass in the original shot
The gravel in the foreground is a trickier fix than the door frame because it covers a larger area with more variation. Peter’s edit swaps it out for grass that matches the Icelandic highland setting. To do this well, make a careful selection of the gravel zone using the lasso tool, feather the edges slightly (3 to 5 pixels on a high-resolution file), and use a descriptive prompt that matches the light and tone of your existing scene. “Soft green highland grass, overcast light” is more useful than just “grass” because it keeps the AI from generating something that looks like a suburban lawn.
Generate a few variations before committing. Photoshop will offer you three options by default, and they can vary significantly. Look for the one that matches the direction and quality of light in the rest of the frame.
Step 4: Know When Generative Fill Fails
 Attempted AI-generated horse that looks plastic and wrong
This is the step most tutorials skip, and it’s the most useful one. Peter tried adding a horse to the scene. It looked like a plastic toy with incorrect lighting and the wrong scale. He tried a campfire. The flames were too bright, too clean, too artificial. Both attempts were easy to spot as fake.
Attempted AI-generated horse that looks plastic and wrong
This is the step most tutorials skip, and it’s the most useful one. Peter tried adding a horse to the scene. It looked like a plastic toy with incorrect lighting and the wrong scale. He tried a campfire. The flames were too bright, too clean, too artificial. Both attempts were easy to spot as fake.
The pattern here is clear: generative fill struggles with living subjects and light-emitting sources because both require physical accuracy that the model can’t guarantee. Animals need correct anatomy relative to the scene’s perspective. Fire needs to cast light on surrounding elements. If either of those things is off by even a small amount, the eye catches it immediately. Stick to using generative fill for environmental corrections rather than adding story elements, at least until the technology catches up.
Step 5: Test Your Own Edit’s Believability
 Final edited image shown as a polished magazine cover
Peter’s game format is actually a useful quality-control step. Once you’ve made your corrections, export a full-resolution version, step away from it for a few hours, and then come back and look at it fresh. Or, better yet, send it to someone who hasn’t seen your process and ask them what feels off, if anything. You’re not looking for compliments. You’re looking for the spots where the illusion breaks.
Final edited image shown as a polished magazine cover
Peter’s game format is actually a useful quality-control step. Once you’ve made your corrections, export a full-resolution version, step away from it for a few hours, and then come back and look at it fresh. Or, better yet, send it to someone who hasn’t seen your process and ask them what feels off, if anything. You’re not looking for compliments. You’re looking for the spots where the illusion breaks.
Zoom in to 100 percent on every area you edited and look for repeated texture patterns, weird halos at the selection edges, or color inconsistencies. These are the tells. If you find them, go back and regenerate that specific area with a tighter selection or a slightly different prompt.
What I’d Add From My Own Experience
The biggest thing I’ve learned using generative fill on my travel work is that the selection edge matters more than the prompt. I’ve gotten beautiful results from vague prompts paired with careful masking, and terrible results from precise prompts paired with lazy selections. Feathering your selection edges, working at full resolution, and spending the extra two minutes on a clean mask will do more for your final result than any wording trick.
I’d also say: keep the original. I have a Sunday morning habit of revisiting old “almost” photos with fresh eyes, and sometimes I’ll pull something from two years ago that I now have the skills or tools to fix properly. If Peter had deleted that Iceland shot the day he took it, this whole edit wouldn’t exist.
The single most important takeaway here is that generative fill is a correction tool, not a creation tool. It’s extraordinary at removing things that shouldn’t be there. It’s unreliable at adding things that were never there to begin with. Use it to fix the photo you took, not to build a photo you didn’t.
Watch the full tutorial on YouTube to see the before-and-after reveal in real time. Pausing at each frame and trying to spot the edits yourself, before Peter shows you, is genuinely one of the better exercises I’ve found for training your eye for post-processing quality.
Comments (1)
Would love to see a follow-up going deeper into this topic.
Leave a Comment