One of the questions I get most often from photographers who are moving from natural light into their first studio setup is some version of: “Which modifier should I buy?” And I used to fumble that answer because the honest truth is, it depends on what you’re going for and most beginners have never had a side-by-side look at what different modifiers actually do to a face. That changed for me when I started being more deliberate about comparing gear in a controlled way rather than just swapping things out mid-shoot and guessing.
Watch the full tutorial on YouTube
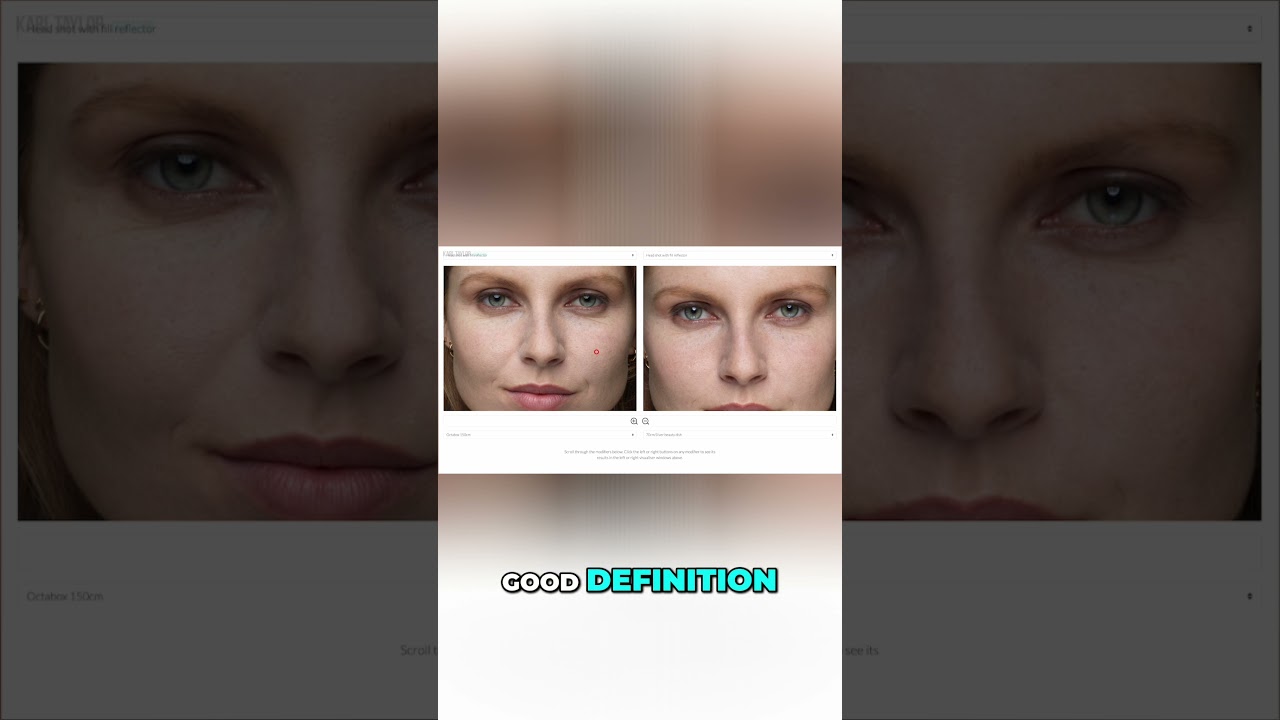
In this Visual Education tutorial, the creator does something I wish I had seen years ago: a clean, direct comparison between a silver beauty dish and a large octabox, keeping the subject, position, and exposure consistent so you can actually isolate what the modifier is doing. No guessing, no shooting in different conditions. Just the light changing and your eyes learning to read it. Here is how to follow along and apply it yourself.
Step 1: Set Up a Controlled Comparison Environment
 Silver beauty dish mounted on strobe, model in position
Before you change a single modifier, lock everything else down. Keep your camera settings identical across both tests, same aperture, same shutter speed, same ISO. Place your subject in the same spot. Keep the light at the same distance and angle for both shots. If any of those variables shift, you are no longer comparing modifiers. You are comparing a tangle of different choices and that tells you nothing useful.
Silver beauty dish mounted on strobe, model in position
Before you change a single modifier, lock everything else down. Keep your camera settings identical across both tests, same aperture, same shutter speed, same ISO. Place your subject in the same spot. Keep the light at the same distance and angle for both shots. If any of those variables shift, you are no longer comparing modifiers. You are comparing a tangle of different choices and that tells you nothing useful.
The whole point of this exercise is isolation. Pick one thing to change, which is the modifier, and hold everything else constant. This is the same logic behind any good gear test, but it is especially important with light because the differences can be subtle and your eye needs a fair shot at seeing them.
Step 2: Start with the 70cm Silver Beauty Dish
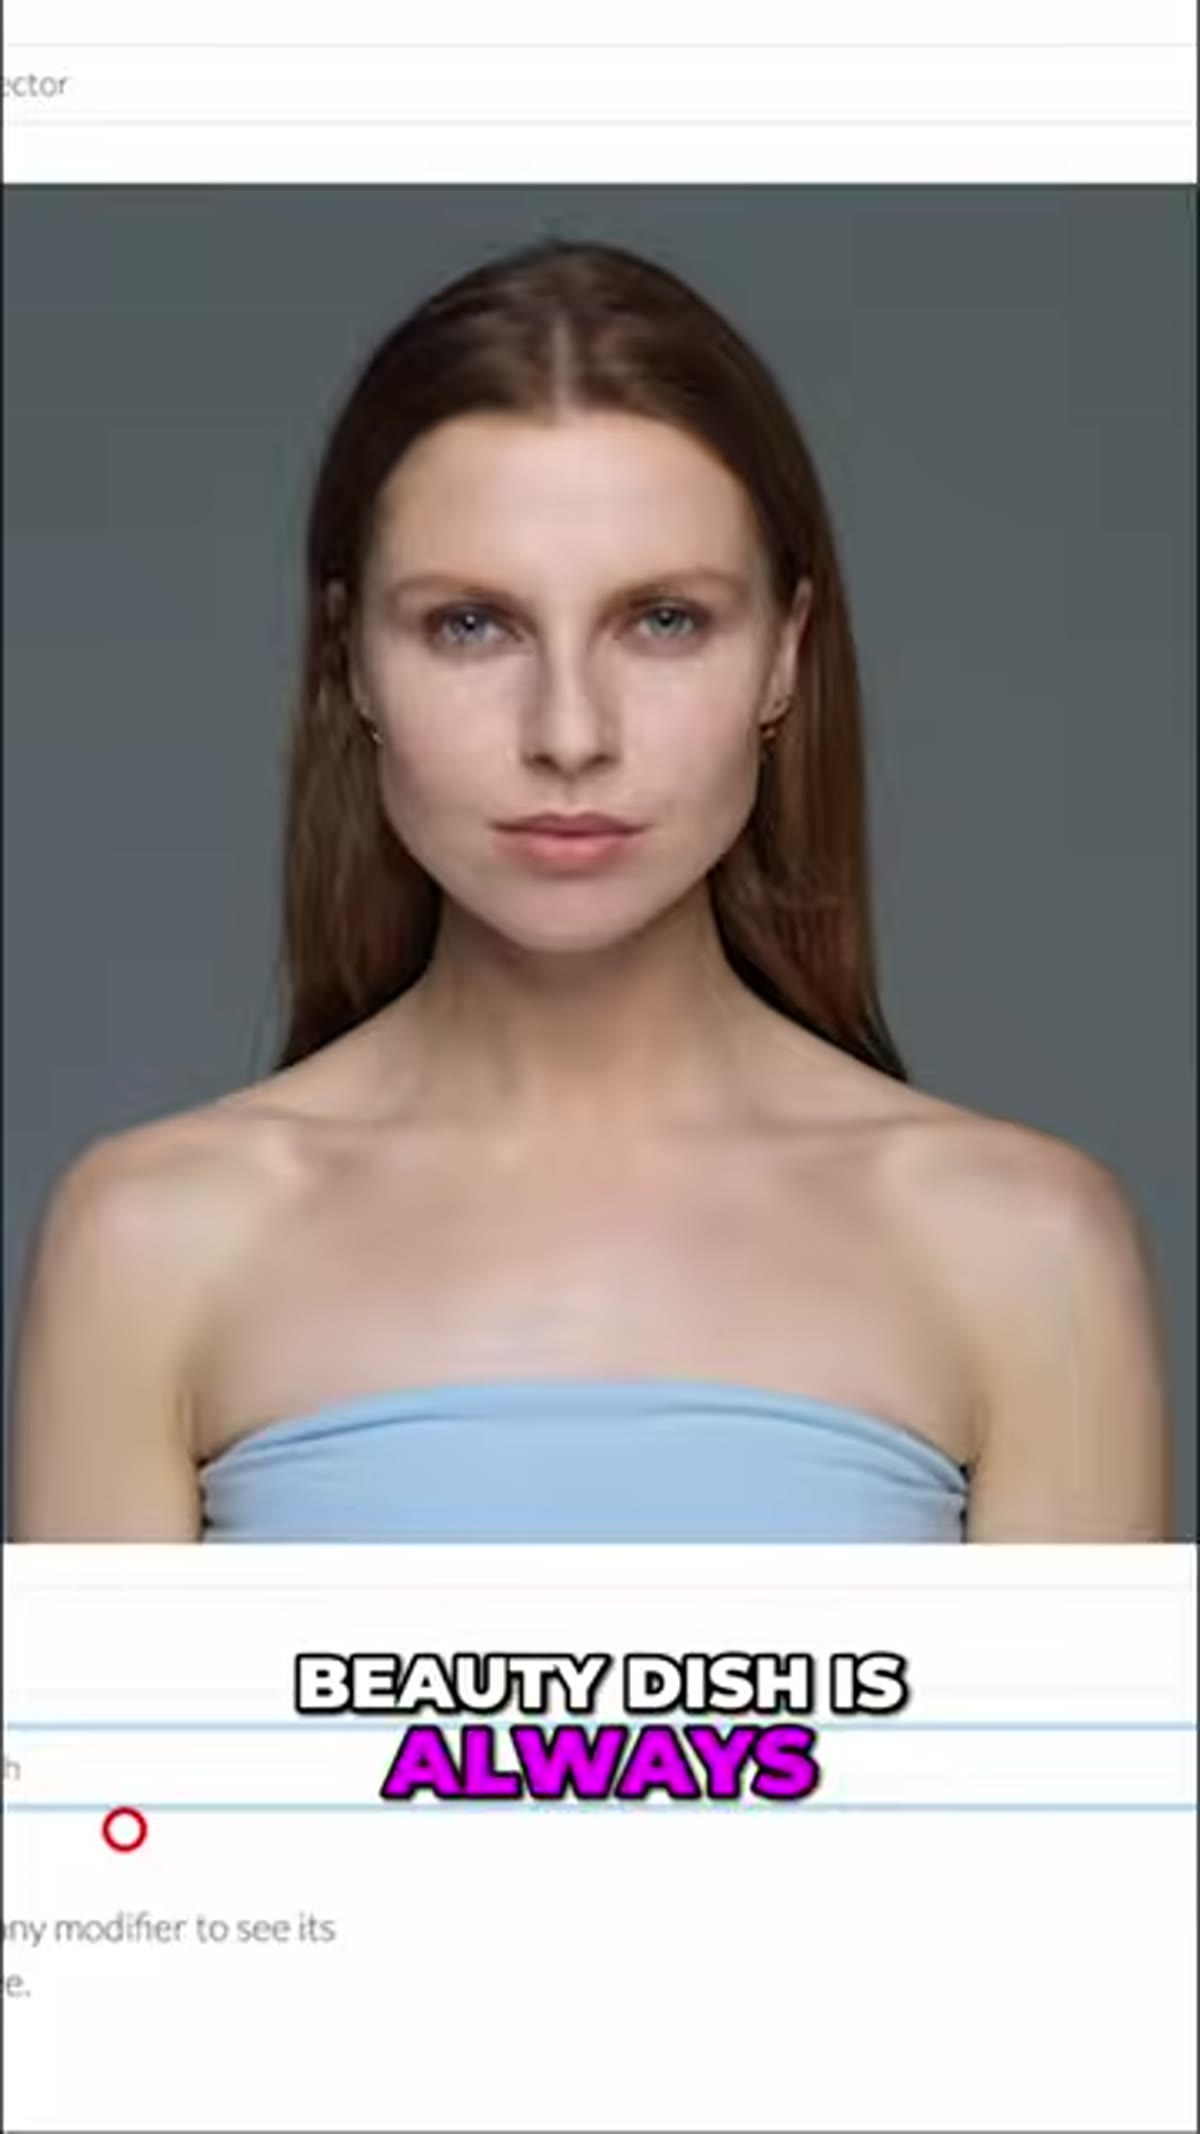 Beauty dish close-up, light aimed at subject’s face
Mount your beauty dish and take your test shot. The silver interior of a beauty dish reflects light in a way that is more focused and specular than a softbox. You will notice right away that the illumination concentrates on the face rather than spreading evenly down the body. This is not a flaw. It is actually one of the reasons portrait photographers reach for a beauty dish when they want the face to be the clear focal point of the frame.
Beauty dish close-up, light aimed at subject’s face
Mount your beauty dish and take your test shot. The silver interior of a beauty dish reflects light in a way that is more focused and specular than a softbox. You will notice right away that the illumination concentrates on the face rather than spreading evenly down the body. This is not a flaw. It is actually one of the reasons portrait photographers reach for a beauty dish when they want the face to be the clear focal point of the frame.
Pay close attention to the shadow transitions around the cheekbones and the eye sockets. A beauty dish tends to produce what photographers call sculpting light, meaning the shadow edges have enough definition to give the face dimension and structure without going harsh. It is a middle ground between the soft wrap of a large octabox and the hard punch of a bare strobe, and that middle ground is extremely flattering for a wide range of skin tones and facial structures.
Step 3: Note How the Beauty Dish Handles Coverage
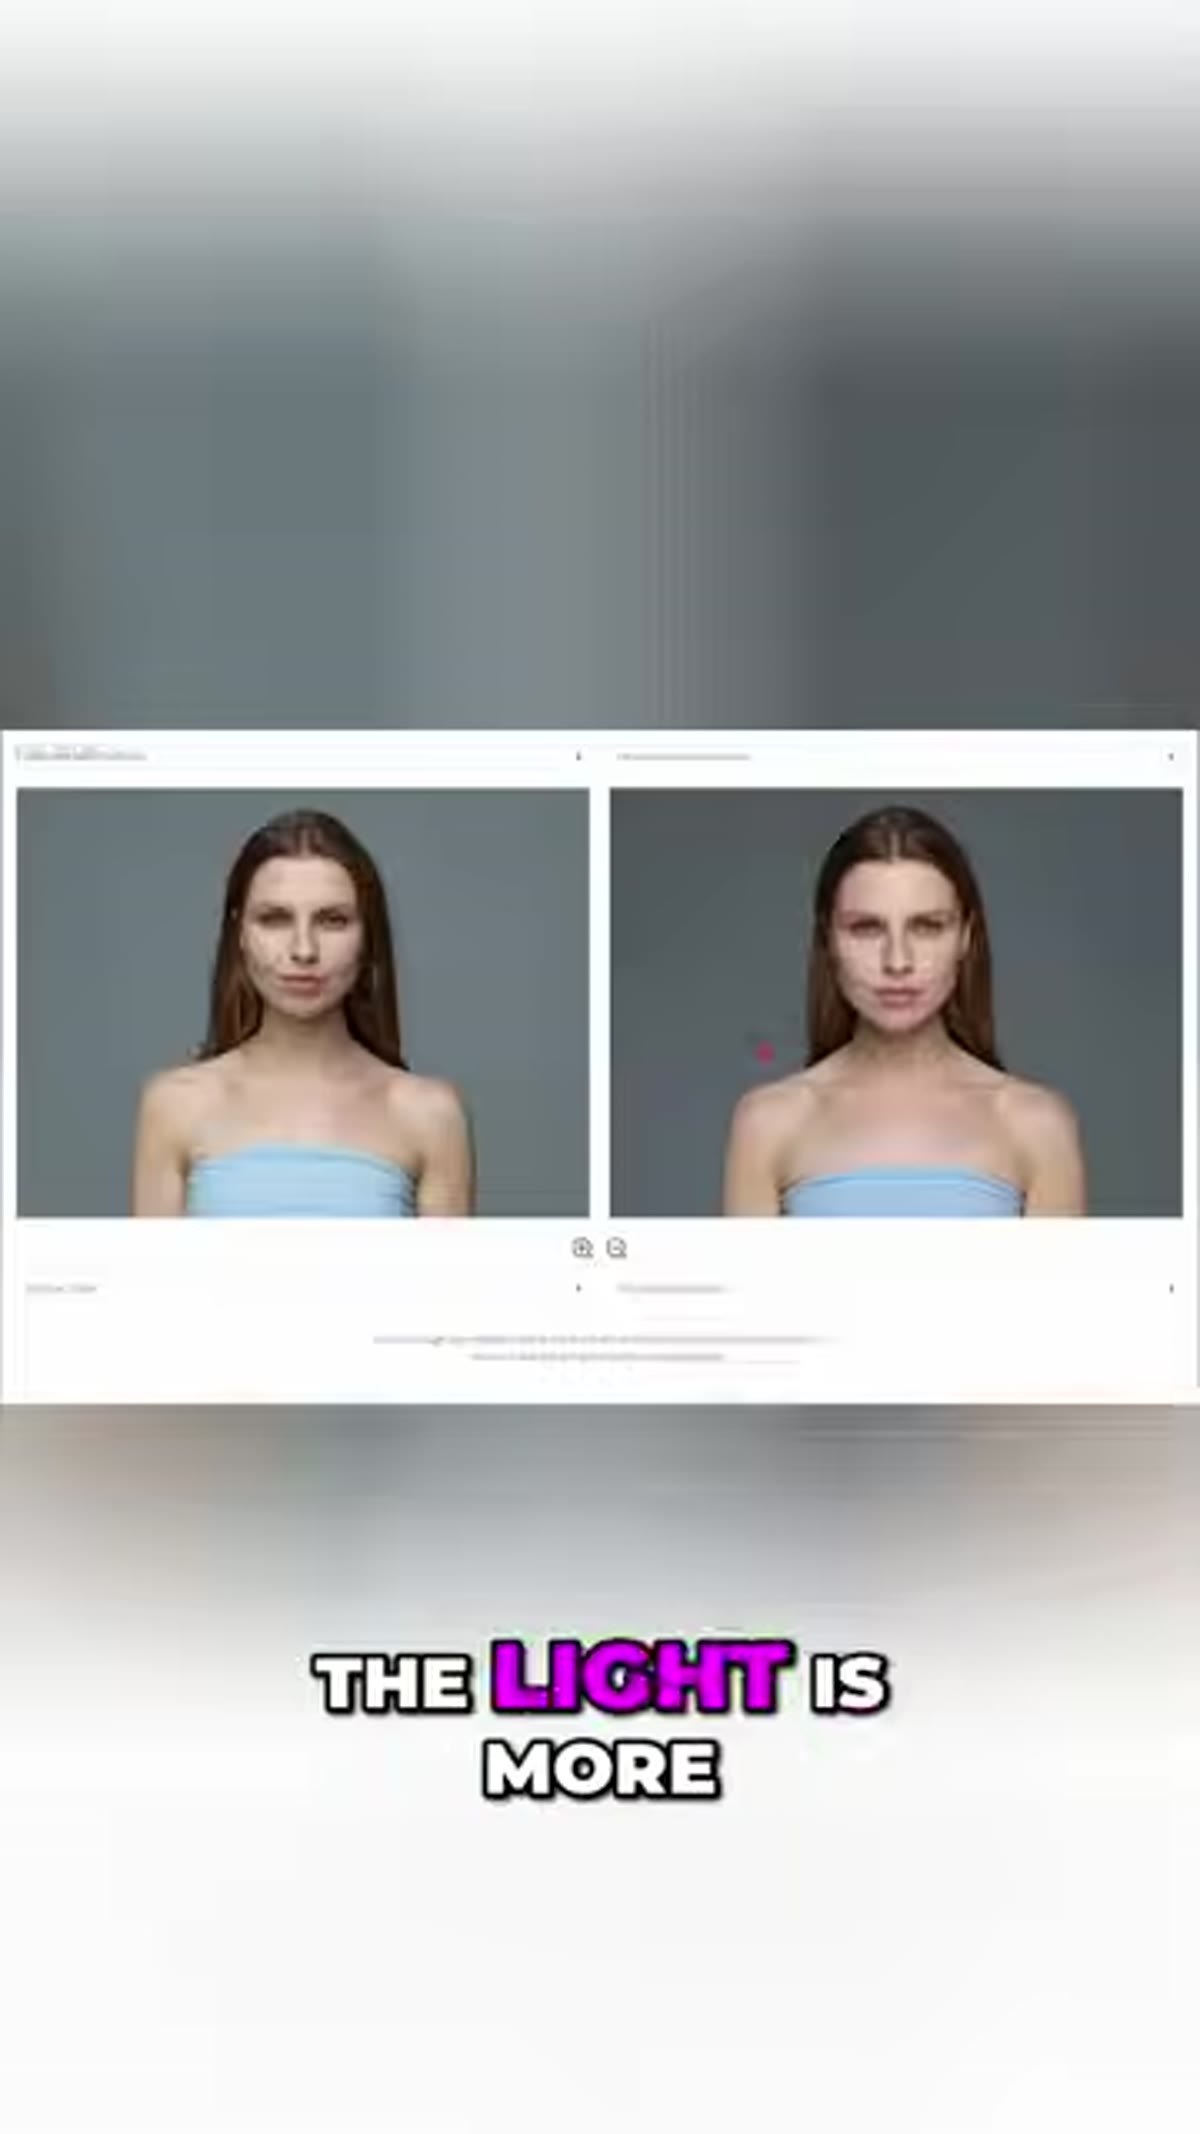 Model’s face lit with beauty dish, body comparatively darker
Look at the full frame of your test shot, not just the face. With the beauty dish, the light falls off more quickly as it moves away from the center of the beam. The face is bright and well-lit, but the chest and shoulders receive noticeably less light. For tight headshots or beauty-style portraits, this is ideal. For three-quarter or full-length portraits where you need even coverage from face to waist, it can require some compensation, either by adding a fill source or moving the modifier further back.
Model’s face lit with beauty dish, body comparatively darker
Look at the full frame of your test shot, not just the face. With the beauty dish, the light falls off more quickly as it moves away from the center of the beam. The face is bright and well-lit, but the chest and shoulders receive noticeably less light. For tight headshots or beauty-style portraits, this is ideal. For three-quarter or full-length portraits where you need even coverage from face to waist, it can require some compensation, either by adding a fill source or moving the modifier further back.
This fall-off pattern is worth understanding because it affects how you compose and crop. If you know the beauty dish is going to concentrate light on the face, you can lean into that and frame tightly. Fighting it by shooting full-length without a second light source is where people get frustrated.
Step 4: Swap to the Large Octabox and Shoot the Same Frame
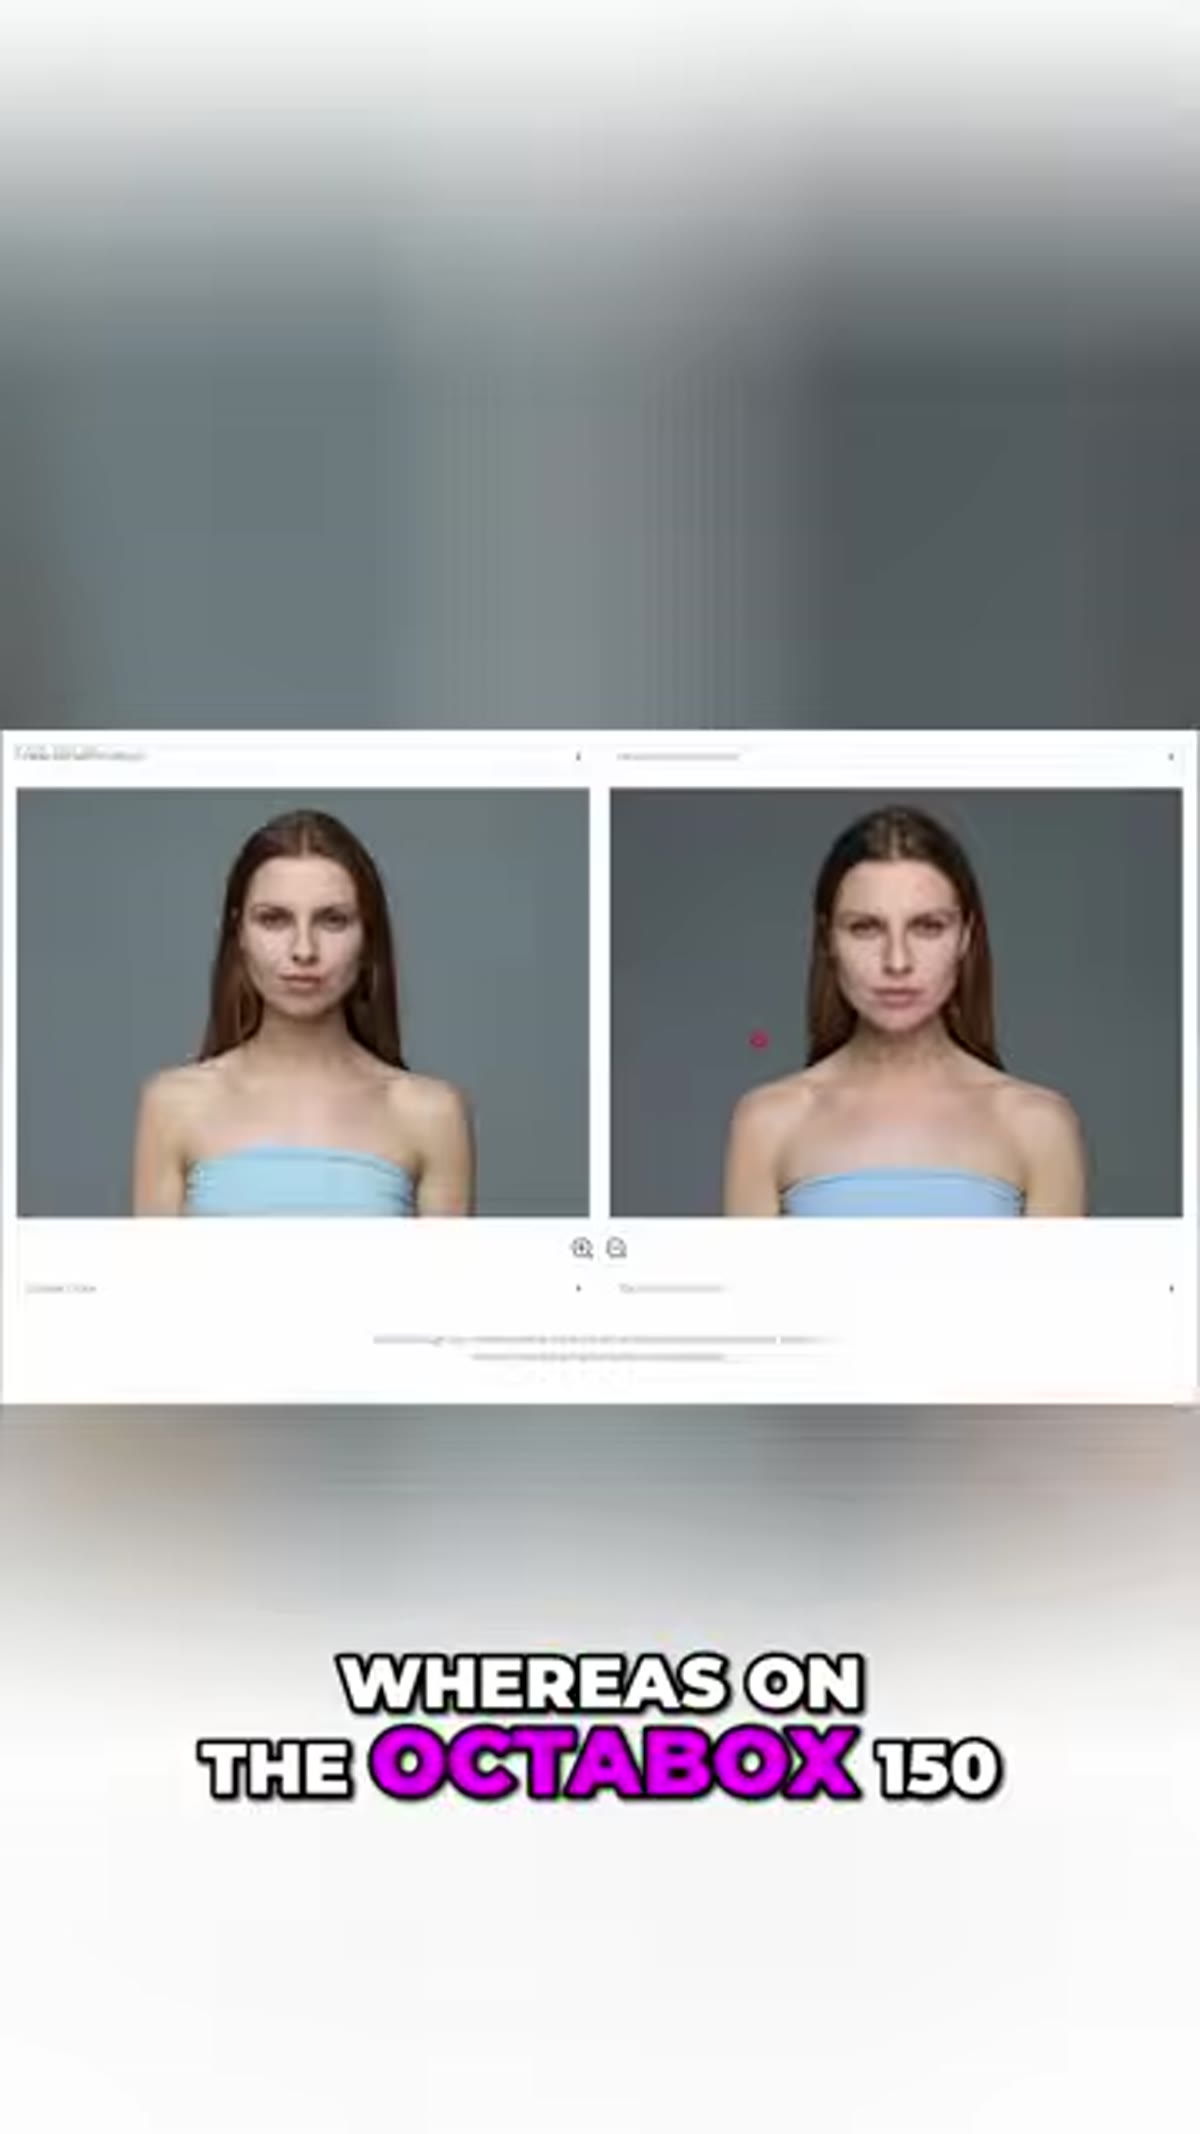 Octabox 150 on strobe, subject repositioned identically
Now swap in the octabox, a 150cm model in the tutorial, and shoot the exact same composition with the exact same settings. The first thing most people notice is how the light spreads. A large octabox wraps around the subject more evenly, distributing illumination across the face and the upper body without the same concentration you saw with the beauty dish.
Octabox 150 on strobe, subject repositioned identically
Now swap in the octabox, a 150cm model in the tutorial, and shoot the exact same composition with the exact same settings. The first thing most people notice is how the light spreads. A large octabox wraps around the subject more evenly, distributing illumination across the face and the upper body without the same concentration you saw with the beauty dish.
The shadow transitions are softer here. Edges dissolve more gradually, which reads as gentle and approachable in the final image. This is why large octaboxes are so popular for commercial lifestyle work, editorial portraits, and any situation where you want the light to feel ambient rather than theatrical. The trade-off is that you lose some of that facial structure and definition that the beauty dish gives you.
Step 5: Compare the Two Shots Side by Side
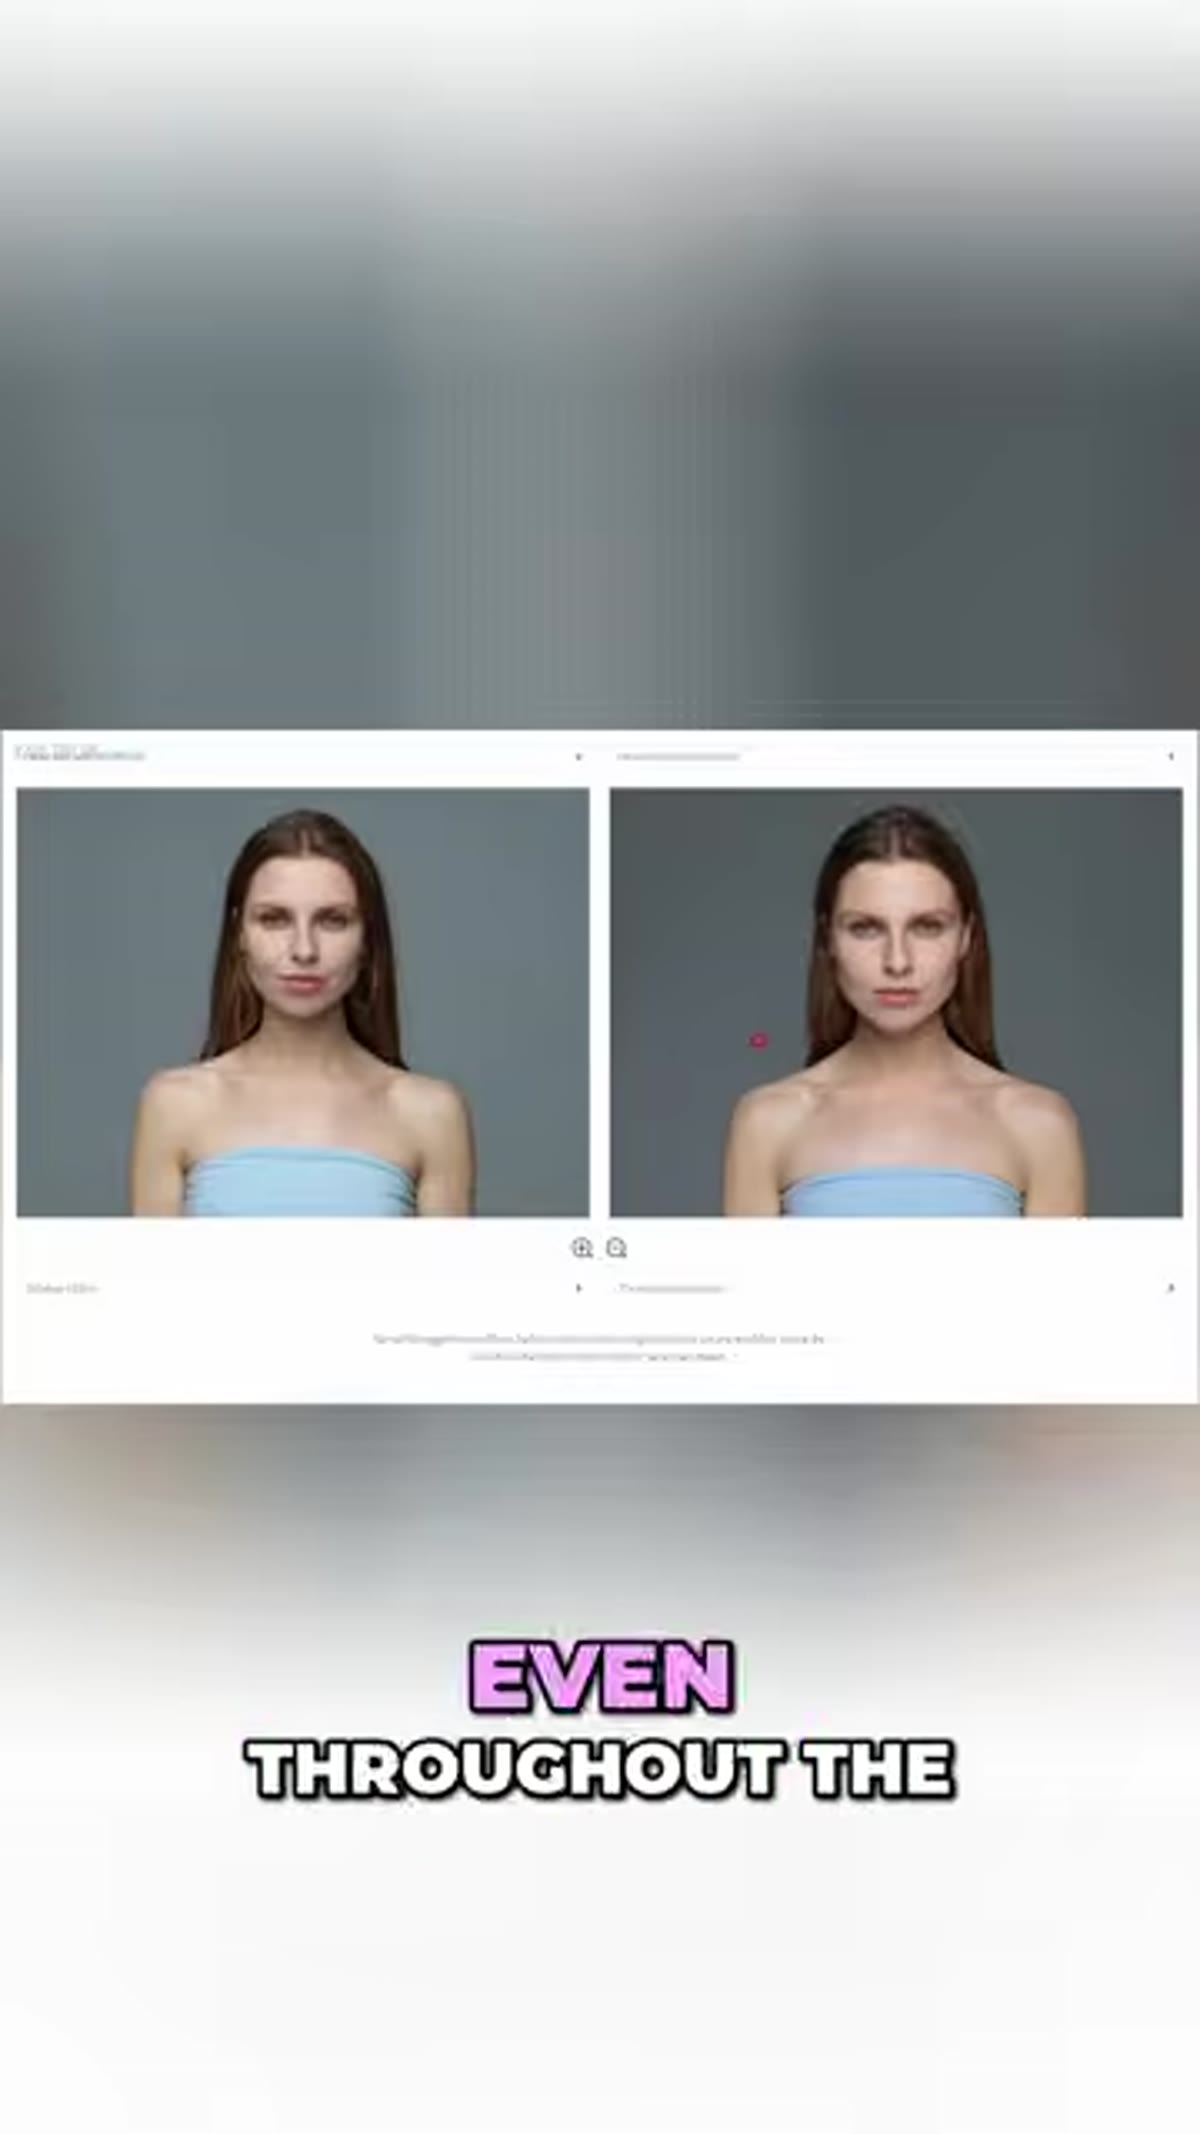 Split-frame or alternating view of beauty dish vs octabox results
Pull both images up together, either on your camera’s playback or in Lightroom. Train your eye to look at three specific things: the brightness and focus of light on the face, the shadow edge quality along the cheekbones and jaw, and how far down the body the light reaches with consistent exposure.
Split-frame or alternating view of beauty dish vs octabox results
Pull both images up together, either on your camera’s playback or in Lightroom. Train your eye to look at three specific things: the brightness and focus of light on the face, the shadow edge quality along the cheekbones and jaw, and how far down the body the light reaches with consistent exposure.
This is the learning moment. No amount of reading modifier descriptions online gives you the same information as looking at two images made under controlled conditions. Once you have done this comparison yourself, you carry that knowledge into every shoot. You stop picking modifiers by name or price and start picking them by what they actually do to the light.
My Take: Versatility Is a Reason to Choose, Not an Excuse to Avoid Choosing
Something the tutorial touches on that I want to expand: both of these modifiers get described as “versatile,” and that is true, but versatility should not be a reason to avoid developing a preference. After doing comparisons like this one, I started noticing that I reach for a beauty dish almost every time I want the face to carry the image, especially in tighter crops. The octabox is my default when I want the light to feel like it is just… there, not drawing attention to itself.
The other thing I will add from my own workflow: distance matters a lot with a beauty dish. Moving it closer increases that sculpting quality and makes the light more dramatic. Pulling it back softens the effect and widens the coverage slightly. You get a surprisingly different look from the same piece of gear just by adjusting placement, which makes it one of the most cost-effective modifiers you can invest in early on.
The single most important thing to take from this is to test your gear deliberately, not mid-shoot when you are stressed and second-guessing yourself, but in a calm, controlled session where you can actually see what you are learning. A silver beauty dish and a large octabox are not interchangeable tools. Each one is doing something specific to your subject’s face, and once you can see that clearly, you will never feel uncertain about which one to grab again.
Watch the full tutorial on YouTube to see the Visual Education team walk through this comparison with their own model and gear setup.
Comments
Leave a Comment