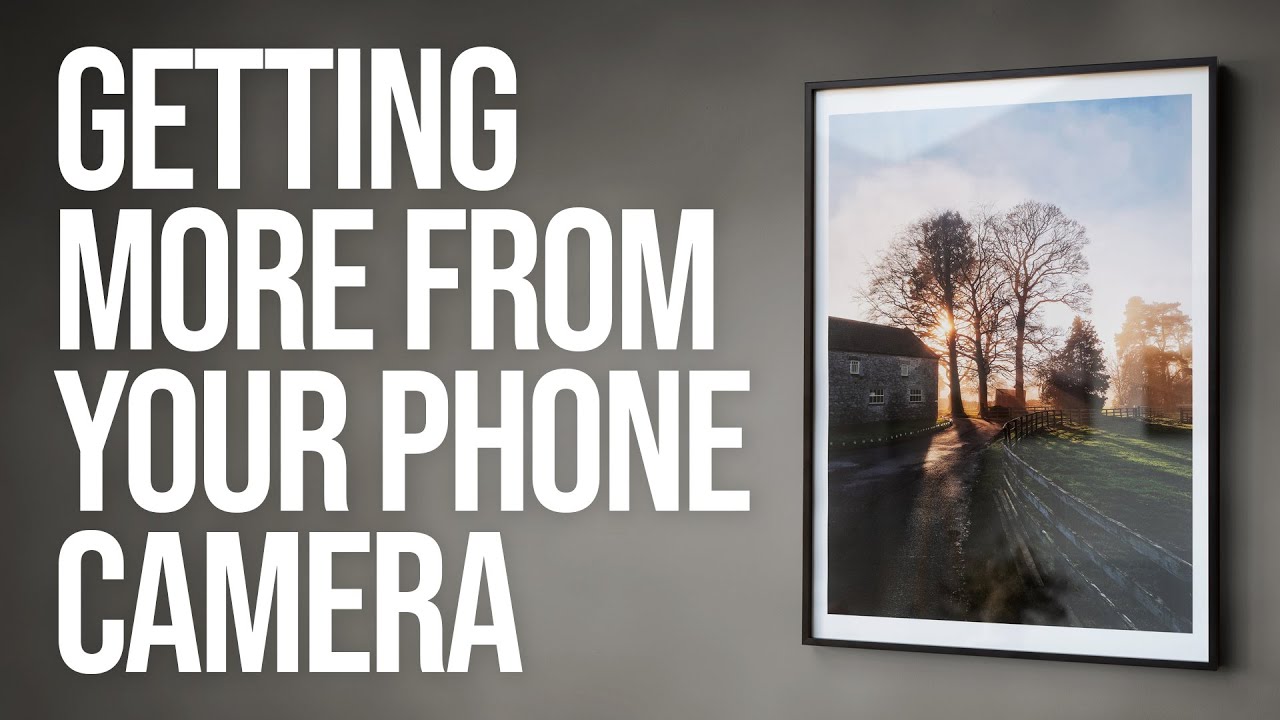
My most-liked Instagram photo was taken on a $200 Android phone. I posted it almost as a joke, fully expecting the usual modest response I got from images made on my mirrorless. Instead it blew up, and the comments weren’t asking what camera I used. They were just responding to the image. That experience sent me down a rabbit hole that eventually turned into an entire series of articles about what actually makes a photograph work, and it fundamentally changed how I think about phone cameras as a serious tool.
So when I came across this Sean Tucker tutorial on getting better photographs from your phone, including images large enough to print, I watched it twice. Tucker is one of those educators who manages to make you feel like you’ve been thinking about something wrong without making you feel stupid about it. In this tutorial, he works through both the mindset and the mechanics of phone photography in a way that’s genuinely useful for beginners and intermediate shooters alike. Watch the full tutorial on YouTube alongside this breakdown if you want the full picture.
The core argument Tucker makes is simple: you already have a camera, so use it. A lot. The rest is technique. Here’s how he gets there.
Step 1: Ditch the Excuse That Your Phone Isn’t Good Enough
 Phone pulled from pocket at the farm shop car park
Tucker opens with a story about leaving his dedicated camera at home and stumbling onto a genuinely beautiful scene. He grabbed his phone, shot it, posted it, and it outperformed almost everything else he’d shared recently. The lesson isn’t that phones beat professional cameras. It’s that a great image is a great image, and the audience doesn’t check the EXIF data before deciding whether to care.
Phone pulled from pocket at the farm shop car park
Tucker opens with a story about leaving his dedicated camera at home and stumbling onto a genuinely beautiful scene. He grabbed his phone, shot it, posted it, and it outperformed almost everything else he’d shared recently. The lesson isn’t that phones beat professional cameras. It’s that a great image is a great image, and the audience doesn’t check the EXIF data before deciding whether to care.
If you’re holding off on learning photography because you don’t own a “real” camera yet, stop. Your phone is real enough to start. The only thing waiting is costing you is practice time.
Step 2: Treat Your Phone Like a Volume Tool
 Discussion of first 10,000 photographs concept
Tucker references Henri Cartier-Bresson’s famous line that your first 10,000 photographs are your worst, and he means it literally. Getting good at photography is a repetition game, and your phone makes repetition nearly frictionless. It’s in your pocket, it’s fast, and there’s no setup cost.
Discussion of first 10,000 photographs concept
Tucker references Henri Cartier-Bresson’s famous line that your first 10,000 photographs are your worst, and he means it literally. Getting good at photography is a repetition game, and your phone makes repetition nearly frictionless. It’s in your pocket, it’s fast, and there’s no setup cost.
Think of your phone camera the way a songwriter thinks about rough demos. You’re not trying to make a masterpiece every time. You’re trying to build the muscle memory of seeing a shot, framing it quickly, and learning from what doesn’t work. Take more pictures. Review them honestly. The good ones will start to come more frequently.
Step 3: Use the Limitations as a Composition Teacher
 Explaining wide angle lens and depth of field on phone cameras
Here’s the part of Tucker’s tutorial that genuinely shifted something for me. Most phone cameras default to a fairly wide-angle lens with a deep depth of field, meaning you can’t blur a messy background to hide weak composition the way you can with a fast prime lens on a DSLR. Everything stays in focus, and everything in the frame matters.
Explaining wide angle lens and depth of field on phone cameras
Here’s the part of Tucker’s tutorial that genuinely shifted something for me. Most phone cameras default to a fairly wide-angle lens with a deep depth of field, meaning you can’t blur a messy background to hide weak composition the way you can with a fast prime lens on a DSLR. Everything stays in focus, and everything in the frame matters.
This is actually a fantastic constraint for building composition skills. You’re forced to think about every element in the shot. Where is the subject relative to the background? What’s in the corners? What does the negative space do? Phones make bad composition obvious in a way that a flattering 85mm f/1.8 does not. Lean into this. It’ll make you faster and sharper when you do pick up a dedicated camera.
Step 4: Study Photographers Who Work Exclusively on Phones
 Reference to Dmitri Markov documentary phone work in Russia
Tucker points to photographers who have built entire bodies of serious work using only their phones, including documentary photographers who have sold books and mounted exhibitions from images made this way. This matters because it’s easy to mentally categorize phone photography as casual or lesser. These photographers prove otherwise.
Reference to Dmitri Markov documentary phone work in Russia
Tucker points to photographers who have built entire bodies of serious work using only their phones, including documentary photographers who have sold books and mounted exhibitions from images made this way. This matters because it’s easy to mentally categorize phone photography as casual or lesser. These photographers prove otherwise.
Find three or four photographers who shoot primarily on mobile and study their feeds the same way you’d study any serious photographer. Ask the same questions you’d ask about any image: What’s the light doing? Where is the viewer’s eye going first? What’s the emotional tone? Separating “how it was made” from “whether it works” is a skill worth developing deliberately.
Step 5: Shoot in RAW and Take Manual Control Where You Can
 Demonstrating manual settings in phone camera app
Tucker walks through the practical side of actually getting the most out of your phone’s hardware. If your phone supports RAW capture, turn it on. Most flagship phones do, and many mid-range ones do too. RAW files give you real latitude in post, especially for recovering highlights in bright outdoor scenes and lifting shadow detail without introducing as much noise as a compressed JPEG.
Demonstrating manual settings in phone camera app
Tucker walks through the practical side of actually getting the most out of your phone’s hardware. If your phone supports RAW capture, turn it on. Most flagship phones do, and many mid-range ones do too. RAW files give you real latitude in post, especially for recovering highlights in bright outdoor scenes and lifting shadow detail without introducing as much noise as a compressed JPEG.
Beyond RAW, look for your camera app’s manual or “pro” mode. You want the ability to lock focus and exposure independently. Tap to set focus, then use the exposure slider to bring the brightness where you want it before you shoot. This alone will eliminate most of the blown highlights and muddy shadows that make phone images look amateurish.
Step 6: Think About Output Before You Shoot
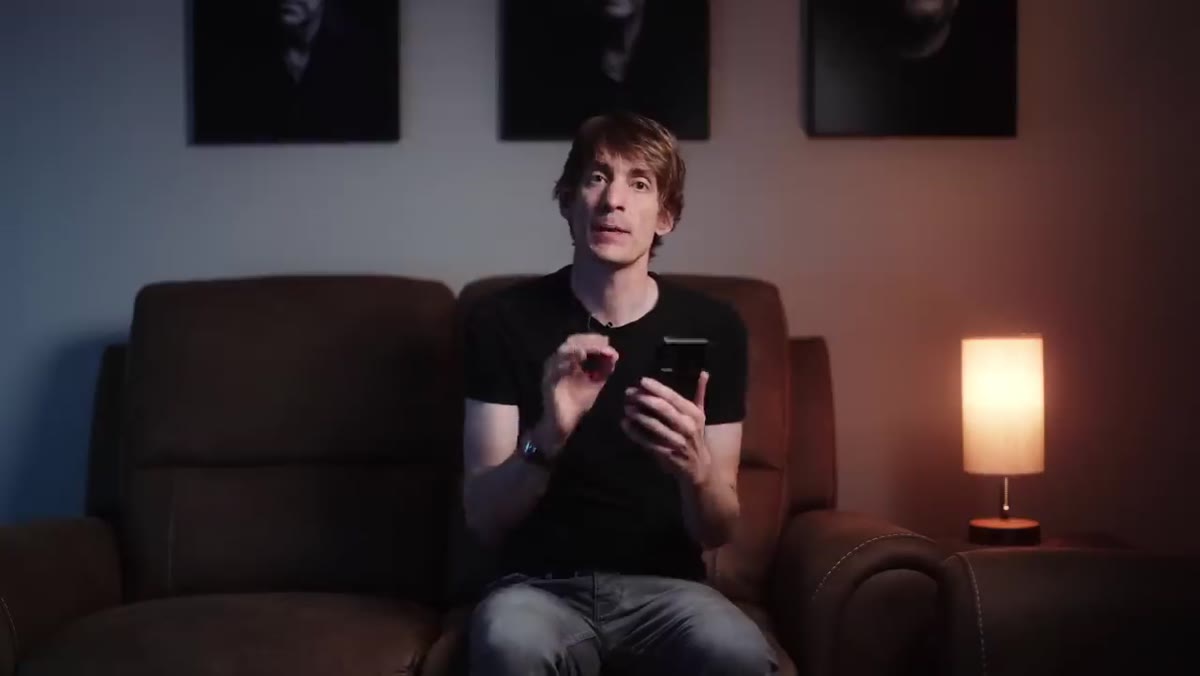 Talking through printing large from phone files
One of the more practical sections Tucker covers is printing, specifically how to get usable large prints from phone files. The key word here is “sufficient.” A modern phone with a 12-megapixel or higher sensor can produce prints up to around 16x20 inches at standard viewing distances without visible degradation. The mistake is trying to print larger than the file actually supports, or cropping aggressively and then printing large.
Talking through printing large from phone files
One of the more practical sections Tucker covers is printing, specifically how to get usable large prints from phone files. The key word here is “sufficient.” A modern phone with a 12-megapixel or higher sensor can produce prints up to around 16x20 inches at standard viewing distances without visible degradation. The mistake is trying to print larger than the file actually supports, or cropping aggressively and then printing large.
Shoot with your final output in mind. If you’re planning a large print, avoid cropping. Fill the frame as intentionally as you would on any camera. And when you export for print, use the highest resolution TIFF or JPEG your phone supports rather than exporting a compressed social media version.
What I’d Add From My Own Experience
Tucker covers the technical and the philosophical, but there’s one habit he doesn’t name explicitly that I’d add to this list: shoot the same subject in multiple conditions.
On my Sunday morning photo walks around Seattle, I sometimes revisit a location I’ve shot before, just with my phone. Shooting a familiar corner in different light or different weather strips away the novelty factor and forces you to solve a composition problem you’ve already tried to solve. It makes the feedback loop tighter. You’re not distracted by a new scene. You’re just asking: how do I make this better than last time?
If you’re building a practice with your phone, pick a neighborhood or a few recurring subjects and return to them. The constraint of familiarity is its own kind of teacher.
The single most important thing Tucker communicates in this tutorial is that waiting for better gear is a way of avoiding the actual work. A phone camera removes every practical barrier between you and taking a photograph. That’s rare and worth using deliberately.
Watch the full tutorial on YouTube and then go take 50 pictures with whatever’s in your pocket.
Comments
Leave a Comment