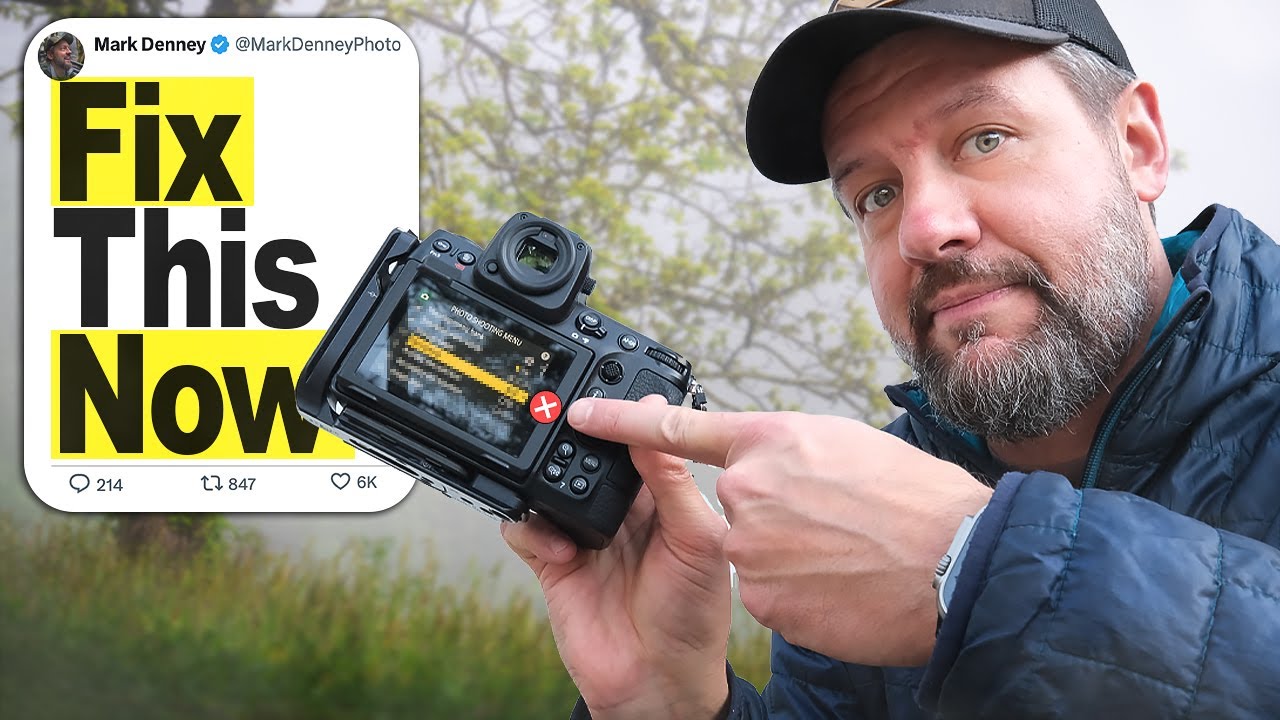
I spent an entire vacation chasing a single waterfall shot. Tripod, my sharpest lens, f/11 like clockwork, and I still came home with soft images that made me want to throw my memory card into the river I’d been photographing. It took me an embarrassingly long time to figure out the problem had nothing to do with my gear or my exposure. It was something I had never thought to question: the autofocus mode my camera shipped with, still active, still making decisions I didn’t know it was making.
That’s exactly the problem Mark Denney tackles head-on in this tutorial, and it’s one of the most practically useful videos I’ve seen for landscape photographers. Watch the full tutorial on YouTube before or after reading this breakdown. Mark walks through the specific settings on his Nikon Z8, but the logic applies to almost every mirrorless and DSLR camera out there.
The short version: your camera’s default autofocus configuration is optimized for sports and wildlife, not still landscapes. And if you’ve never changed it, it’s almost certainly working against you.
Step 1: Understand Why the Default Setting Fails for Landscapes
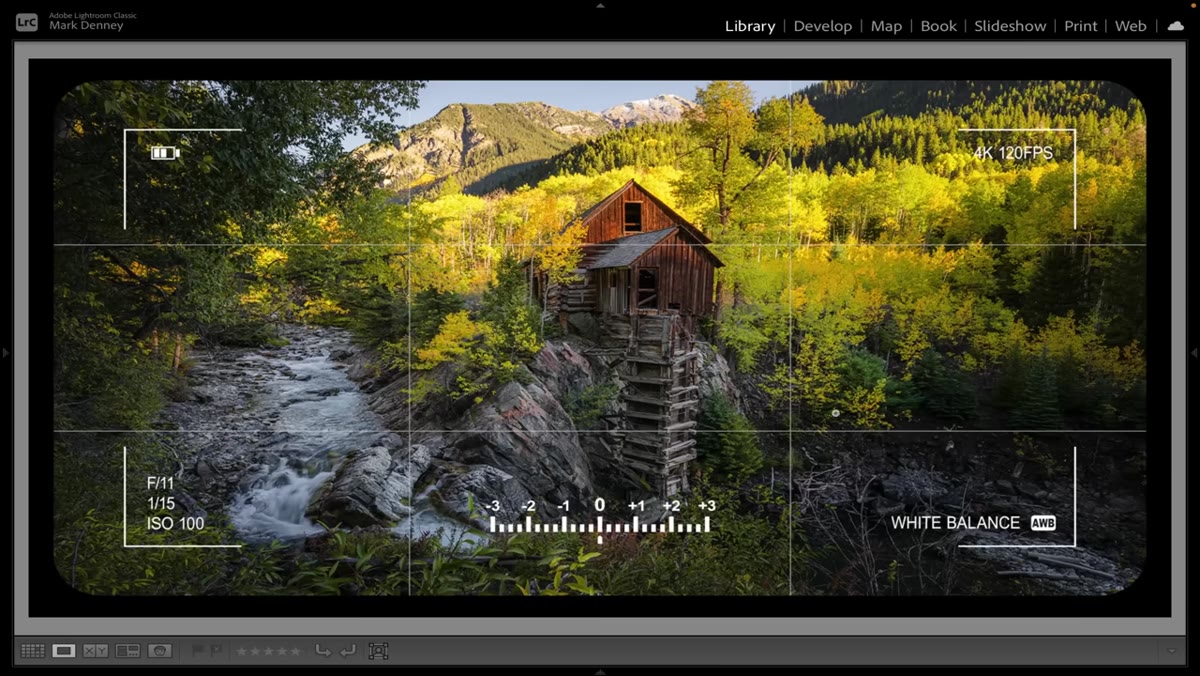 Camera focusing on foreground vegetation instead of the scene’s subject
When a camera ships out of the box, it typically has every available autofocus point switched on. Camera manufacturers love to advertise point counts, and 300, 400, even 600 focus points sounds impressive. The default assumption is that more points active means better results. For tracking a moving subject, that’s true. For a landscape, it’s a disaster.
Camera focusing on foreground vegetation instead of the scene’s subject
When a camera ships out of the box, it typically has every available autofocus point switched on. Camera manufacturers love to advertise point counts, and 300, 400, even 600 focus points sounds impressive. The default assumption is that more points active means better results. For tracking a moving subject, that’s true. For a landscape, it’s a disaster.
Here’s what actually happens: with all focus points active, the camera is programmed to prioritize whatever is closest to the lens, areas of high contrast, or anything that’s moving. In a landscape scene with foreground grass or rocks, the camera locks onto those elements every time because they tick all three boxes. The waterfall behind them, the mountain in the distance, the thing you actually composed the shot around? Progressively softer, in that order.
Step 2: Recognize the Two Specific Scenarios Where This Bites You
 Running water in foreground showing where camera incorrectly locks focus
Mark uses two examples that will feel immediately familiar if you shoot outdoors. The first is a scene with foreground vegetation, the kind of layered composition with plants or grasses in the near field and a barn, river, or mountain range beyond. The camera sees the vegetation first, locks there, and everything meaningful in the frame goes soft.
Running water in foreground showing where camera incorrectly locks focus
Mark uses two examples that will feel immediately familiar if you shoot outdoors. The first is a scene with foreground vegetation, the kind of layered composition with plants or grasses in the near field and a barn, river, or mountain range beyond. The camera sees the vegetation first, locks there, and everything meaningful in the frame goes soft.
The second example is moving water, a waterfall or stream in the foreground. Running water is a triple threat for the autofocus algorithm: it’s close, it has enormous contrast, and it’s in motion. The camera has no choice but to grab it. Neither of these are edge cases. They are extremely common landscape setups, which means this default behavior is quietly degrading a huge percentage of outdoor images.
Step 3: Switch Away from Full-Area Autofocus
 Camera menu showing all autofocus points active as the default setting
The fix starts with taking back control of which focus points the camera uses. Dig into your autofocus area settings, usually found in your camera’s custom settings menu or your autofocus menu, and look for an option labeled something like “Wide Area,” “Zone AF,” “Auto Area AF,” or whatever your manufacturer calls the mode that uses every point. Turn that off.
Camera menu showing all autofocus points active as the default setting
The fix starts with taking back control of which focus points the camera uses. Dig into your autofocus area settings, usually found in your camera’s custom settings menu or your autofocus menu, and look for an option labeled something like “Wide Area,” “Zone AF,” “Auto Area AF,” or whatever your manufacturer calls the mode that uses every point. Turn that off.
What you want instead is a single-point or small-zone AF option. This tells the camera to look for focus only where you direct it, not where it decides to look. The exact menu label varies by brand: Nikon, Sony, Canon, and Fujifilm all use slightly different terminology, but every modern camera has this capability. Check your manual for “AF area mode” if you’re unsure where to find it.
Step 4: Switch Out of Continuous Autofocus Mode
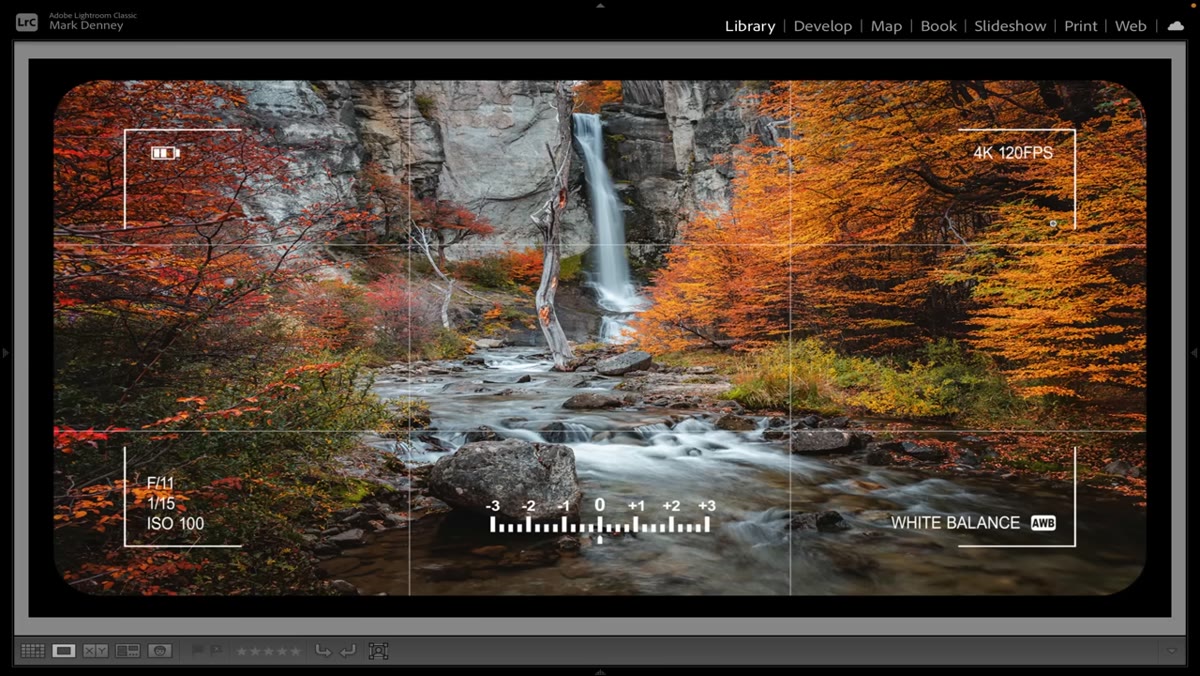 AF mode menu showing continuous autofocus selected as current setting
The second half of the problem is the autofocus mode itself, separate from the area setting. Most cameras default to continuous autofocus, usually labeled AF-C on Nikon and Fujifilm, or AI Servo on Canon. This mode keeps the focus system actively searching and adjusting the entire time the camera is powered on. It’s brilliant for photographing a bird in flight. For a static landscape on a tripod, it just means the camera is constantly second-guessing itself.
AF mode menu showing continuous autofocus selected as current setting
The second half of the problem is the autofocus mode itself, separate from the area setting. Most cameras default to continuous autofocus, usually labeled AF-C on Nikon and Fujifilm, or AI Servo on Canon. This mode keeps the focus system actively searching and adjusting the entire time the camera is powered on. It’s brilliant for photographing a bird in flight. For a static landscape on a tripod, it just means the camera is constantly second-guessing itself.
Switch to single-point autofocus mode, labeled AF-S on Nikon and Fujifilm, or One-Shot on Canon. In this mode, the camera acquires focus when you half-press the shutter, confirms it, and stops. It locks. It does not drift, hunt, or reassign when a leaf blows through the foreground. That stability is exactly what you need for landscape work.
Step 5: Place Your Single Focus Point Deliberately
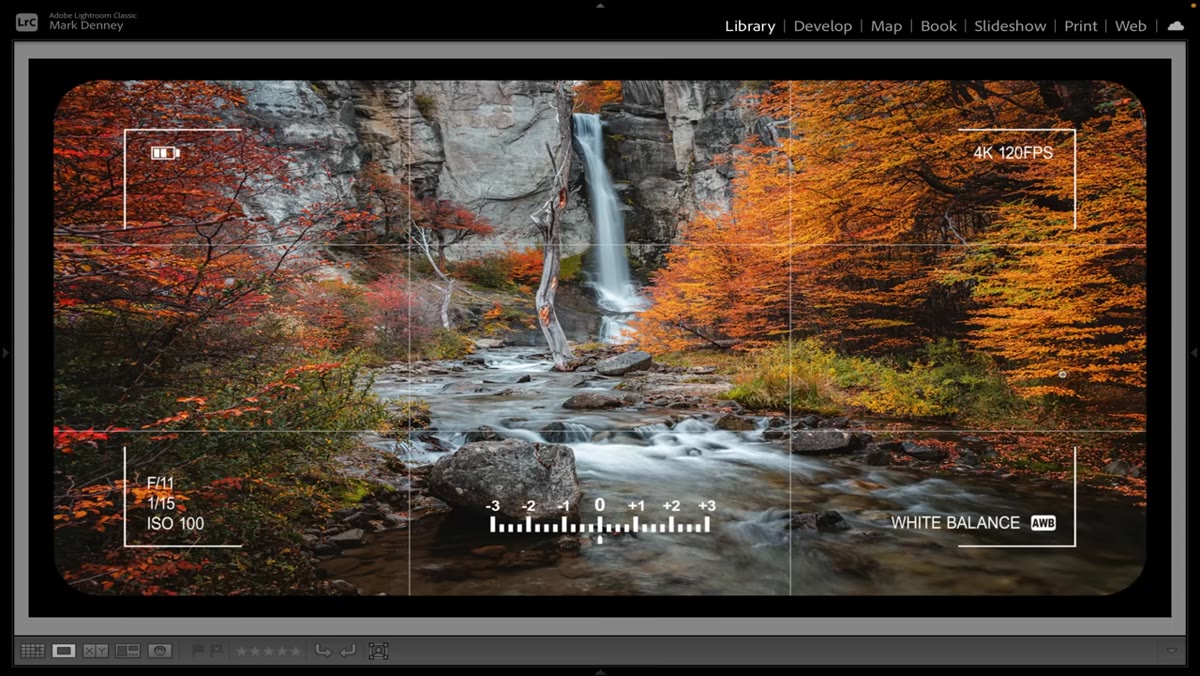 Single focus point being repositioned on screen to a specific part of the scene
Once you’ve switched to a single AF point, you need to actually move it to the right place. This is where landscape focus strategy comes in. The goal for most wide landscape shots is to get the entire scene acceptably sharp from near to far, which means focusing somewhere in the middle distance rather than the very front or the very back of the frame.
Single focus point being repositioned on screen to a specific part of the scene
Once you’ve switched to a single AF point, you need to actually move it to the right place. This is where landscape focus strategy comes in. The goal for most wide landscape shots is to get the entire scene acceptably sharp from near to far, which means focusing somewhere in the middle distance rather than the very front or the very back of the frame.
Use your camera’s joystick or touchscreen to move that single focus point to roughly one-third of the way up from the bottom of the frame. This is a practical starting approximation of the hyperfocal principle: focusing at that distance maximizes depth of field for a given aperture, keeping both foreground and background within an acceptable sharpness range. It’s not a perfect formula, but it beats letting the camera choose every time.
Step 6: Use the Pro Confirmation Trick Before Every Shot
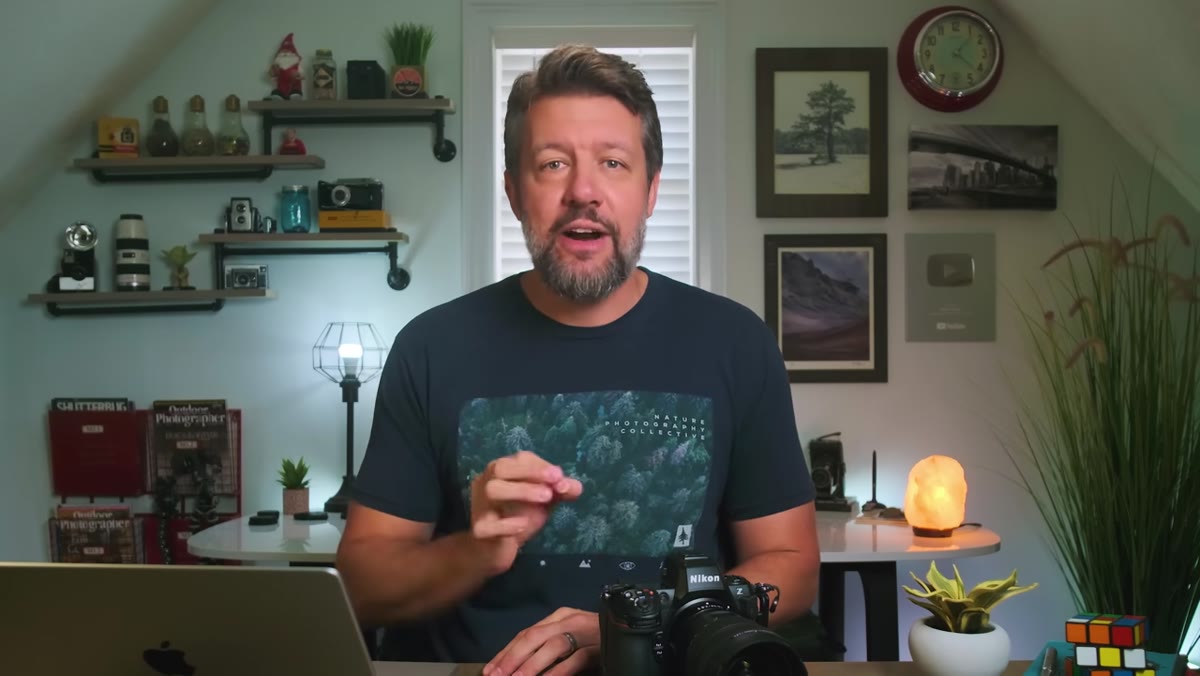 Mark describing the final verification step for guaranteed sharp results
Mark mentions a simple verification habit at the end of his tutorial that I’ve since added to my own process. After you’ve acquired focus, zoom into your camera’s live view or review the image on the back of the camera at maximum magnification before you actually commit to the shot. Check the specific area you focused on. Check the foreground. Check the background.
Mark describing the final verification step for guaranteed sharp results
Mark mentions a simple verification habit at the end of his tutorial that I’ve since added to my own process. After you’ve acquired focus, zoom into your camera’s live view or review the image on the back of the camera at maximum magnification before you actually commit to the shot. Check the specific area you focused on. Check the foreground. Check the background.
This one extra step takes about ten seconds and has saved me from walking away with an entire shoot of subtly soft images. On a tripod with a static scene, there’s no reason to skip it. Confidence that your focus landed where you intended is worth far more than the few seconds it costs.
A Note from the Field: When I Override All of This
There’s one situation where I ignore almost everything above, and that’s intimate telephoto landscapes. When I’m compressing a distant scene with a longer lens, depth of field is shallow enough that single-point AF on a specific subject, a lone tree, a rock formation, a peak, becomes even more critical than with a wide lens. The full-area autofocus failure becomes more dramatic, not less, at longer focal lengths. If anything, the telephoto work is where sloppy autofocus settings do the most visible damage.
I also want to say plainly: this is not a gear problem. I’ve shot Sunday morning photo walks with nothing but my phone and proved to myself repeatedly that thoughtful technique beats expensive equipment. The autofocus trap Mark describes exists on every camera at every price point. Changing two settings takes less than a minute, and the difference in your keepers will show up immediately.
The single most important thing to take away from this tutorial is that your camera’s default autofocus settings were designed for a completely different genre of photography. Landscape shooting requires you to opt out of those defaults and make deliberate choices about where and how your camera locks focus. Once you do that, the sharpness problem that has been frustrating you often disappears entirely.
Watch the full tutorial on YouTube to see Mark walk through the menu steps on his Nikon Z8 and demonstrate the before-and-after difference on real landscape scenes.
Comments (4)
This is going in my reference folder. Incredibly useful.
Been doing this wrong for years apparently. Thanks for the wake-up call.
Great breakdown. The step-by-step approach really helps.
Couldn't agree more. I've seen this make a huge difference in landscape work specifically.
Leave a Comment