
Every few months, someone slides into my DMs asking why their coffee shots or product flat-lays look a little off. The camera is fine. The lighting is decent. But the image still feels hollow. Nine times out of ten, the problem isn’t what’s in the frame. It’s what’s underneath it.
I kept running into the same wall myself. Textured surfaces that actually photograph well are surprisingly hard to find. Marble contact paper looks like marble contact paper. Foam boards look sterile. And hunting antique shops every weekend for wooden crates gets old fast, especially if you live somewhere like Seattle where “charming antique market” really means “overpriced furniture warehouse.” In Watch the full tutorial on YouTube, Peter McKinnon visits his friend Mike’s woodshop and walks through exactly how custom photo boards solve this problem in a way that’s durable, versatile, and actually affordable compared to the alternatives.
What I love about this tutorial is that it’s less about a single technique and more about rethinking your prop system from the ground up. If you shoot food, products, lifestyle flat-lays, or anything destined for Instagram, this walkthrough will change how you think about what sits behind your subject.
Step 1: Understand Why Generic Surfaces Fail
 Peter talking at a woodshop exterior, loading materials
Most photo boards sold in big-box stores are manufactured to look textural but photograph flat. The grain is too uniform, the color too consistent. Your camera doesn’t lie about that kind of thing. The surfaces that work best in photography tend to be imperfect: weathered, layered, slightly worn. That quality doesn’t come from a factory. It comes from material with actual history behind it.
Peter talking at a woodshop exterior, loading materials
Most photo boards sold in big-box stores are manufactured to look textural but photograph flat. The grain is too uniform, the color too consistent. Your camera doesn’t lie about that kind of thing. The surfaces that work best in photography tend to be imperfect: weathered, layered, slightly worn. That quality doesn’t come from a factory. It comes from material with actual history behind it.
The first step in building out your surface kit is accepting that your local Home Depot is the wrong starting point. What you need is sourced material, wood with character that comes from somewhere real, whether that’s reclaimed lumber, old shipping skids, or exotic hardwoods a woodworker has tracked down specifically for their grain and color variation.
Step 2: Source Reclaimed and Exotic Wood Instead of Retail Lumber
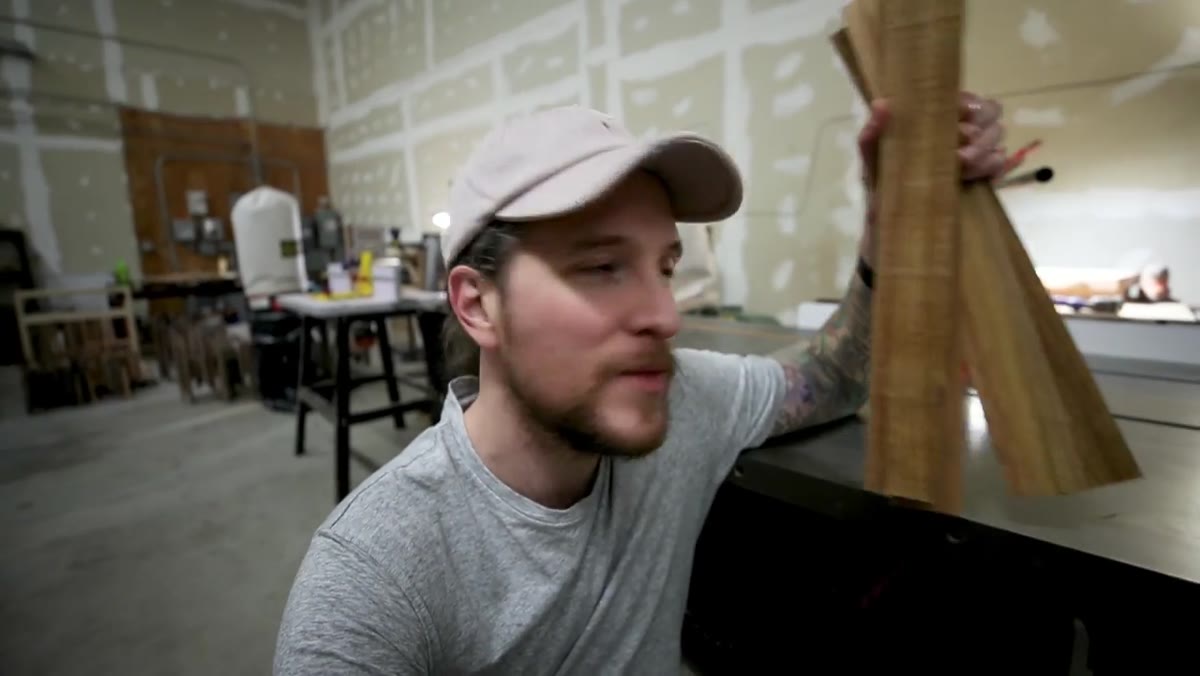 Close-up of unique wood grain and texture in the workshop
Peter makes a point that lands hard for me: the wood Mike uses isn’t sitting in a lumber yard. Mike actively goes out and sources it. That effort is what separates a photo board that stops the scroll from one that blends into every other blogger’s feed. Reclaimed wood from old shipping pallets, barn siding, or industrial skids carries surface variation you simply cannot replicate with new material.
Close-up of unique wood grain and texture in the workshop
Peter makes a point that lands hard for me: the wood Mike uses isn’t sitting in a lumber yard. Mike actively goes out and sources it. That effort is what separates a photo board that stops the scroll from one that blends into every other blogger’s feed. Reclaimed wood from old shipping pallets, barn siding, or industrial skids carries surface variation you simply cannot replicate with new material.
If you don’t have a woodworker friend (and honestly, most of us don’t), start looking at salvage yards, Craigslist, Facebook Marketplace, or local lumber mills that sell off-cuts. You want pieces with knots, grain shifts, maybe some old paint. Bring a small piece home before committing to anything large, photograph it in your usual shooting light, and see how it renders. Sometimes the most visually dramatic wood in person becomes muddy and flat in a photo.
Step 3: Choose a Two-Sided Board Format
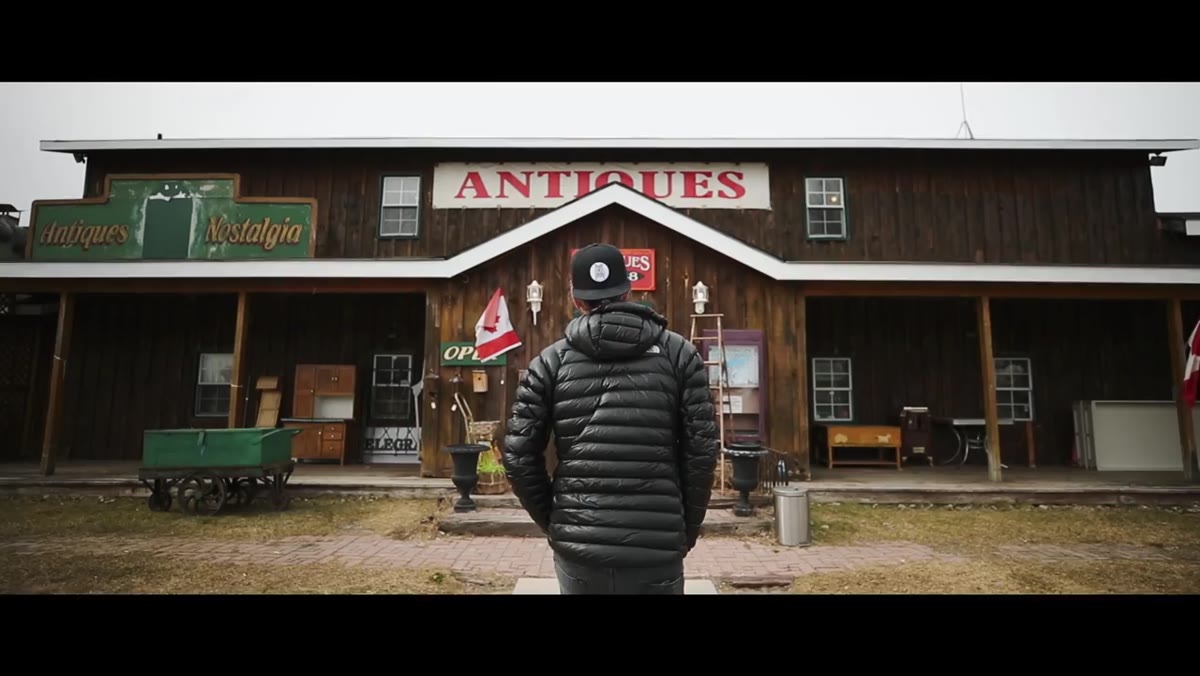 Peter discussing photo boards with Mike in the workshop
One of the smartest design decisions in Mike’s photo boards is that they’re finished on both sides. That means every board doubles your options without doubling your storage. One side might be a lighter, whitewashed finish and the other a darker, more distressed tone. For small apartment shooters or anyone with limited prop storage, this matters a lot.
Peter discussing photo boards with Mike in the workshop
One of the smartest design decisions in Mike’s photo boards is that they’re finished on both sides. That means every board doubles your options without doubling your storage. One side might be a lighter, whitewashed finish and the other a darker, more distressed tone. For small apartment shooters or anyone with limited prop storage, this matters a lot.
When you’re commissioning or building your own boards, plan both sides intentionally. Think about which two tones work hardest in your specific niche. If you shoot a lot of warm, golden-hour food content, you might want one honey-toned side and one cooler ash-gray side. If you do tech or beauty products, high-contrast options (near-black and off-white) tend to be the most useful pairing.
Step 4: Scale the Board to Your Most Common Shooting Scenario
 Photo boards being loaded and discussed near the workshop entrance
Board size isn’t one-size-fits-all, and getting this wrong means you’ll either be constantly cropping awkwardly or lugging something enormous to locations you’d rather travel light for. Think about what you shoot most. A single latte and a book? You can work with a 12x12. A full table scene with multiple props? You need at least 24x24, maybe larger.
Photo boards being loaded and discussed near the workshop entrance
Board size isn’t one-size-fits-all, and getting this wrong means you’ll either be constantly cropping awkwardly or lugging something enormous to locations you’d rather travel light for. Think about what you shoot most. A single latte and a book? You can work with a 12x12. A full table scene with multiple props? You need at least 24x24, maybe larger.
Also consider whether you shoot directly overhead (flat-lay) or at a slight angle. Angled shooting shows more of the surface, which means texture variation matters even more, and you need a board deep enough that the back edge doesn’t creep into your frame. I learned this the hard way during a client shoot where I had to clone out the edge of my board in every single image. Not fun.
Step 5: Apply Distressing and Paint Treatments Strategically
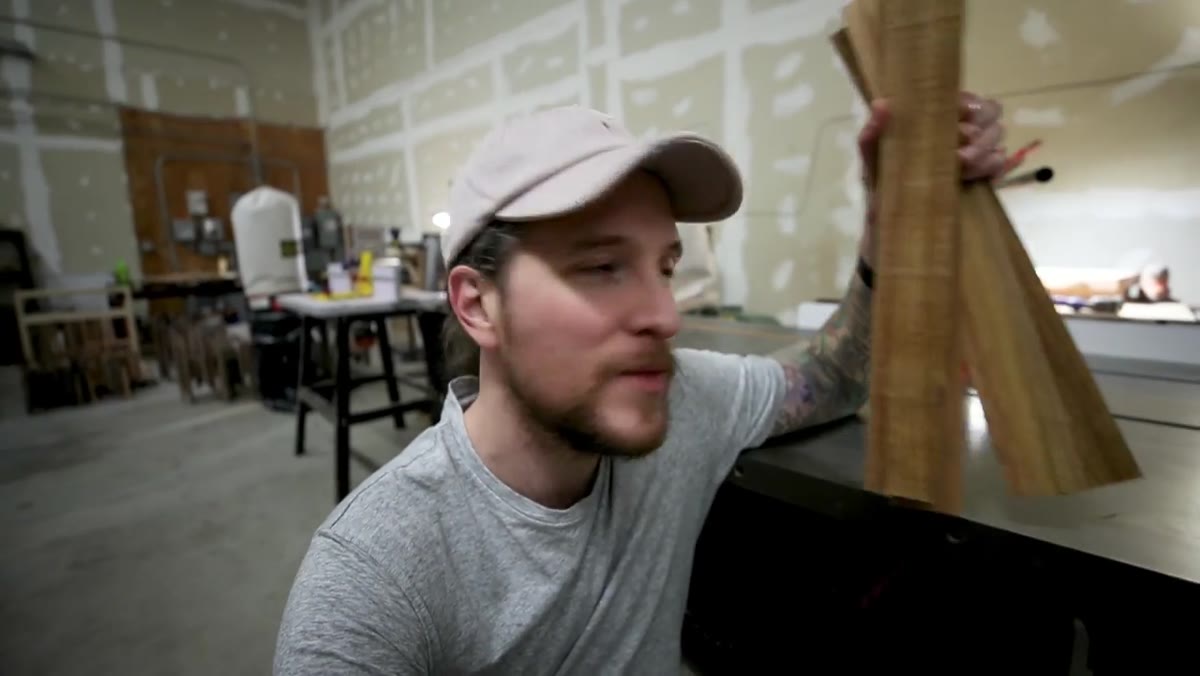 Workshop showing variety of finished and distressed wood surfaces
A raw piece of reclaimed wood is a starting point, not a finished product. Mike’s process includes distressing and painting surfaces to push them toward specific visual moods. This might mean dry-brushing white paint over dark wood for a coastal feel, or using a heat gun to raise the grain before staining for a more rustic result.
Workshop showing variety of finished and distressed wood surfaces
A raw piece of reclaimed wood is a starting point, not a finished product. Mike’s process includes distressing and painting surfaces to push them toward specific visual moods. This might mean dry-brushing white paint over dark wood for a coastal feel, or using a heat gun to raise the grain before staining for a more rustic result.
If you’re doing this yourself, practice on scrap pieces first. The goal is controlled imperfection. You want the surface to look lived-in, not destroyed. Test every finish under your actual shooting light, whether that’s natural window light, a softbox, or a ring light, because treatments read very differently depending on your light source. A heavily glossed finish, for example, will pick up hotspots under artificial light in ways that wreck an otherwise perfect shot.
Step 6: Build a Small Kit, Not a Massive Collection
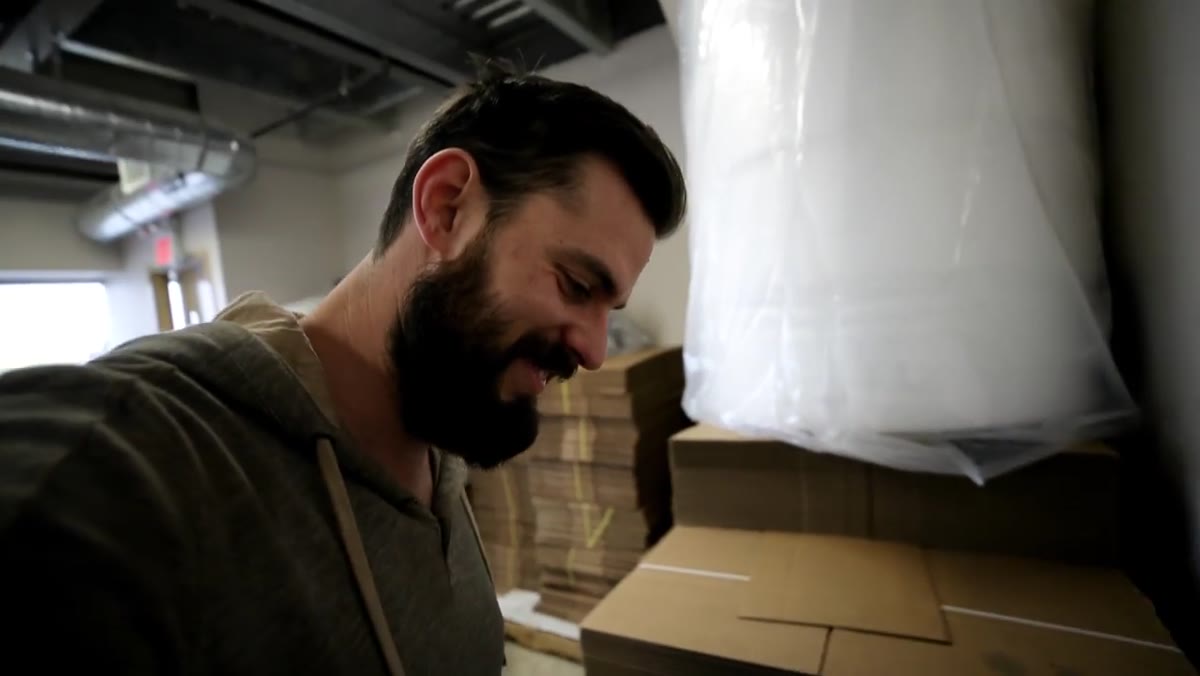 Peter loading materials into his truck outside the shop
The temptation once you discover photo boards is to collect every finish and variation you can find. Resist that. A focused kit of three to four boards you know intimately will serve you better than fifteen boards you’ve never properly tested. Know how each surface behaves in direct light versus diffused light. Know which backgrounds work with warm subjects and which suit cooler color palettes.
Peter loading materials into his truck outside the shop
The temptation once you discover photo boards is to collect every finish and variation you can find. Resist that. A focused kit of three to four boards you know intimately will serve you better than fifteen boards you’ve never properly tested. Know how each surface behaves in direct light versus diffused light. Know which backgrounds work with warm subjects and which suit cooler color palettes.
Keep your boards clean, stored flat, and away from moisture. Warping is the enemy of a flat-lay shooter. A slightly bowed board creates uneven focus planes when you’re shooting straight down, and no amount of post-processing fixes that cleanly.
My Take: The Phone Test
Before I invest time or money into any new surface, I photograph it with my phone first. Yes, my phone. A quick shot in my shooting corner tells me immediately whether the texture reads on camera or disappears into visual noise. It sounds almost embarrassingly simple, but it’s saved me from buying several very photogenic-in-person, terrible-on-camera surfaces. The board has one job: to support the story your subject is telling. If it competes or distracts, it fails, no matter how beautiful the wood grain is in real life.
The biggest thing this tutorial taught me is that great product and flat-lay photography isn’t about having the most expensive gear on the market. It’s about building a thoughtful kit of surfaces that give your images a sense of place and texture that feels real. A $30 photo board can do more for your images than a lens upgrade if your surfaces are currently letting you down.
Watch the full tutorial on YouTube to see Peter’s visit to the woodshop and get a feel for the kinds of surfaces worth building into your kit.
Comments
Leave a Comment