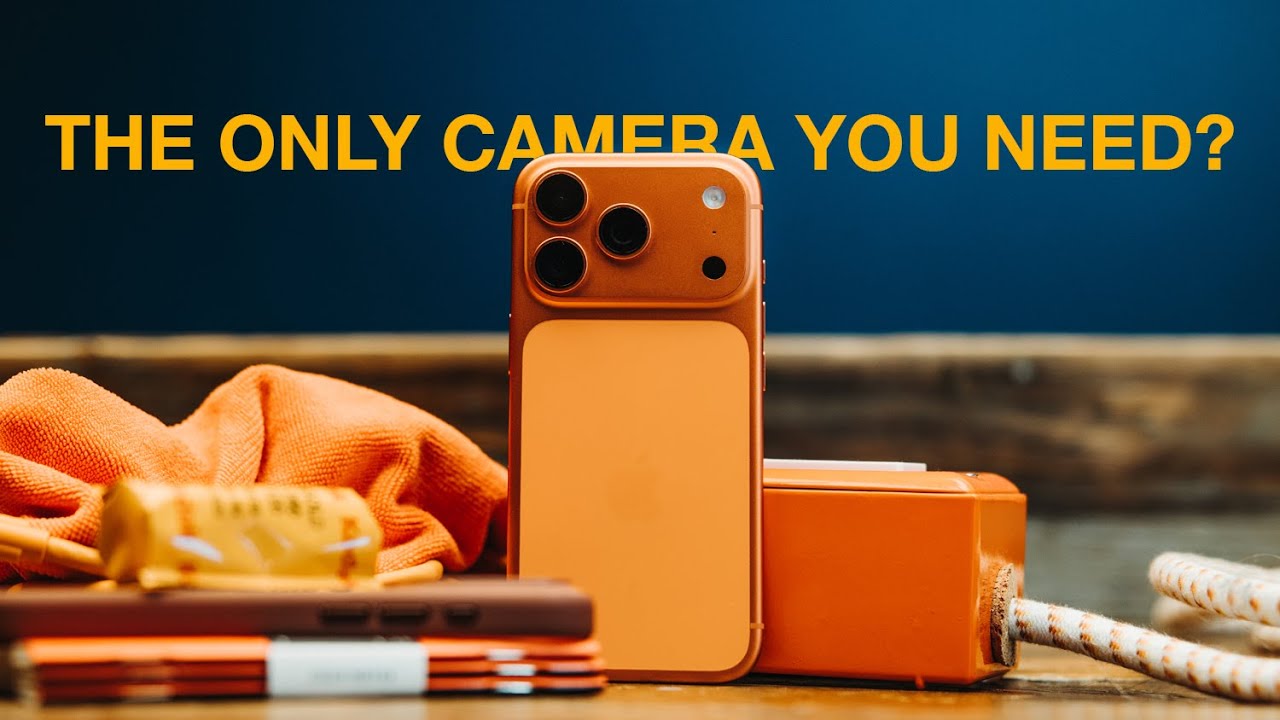
My most-liked Instagram photo was taken on a $200 phone. I used to be almost embarrassed to admit that, but it ended up launching a whole series of articles about what gear actually matters versus what we just think matters. So when I saw Peter McKinnon sit down with the new iPhone 17 Pro and a $7,000 Canon R5 to shoot the same products side by side, I had to pay close attention. Not because I doubted the iPhone, but because I wanted to see exactly how someone with his level of craft approaches a phone shoot differently than the average person snapping a quick flat lay.
In this Peter McKinnon tutorial, he walks through a full product photography session using only the iPhone 17 Pro, from building a styled set on his studio bench to shooting, comparing, and editing entirely in-camera. Watch the full tutorial on YouTube if you want to see his finished images alongside the setup. What I want to do here is break down each stage of his process so you can follow it the next time you’re shooting products for a small business, a portfolio, or even a personal project. The techniques he uses are not iPhone-specific. They are fundamental product photography habits that happen to work beautifully with a phone.
Step 1: Know Your Lenses Before You Shoot
 iPhone 17 Pro camera modes displayed on screen
The iPhone 17 Pro ships with three 38-megapixel cameras: a wide, a telephoto, and a mid-range. That spec alone means you have real creative options before you even think about composition. But the move McKinnon highlights is treating the wide lens as a macro lens. Switch into wide mode and get physically close to your subject, and the camera resolves extraordinary detail, texture in wood grain, weave patterns in fabric, the carved surface of an antler. For product photography, that ability to isolate texture is genuinely useful. It makes a waxed canvas jacket look like a magazine spread.
iPhone 17 Pro camera modes displayed on screen
The iPhone 17 Pro ships with three 38-megapixel cameras: a wide, a telephoto, and a mid-range. That spec alone means you have real creative options before you even think about composition. But the move McKinnon highlights is treating the wide lens as a macro lens. Switch into wide mode and get physically close to your subject, and the camera resolves extraordinary detail, texture in wood grain, weave patterns in fabric, the carved surface of an antler. For product photography, that ability to isolate texture is genuinely useful. It makes a waxed canvas jacket look like a magazine spread.
Before any session, spend two minutes cycling through your lenses on whatever subject you plan to shoot. Figure out which focal length flatters it. A wide-angle shot of a small product can distort edges. A telephoto compresses space and often looks more polished. And the macro trick is worth keeping in your back pocket for hero detail shots.
Step 2: Build a Thoughtful Set Before You Touch the Camera
 Studio bench being arranged with props and fabric
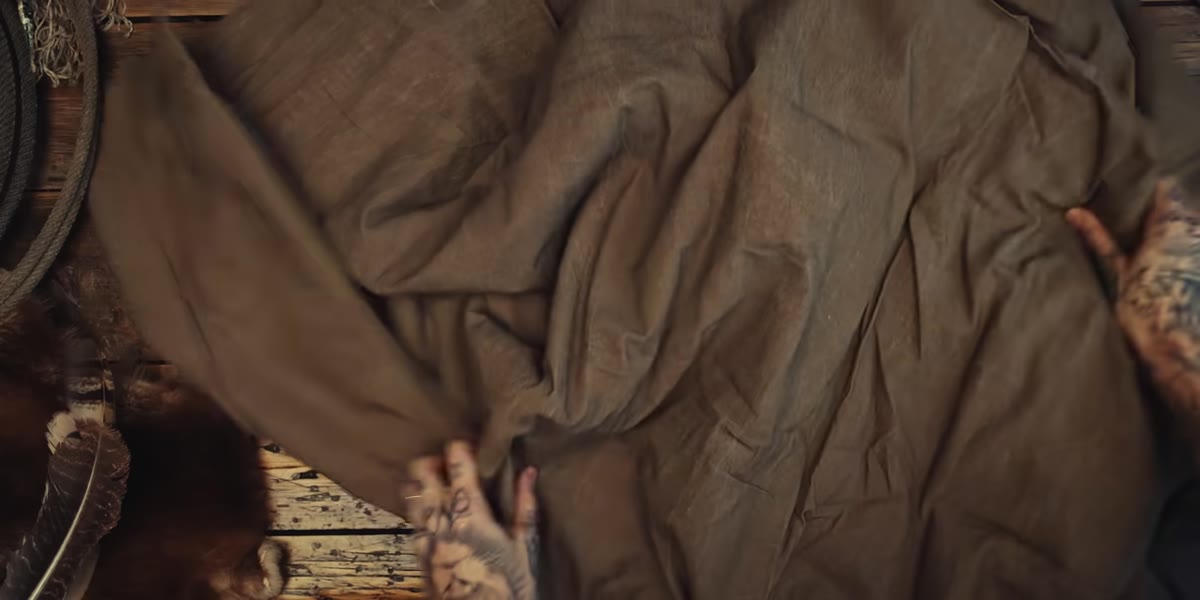
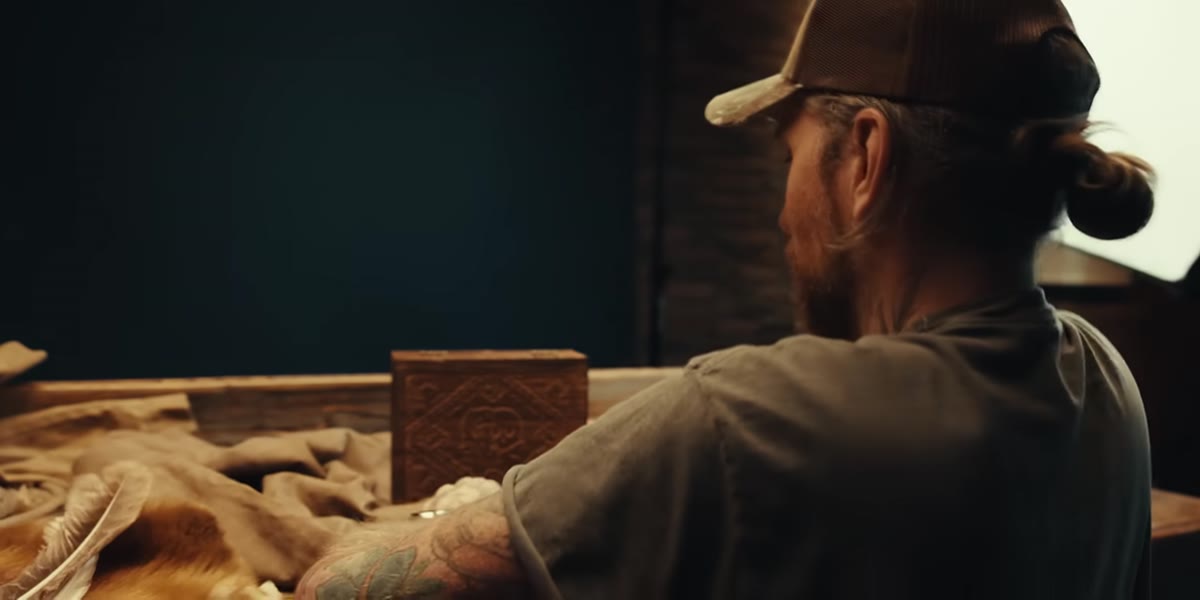
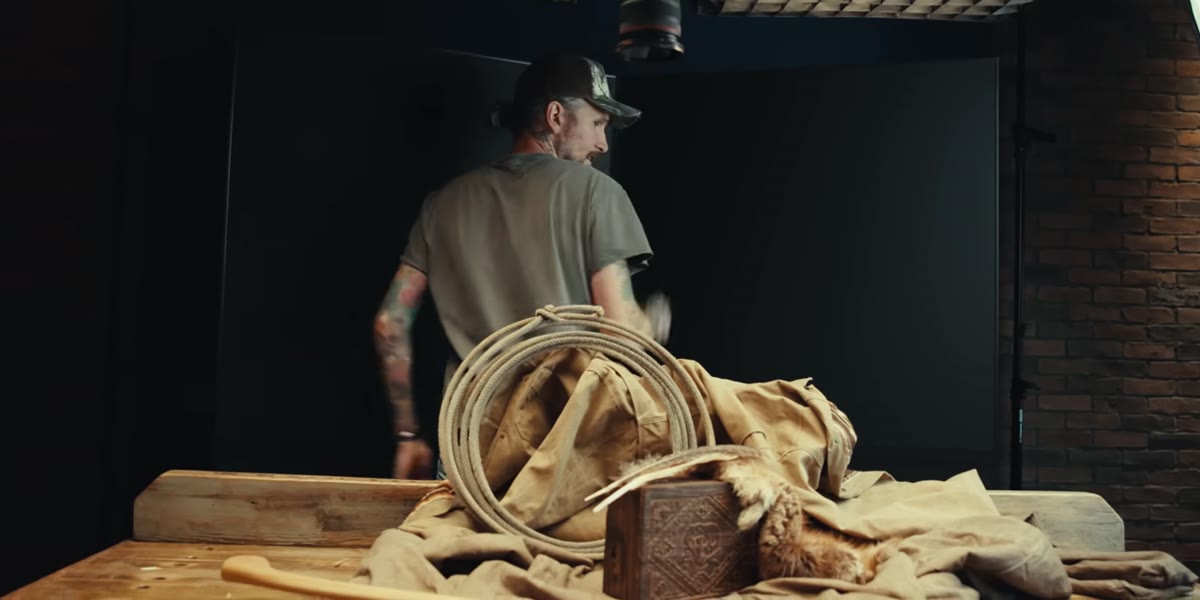
McKinnon spends real time arranging his scene before he picks up the phone. He layers textures: a draped waxed canvas jacket, a carved wood box, an antler prop, all working together to create a cohesive mood. He thinks about the background early, noticing that a blue surface behind the subject will create a problem he has to solve later. The lesson is to solve composition problems with physical objects first, not editing tools later.
Studio bench being arranged with props and fabric
McKinnon spends real time arranging his scene before he picks up the phone. He layers textures: a draped waxed canvas jacket, a carved wood box, an antler prop, all working together to create a cohesive mood. He thinks about the background early, noticing that a blue surface behind the subject will create a problem he has to solve later. The lesson is to solve composition problems with physical objects first, not editing tools later.
When building your own set, ask yourself three questions. What is the dominant texture? What is the light source, and where is it coming from? And is anything in the background going to fight with your subject? Moving a distraction six inches before you shoot saves you fifteen minutes of retouching.
Step 3: Let the iPhone Expose Naturally, Then Evaluate
 iPhone screen showing auto exposure on dark product setup
One thing McKinnon keeps coming back to is how aggressively the iPhone’s auto-exposure lifts shadows. He holds the phone up to a scene that looks dark to his eye, and the camera brightens it considerably. For some situations that is a gift. For others, especially if you want a moodier, darker image, it is something you need to override.
iPhone screen showing auto exposure on dark product setup
One thing McKinnon keeps coming back to is how aggressively the iPhone’s auto-exposure lifts shadows. He holds the phone up to a scene that looks dark to his eye, and the camera brightens it considerably. For some situations that is a gift. For others, especially if you want a moodier, darker image, it is something you need to override.
To take manual control, tap your subject on the iPhone screen to set focus, then swipe down on the sun icon that appears next to the focus square. This dims the exposure. If you want consistency across a series of shots, press and hold on the screen to lock both focus and exposure (you will see AE/AF LOCK appear at the top). This stops the camera from re-exposing every time you reframe, which is a common mistake that makes a product shoot look inconsistent.
Step 4: Flag and Control Your Light
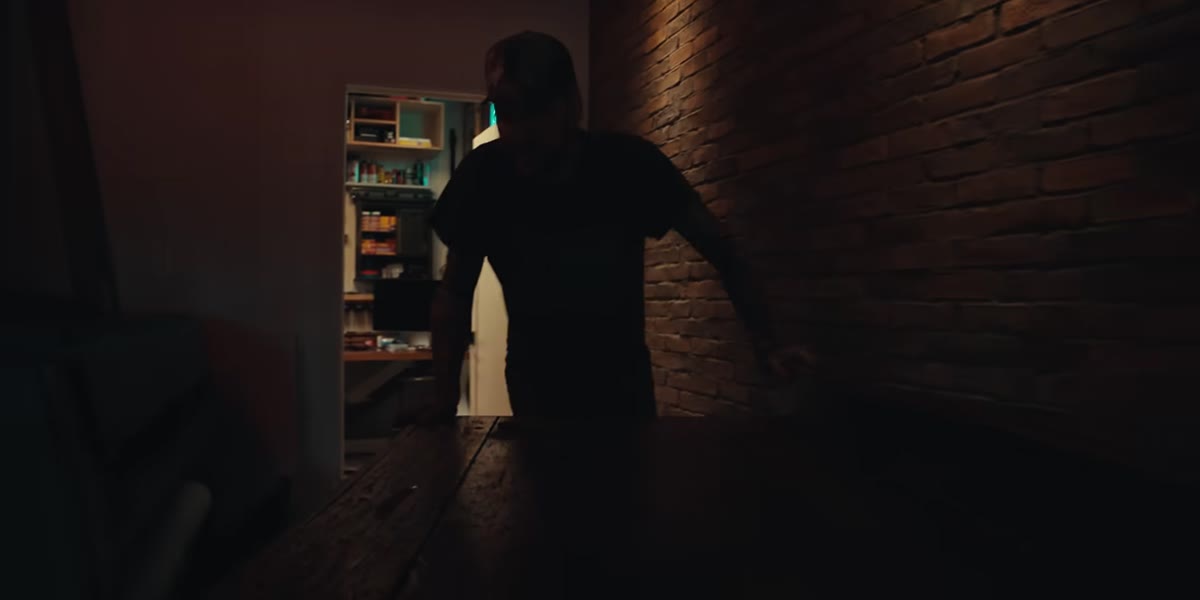
 Side light being blocked to prevent spill on background
McKinnon notices sidelight spilling onto his black background and takes a moment to physically block it with a flag, essentially any opaque object you position to cut the light’s path. In a studio this might be a foam board. At home it could be a piece of cardboard or a dark book stood on its edge.
Side light being blocked to prevent spill on background
McKinnon notices sidelight spilling onto his black background and takes a moment to physically block it with a flag, essentially any opaque object you position to cut the light’s path. In a studio this might be a foam board. At home it could be a piece of cardboard or a dark book stood on its edge.
Controlling where light falls, not just where it comes from, is what separates a clean product image from a messy one. Even a single lamp can produce beautiful directional light if you take five minutes to shape where it goes. Block the spill, and your backgrounds get richer and deeper automatically.
Step 5: Use Haze or Atmosphere Intentionally
 Atmospheric haze added to product scene
After flagging his light, McKinnon adds a touch of haze to the set. This is a creative choice, not a technical requirement, but it is worth noting because beginners rarely think to do it. A light layer of atmosphere, whether from a haze machine, a diffusion panel, or even a sheer fabric between the light and the subject, softens the overall look and can give product images a cinematic quality.
Atmospheric haze added to product scene
After flagging his light, McKinnon adds a touch of haze to the set. This is a creative choice, not a technical requirement, but it is worth noting because beginners rarely think to do it. A light layer of atmosphere, whether from a haze machine, a diffusion panel, or even a sheer fabric between the light and the subject, softens the overall look and can give product images a cinematic quality.
If you are shooting at home without a haze machine, try backlighting your scene with a warm lamp and letting natural dust or atmosphere in the room do some work. Shooting near a window on a slightly overcast day produces a similar softness.
Step 6: Edit on the Phone, Don’t Just Export and Hope
 iPhone photo editing interface open with background removed
McKinnon edits his images directly on the iPhone, including removing the background entirely using the built-in subject isolation tools available in iOS Photos. He selects the subject, cuts the background out, and replaces it, all without leaving the phone. This is a genuinely underused feature that most people scroll past.
iPhone photo editing interface open with background removed
McKinnon edits his images directly on the iPhone, including removing the background entirely using the built-in subject isolation tools available in iOS Photos. He selects the subject, cuts the background out, and replaces it, all without leaving the phone. This is a genuinely underused feature that most people scroll past.
Open your image in Photos, press and hold on the subject until you see a glow around it, then lift and place it into a new background or export it with transparency. For product photos destined for a website or marketplace listing, this alone can save you a significant amount of time you would otherwise spend in Photoshop.
What I’d Add From My Own Shooting Experience
The comparison McKinnon makes between the iPhone and the Canon R5 is the most useful part of the whole tutorial, because it reframes how you should think about upgrading gear. The differences are real but smaller than most people expect, especially in controlled light. Where the gap widens is in low light and in extreme cropping situations.
My honest recommendation: before you convince yourself that your gear is the limitation, spend a Sunday morning shooting with only your phone and no other option. I do this regularly, partly to stay humble and partly because it genuinely sharpens how I think about composition and light. When you can’t rely on a fast lens or a full-frame sensor, you get more intentional about everything else.
The single biggest takeaway from this tutorial is that setup time is not wasted time. McKinnon spends the majority of the video building, adjusting, and refining the scene before the camera ever comes out. The actual shooting takes minutes. That ratio is exactly right, and it applies whether you are using a phone or a professional body.
Watch the full tutorial on YouTube to see the finished product images and how closely the iPhone holds up next to the Canon R5. It is worth seeing with your own eyes.
Comments (3)
Quality content like this is rare. Keep it up.
Wow, I had no idea you could do this. Mind blown.
Great article! I actually covered something related on my site — the workflows angle is really complementary to this.
Leave a Comment