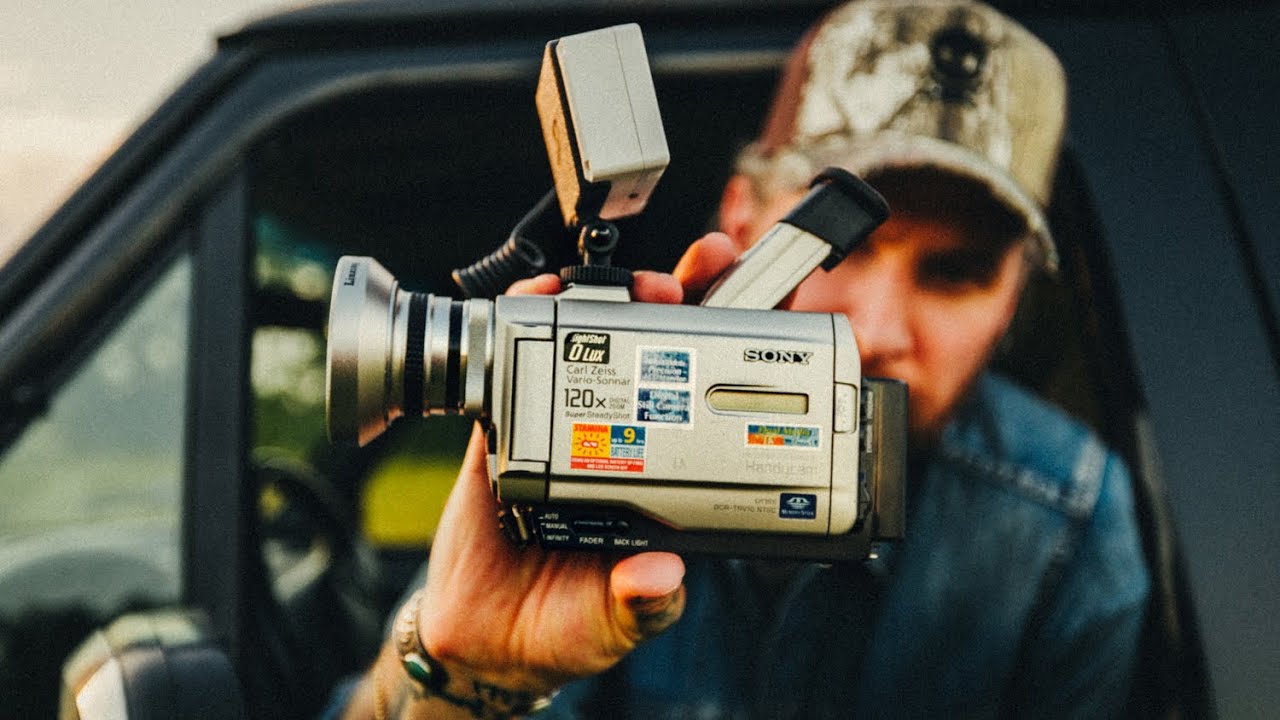
I have a confession that will probably surprise exactly zero people who follow my work: my most-liked Instagram photo was taken on a $200 phone. Not my Sony. Not the lens I saved up three months for. A phone. That one post cracked something open for me, and I’ve been chasing that thread ever since, looking for evidence that gear is less of a deciding factor than we’ve been told.
So when I came across this Peter McKinnon tutorial where he teams up with a creator who has racked up roughly 200 million views using a camcorder from 1998, I sat down and watched it twice. Watch the full tutorial on YouTube. The creator at the center of this video, Angel, shoots everything on a mini DV camcorder, doesn’t color grade, didn’t really know how to use a “real” camera, and figured the $100 price tag meant he had nothing to lose. The results are genuinely hard to argue with.
This tutorial isn’t really about camcorders. It’s about removing the barriers you’ve built between yourself and actually posting your work. Here’s how to recreate the approach, step by step.
Step 1: Source Your Mini DV Camcorder
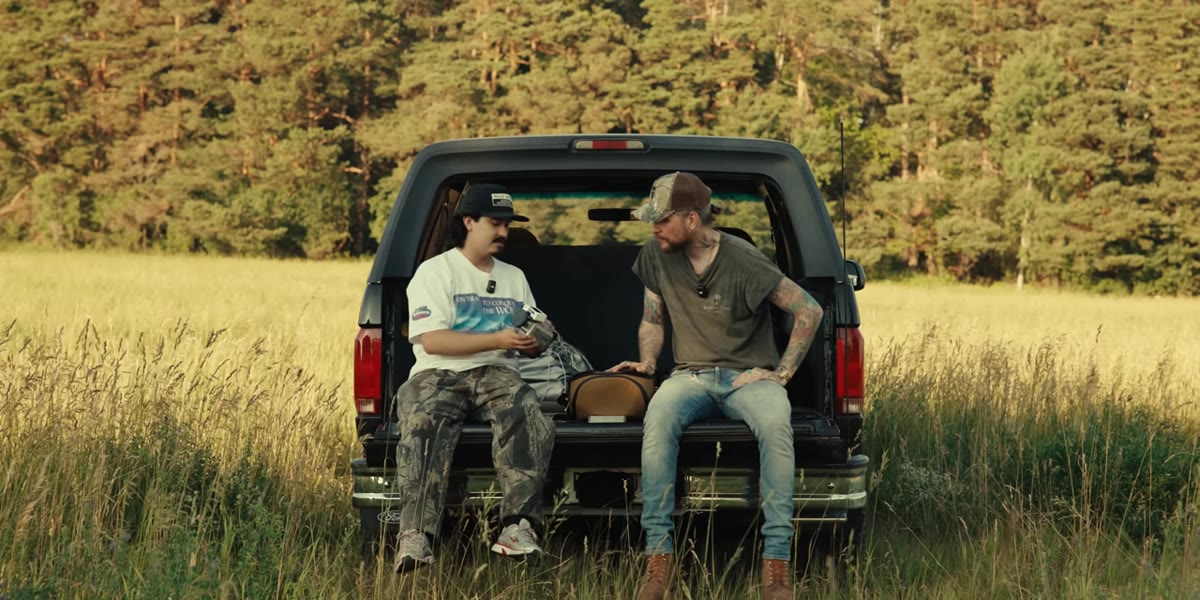 Two mini DV camcorders shown side by side on a table
You do not need to spend a lot of money here, and that’s the whole point. The camcorder Angel uses is a Sony DCR-TVR10, a compact, durable little machine he thrifted in Los Angeles for $15 because the shop thought it was broken. It wasn’t. The battery just needed replacing. Peter’s own version came from eBay for around $150, which is still a reasonable buy considering these cameras originally sold for several hundred dollars.
Two mini DV camcorders shown side by side on a table
You do not need to spend a lot of money here, and that’s the whole point. The camcorder Angel uses is a Sony DCR-TVR10, a compact, durable little machine he thrifted in Los Angeles for $15 because the shop thought it was broken. It wasn’t. The battery just needed replacing. Peter’s own version came from eBay for around $150, which is still a reasonable buy considering these cameras originally sold for several hundred dollars.
Start your search on eBay, Facebook Marketplace, or local thrift stores. Search terms like “mini DV camcorder,” “Sony DCR,” or “vintage camcorder” will turn up options. Condition matters less than you’d think since many issues are cosmetic or battery-related. Budget anywhere from $15 to $150 depending on how patient you are.
Step 2: Add a Fisheye Lens Attachment
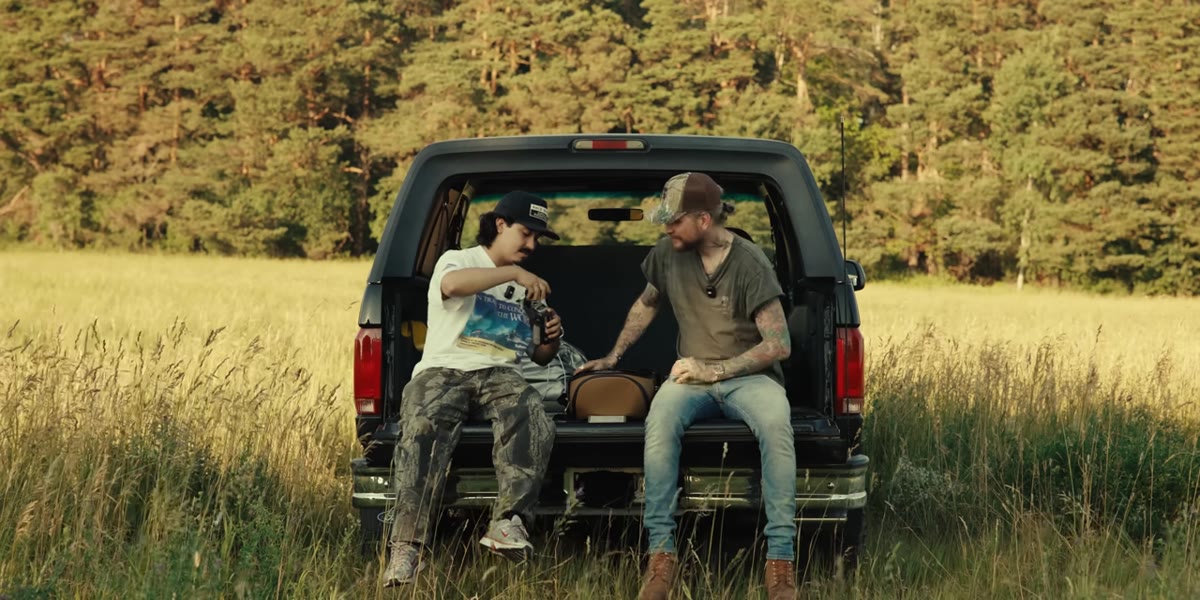 Fisheye lens attachment mounted on the front of a mini DV camcorder
One of the most distinctive visual qualities of Angel’s footage is the wide, circular fisheye look that makes even ordinary moments feel immersive and slightly cinematic in a lo-fi way. The good news is that you don’t need a specialty lens built for this camera. You need a clip-on or threaded attachment.
Fisheye lens attachment mounted on the front of a mini DV camcorder
One of the most distinctive visual qualities of Angel’s footage is the wide, circular fisheye look that makes even ordinary moments feel immersive and slightly cinematic in a lo-fi way. The good news is that you don’t need a specialty lens built for this camera. You need a clip-on or threaded attachment.
The camcorder Angel uses has a thread on the front, which means you can screw an adapter ring directly onto it and mount a fisheye attachment. A decent fisheye attachment runs around $50. The premium version (sometimes called a “super wet” fisheye) can hit $300, but Peter and Angel both agree the budget option holds up well for this aesthetic. One bonus of using a fisheye with a camcorder that has optical zoom: unlike most fisheye lenses, you can still zoom in and out, which gives you more compositional flexibility than you’d expect.
Step 3: Record Everything, Horizontally
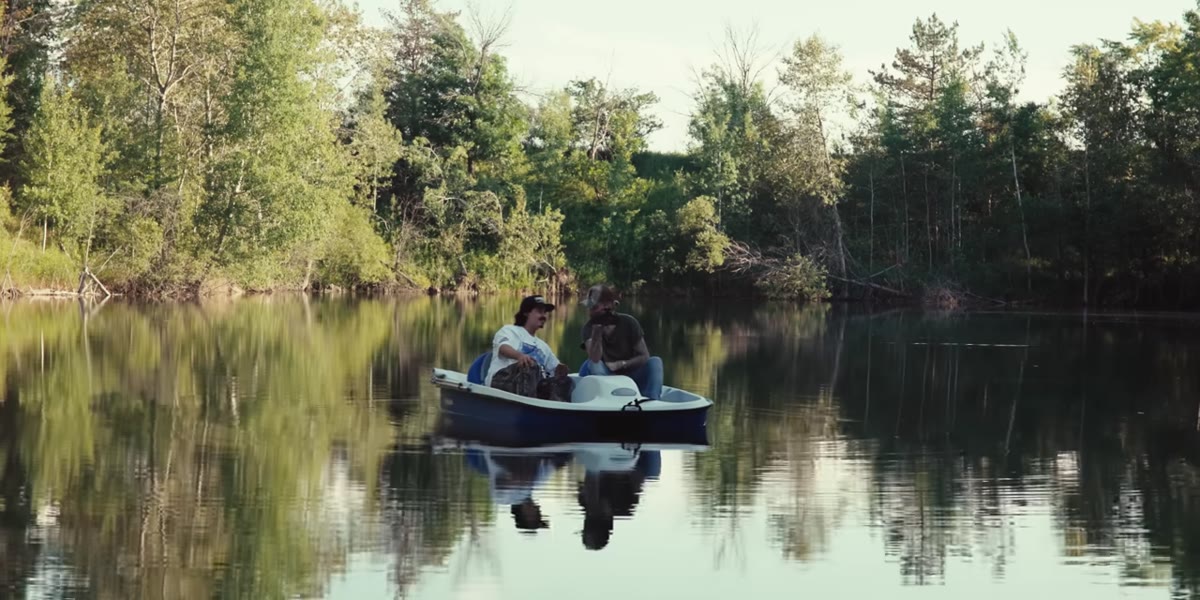 Creator holding mini DV camcorder in horizontal landscape orientation
This sounds too simple to be a step, but it’s where a lot of people trip up. Angel’s rule is straightforward: record everything. Not the highlights. Not the planned moments. Everything. The camera goes with him everywhere, and he shoots horizontally, not vertically, even though most social content now defaults to vertical for Reels and TikTok.
Creator holding mini DV camcorder in horizontal landscape orientation
This sounds too simple to be a step, but it’s where a lot of people trip up. Angel’s rule is straightforward: record everything. Not the highlights. Not the planned moments. Everything. The camera goes with him everywhere, and he shoots horizontally, not vertically, even though most social content now defaults to vertical for Reels and TikTok.
That’s a deliberate choice worth noting. Horizontal footage posted to platforms that favor vertical content creates a slight visual tension, a letterboxed or pillarboxed frame that actually stands out in a feed full of wall-to-wall vertical video. It signals authenticity. It looks like something grabbed from an archive, not something produced for the algorithm. If you’re used to shooting vertical for social, try one week of horizontal-only mini DV footage and see how it lands.
Step 4: Post Raw, Without Color Grading
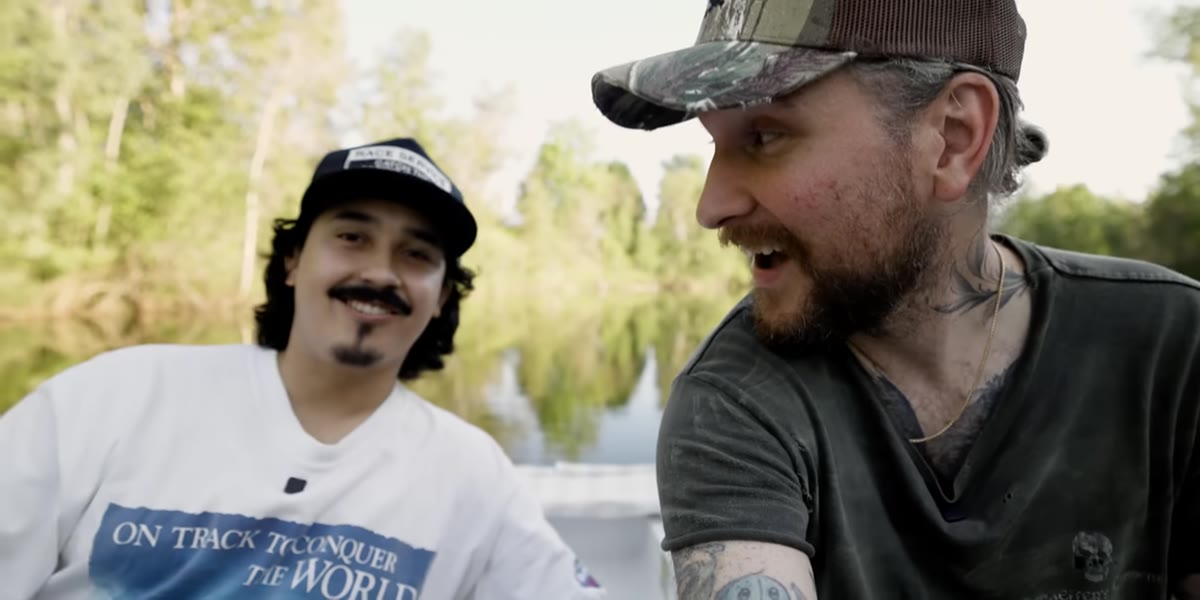 Discussion of posting footage without color correction or grading
When Angel started, he posted the footage exactly as the camera recorded it. No color grade, no LUT, no adjustments. He’s added a small amount of color work since then, but the foundation of his style is what comes straight out of the camera: the slightly washed-out colors, the soft contrast, the gentle grain and compression artifacts that mini DV tape naturally produces.
Discussion of posting footage without color correction or grading
When Angel started, he posted the footage exactly as the camera recorded it. No color grade, no LUT, no adjustments. He’s added a small amount of color work since then, but the foundation of his style is what comes straight out of the camera: the slightly washed-out colors, the soft contrast, the gentle grain and compression artifacts that mini DV tape naturally produces.
This is the step that makes most photographers and videographers deeply uncomfortable, and that discomfort is worth examining. The impulse to correct and polish before posting is legitimate, but it can also become a reason to never post at all. The mini DV format does a lot of the aesthetic work for you. Trust it. If you want to add a touch of warmth or lift the shadows slightly in editing, keep it light. The goal is footage that looks like it came from a camcorder, because it did.
Step 5: Digitize Your Footage With a Capture Device
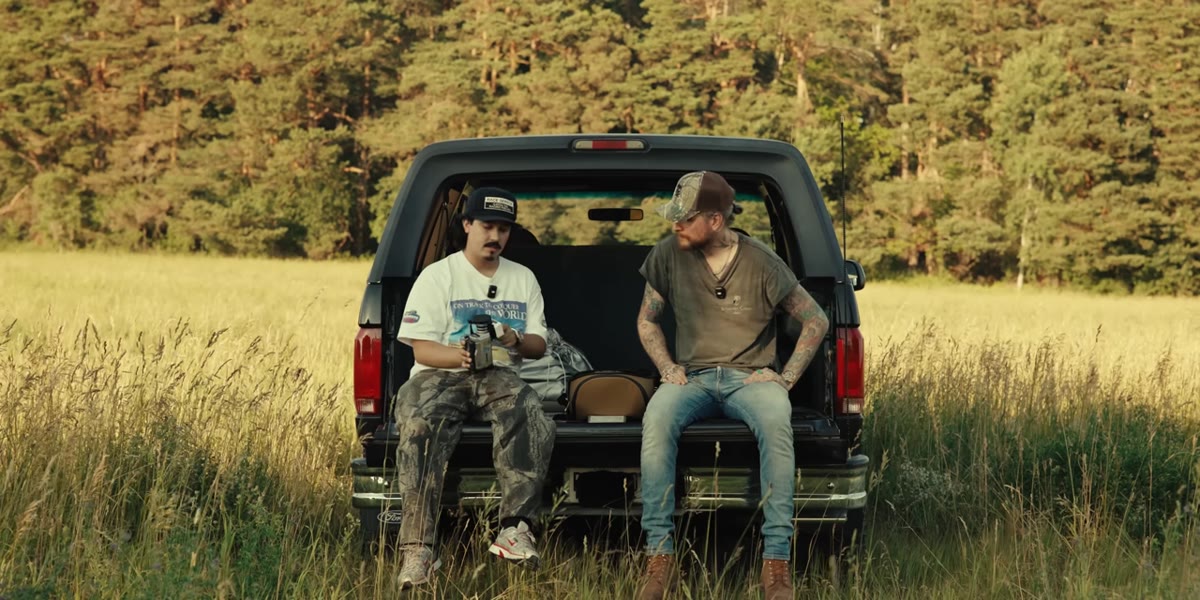 Capture device and cable setup used to transfer mini DV footage to computer
This is the step that usually scares people off, but it’s simpler than it looks. Mini DV cameras don’t transfer files the way modern cameras do. The footage lives on tape, and you need to run the camera’s output through a capture device connected to your computer.
Capture device and cable setup used to transfer mini DV footage to computer
This is the step that usually scares people off, but it’s simpler than it looks. Mini DV cameras don’t transfer files the way modern cameras do. The footage lives on tape, and you need to run the camera’s output through a capture device connected to your computer.
Angel uses a compact device originally designed for FPV drones, paired with a custom cable built by a friend: a 3.5mm AV-to-USB-C cable, a bracket, and a micro SD card. That micro SD card acts as the recording destination, capturing the footage as it plays back from the tape. If you’re not building your own cable, search for “mini DV capture cable” or “AV to USB capture card” on Amazon or B&H. The setup requires a little patience the first time, but once it’s dialed in, transferring footage is straightforward.
What I’d Add From My Own Experience
The thing this tutorial reinforced for me is that constraints produce creativity faster than options do. When I do my Sunday morning photo walks in Seattle, I sometimes leave my camera bag at home and take just my phone. Not because the phone is better, but because carrying less means I move more, look harder, and stop second-guessing every shot. The mini DV camcorder does the same thing for video creators. There are no menu systems to navigate, no codec choices, no frame rate debates. You point it, you record, you move on.
If you’re nervous about the full commitment, try this first: borrow or buy the cheapest mini DV camcorder you can find and shoot one day’s worth of footage before you research anything else. Don’t look up tutorials on color grading for tape footage. Don’t buy any attachments yet. Just see what it produces. The footage will probably surprise you, and that surprise is the beginning of figuring out how to use the format intentionally.
The single most important thing I took from this tutorial is that 200 million views didn’t come from better equipment. They came from consistency, from a creator who filmed everything and posted without overthinking it. The camcorder was just the tool that made it easy to start.
Watch the full tutorial on YouTube and pay attention to how Angel talks about his process. The gear is the headline, but the mindset is the actual lesson.
Comments (2)
I keep coming back to this article. It's that useful.
Love how you break down complex stuff into manageable steps.
Leave a Comment