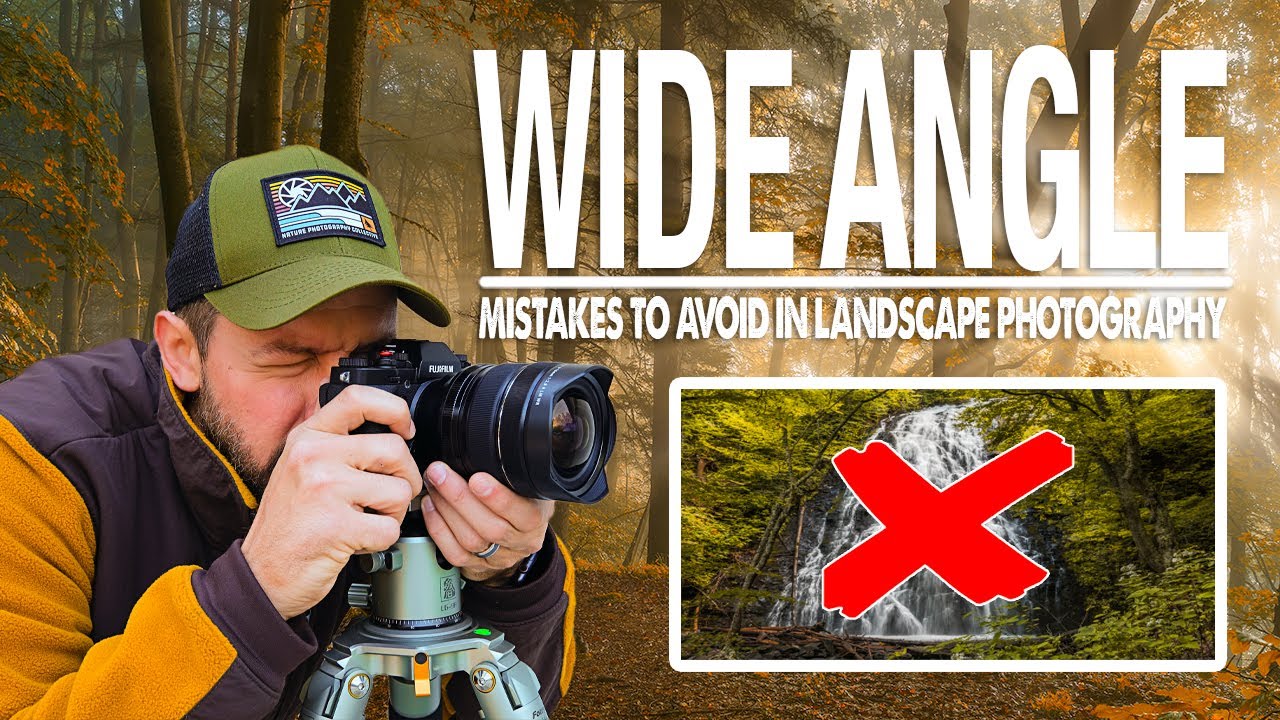
There’s a specific kind of frustration I remember from my early landscape work: standing in front of something genuinely breathtaking, shooting with the widest lens I owned, and still walking away with photos that felt… flat. Crowded. Like I’d tried to describe an entire novel in a single sentence. I owned a 16-35mm zoom, and for an embarrassingly long stretch, I shot everything at 16mm because I thought wider automatically meant better. It didn’t.
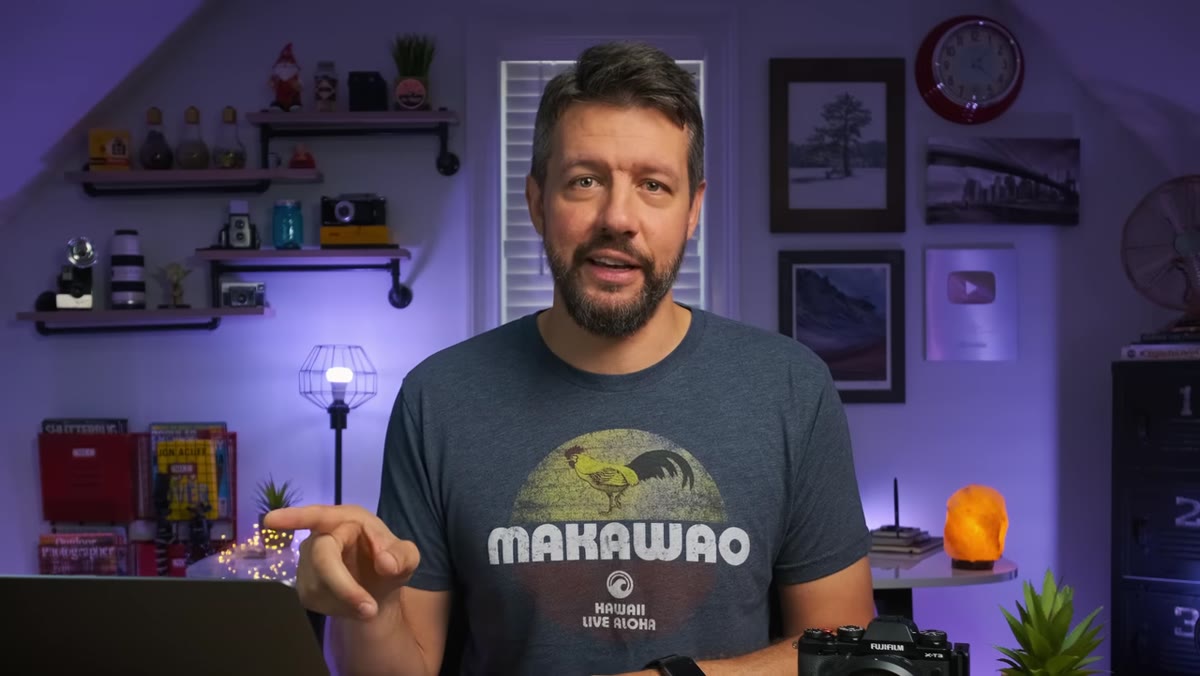
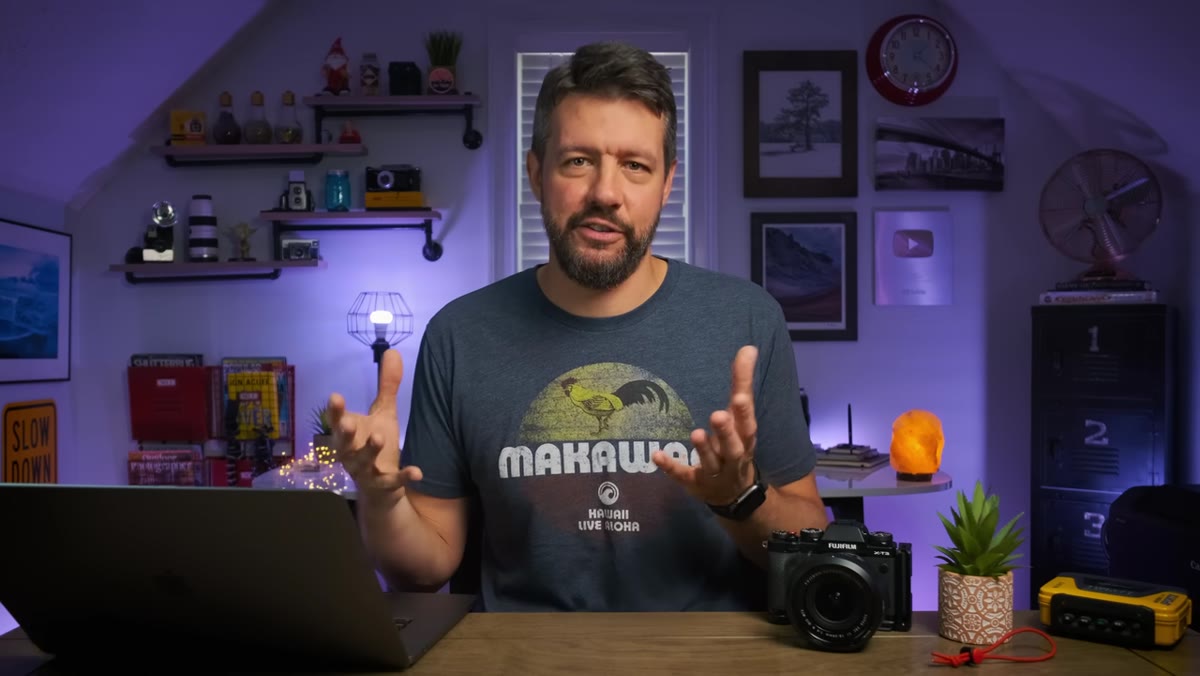
That’s exactly why a recent tutorial from landscape photographer Mark Denney stopped me mid-scroll. In it, he breaks down the beginner wide-angle mistakes he made himself, some of which still creep into his work today. That kind of honesty from an experienced shooter is rare and worth paying attention to. Watch the full tutorial on YouTube before or after you read this breakdown. Either way, here’s what the video actually teaches you, translated into steps you can bring to your next shoot.
Step 1: Recognize When You’re Stuck in “Fixed Lens Mode”
 Lightroom panel showing nearly all images shot at 16mm
If you shoot with a zoom wide-angle lens, pull up your last landscape session in Lightroom and filter by focal length. If the overwhelming majority of your shots are clustered at the widest end, you’ve fallen into what Denney calls the “fix effect” - using a zoom lens as though it were a prime. It happens because wide feels like more, and more feels like better composition. But zooming out to capture everything usually means capturing nothing with intention.
The fix is simple to understand but requires discipline in the field: before you press the shutter, ask yourself whether you actually need the full width, or whether you’re using it out of habit. Deliberately try shooting at 24mm or 28mm in scenes where you’d normally snap to 16mm. You’ll immediately notice how the composition tightens and your subject becomes clearer.
Step 2: Stop Trying to Cram Every Interesting Thing Into One Frame
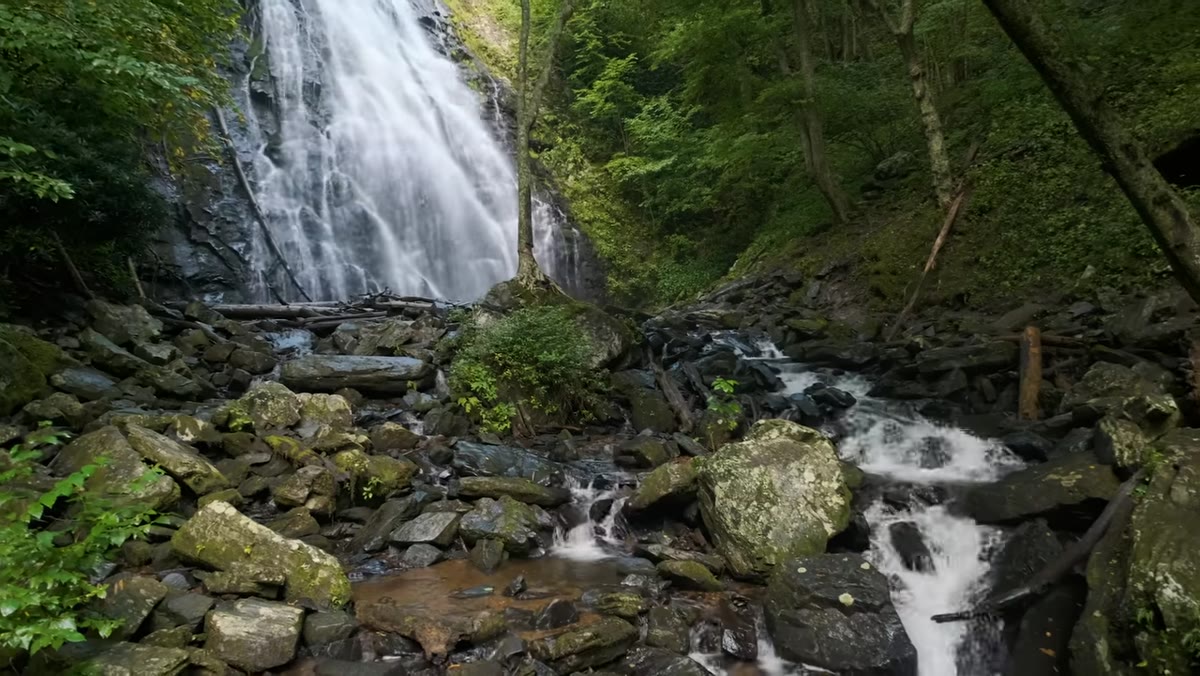
 Wide landscape photo with rocks, waterfall, and trees competing for attention
Denney shares a photo from a recent shoot - rocks in the foreground, a waterfall, interesting trees, a canyon edge - and honestly, every individual element was beautiful. The problem was that he tried to fit all of it into one composition, and the result was a frame fighting against itself. There’s no clear entry point for the eye.
Wide-angle lenses seduce you into this trap because they physically fit more into the shot. But fitting more in isn’t the same as communicating more. Pick one anchor subject - a rock formation, a reflection, a leading line - and build your composition around that. Everything else in the frame should support it or exit the frame entirely. If two great subjects compete, that’s two compositions, not one crowded one.
Step 3: Get Physically Closer Rather Than Just Shooting Wider
 Photographer positioning camera close to foreground rocks near waterfall
One of the most counterintuitive things about wide-angle work is that the lens rewards closeness. Denney demonstrates this at the waterfall location: the composition only started working when he moved the camera much closer to the foreground rocks. The wide focal length then did its job - it expanded the sense of depth between that near subject and the distant scene behind it.
A practical rule to take into the field: if your foreground subject looks small or insignificant in the frame, don’t zoom out further. Move your camera closer to it, physically. Get low if you need to. The exaggerated perspective of a wide lens creates a dramatic sense of scale and depth only when there’s something close to anchor it. Without a strong foreground, wide-angle shots tend to look empty in the middle even when the scene is full of content.
Step 4: Question Whether a Panorama Is Actually the Answer
 Stitched panorama result showing scene with too many competing elements
When a scene is genuinely expansive, it’s tempting to solve the “too much to capture” problem by stitching a multi-shot panorama. Denney tried this at the waterfall shoot and ended up with an image that had even more visual noise than the single frame. More width did not equal more impact.
Panoramas are a legitimate and powerful tool, but they work best when the scene has a strong horizontal story - a mountain range, a sweeping coastline, a symmetrical lake reflection. Before committing to a stitch, ask yourself whether the extra width adds narrative or just adds pixels. If you’re stitching to “save” a composition that isn’t working, that’s usually a sign to reframe instead.
Step 5: Use the Zoom Ring to Edit in Camera
 Zoom lens focal length ring being adjusted in the field
Here’s a practical habit worth building before you even think about post-processing: treat your zoom ring as your first editing tool. Denney’s reflection on six months of ignoring his zoom ring is a reminder that the focal length decision shapes everything downstream. Zooming in even slightly - from 16mm to 20mm or 24mm - removes edge distortion, reduces competing elements, and forces a cleaner compositional decision.
Try this at your next shoot: after you find a composition you like at your widest setting, zoom in incrementally in small steps and evaluate the frame each time. You’ll often find a focal length slightly longer than your default that strengthens the shot without sacrificing the sense of space you were after.
What I’d Add From My Own Experience
I spent an entire vacation once trying to nail a single waterfall shot - adjusting, re-composing, missing dinner more than once over four days. Looking back at those frames, almost all of my early failed attempts shared one problem: I was treating the wide-angle lens like a guarantee rather than a tool. Like if I just showed up with it, the bigness of the scene would do the work.
What actually turned those shots around was forcing myself to identify one thing I wanted the viewer to notice first. Just one. Then I built outward from there. The wide lens became useful the moment I stopped leaning on it as a solution and started using it as a deliberate choice. On my Sunday morning photo walks, I sometimes leave the wide lens home entirely and shoot on my phone instead. It sounds counterproductive, but constraints force intention - and intention is what wide-angle shooting demands more than almost any other discipline in landscape photography.
The single biggest takeaway from Denney’s tutorial is this: wide-angle lenses don’t make landscape photography easier, they make it more demanding. They require a clearer compositional vision, more deliberate subject selection, and a willingness to get physically close to your scene. Master those three things, and the lens starts working with you.
Watch the full tutorial on YouTube - Denney walks through real examples from his own shoots, including the specific images discussed above, which makes the mistakes and fixes much easier to internalize.
Comments
Leave a Comment