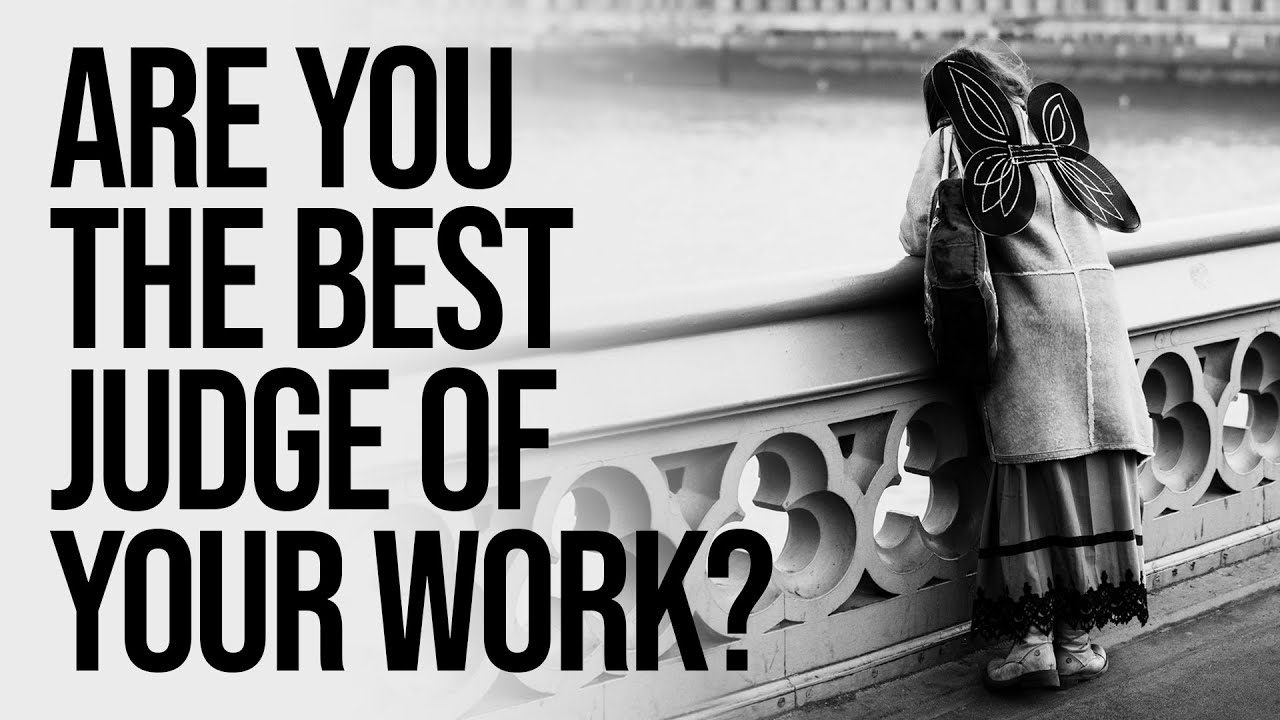
I used to think I was the most qualified person in the room to judge my own photos. They came from my brain, my eye, my instinct on a given morning. Who could possibly understand them better than me? It took a few humbling conversations with other photographers before I started to question that assumption, and I’m still unlearning it. That’s exactly why this particular tutorial hit me so hard.
In this Sean Tucker tutorial, Watch the full tutorial on YouTube, Sean walks through the story of a single image he almost dismissed entirely. It’s not a technical breakdown of aperture or shutter speed. It’s something more useful: a clear-eyed look at how our emotional baggage around a shooting day can cloud our judgment of the images that came out of it. If you’ve ever deleted a photo you later wished you’d kept, or skipped over a frame because it “didn’t feel like a real shot,” this one is for you.
The structure of the video is essentially a case study, told in stages. I’m going to walk through those stages as actionable steps, because each one maps onto something you can apply to your own editing and curation process right now.
Step 1: Understand That Your Memory of a Shoot Contaminates Your Editing
 Sean speaking to camera about artists judging their own work
When you sit down to edit after a shoot, you’re not just looking at images. You’re reliving the experience. Sean shot a series of photos during Extinction Rebellion protests in London, and when he came home to review the files, his brain was still sorting frames by the chaos of the day, not by the actual visual merit of each shot. He mentally filed a particular image under “grab shot, chaotic day, not important” before he even gave it a real look.
Sean speaking to camera about artists judging their own work
When you sit down to edit after a shoot, you’re not just looking at images. You’re reliving the experience. Sean shot a series of photos during Extinction Rebellion protests in London, and when he came home to review the files, his brain was still sorting frames by the chaos of the day, not by the actual visual merit of each shot. He mentally filed a particular image under “grab shot, chaotic day, not important” before he even gave it a real look.
Your job in editing is to separate what you felt from what the camera recorded. Try waiting at least 24 hours before culling your images. The emotional noise fades faster than you’d expect, and you’ll start seeing the frames themselves instead of your memories of them.
Step 2: Never Dismiss a Shot Because of How It Was Taken
 Sean describing barely slowing down to take the photo on the bridge
Sean barely broke stride when he took the photo that eventually became the cover of his book. He slowed for one step, raised the camera, and kept running. His exposure wasn’t checked. His composition wasn’t deliberate. And because of all that, he mentally tagged it as unimportant before he even pressed the shutter.
Sean describing barely slowing down to take the photo on the bridge
Sean barely broke stride when he took the photo that eventually became the cover of his book. He slowed for one step, raised the camera, and kept running. His exposure wasn’t checked. His composition wasn’t deliberate. And because of all that, he mentally tagged it as unimportant before he even pressed the shutter.
Here’s the trap: we attach the value of a shot to the effort we put in. If we worked for it, it matters. If it happened by accident, it doesn’t. But the camera doesn’t care about your effort. It records light. Next time you’re editing, remove the process from the equation entirely. Judge the frame, not the story of how you got it.
Step 3: Post the Work Before You’ve Fully Decided What You Think of It
 Sean describing throwing the image online and moving on
After giving the image a quick edit, Sean posted it. He didn’t agonize over it. He wasn’t confident it was great. He just shared it, noticed that people responded to it, and moved on. That casual posting turned out to be important data he didn’t even fully register at the time.
Sean describing throwing the image online and moving on
After giving the image a quick edit, Sean posted it. He didn’t agonize over it. He wasn’t confident it was great. He just shared it, noticed that people responded to it, and moved on. That casual posting turned out to be important data he didn’t even fully register at the time.
Get your work in front of other eyes earlier than feels comfortable. You don’t need to publish everything, but showing work to even one or two trusted people before you’ve made up your mind about it can surface reactions you wouldn’t have predicted. I’ve started keeping a private Instagram account just for rough work I’m not sure about, and the response I get there has completely changed how I cull my final selects.
Step 4: Take Outside Suggestions Seriously Even When Your Gut Says No
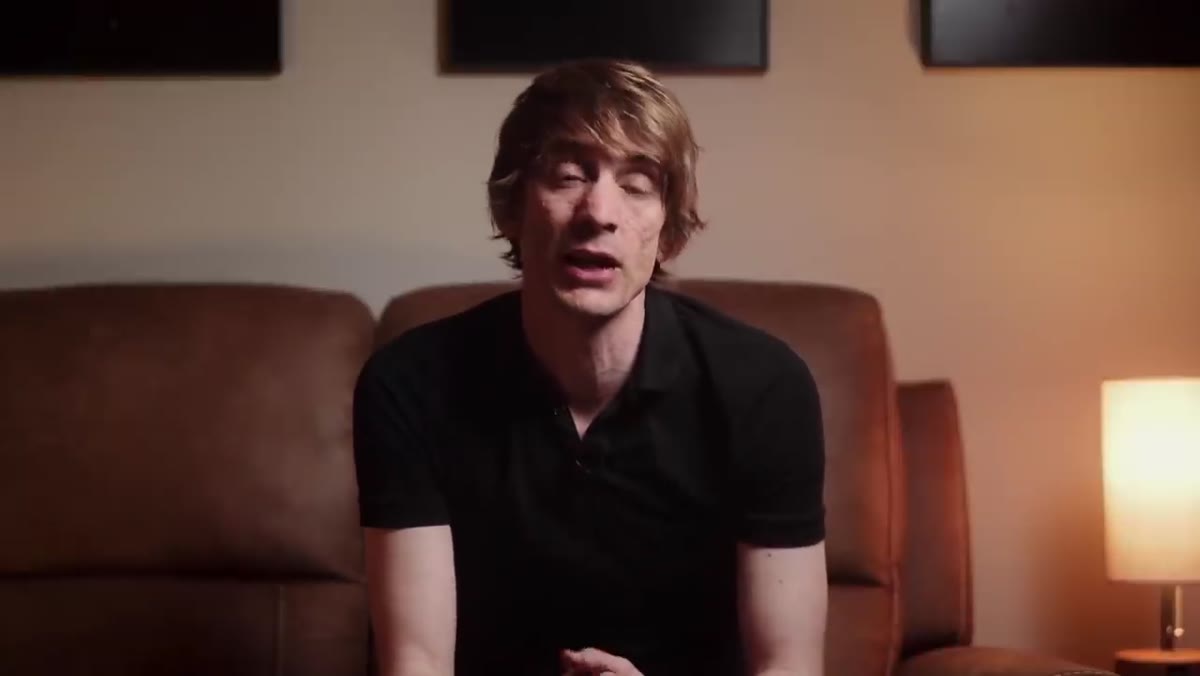 Sean describing his designer Vlad suggesting the bridge photo for the book cover
When Sean’s designer, Vlad, suggested the bridge photo for the book cover, Sean’s first reaction was a hard no. He remembered the day being frantic. It felt like the wrong vibe. The shot wasn’t composed carefully enough. He had a whole list of reasons. And every single one of those reasons was about him, not about the photograph.
Sean describing his designer Vlad suggesting the bridge photo for the book cover
When Sean’s designer, Vlad, suggested the bridge photo for the book cover, Sean’s first reaction was a hard no. He remembered the day being frantic. It felt like the wrong vibe. The shot wasn’t composed carefully enough. He had a whole list of reasons. And every single one of those reasons was about him, not about the photograph.
When someone whose opinion you respect suggests a shot you’ve already dismissed, treat that as a signal worth investigating. Don’t just say yes to every piece of feedback, but don’t dismiss it with a gut reaction either. Write down specifically why you’re saying no. If your reasons are all about your experience of taking the shot rather than the qualities of the image itself, that’s a red flag.
Step 5: Revisit the Rejected Image With Fresh Criteria
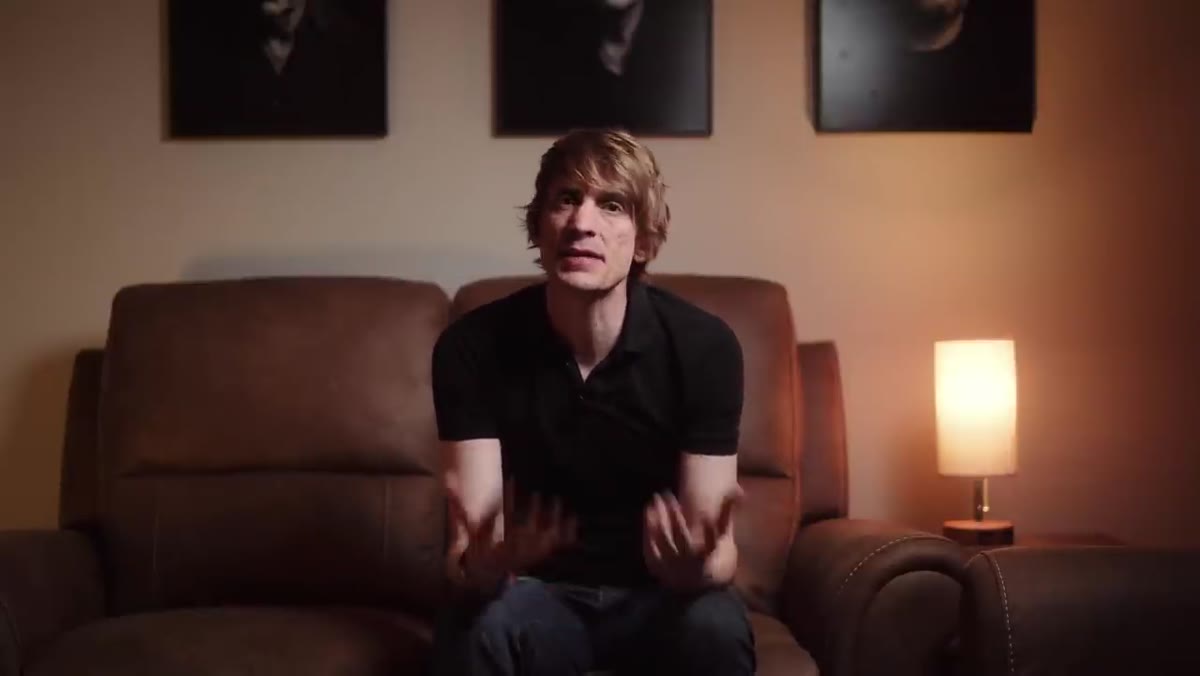 Sean describing returning to the photo after other cover ideas failed
A month after dismissing the bridge photo, Sean came back to it. Not because he’d changed his mind, but because the other ideas weren’t working. And this time, without the urgency of a fresh decision to make, he looked at it differently. He started to see what Vlad had seen: a quiet, strange, resonant image that actually fit the book’s themes better than any of the “clever” concepts they’d been forcing.
Sean describing returning to the photo after other cover ideas failed
A month after dismissing the bridge photo, Sean came back to it. Not because he’d changed his mind, but because the other ideas weren’t working. And this time, without the urgency of a fresh decision to make, he looked at it differently. He started to see what Vlad had seen: a quiet, strange, resonant image that actually fit the book’s themes better than any of the “clever” concepts they’d been forcing.
When you revisit a rejected photo, come at it with a specific question instead of a general vibe-check. Ask: “Does this image communicate what I want to communicate, regardless of how I feel about the day I took it?” That single reframe can completely change what you see.
Step 6: Recognize That Your Viewers Have No Emotional Baggage About Your Shoot
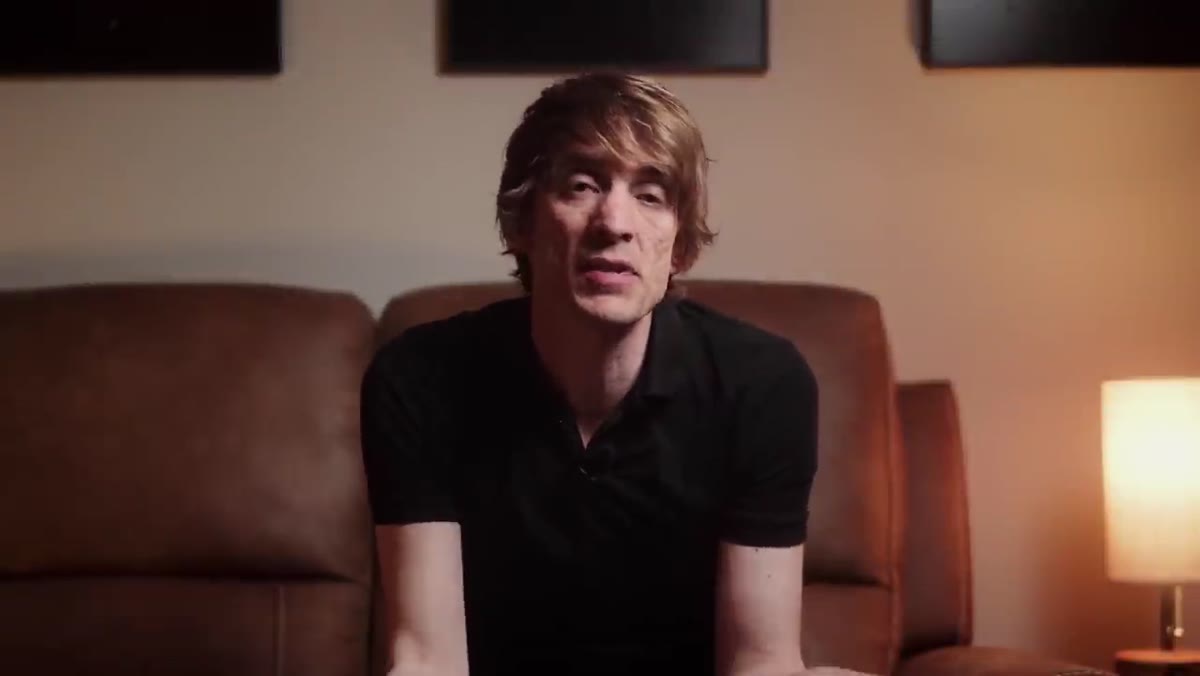 Sean noting people liked the image when he posted it
This is the step that quietly ties the whole thing together. Your viewers never ran across Westminster Bridge. They didn’t feel the urgency, the chaos, the sense that this wasn’t the important image. They just see a girl in wings looking over the edge of a bridge into the Thames. And that image lands.
Sean noting people liked the image when he posted it
This is the step that quietly ties the whole thing together. Your viewers never ran across Westminster Bridge. They didn’t feel the urgency, the chaos, the sense that this wasn’t the important image. They just see a girl in wings looking over the edge of a bridge into the Thames. And that image lands.
Your context is your blind spot. What you experienced making a photograph can actively prevent you from seeing what’s actually in it.
A Note From My Own Experience
I learned a version of this lesson when my most-liked Instagram photo turned out to be one I almost didn’t post. I’d shot it on my phone on a Sunday morning walk and thought it was too simple, too casual, not “real” enough. The response was completely unexpected, and it sent me down a rabbit hole of rethinking how I evaluated my own work. Now I keep a folder called “Not Sure” for images I want to dismiss but can’t articulate why. I revisit it every few months. I’ve rescued more good shots from that folder than from any intentional archive.
The single most important thing this tutorial gave me is a useful question to ask during any editing session: “Am I judging this photograph, or am I judging the day I took it?” Those are two very different things, and conflating them is one of the most common ways photographers quietly throw away their best work.
Watch the full tutorial on YouTube to hear Sean tell the complete story, including how the image ultimately came to define his book in a way none of the planned cover concepts could have.
Comments
Leave a Comment