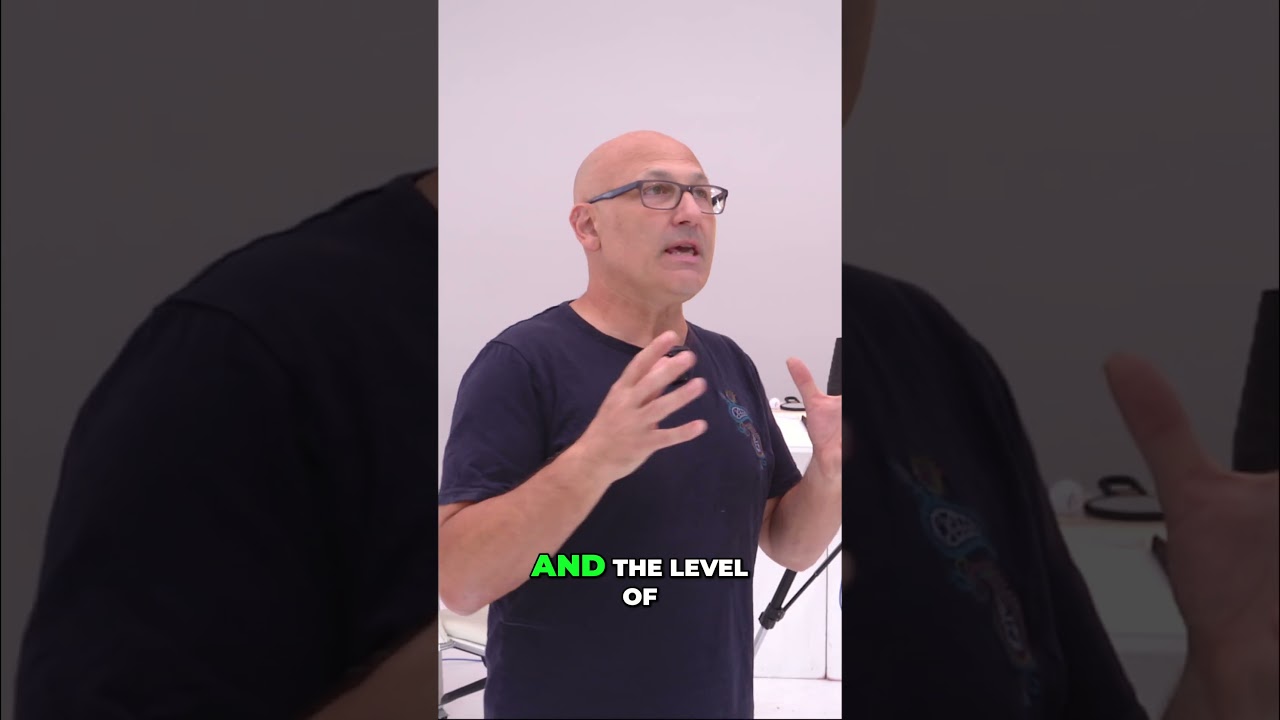
I used to blame myself when outdoor portraits came out looking “off” in a way I couldn’t quite name. The exposure was fine, the focus was sharp, but something about the light felt unresolved. It wasn’t until I started paying close attention to what was around my subject, not just above them, that things started clicking. Reflected light, the kind that bounces off walls, pavement, and buildings back onto your subject, is one of those fundamentals that nobody talks about enough at the beginner stage.
In this Visual Education tutorial, the instructor uses a simple golf ball demonstration to break down how surfaces around your subject affect the shadow side of your image. It sounds almost too simple to matter. It isn’t. Watch the full tutorial on YouTube and then come back to this breakdown, because I want to walk you through what’s actually happening optically and how to use it on purpose.
This is the kind of concept that changes how you see a location before you even raise your camera. Once it’s locked in, you stop wondering why one side of your subject’s face looks muddy and you start asking the smarter question: what is the light bouncing off, and how much of it is coming back?
Step 1: Recognize That Every Light Source Has a Shadow Side
 Golf ball lit from one side showing directional shadow
Every time you have a directional light source, whether it’s the sun, a window, or a strobe, one side of your subject gets lit and the opposite side falls into shadow. That shadow side is not just “dark.” It’s being influenced by everything in the surrounding environment. Light from your main source hits nearby surfaces and bounces back toward the subject, partially filling that shadow. The amount of fill depends entirely on what those surfaces are made of and what color they are.
Golf ball lit from one side showing directional shadow
Every time you have a directional light source, whether it’s the sun, a window, or a strobe, one side of your subject gets lit and the opposite side falls into shadow. That shadow side is not just “dark.” It’s being influenced by everything in the surrounding environment. Light from your main source hits nearby surfaces and bounces back toward the subject, partially filling that shadow. The amount of fill depends entirely on what those surfaces are made of and what color they are.
Start noticing this on your next walk outside. Look at someone standing near a white building versus someone standing near a dark fence. The person near the white building will have a noticeably softer shadow side on their face. That’s not a coincidence and it’s not post-processing. That’s physics.
Step 2: Understand How Surface Type Controls Bounce Quantity
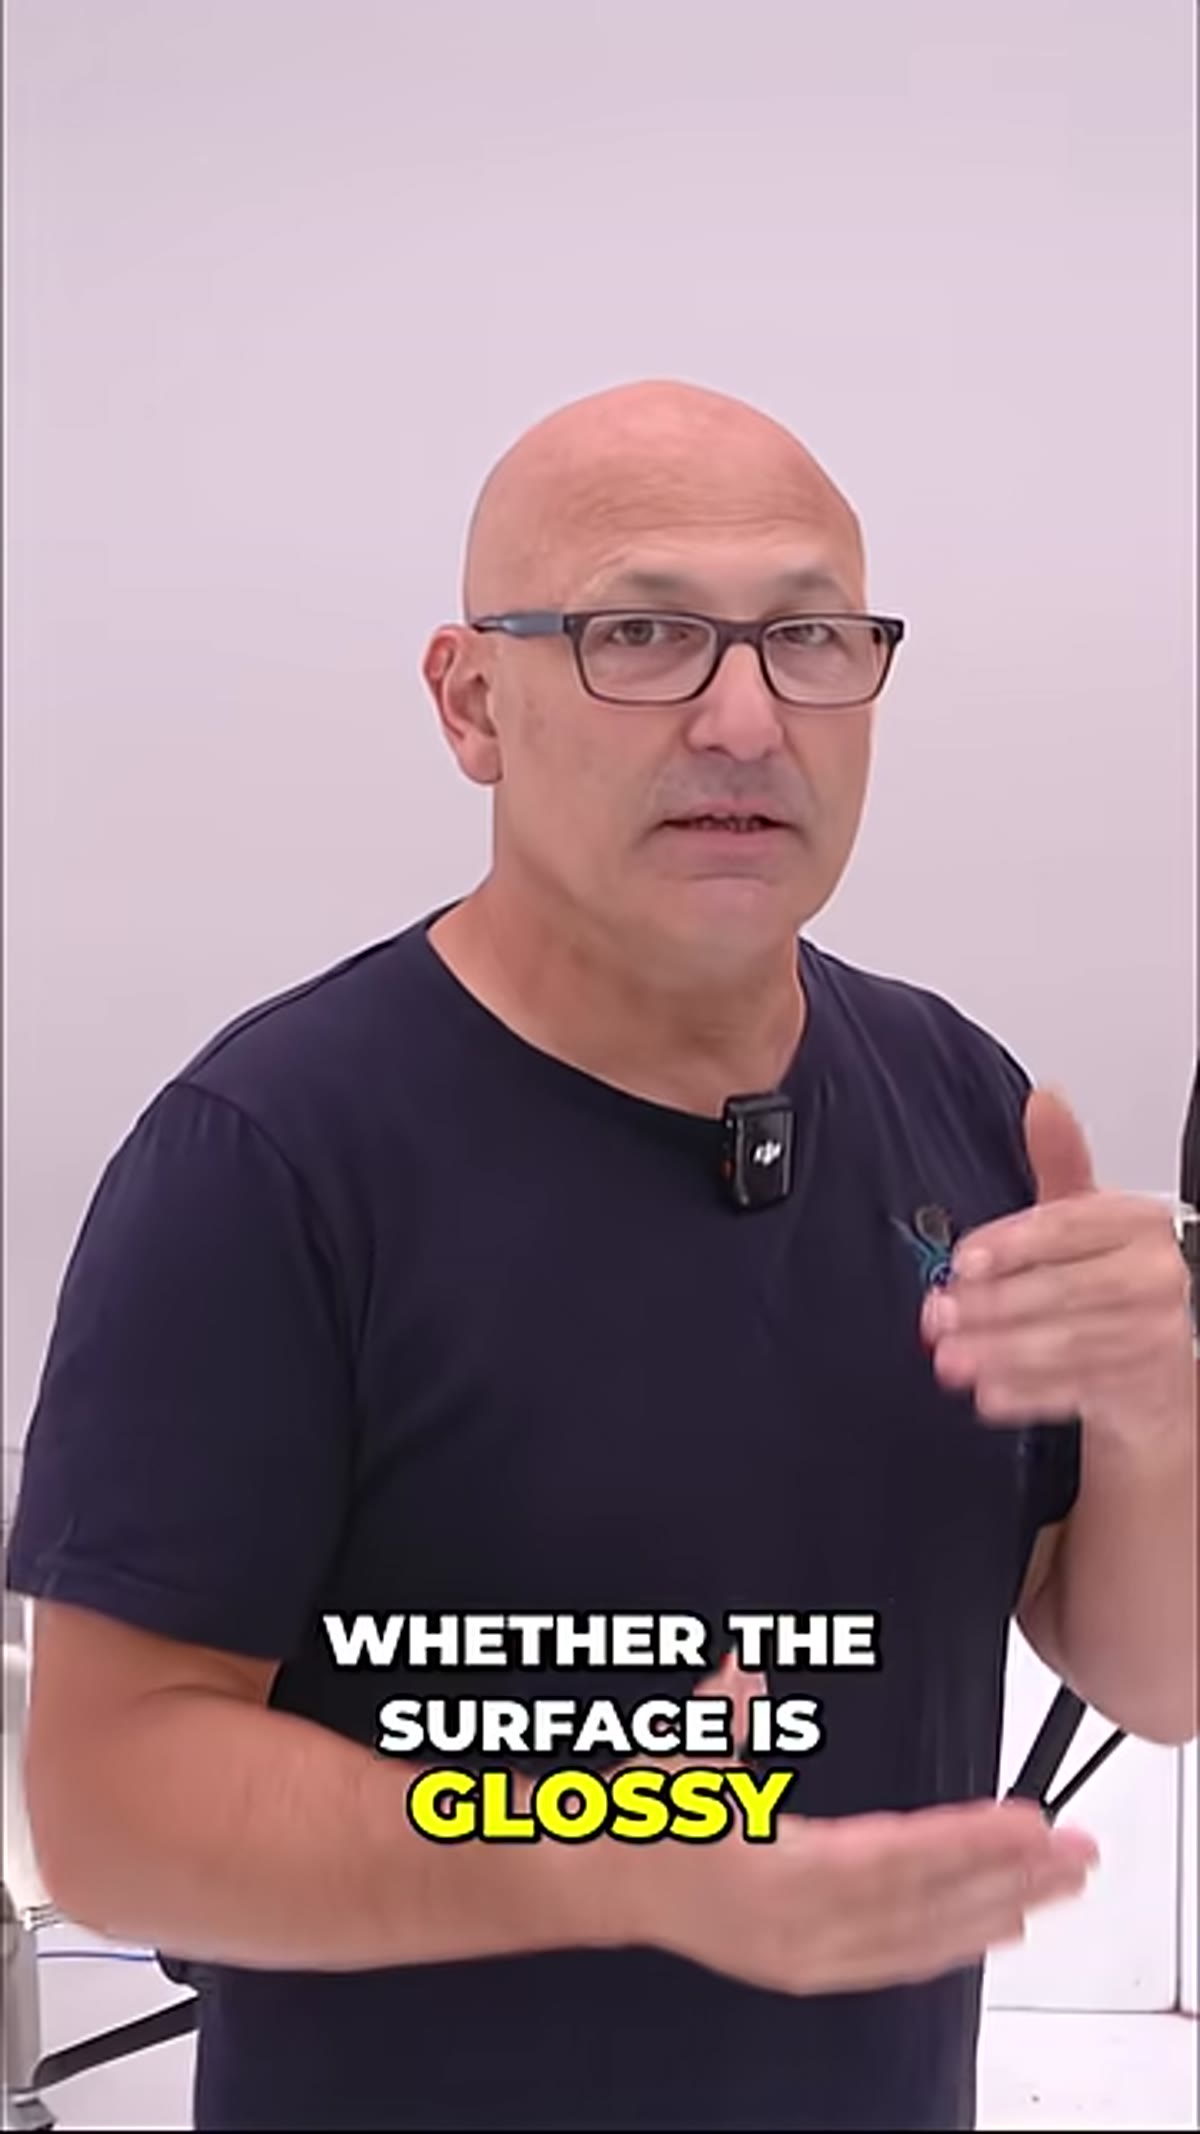 Instructor gesturing to describe surface reflectivity differences
Not all surfaces bounce light equally. A glossy white wall sends a strong, relatively directional reflection back at your subject. A matte gray wall bounces far less. A dark or black surface absorbs most of the light hitting it and sends almost nothing back. The instructor’s point here is precise: the material, tone, and finish of every surface near your subject is actively shaping your image, whether you account for it or not.
Instructor gesturing to describe surface reflectivity differences
Not all surfaces bounce light equally. A glossy white wall sends a strong, relatively directional reflection back at your subject. A matte gray wall bounces far less. A dark or black surface absorbs most of the light hitting it and sends almost nothing back. The instructor’s point here is precise: the material, tone, and finish of every surface near your subject is actively shaping your image, whether you account for it or not.
Think about this in practical terms. If you’re shooting a portrait on a city street with light concrete on one side and a dark brick wall on the other, rotating your subject 180 degrees could produce dramatically different shadow density, without changing a single camera setting. That’s the leverage this knowledge gives you.
Step 3: Use Dark Surfaces Intentionally to Deepen Shadows
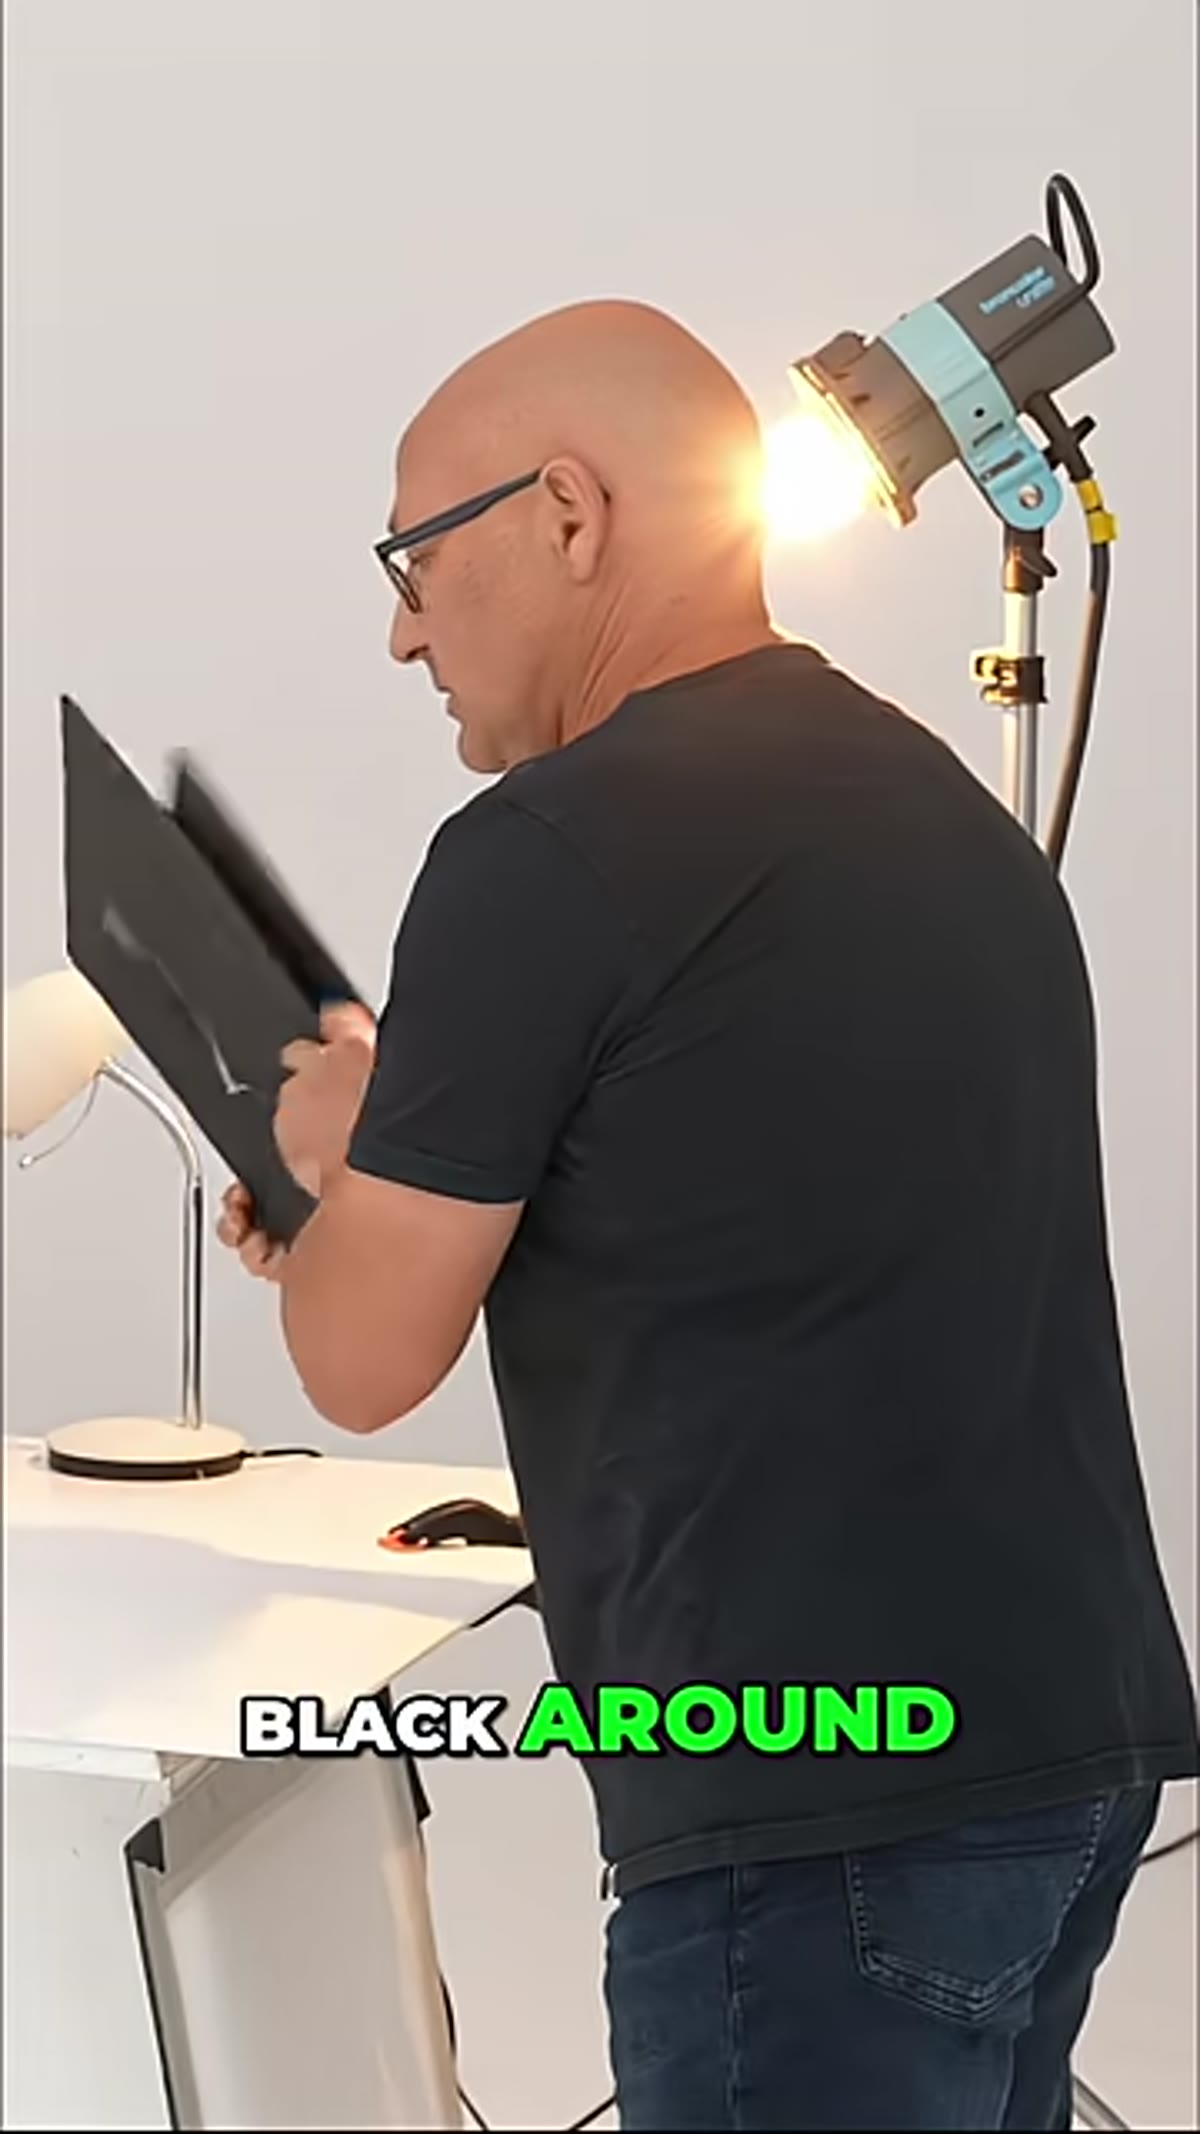 Golf ball surrounded by black surface showing deep shadow contrast
The golf ball example in the tutorial shows what happens when you place dark material around your subject instead of light or neutral surfaces. The shadow side gets significantly darker because there’s almost nothing bouncing light back in. If you want dramatic, contrasty light with punchy shadows, this is your tool: eliminate or block reflective surfaces on the shadow side.
Golf ball surrounded by black surface showing deep shadow contrast
The golf ball example in the tutorial shows what happens when you place dark material around your subject instead of light or neutral surfaces. The shadow side gets significantly darker because there’s almost nothing bouncing light back in. If you want dramatic, contrasty light with punchy shadows, this is your tool: eliminate or block reflective surfaces on the shadow side.
In portrait work, this is what photographers mean when they talk about using a “black reflector” or a “flag.” You’re not adding darkness, you’re removing reflected fill. A simple piece of black foam board placed on the shadow side of your subject’s face does exactly what that dark surface does in the golf ball demo. Instant contrast boost, no Lightroom slider required.
Step 4: Use Light Surfaces Intentionally to Open Up Shadows
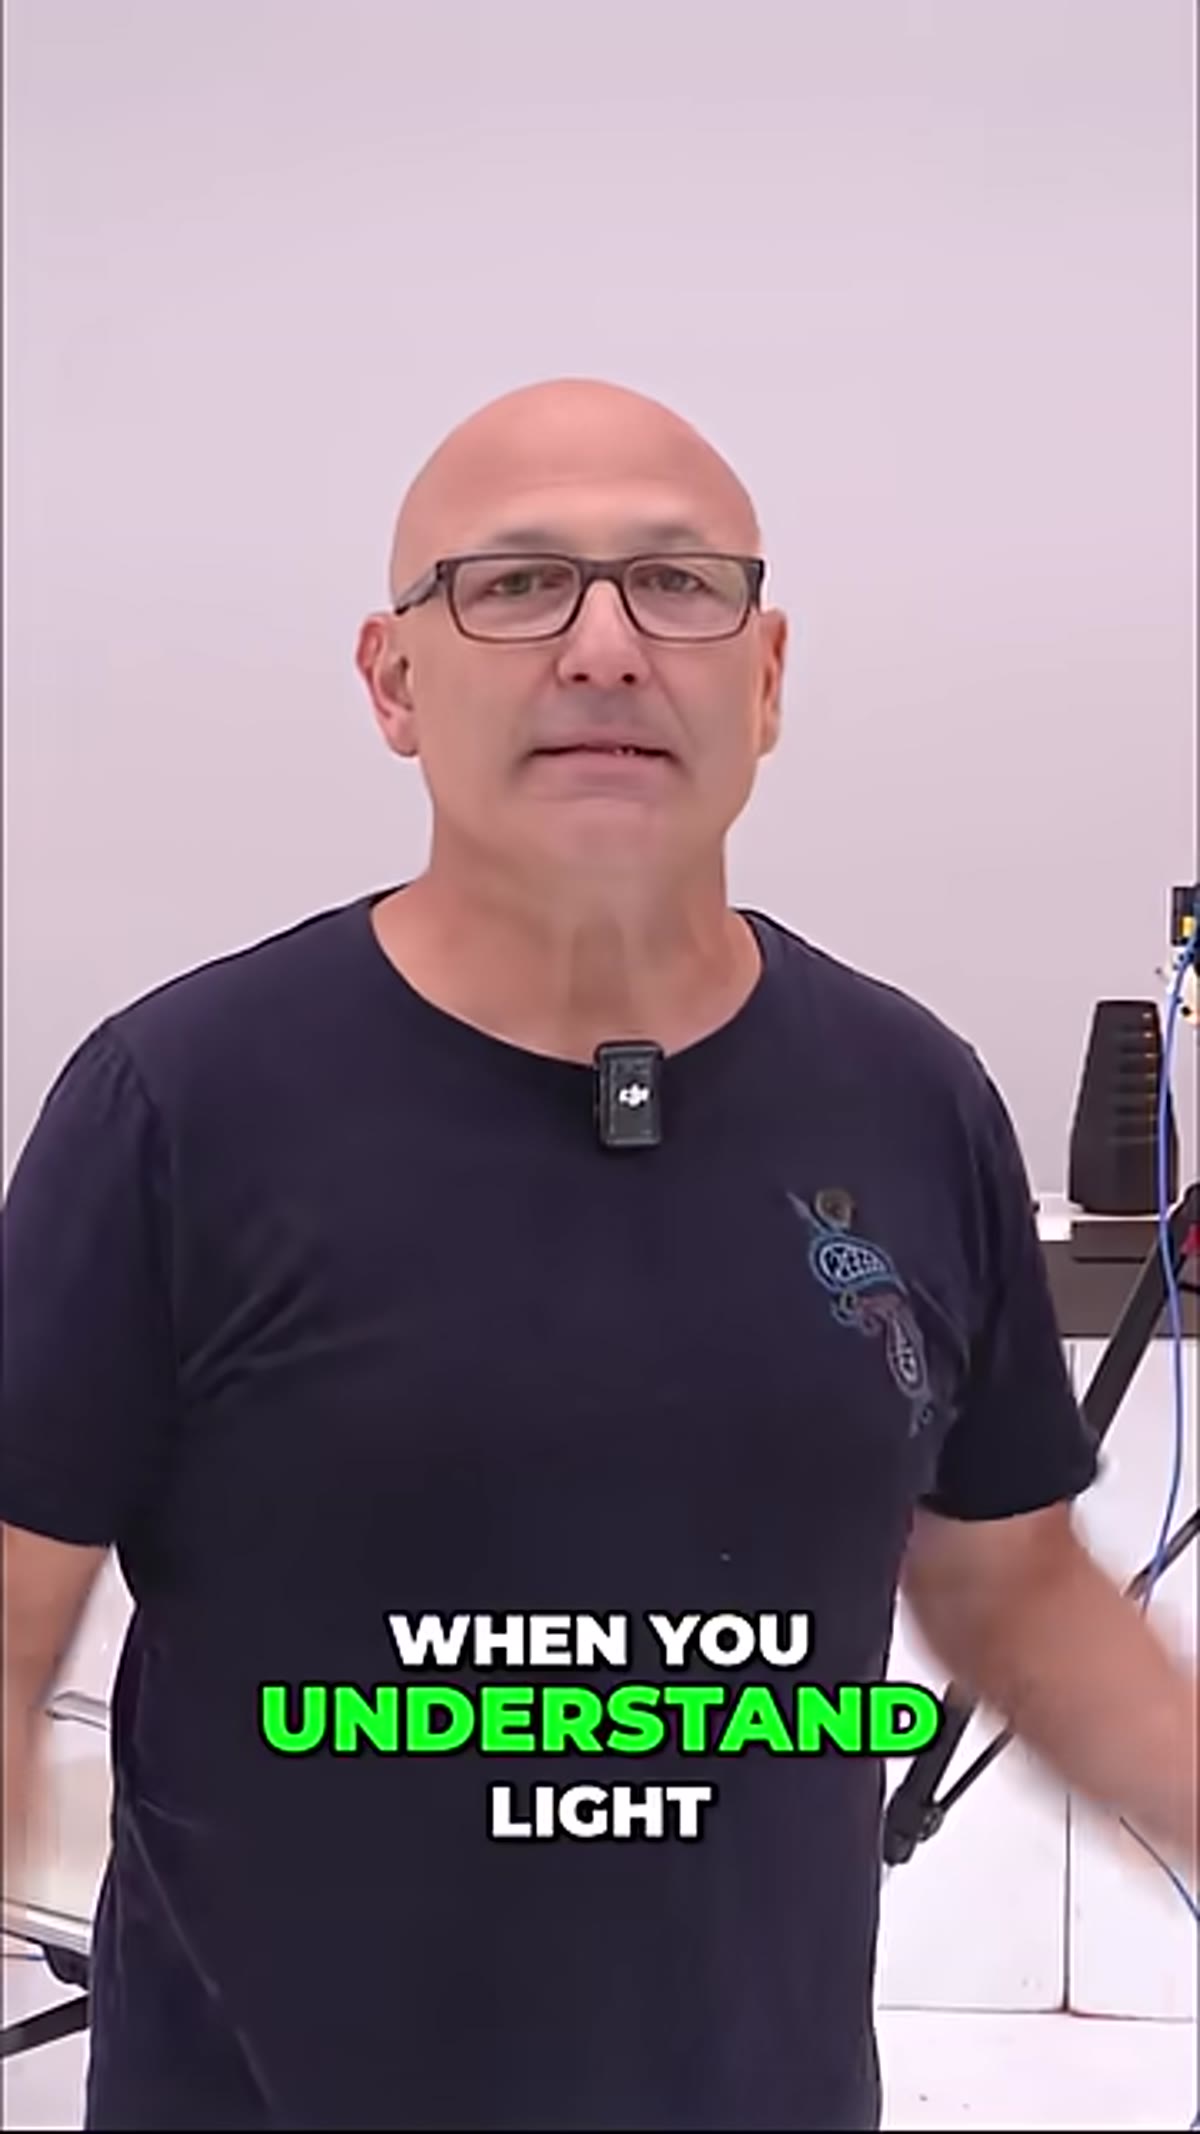 Bright bounce from white wall filling shadow side of subject
Flip that logic and you have one of the most useful tools in available-light photography. Position your subject near a white wall, a light-colored building, or even a bright sidewalk and that surface acts as a giant natural reflector, bouncing your main light source back into the shadows. The result is softer, more even light without a second light source or any gear.
Bright bounce from white wall filling shadow side of subject
Flip that logic and you have one of the most useful tools in available-light photography. Position your subject near a white wall, a light-colored building, or even a bright sidewalk and that surface acts as a giant natural reflector, bouncing your main light source back into the shadows. The result is softer, more even light without a second light source or any gear.
This is something I use constantly on my Sunday morning photo walks around Seattle. When I find a subject or scene I want to shoot, I look for what’s bouncing. A white painted wall a few meters away might be doing more for my image than the overcast sky above. Once you start seeing the environment as a collection of reflective surfaces, you stop fighting the light and start working with what’s already there.
Step 5: Evaluate the Scene Before You Shoot, Not After
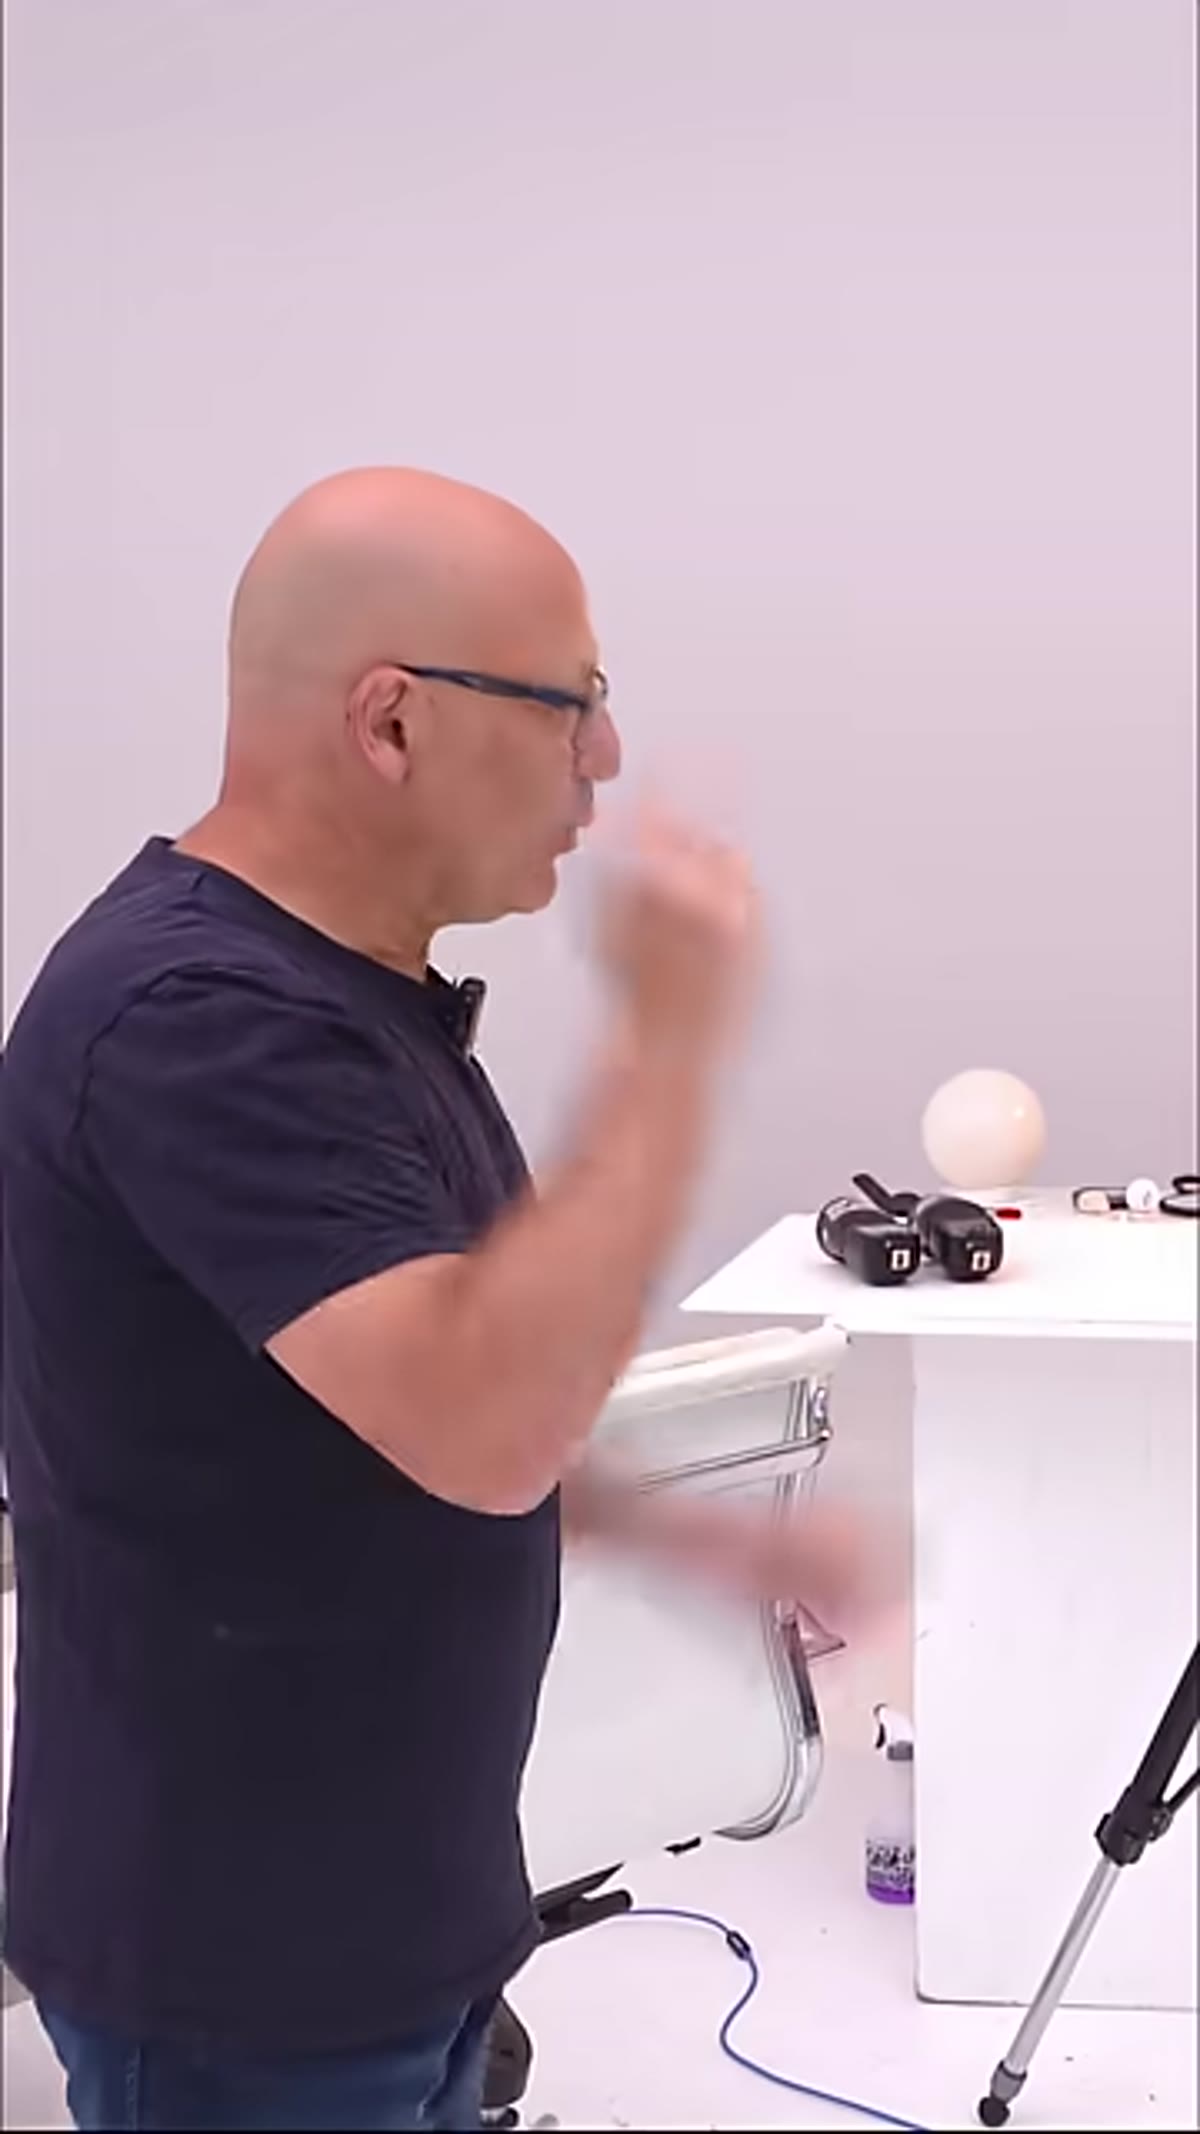 Instructor explaining why understanding light matters outdoors
The real skill being taught here isn’t a technique so much as a habit of observation. Before you lift the camera, look at the light direction, identify the shadow side of your subject, and then look at what surfaces exist in that shadow direction. Are they light or dark? Glossy or matte? Close or far? Each of those factors is feeding or starving the shadow side of your image.
Instructor explaining why understanding light matters outdoors
The real skill being taught here isn’t a technique so much as a habit of observation. Before you lift the camera, look at the light direction, identify the shadow side of your subject, and then look at what surfaces exist in that shadow direction. Are they light or dark? Glossy or matte? Close or far? Each of those factors is feeding or starving the shadow side of your image.
Spend sixty seconds doing this on every new setup and you’ll start making smarter positioning decisions. Move your subject a few steps to the left where a bright building is in the bounce zone and you’ve just added fill. Step them away from that building and the shadows deepen. No additional equipment, no editing time. Just informed placement.
What I’d Add From My Own Experience
The tutorial focuses on still setups, which is a great teaching environment. But in real-world shooting, especially when you’re moving around with family or traveling, the bounce situation is constantly changing. One thing that helped me was starting to identify anchor surfaces in a location: the one wall, ground, or ceiling that was doing the most reflecting. Once I found the anchor, I’d use it as a reference point for where to position people.
I’ve shot with everything from a full kit to just my phone, and I’ll tell you honestly: understanding bounce light has made a bigger difference in my images than most gear upgrades. The fundamentals compound. You learn bounce, then you learn how to fake it with a cheap reflector, then you start seeing it automatically. That progression is available to anyone.
The single most important takeaway here is that shadow isn’t absence of light. It’s the result of everything your main light source didn’t directly hit, plus whatever those surrounding surfaces decided to send back. Control the bounce, control the shadow.
Watch the full tutorial on YouTube to see the golf ball demonstration in action. It takes under two minutes and it will make you think about light differently every time you go out to shoot.
Comments
Leave a Comment