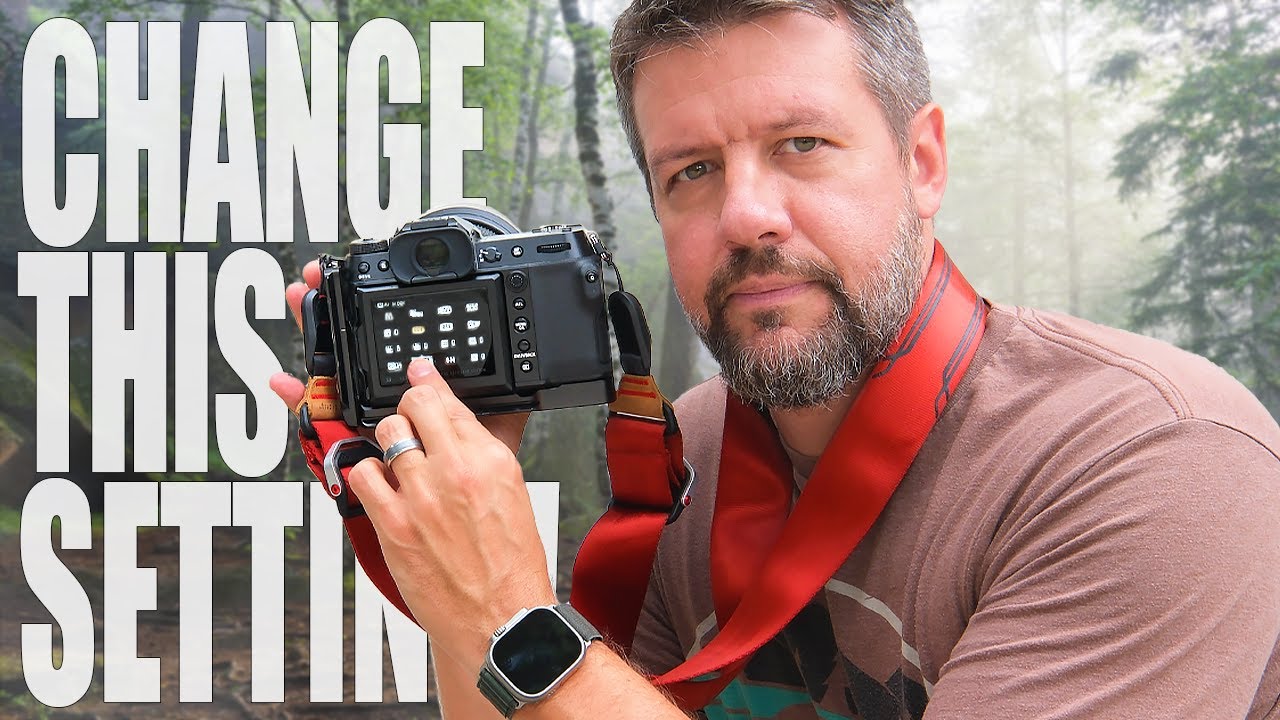
My Sunday morning photo walks have taught me one thing above all else: a tripod is a commitment. You bring it, you use it, or you feel guilty for leaving it in the bag the whole time. So more often than not these days, I leave it at home entirely. The problem is that handheld shooting has its own learning curve, and “just hold still” is not actually useful advice when you’re standing on a dock at blue hour, hands cold, light fading fast.
That’s exactly why I kept coming back to this tutorial from Mark Denney, a landscape photographer who returned from a week-long workshop in Greenland having never once unpacked his tripod. He and his group photographed handheld the entire time, often in genuinely brutal conditions: low light, blue hour, and a moving sailboat all at once. If handheld technique can hold up there, it can hold up anywhere. Watch the full tutorial on YouTube and then come back here for a step-by-step breakdown you can take straight into the field.
What I love about the way Mark structures this is that the techniques are ordered deliberately. You start with the most impactful fix and work your way down the list only as needed. That mindset alone is worth internalizing.
Step 1: Turn On Every Stabilization Feature Available to You
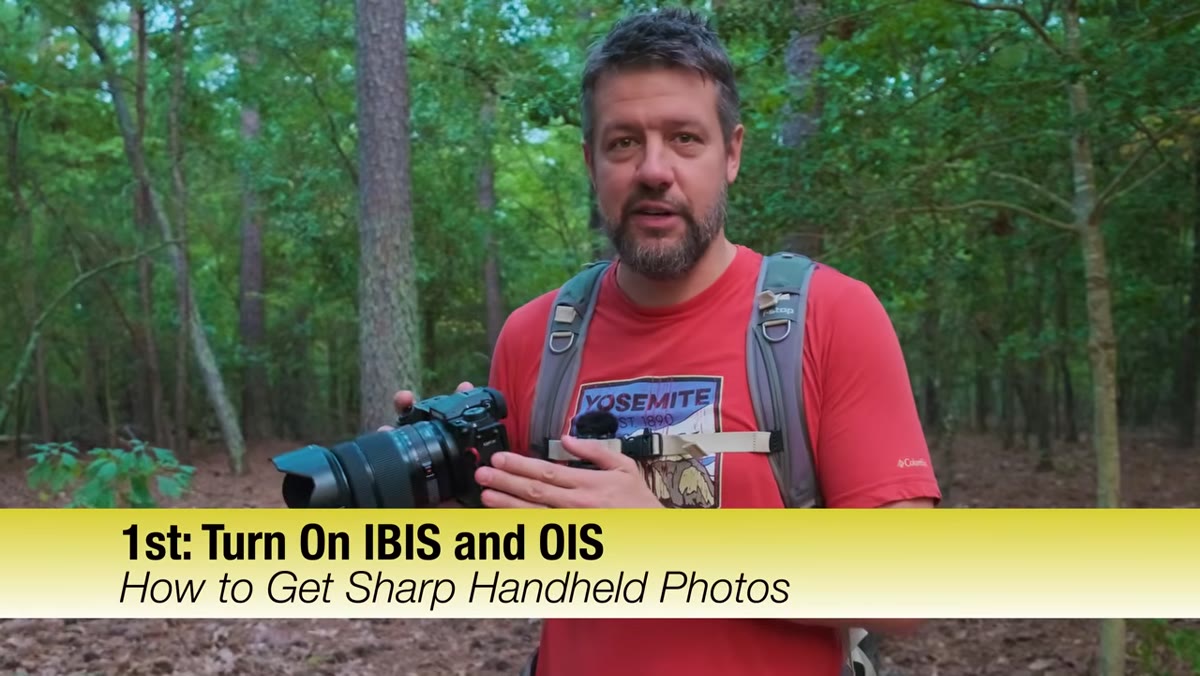 Camera menu showing in-body image stabilization toggle being enabled
Before anything else, make sure in-body image stabilization (IBIS) is active in your camera settings. If your lens also has optical image stabilization (OIS), enable that too. These two systems work differently but are complementary: IBIS compensates for body movement at the sensor level, while OIS corrects for vibration inside the lens itself. Some camera and lens combinations allow both to work together in a coordinated mode, so check your manual to confirm you’re getting the full benefit rather than having them conflict.
This is the foundation. Every other technique in this list builds on top of it. If you’ve never dug into your stabilization settings before, do it now, even before you go out to shoot. Fumbling through menus in the field costs you shots.
Step 2: Use Your Camera Strap as a Brace
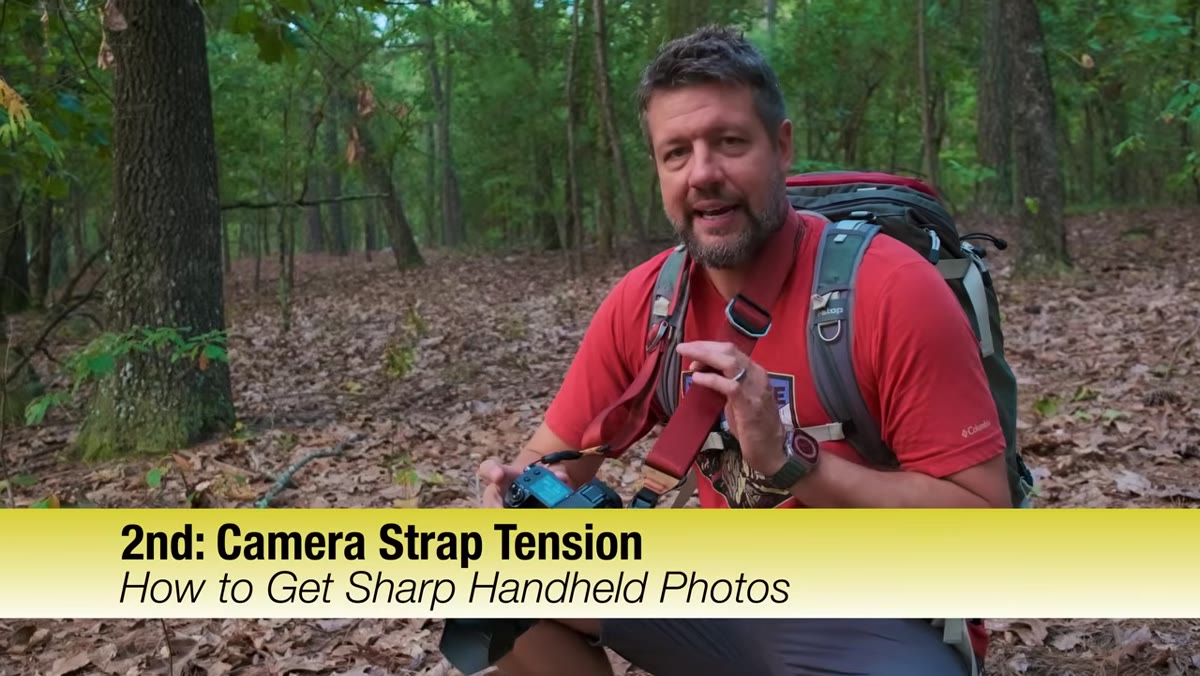 Photographer pulling camera strap taut against neck for stabilization
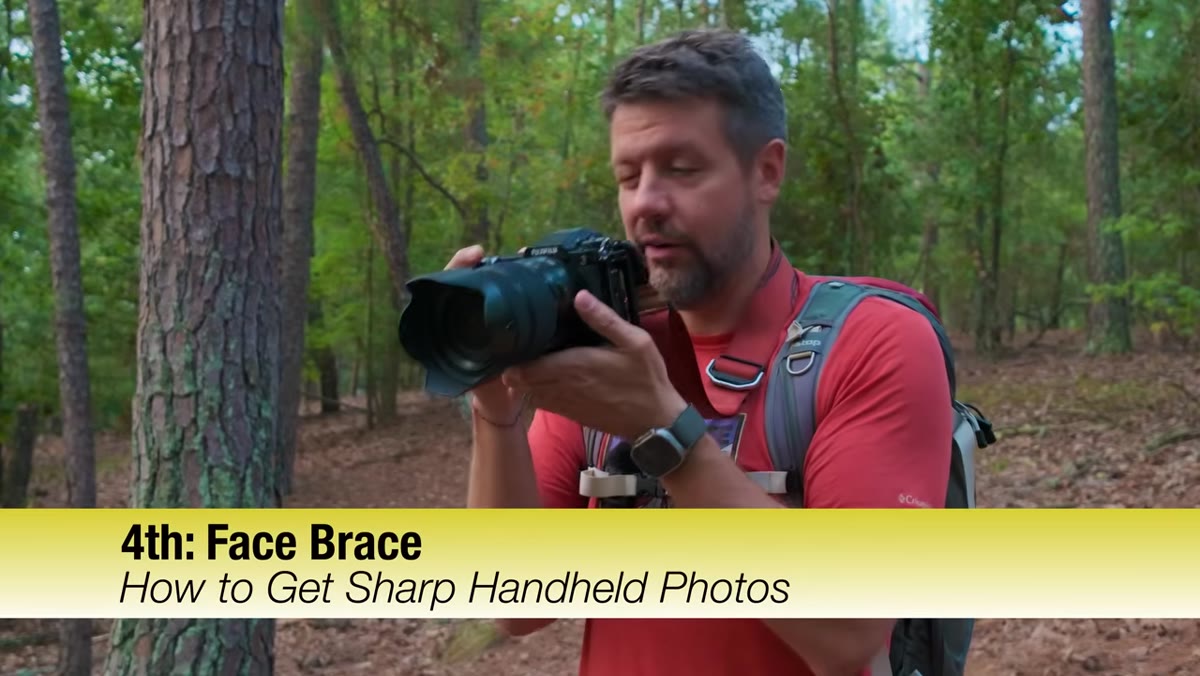
This one surprised me the first time I tried it, but it genuinely works. Shorten your camera strap so that when it’s around your neck and the camera is raised to your eye, the strap pulls taut. That tension creates a third point of contact between you and the camera, which reduces wobble in a way that feels almost mechanical.
The key is the tightness. A loose strap flopping around your chest does nothing. You want it short enough that you feel resistance when you bring the camera up to shooting position. It’s a quick adjustment and costs nothing, so there’s no reason not to try it before reaching for more complicated solutions.
Step 3: Tuck Your Elbows In Close
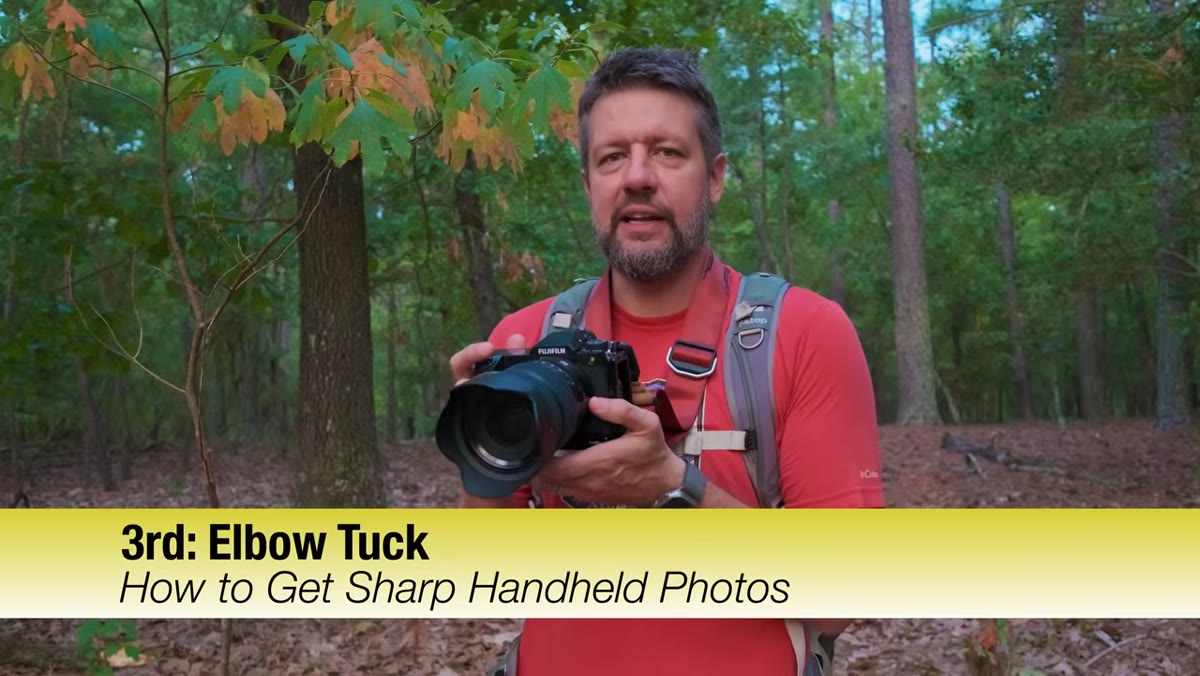 Photographer demonstrating elbow tuck technique with camera pressed to face
Extended arms are unstable arms. When your elbows are out wide and your camera is floating in front of your face, you’ve essentially created a lever that amplifies every small shake in your hands. The fix is to pull your elbows in tight against your ribcage and bring the camera close to your face so that your body is doing the work of supporting it.
Think of it like a tripod where your torso is the center column. The more contact points you create between your body and the camera, the more still the whole system becomes. This is probably the technique I use most often on my Sunday walks, especially when I’m shooting with a longer lens and don’t want to dig out anything extra.
Step 4: Find Something to Lean On or Brace Against
 Photographer leaning against wall using it as stabilization support
Your environment is full of improvised stabilization tools, and most photographers walk right past them. A wall, a railing, a tree, the roof of a car, even your own knee if you can get low enough. Pressing part of your body against a fixed surface transfers some of the camera’s movement into an object that isn’t going anywhere.
On the sailboat in Greenland, Mark’s group couldn’t do much about the boat moving, but they could brace against the mast or the railing to reduce the additional movement coming from their own bodies. Even in a scenario that chaotic, taking away one layer of instability makes a real difference.
Step 5: Control Your Breathing and Time Your Shot
 Close-up of photographer pausing breath before pressing shutter
Your lungs move your whole torso. If you fire the shutter mid-breath, that movement is in the frame. The technique here is simple: take a breath, let part of it out, hold the rest, then shoot. That brief pause between exhale and inhale is the stillest your body gets.
This takes practice to make automatic, but once it clicks it becomes second nature. I notice the most difference with this one when I’m shooting in lower light and my shutter speed is already slower than I’d like. The breath pause buys me just enough stillness to close the gap.
Step 6: Raise Your ISO Before You Drop Your Shutter Speed
 Camera display showing ISO being increased to maintain faster shutter speed
When light gets low, the instinct is to slow down the shutter. Resist that. A faster shutter speed is your biggest weapon against motion blur in handheld shooting, and modern cameras handle higher ISO values far better than they did even five years ago. A slightly noisy image is almost always more acceptable than a blurry one.
Mark treated ISO as the last line of defense in Greenland, pushing it up to maintain shutter speeds that could actually freeze camera shake. The specific number depends on your camera’s sensor performance, but as a general rule: keep your shutter speed at least equal to 1 divided by your focal length in millimeters. Shooting at 50mm? Aim for 1/50s or faster. At 200mm? You want 1/200s or faster at a minimum.
A Note From My Own Experience
The thing I’d add to this framework is that fatigue matters more than most people acknowledge. The first ten shots of a walk are sharper than the last ten, not because technique changes, but because holding a camera in a supported position takes muscle engagement that gradually drops off. I’ve started doing a quick reset every thirty minutes or so, just consciously checking that my elbows are still tucked, my grip is firm, and I’m not slouching. It sounds small, but it shows up in the files.
I’ve also found that slowing down the number of shots I take actually improves my keeper rate. When I fire in bursts hoping one will be sharp, none of them are. When I slow down, breathe, brace, and take one deliberate shot, it’s usually the one I keep.
Stabilization features are your starting point, but technique is what actually gets you consistently sharp handheld images in tough conditions. Building these habits in easy light means they’re automatic when the light gets hard. That’s the whole game.
Watch the full tutorial on YouTube to see Mark demonstrate each of these techniques in context, especially the strap trick and elbow tuck, which are much easier to replicate once you’ve seen them in motion.
Comments (2)
Love how you break down complex stuff into manageable steps.
Clear and practical. No fluff. Appreciate that.
Leave a Comment