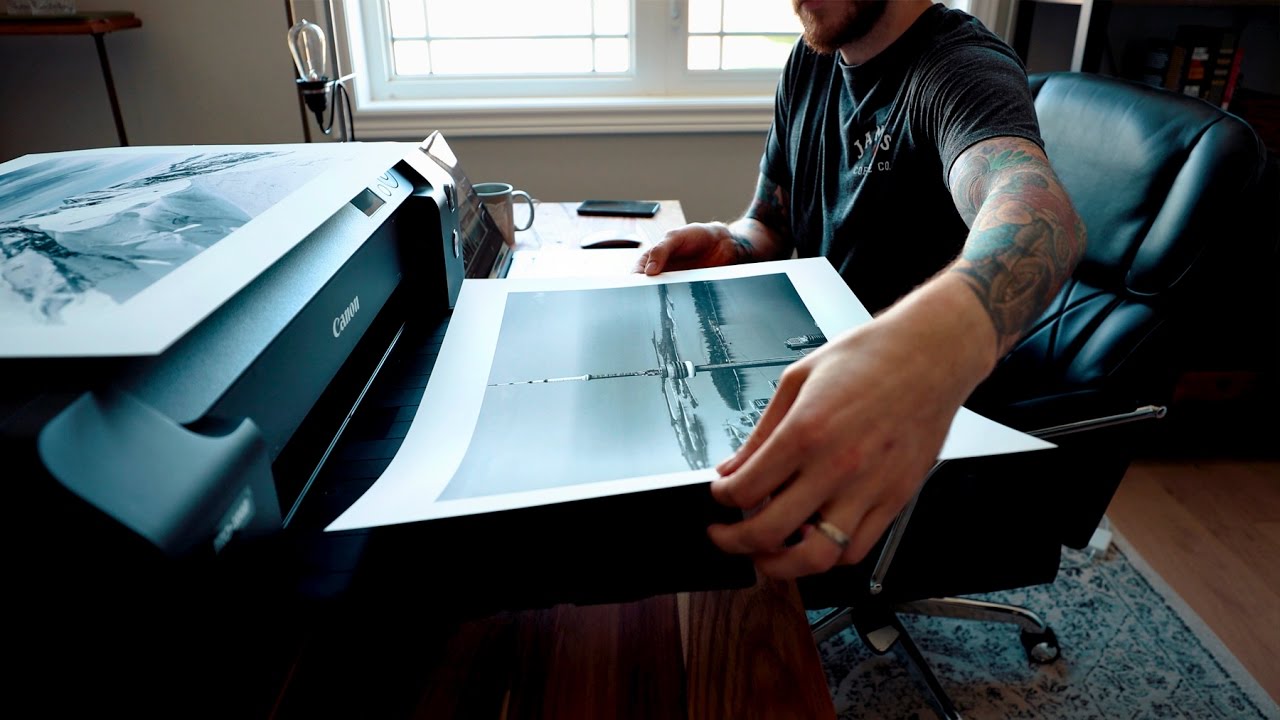
Every Sunday morning I take a photo walk around my neighborhood in Seattle. I shoot, I edit, I post. Then I move on. For years that was the entire arc of a photograph for me: capture, process, publish, repeat. It wasn’t until I started printing some of my favorite shots that I realized I had been cutting the process in half without even knowing it.
That’s exactly what Peter McKinnon digs into in this tutorial, and it hit closer to home than I expected. Watch the full tutorial on YouTube before or after you read this, because his energy sells the idea in a way that a blog post simply can’t. What I want to do here is break down his key points into something you can actually act on, with some honest notes from my own experience along the way.
The core argument is this: digital photography gave us incredible speed and convenience, but it quietly removed something that used to be essential. When photographers worked in darkrooms, developing a print was the second half of making a photograph. Now that second half has been replaced by an Instagram upload and a handful of double-taps. McKinnon thinks that’s a loss worth talking about, and honestly, so do I.
Step 1: Recognize What You’re Actually Missing by Staying Digital-Only
 Photographer discussing the shift from darkroom to digital workflow
Before you print anything, you need to understand why this matters beyond nostalgia. McKinnon’s first point is about understanding your own work more deeply. A photograph on a backlit monitor is a fundamentally different object than a physical print. Your screen is doing a lot of flattering work for you, boosting brightness, saturating color, and hiding problems in your shadows that you simply won’t see until ink hits paper.
Photographer discussing the shift from darkroom to digital workflow
Before you print anything, you need to understand why this matters beyond nostalgia. McKinnon’s first point is about understanding your own work more deeply. A photograph on a backlit monitor is a fundamentally different object than a physical print. Your screen is doing a lot of flattering work for you, boosting brightness, saturating color, and hiding problems in your shadows that you simply won’t see until ink hits paper.
Ask yourself honestly: when did you last look at one of your photos somewhere other than a glowing screen? If the answer is “never” or “I can’t remember,” then you’re getting an incomplete picture of your own skill level, and that’s a gap worth closing.
Step 2: Print a Recent Favorite and Study the Exposure
 Discussing underexposed shadows visible only in print form
The first thing McKinnon recommends doing is printing a shot you already feel good about, specifically so you can stress-test that confidence. Start with something you’ve posted, something you thought looked great. Order a basic print, even a 4x6, and hold it under natural light.
Discussing underexposed shadows visible only in print form
The first thing McKinnon recommends doing is printing a shot you already feel good about, specifically so you can stress-test that confidence. Start with something you’ve posted, something you thought looked great. Order a basic print, even a 4x6, and hold it under natural light.
Look at your shadow areas first. What reads as deep, moody contrast on your monitor might print as a muddy, detail-free blob. If you can’t see the foreground of a landscape shot in your print, that’s your exposure telling you something your screen was hiding. This is not a failure. This is data. Now you know exactly where to push your blacks up before the next print order.
Step 3: Test Multiple Print Sizes to Understand Your Camera’s Limits
 Listing various print sizes from 4x6 to 17x22 inches
McKinnon mentions printing across a range of sizes, from small 4x6 prints all the way up to 13x19 and 17x22 inches. This isn’t just about aesthetics. It’s about understanding what your camera’s sensor can actually resolve at scale.
Listing various print sizes from 4x6 to 17x22 inches
McKinnon mentions printing across a range of sizes, from small 4x6 prints all the way up to 13x19 and 17x22 inches. This isn’t just about aesthetics. It’s about understanding what your camera’s sensor can actually resolve at scale.
A photo that looks sharp and detailed at 4x6 may start to fall apart at 13x19. If you’re shooting with a crop sensor camera or at a high ISO, those limitations show up fast when you enlarge. Print at least two sizes from the same file and compare them side by side. Where does the detail start to soften? Where does noise become visible texture rather than fine grain? The answers will shape how you shoot going forward.
Step 4: Use Print Quality as a Feedback Loop for Your Editing
 Describing muddy focus and detail issues revealed through printing
One of the sharpest insights in the tutorial is treating the print as a review tool for your Lightroom work, not just a final product. When a print comes back looking flat or muddy, that’s editorial feedback you can use. Maybe your sharpening wasn’t as strong as you thought. Maybe you pulled the highlights too far. Maybe the colors that popped on your calibrated monitor look dull on matte paper.
Describing muddy focus and detail issues revealed through printing
One of the sharpest insights in the tutorial is treating the print as a review tool for your Lightroom work, not just a final product. When a print comes back looking flat or muddy, that’s editorial feedback you can use. Maybe your sharpening wasn’t as strong as you thought. Maybe you pulled the highlights too far. Maybe the colors that popped on your calibrated monitor look dull on matte paper.
Start keeping a simple running note. For each print you order, jot down what you adjusted in your edit and what the print revealed. After five or six prints, patterns will emerge. You’ll start editing with the print in mind, which will actually make your work better across every format, screens included.
Step 5: Treat Printing as the Second Half of Your Photography Process
 Creator explaining print as completion of the photographic process
McKinnon frames printing as the missing second act of photography, and this reframe is worth sitting with. When film photographers came back from a shoot, the work wasn’t done. They went into the darkroom, they processed the image, they held the result in their hands. That moment of completion, of seeing the finished thing exist as a physical object, was part of what made the practice satisfying.
Creator explaining print as completion of the photographic process
McKinnon frames printing as the missing second act of photography, and this reframe is worth sitting with. When film photographers came back from a shoot, the work wasn’t done. They went into the darkroom, they processed the image, they held the result in their hands. That moment of completion, of seeing the finished thing exist as a physical object, was part of what made the practice satisfying.
Build that back into your workflow intentionally. Pick one image per month, or one per shoot, that you commit to printing. Treat the print order as the real finish line, not the Instagram post. That shift alone changes how seriously you approach the edit, because you know something physical and permanent is coming out the other side.
A Note From My Own Workflow
I resisted printing for a long time because I told myself my apartment was too small to hang anything. That turned out to be a convenient excuse. What was really happening is that printing felt like a commitment, and committing to a photo meant deciding it was good enough to exist outside my hard drive, which was uncomfortable.
The first print I ordered was a landscape I’d taken on a trip to the Oregon coast. When it arrived I immediately noticed the horizon was slightly crooked. I had looked at that photo on my screen probably forty times and never caught it. The print caught it in five seconds. That was the moment I understood what McKinnon is talking about. A screen is a comfortable lie you tell yourself. A print is honest.
If you shoot mostly on your phone, this matters just as much. I’ve printed phone shots that looked stunning and phone shots that fell apart completely. The print is the test, and you won’t know until you run it.
The single most important thing to take away here is this: your photography practice is incomplete if it ends at the upload. Printing isn’t a luxury or a throwback. It’s a diagnostic tool, a creative milestone, and the part of the process that actually tells you the truth about your work.
Watch the full tutorial on YouTube and then go order one print this week. Just one. See what it tells you.
Comments (3)
Been doing this wrong for years apparently. Thanks for the wake-up call.
This is the kind of content that keeps me coming back.
Really solid breakdown. This pairs perfectly with the business work I've been writing about.
Leave a Comment