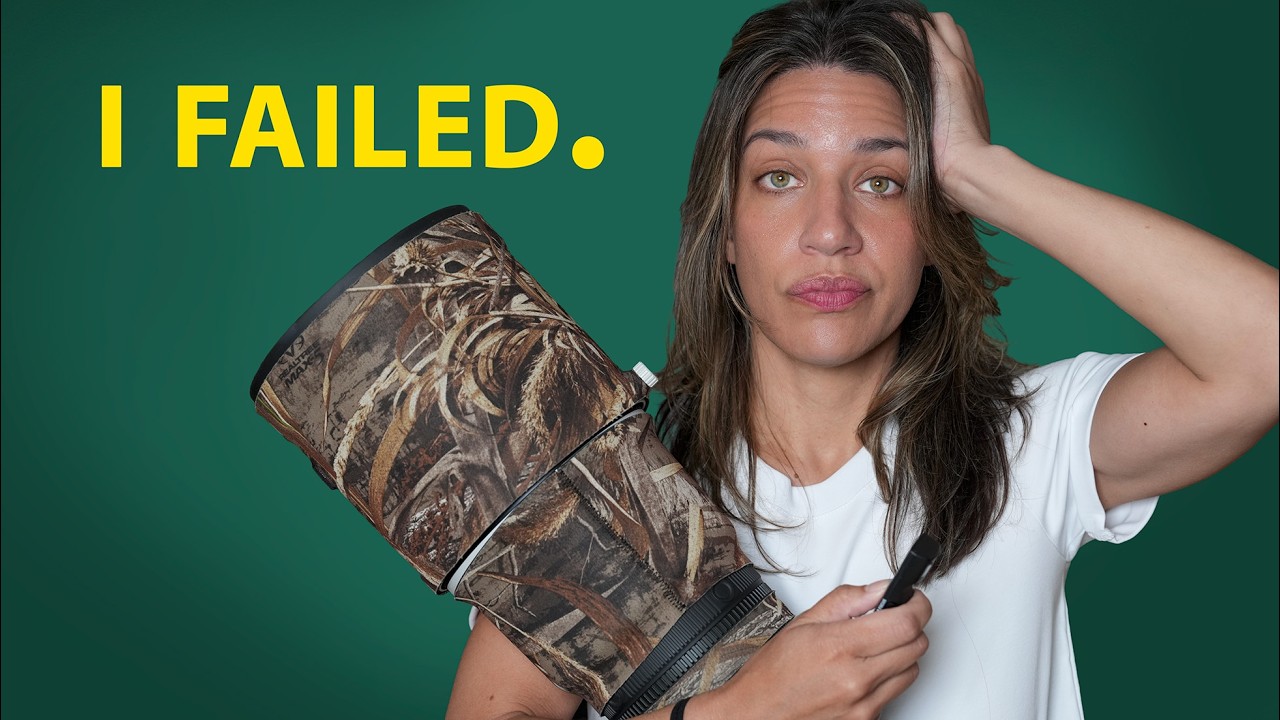
Every Sunday morning I do a photo walk around my neighborhood in Seattle, and I cannot tell you how many times I’ve come home with nothing worth keeping. Not because the light was bad or the subject wasn’t there, but because I wasn’t actually ready when the moment showed up. My card was slow, my battery was half dead, or I was so busy thinking about settings that the heron I’d been watching for twenty minutes just… left.
That’s exactly why this tutorial hit me the way it did. In this Tony and Chelsea Northrup tutorial, Chelsea Mercado takes her camera to a local park chasing a rare juvenile wood stork that’s wandered far outside its natural range. What makes it worth watching isn’t whether she gets the shot. It’s everything she does before, during, and after the attempt that reveals how working wildlife photographers actually operate. Watch the full tutorial on YouTube
The honest through-line here is one most photographers don’t want to hear: the gorgeous wildlife images you see online represent a tiny fraction of someone’s output. The other 90% looked exactly like your bad days. Understanding that, and building a system around it, is what separates photographers who improve from photographers who just keep complaining about their gear.
Step 1: Set Up Your Kit Before You Ever Leave the House
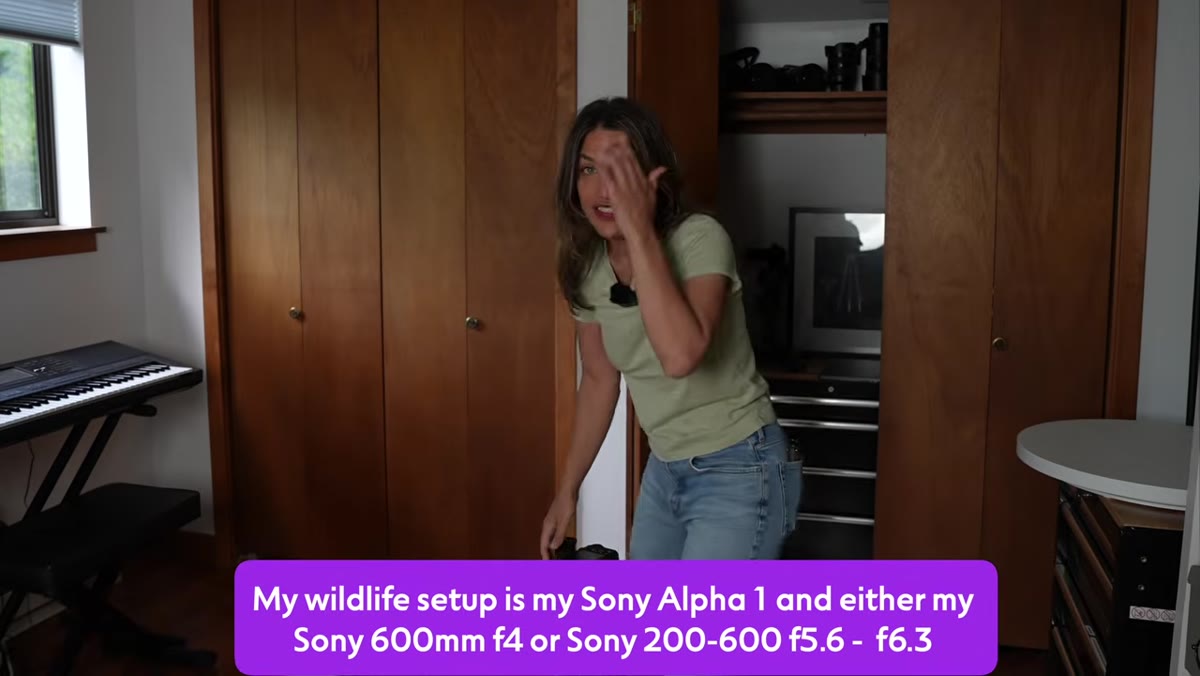 Chelsea checking formatted memory cards and fully charged battery
Chelsea’s first move isn’t a camera setting. It’s making sure she leaves the house with two formatted cards and a fully charged battery, every single time. This sounds obvious until you realize how many wildlife opportunities get blown because someone’s camera is sitting at 40% charge or running on the one card they forgot to clear from last month.
Chelsea checking formatted memory cards and fully charged battery
Chelsea’s first move isn’t a camera setting. It’s making sure she leaves the house with two formatted cards and a fully charged battery, every single time. This sounds obvious until you realize how many wildlife opportunities get blown because someone’s camera is sitting at 40% charge or running on the one card they forgot to clear from last month.
Her camera, a Sony Alpha 1, shoots 50 megapixels at 30 frames per second, which demands a lot from storage. She runs a 160GB card with 800 megabits per second write speed and 700 megabits per second read speed. You don’t need those exact specs if your camera isn’t pushing that kind of data, but the principle holds: your memory card should never be the bottleneck. Invest once in fast, reliable storage and stop thinking about it.
Step 2: Choose Your Focal Length, Then Bring a Backup
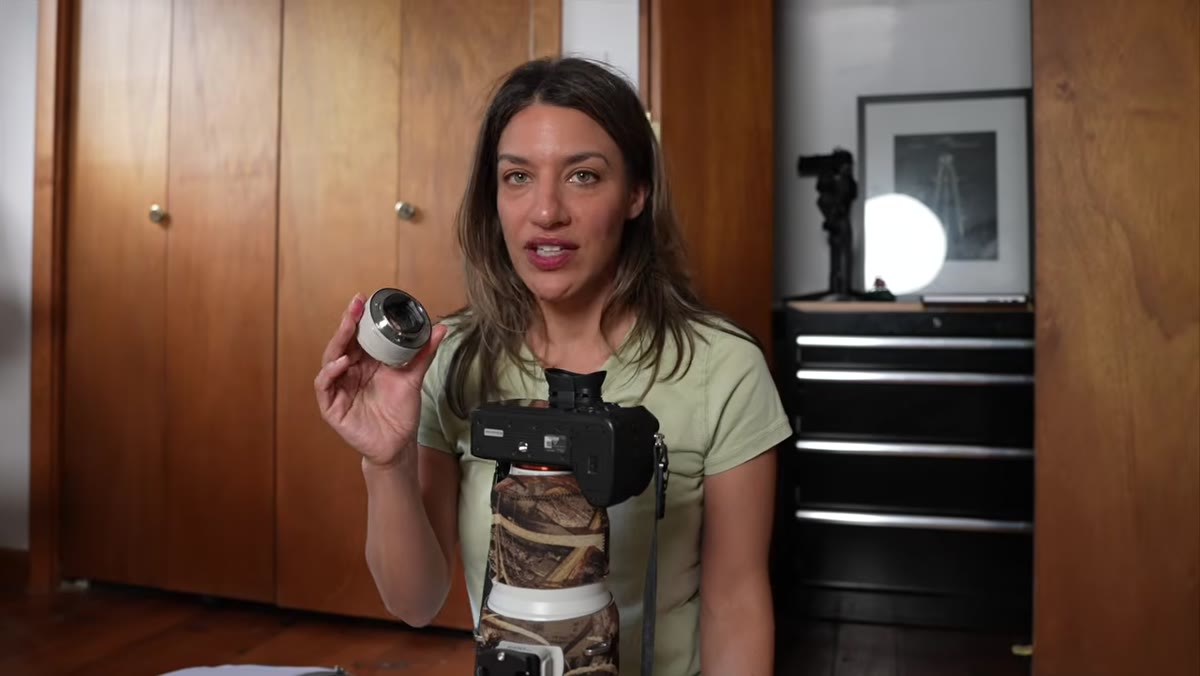 Chelsea holding 600mm lens and teleconverter side by side
Chelsea’s primary lens is a 600mm f/4, which is serious glass for serious distance. But because she doesn’t know how close the wood stork will be, she packs a 2x teleconverter and her 200-600mm zoom as a second option. The teleconverter effectively doubles her reach when the bird is far. The zoom gives her flexibility when she’s too close for the prime.
Chelsea holding 600mm lens and teleconverter side by side
Chelsea’s primary lens is a 600mm f/4, which is serious glass for serious distance. But because she doesn’t know how close the wood stork will be, she packs a 2x teleconverter and her 200-600mm zoom as a second option. The teleconverter effectively doubles her reach when the bird is far. The zoom gives her flexibility when she’s too close for the prime.
The takeaway isn’t about the specific lenses. It’s about thinking through your location before you go. Will you be shooting across open water? Bring more reach. Dense forest? You may need something wider than you think. Five minutes of mental prep at home saves a lot of frustration once you’re standing in a field.
Step 3: Dress and Prepare for the Environment, Not Just the Photos
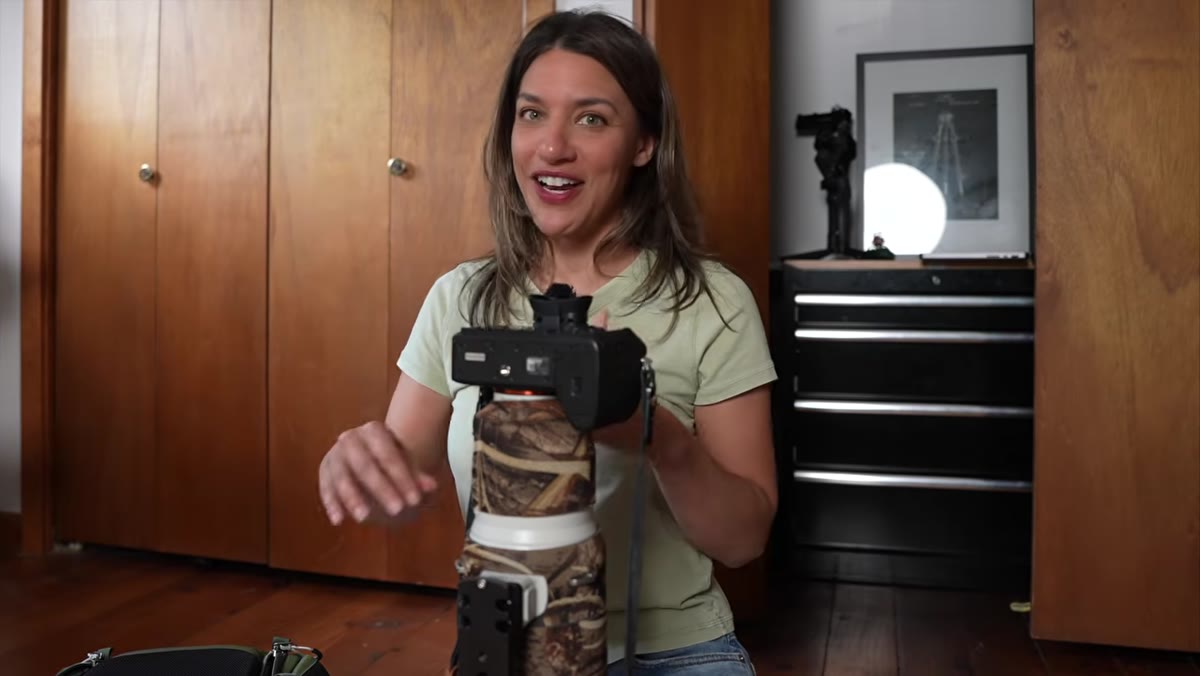 Chelsea describing field clothing choices for ticks and poison ivy
Chelsea spends real time on this, and I respect it. She talks through her clothing choices for tick country: light-colored socks so she can spot ticks, cropped pants so they don’t drag through brush, a light-colored shirt to spot poison ivy transfer. This isn’t fussy. Lyme disease is serious, and losing a week of shooting time to illness is a genuinely bad outcome.
Chelsea describing field clothing choices for ticks and poison ivy
Chelsea spends real time on this, and I respect it. She talks through her clothing choices for tick country: light-colored socks so she can spot ticks, cropped pants so they don’t drag through brush, a light-colored shirt to spot poison ivy transfer. This isn’t fussy. Lyme disease is serious, and losing a week of shooting time to illness is a genuinely bad outcome.
One specific thing worth writing down: do not use DEET-based bug spray around your camera gear. DEET breaks down certain plastics and coatings over time. Chelsea recommends picaridin as an effective alternative that won’t slowly destroy your equipment. Pack a snack too. Wildlife photography involves a lot of waiting, and low blood sugar makes you impatient and sloppy.
Step 4: Know Your Locations Like a Local, Not a Tourist
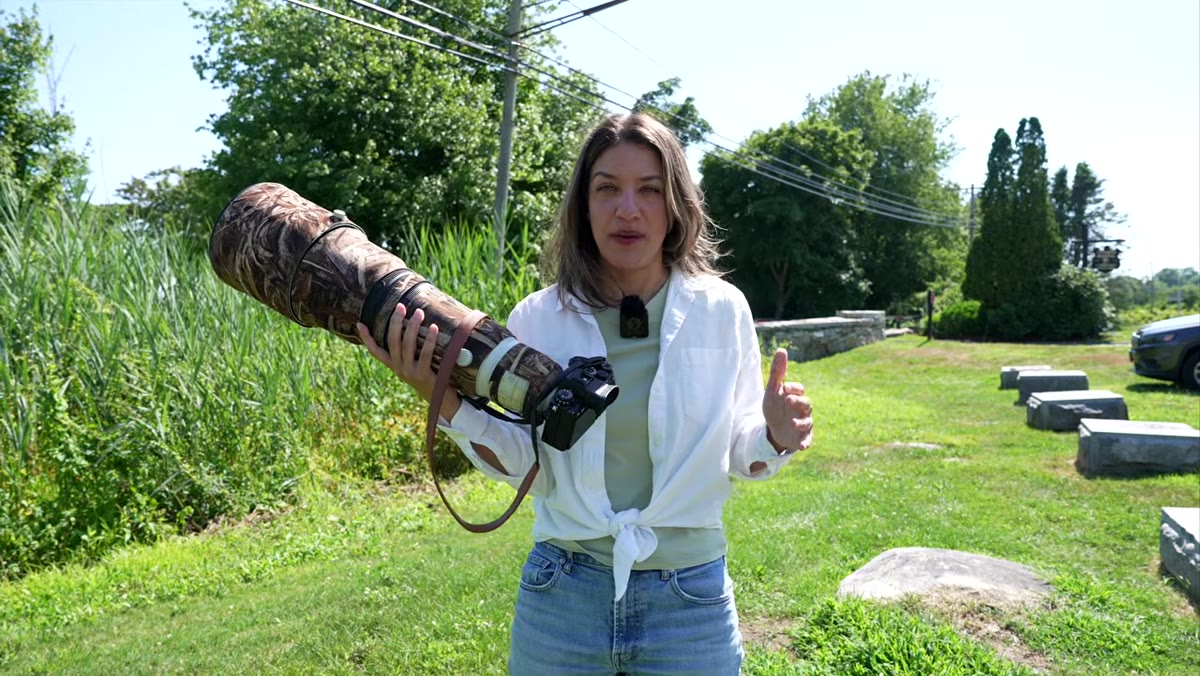 Chelsea describing her regular spots and the green heron she can reliably find
The part of this tutorial that I’ve thought about most is when Chelsea describes her regular shooting spots. She doesn’t just visit parks at random. She has a handful of locations she returns to repeatedly until she knows exactly where the green heron hunts, where the kingfisher perches, and which bend in the water the osprey prefers. That knowledge turns unpredictable wildlife into something approaching repeatable.
Chelsea describing her regular spots and the green heron she can reliably find
The part of this tutorial that I’ve thought about most is when Chelsea describes her regular shooting spots. She doesn’t just visit parks at random. She has a handful of locations she returns to repeatedly until she knows exactly where the green heron hunts, where the kingfisher perches, and which bend in the water the osprey prefers. That knowledge turns unpredictable wildlife into something approaching repeatable.
A rare bird like the wood stork attracts attention precisely because it’s an anomaly. Most successful wildlife photography isn’t about chasing anomalies. It’s about knowing your local ecosystem well enough to show up at the right spot at the right time consistently. Pick two or three locations near you. Visit them weekly. Take notes. That’s the actual long game.
Step 5: Respect Other Photographers and the Animal
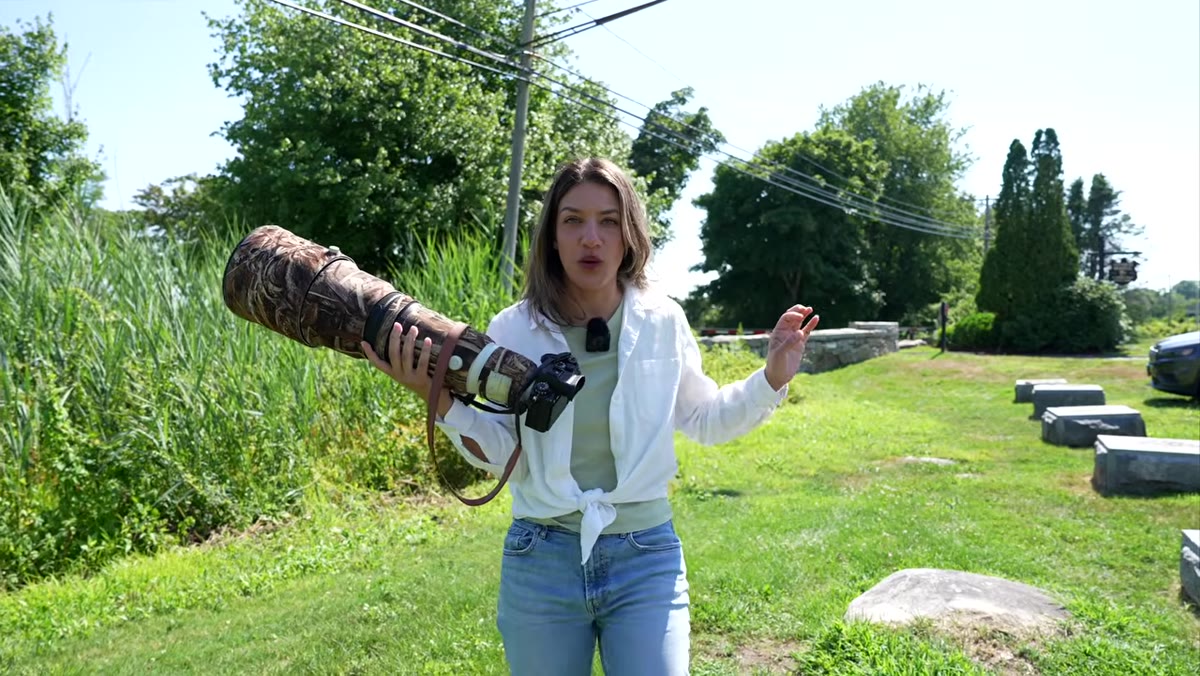 Chelsea choosing not to approach the wood stork’s known location
This is a small moment in the tutorial but it matters. Chelsea knows roughly where the stork is, and she deliberately doesn’t go there. Her reason: another photographer is already working the bird, and she doesn’t want to disturb either the animal or the person shooting it.
Chelsea choosing not to approach the wood stork’s known location
This is a small moment in the tutorial but it matters. Chelsea knows roughly where the stork is, and she deliberately doesn’t go there. Her reason: another photographer is already working the bird, and she doesn’t want to disturb either the animal or the person shooting it.
Wildlife etiquette isn’t just courtesy. Flushing a bird because you got too eager, or crowding someone else’s setup, has real consequences for the ecosystem and for the photography community’s reputation with park rangers and land managers. Give animals space. Give other photographers room. The shot isn’t worth the disruption.
Step 6: Reframe What “Success” Looks Like on Any Given Day
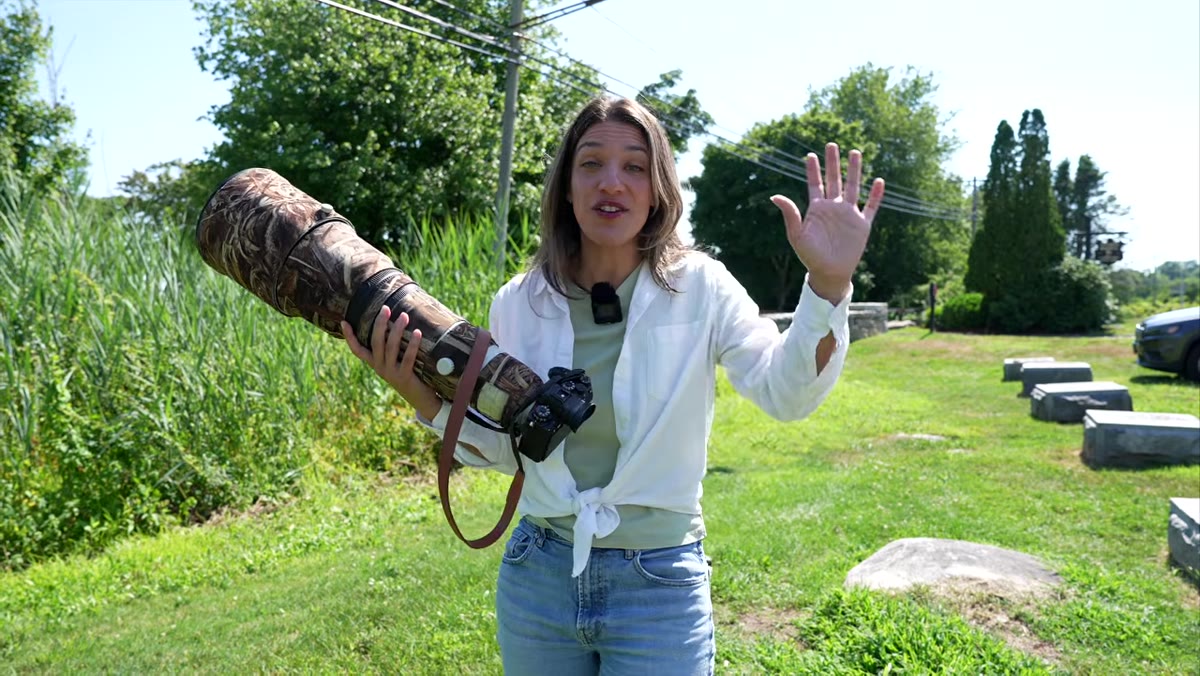 Chelsea acknowledging she probably won’t get great shots while filming
Chelsea is refreshingly direct about this: when she’s filming a tutorial, she’s usually not getting her best wildlife photos at the same time. The act of teaching and the act of shooting are in tension. She flags this not as an excuse but as an honest look at what behind-the-scenes actually looks like.
Chelsea acknowledging she probably won’t get great shots while filming
Chelsea is refreshingly direct about this: when she’s filming a tutorial, she’s usually not getting her best wildlife photos at the same time. The act of teaching and the act of shooting are in tension. She flags this not as an excuse but as an honest look at what behind-the-scenes actually looks like.
More broadly, she frames the whole outing as productive even if the stork doesn’t cooperate. Knowing where an animal frequents, testing your gear in the field, building familiarity with a location, all of that has value that doesn’t show up in your portfolio but absolutely shows up in your work over time.
What I’d Add from My Own Experience
The thing Chelsea doesn’t say explicitly but demonstrates through the whole video is that wildlife photography is mostly a practice of patience and repetition, not talent or gear. I spent an entire vacation once trying to get one specific waterfall shot, missing dinner every night, and it taught me more about reading light and timing than any tutorial I’ve watched. The wood stork might not show. The heron might be on the wrong side of the light. Go anyway. Learn the location. Come back.
If you’re just starting out with wildlife photography, I’d also suggest keeping a simple note on your phone for each location you shoot: what you saw, what time, what the light was doing. After a few months, patterns emerge that no amount of googling can replicate.
The single most important thing Chelsea illustrates in this tutorial is that consistency beats luck. The photographers whose wildlife images look effortless are the ones who have already been to that spot thirty times. Build your kit system, dress for your environment, learn your locations like a regular, and the good shots will come more often than you think.
Watch the full tutorial on YouTube to follow Chelsea’s full field session and hear her talk through her process in real time.
Comments (2)
I tried this on a client project yesterday and the results were way better than expected.
This saved me so much time on my last edit. Wish I'd found this sooner.
Leave a Comment