I spent an entire vacation in Iceland chasing one specific waterfall shot. Every evening, same trail, same tripod position, different disappointment. I missed dinners, missed conversations, missed the northern lights happening two fields over. I came home with technically fine images and a quiet sense that I’d done the whole trip wrong. What I was running from, though I couldn’t name it at the time, was the obvious problem with traveling for photography: you almost never have enough time to actually understand a new place before the light disappears.
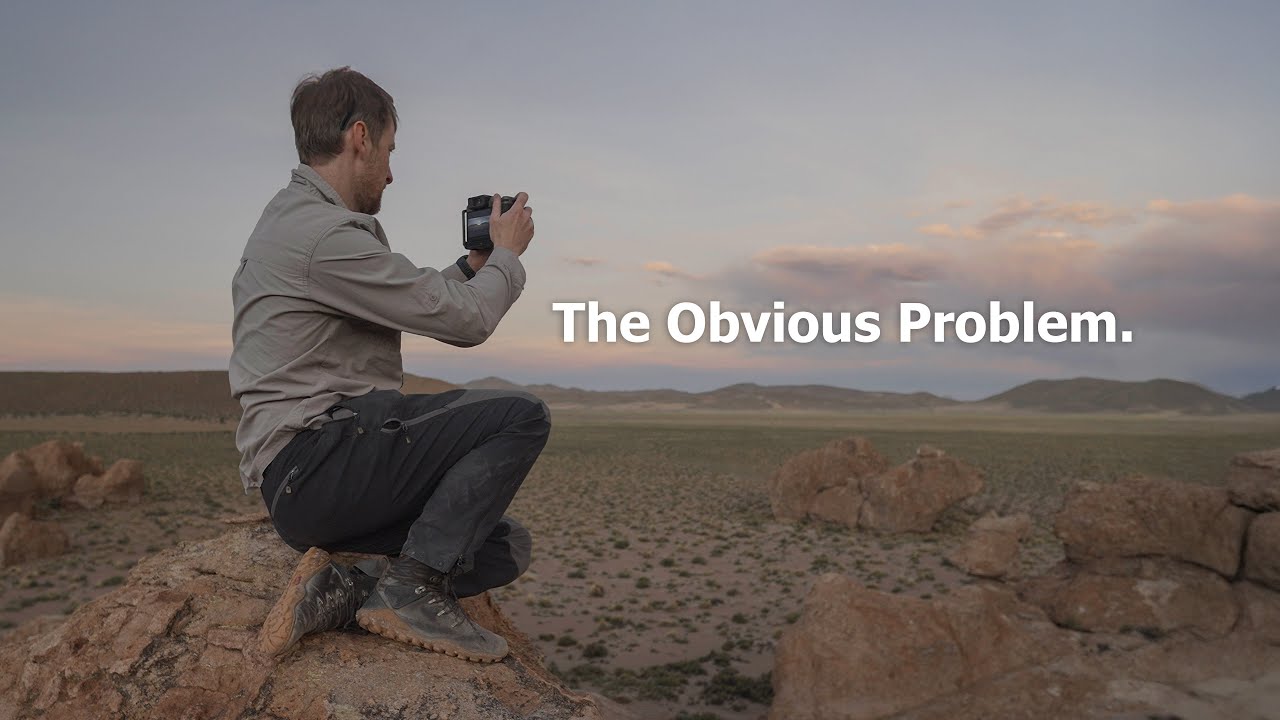
In this Thomas Heaton tutorial filmed across the dusty red-rock canyons of Bolivia, that problem gets laid out with real honesty. Watch the full tutorial on YouTube. Heaton arrives at a stunning canyon town called Via Mar with less than an hour before sunset, surrounded by miles of dramatic rock formations he has never walked before. The instinct is to dive in and start shooting. What he actually does is more instructive, and a lot harder to talk yourself into doing when you’re standing somewhere beautiful with a camera around your neck.
The lesson here isn’t really about Bolivia, or canyons, or even golden hour. It’s about decision-making under pressure, and how the best travel photographers aren’t the ones who hustle hardest at every location. They’re the ones who know when to stop trying to force a shot and do something smarter instead. Here’s how Heaton breaks that down, step by step.
Step 1: Assess the Location Before You Unpack Your Tripod
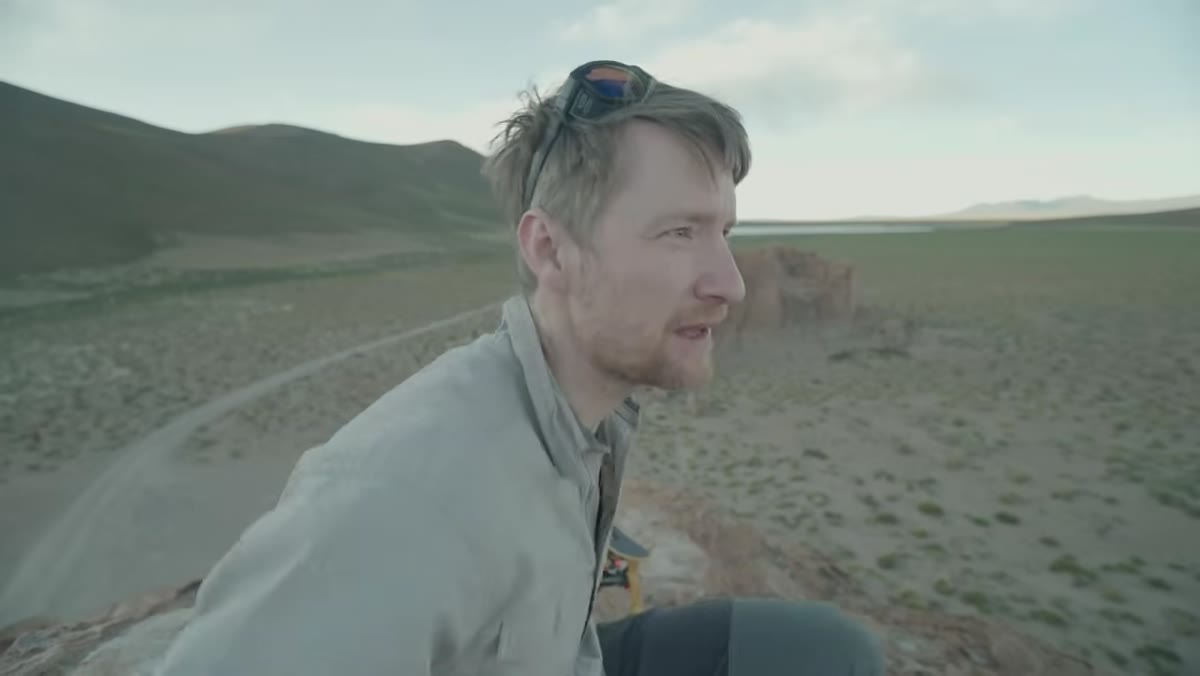
 Thomas scanning vast red-rock canyon landscape on arrival
The moment you arrive somewhere new, your first job isn’t to shoot. It’s to read. When Heaton pulls up to Via Mar, his first observation is that the canyons stretch for miles with no obvious anchor point. He clocks the scale of the location, the remaining light, and the realistic amount of ground he can cover. That assessment takes maybe two minutes, but it changes every decision that follows.
Thomas scanning vast red-rock canyon landscape on arrival
The moment you arrive somewhere new, your first job isn’t to shoot. It’s to read. When Heaton pulls up to Via Mar, his first observation is that the canyons stretch for miles with no obvious anchor point. He clocks the scale of the location, the remaining light, and the realistic amount of ground he can cover. That assessment takes maybe two minutes, but it changes every decision that follows.
When you land somewhere unfamiliar, give yourself a deliberate five-minute scan before touching your camera. Ask: How large is this location? How much usable light do I have? What is the single most photographable element here, and can I reach it in time? These three questions will save you from the “headless chicken” spiral, which is Heaton’s phrase, and an accurate one, for bouncing between compositions without committing to any of them.
Step 2: Know Your Limitations and Make a Decision
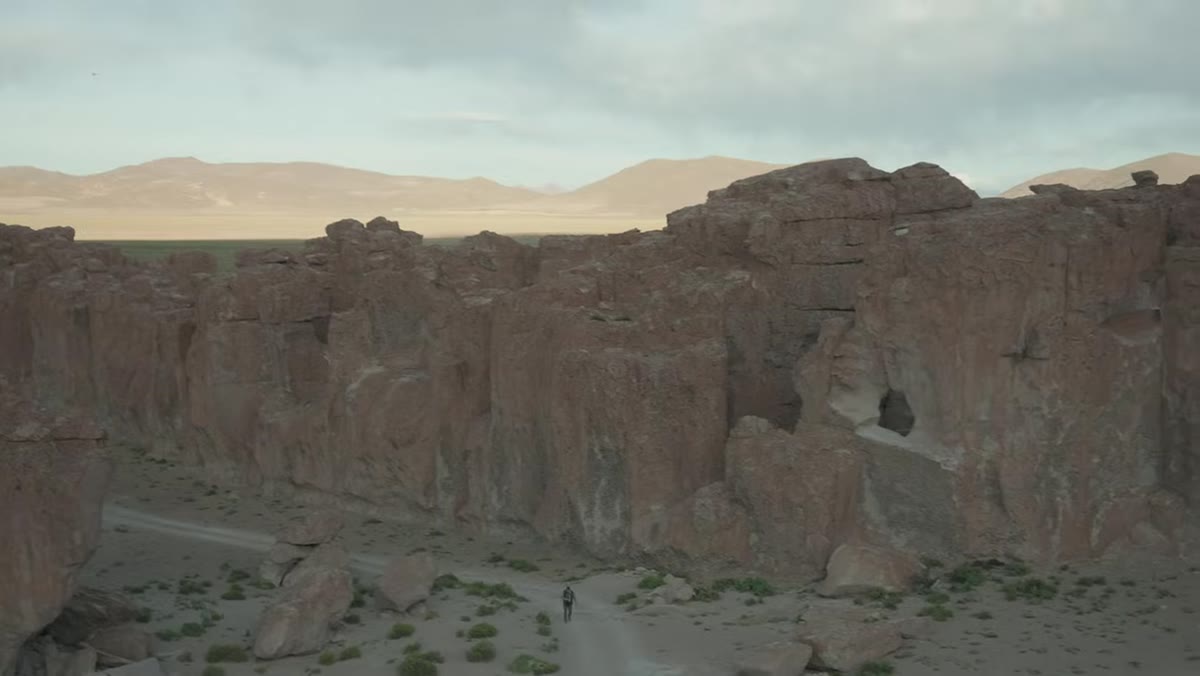
 Thomas choosing to climb rocks rather than explore canyon floor
Once Heaton accepts that the canyon floor requires days of exploration to shoot properly, he makes a firm call: climb to higher ground and shoot the distant landscape instead. That might sound like giving up on the headline feature of the location, and in a way it is. But a decisive second-best option almost always beats an indecisive first-best attempt.
Thomas choosing to climb rocks rather than explore canyon floor
Once Heaton accepts that the canyon floor requires days of exploration to shoot properly, he makes a firm call: climb to higher ground and shoot the distant landscape instead. That might sound like giving up on the headline feature of the location, and in a way it is. But a decisive second-best option almost always beats an indecisive first-best attempt.
This is a skill that takes practice. The instinct is to try everything and hope something works. The professional habit is to pick one angle, commit to it fully, and execute it cleanly. If you find yourself walking 50 meters in one direction, stopping, walking back, trying another angle, stopping again, you’ve already lost. Make the call and move.
Step 3: Use a Scout Partner When You Can
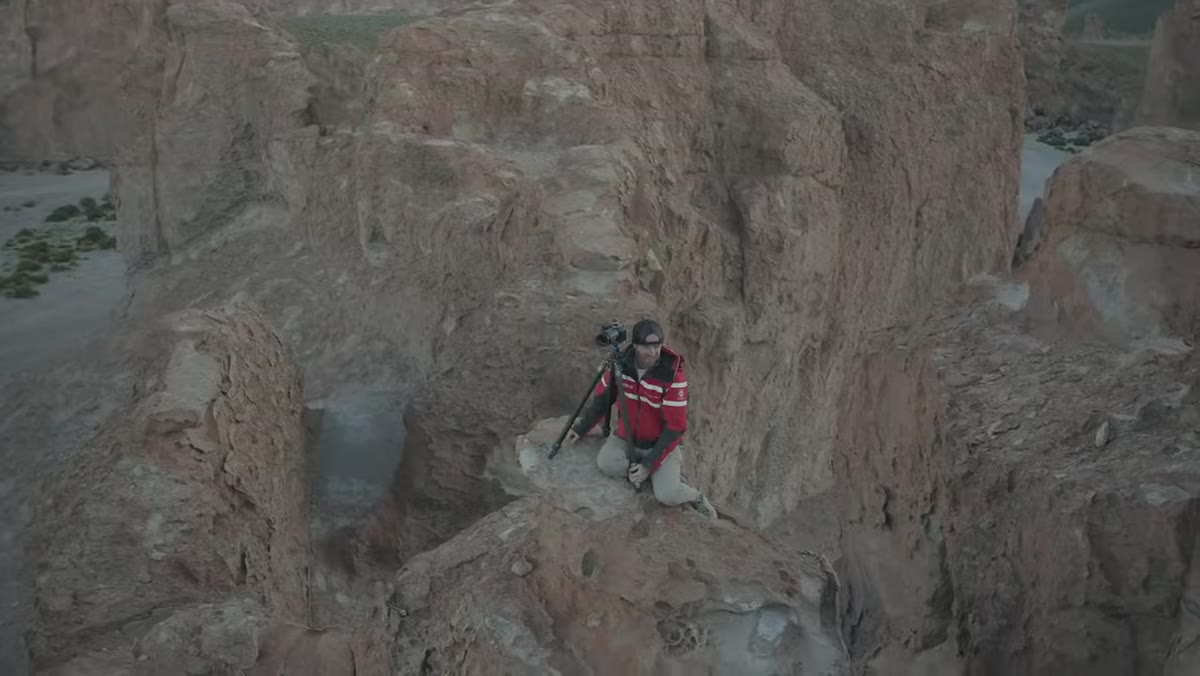 Brendan visible on rocks above, having already scouted the high ground
Heaton mentions that his travel companion Brendan had already climbed up to scout before Heaton made his decision. That scouting report is part of what made the call easier. When you’re traveling with another photographer or a willing friend, split up on arrival. Cover more ground in the same amount of time. Even a quick text that says “the high ridge has a clean western view” can completely change your plan for the better.
Brendan visible on rocks above, having already scouted the high ground
Heaton mentions that his travel companion Brendan had already climbed up to scout before Heaton made his decision. That scouting report is part of what made the call easier. When you’re traveling with another photographer or a willing friend, split up on arrival. Cover more ground in the same amount of time. Even a quick text that says “the high ridge has a clean western view” can completely change your plan for the better.
If you’re shooting solo, this is where 10 minutes of pre-trip homework earns its keep. Google Earth, PhotoPills, and even recent Instagram geotags can give you a rough scout before you ever set foot in a location. You won’t always have a Brendan. Build the habit of doing your own pre-scout digitally.
Step 4: Separate the Experience From the Shot
 Thomas looking out over plains, acknowledging the light isn’t working
There’s a moment in this tutorial where Heaton stands at the view he climbed to reach, looks at the light, and says something that I think most photographers need to hear more often. He’s not sure the light is doing what he needs, but he’s also not spiraling about it. He says, in so many words, that photography brought him here but it doesn’t mean he has to get a photograph.
Thomas looking out over plains, acknowledging the light isn’t working
There’s a moment in this tutorial where Heaton stands at the view he climbed to reach, looks at the light, and says something that I think most photographers need to hear more often. He’s not sure the light is doing what he needs, but he’s also not spiraling about it. He says, in so many words, that photography brought him here but it doesn’t mean he has to get a photograph.
That’s not resignation. That’s perspective. Some of my own favorite travel memories happened when the shot didn’t work out and I put the camera down. The pressure to justify every trip with a portfolio image is real, especially if you’re building an audience or trying to make money from your work. But that pressure is also the fastest way to stop actually seeing the places you’re traveling to. Let the experience be enough, and you’ll shoot more freely when the light does cooperate.
Step 5: Keep Moving When You See a Better Option
 Thomas spotting distant mountains lighting up beyond the canyon rocks
Even after accepting that the original view isn’t working, Heaton spots something from the corner of his eye: distant mountains catching the last light, just beyond the rock formations blocking his current angle. Rather than stay put and work with what he has, he decides to push another couple hundred meters to clear the obstruction. His friend doesn’t follow. He goes anyway.
Thomas spotting distant mountains lighting up beyond the canyon rocks
Even after accepting that the original view isn’t working, Heaton spots something from the corner of his eye: distant mountains catching the last light, just beyond the rock formations blocking his current angle. Rather than stay put and work with what he has, he decides to push another couple hundred meters to clear the obstruction. His friend doesn’t follow. He goes anyway.
This is the underrated skill of staying opportunistic right to the end of the shoot. Don’t pack up just because your planned shot didn’t land. Keep your eyes open for what’s actually happening with the light, not just what you hoped would happen. The willingness to move one more time, on tired legs, at the end of a long day, is often the difference between a good frame and a great one.
A Note From My Own Travels
I shoot with my phone sometimes on location days, not because I have to but because it frees me from outcome pressure. There’s no tripod to set up, no exposure to nail, no workflow waiting at the end. And the discipline I’ve built from those low-stakes phone walks has made me genuinely better at the steps above, especially steps two and four. If you’re someone who gets paralyzed at new locations, try showing up somewhere once with just your phone. You’ll be surprised how quickly you start reading a location when you’re not also managing equipment.
The single most useful thing Thomas Heaton demonstrates in this video has nothing to do with camera settings. It’s the willingness to look at a stunning location, admit honestly what you can and can’t do with the time available, and make a calm, committed decision rather than a frantic one. Knowing your limitations isn’t weakness. It’s what separates photographers who come home with strong images from photographers who come home with a hard drive full of almost-shots.
Watch the full tutorial on YouTube to see the Bolivia footage and hear Heaton work through these decisions in real time.
Comments
Leave a Comment