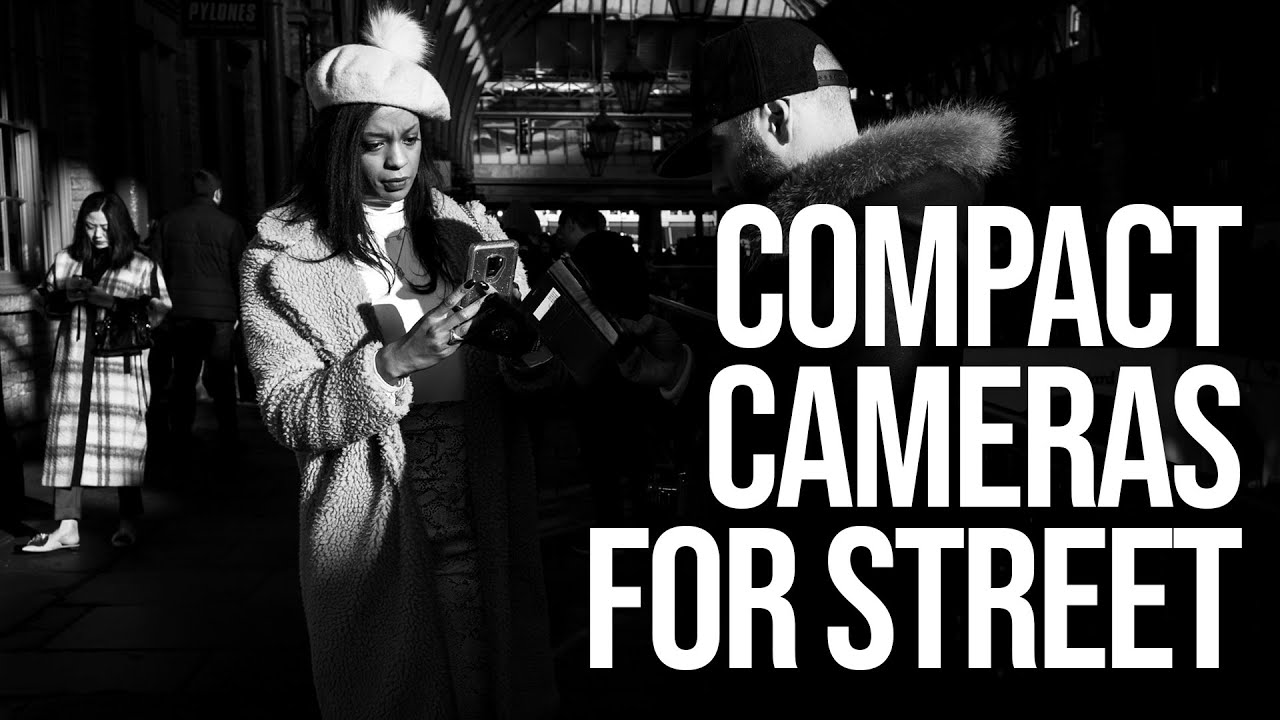
Every Sunday morning I do a photo walk. Rain, shine, or the kind of Seattle gray that makes you question your life choices. The ritual is the point. But I’ll be honest with you — there have been plenty of Sundays where I nearly talked myself out of going because I didn’t feel like hauling my whole kit. And on those days, the camera that saves the walk is always the small one stuffed into my jacket pocket.
That’s exactly the problem Sean Tucker addresses in this tutorial, and he articulates it better than I ever have. Watch the full tutorial on YouTube — it’s short, honest, and refreshingly free of spec-sheet obsession. Tucker isn’t trying to sell you on a specific camera. He’s trying to get you thinking clearly about why you pick up any camera at all, and that framing is what makes this worth your time even if you never touch a Ricoh in your life.
The core question he asks is simple: what does your shooting life actually look like, day to day? Not your ideal shooting life. Your real one, with meetings and dinner plans and moments when carrying a bag just isn’t happening. Your gear choices should answer that question honestly. Here’s how he works through it.
Step 1: Start With Your Main Camera Setup and Its Honest Limitations
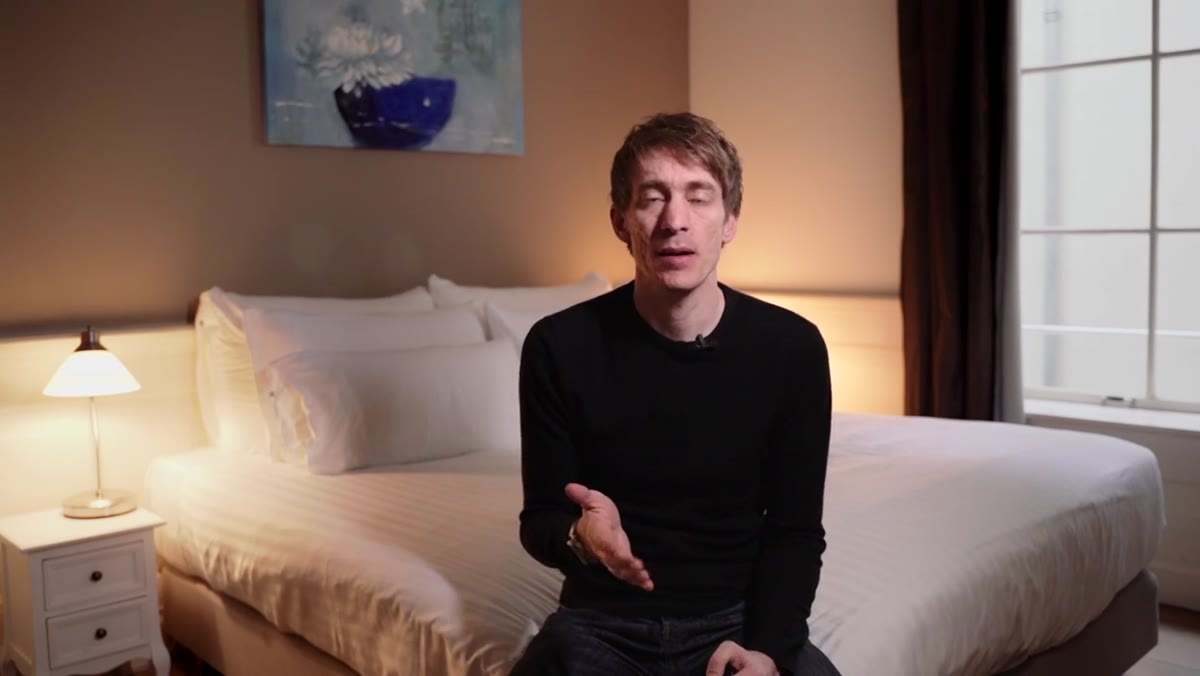 Tucker holds Sony a7 III with small pancake lens attached
Tucker opens by naming his primary kit — a Sony a7 III paired with a budget 35mm f/2.8 lens. He chose it because it handles both video and stills without compromise, keeps a low profile on the street, and stays lightweight. The key move here is that he’s not bragging about his setup. He’s identifying exactly what it does well and, critically, where it falls short. For him, that gap is pocketability. The Sony shrinks down nicely, but it still can’t disappear into a coat pocket. Write down what your current camera does brilliantly and where it asks something of you that you don’t always have to give.
Tucker holds Sony a7 III with small pancake lens attached
Tucker opens by naming his primary kit — a Sony a7 III paired with a budget 35mm f/2.8 lens. He chose it because it handles both video and stills without compromise, keeps a low profile on the street, and stays lightweight. The key move here is that he’s not bragging about his setup. He’s identifying exactly what it does well and, critically, where it falls short. For him, that gap is pocketability. The Sony shrinks down nicely, but it still can’t disappear into a coat pocket. Write down what your current camera does brilliantly and where it asks something of you that you don’t always have to give.
Step 2: Name the Specific Shooting Situation Your Main Gear Can’t Cover
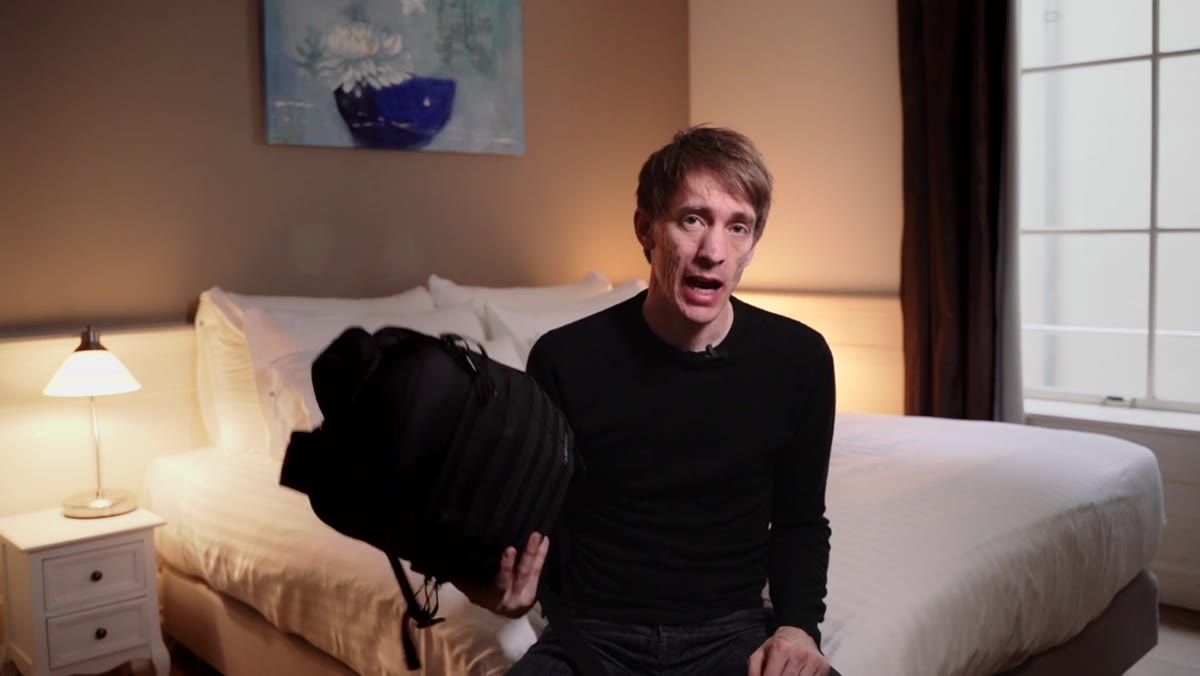 Tucker describes going out without a camera due to social plans
This is the step most people skip, and it’s the reason they end up with gear that duplicates what they already own instead of filling a real gap. Tucker identifies one clear scenario: he wants to go to dinner or a meeting without a bag, but he still wants the option to make a good photograph if something interesting happens. That’s a very specific need, and it points directly toward a very specific type of camera. Before you start browsing, get this concrete. Not “I want something smaller” but “I need something that fits in a pants pocket so I have no excuse to leave it behind on an off-duty evening.”
Tucker describes going out without a camera due to social plans
This is the step most people skip, and it’s the reason they end up with gear that duplicates what they already own instead of filling a real gap. Tucker identifies one clear scenario: he wants to go to dinner or a meeting without a bag, but he still wants the option to make a good photograph if something interesting happens. That’s a very specific need, and it points directly toward a very specific type of camera. Before you start browsing, get this concrete. Not “I want something smaller” but “I need something that fits in a pants pocket so I have no excuse to leave it behind on an off-duty evening.”
Step 3: Set a Realistic Budget Based on the Camera’s Role
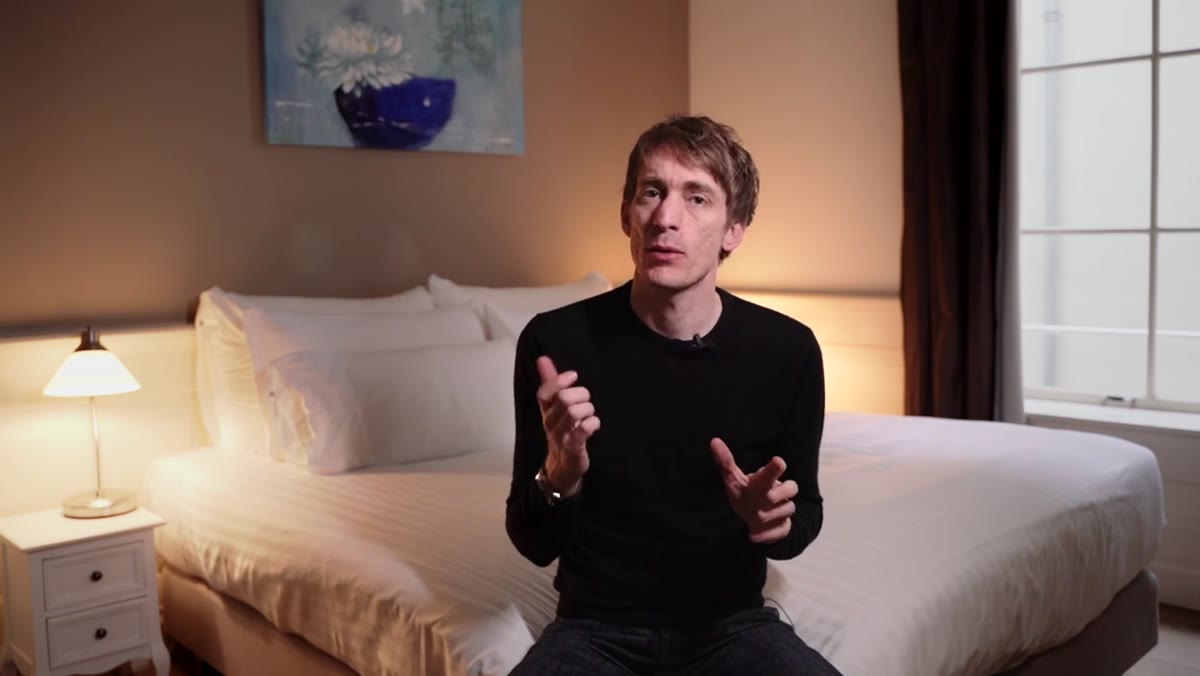 Tucker explains the Ricoh GR II as a secondary, off-duty camera
Tucker is deliberate about this: because the compact is a backup camera and not his primary tool, he set a ceiling on what he was willing to spend. He landed on around $400 for a used Ricoh GR II, helped along by the fact that the newer GR IIIx had just been announced, which pushed older model prices down. The lesson isn’t “buy old gear.” The lesson is that your budget should reflect the camera’s job in your workflow. A camera you pull out at dinner parties does not need to cost the same as the one you’re building a portfolio with. Decide the role first, then set the number.
Tucker explains the Ricoh GR II as a secondary, off-duty camera
Tucker is deliberate about this: because the compact is a backup camera and not his primary tool, he set a ceiling on what he was willing to spend. He landed on around $400 for a used Ricoh GR II, helped along by the fact that the newer GR IIIx had just been announced, which pushed older model prices down. The lesson isn’t “buy old gear.” The lesson is that your budget should reflect the camera’s job in your workflow. A camera you pull out at dinner parties does not need to cost the same as the one you’re building a portfolio with. Decide the role first, then set the number.
Step 4: Prioritize Manual Control Over Automatic Convenience
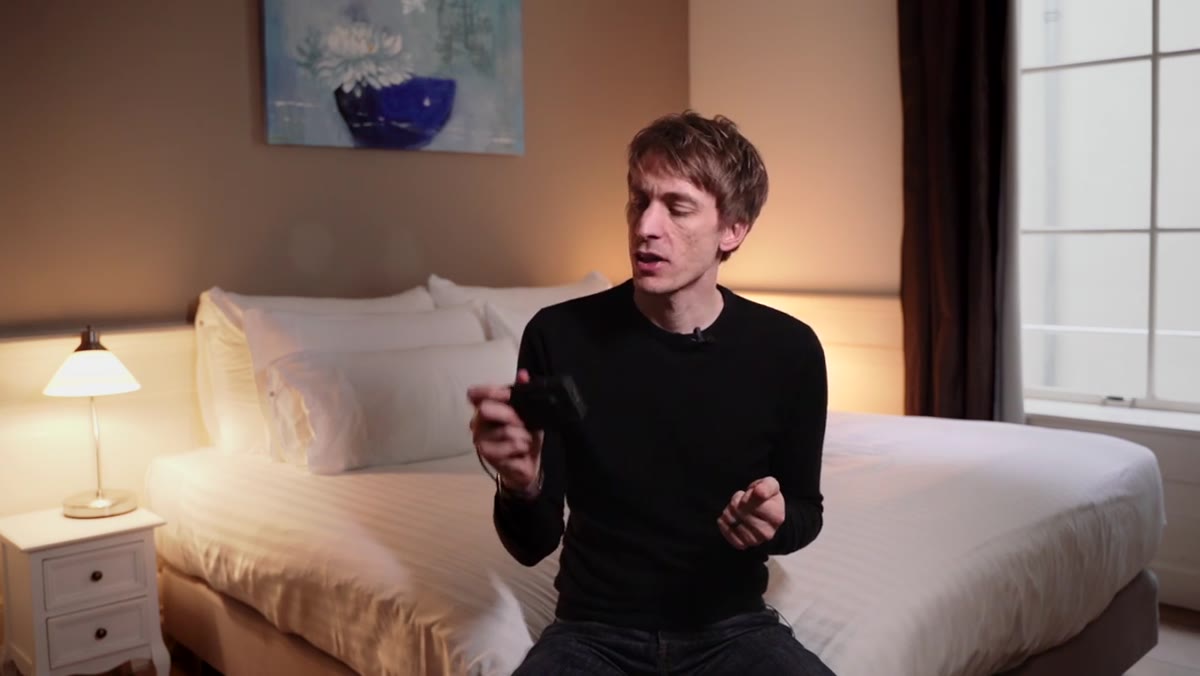 Tucker lists manual settings – ISO, shutter speed, aperture – as key requirements
Here’s where Tucker draws a line that I think a lot of photographers quietly feel but don’t say out loud. He’s not interested in a camera, even a pocket one, if he can’t quickly change ISO, shutter speed, and aperture on the fly. Phones are genuinely impressive now. I’ve taken some of my favorite shots on a $200 phone, and I’ll argue that point with anyone. But when you’re working in mixed light on a busy street and you need to react in two seconds, hunting through a touchscreen menu costs you the shot. Whatever compact you choose, spend five minutes with the physical controls before you commit. They should feel immediate, not buried.
Tucker lists manual settings – ISO, shutter speed, aperture – as key requirements
Here’s where Tucker draws a line that I think a lot of photographers quietly feel but don’t say out loud. He’s not interested in a camera, even a pocket one, if he can’t quickly change ISO, shutter speed, and aperture on the fly. Phones are genuinely impressive now. I’ve taken some of my favorite shots on a $200 phone, and I’ll argue that point with anyone. But when you’re working in mixed light on a busy street and you need to react in two seconds, hunting through a touchscreen menu costs you the shot. Whatever compact you choose, spend five minutes with the physical controls before you commit. They should feel immediate, not buried.
Step 5: Choose a Fixed Focal Length That Matches How You See
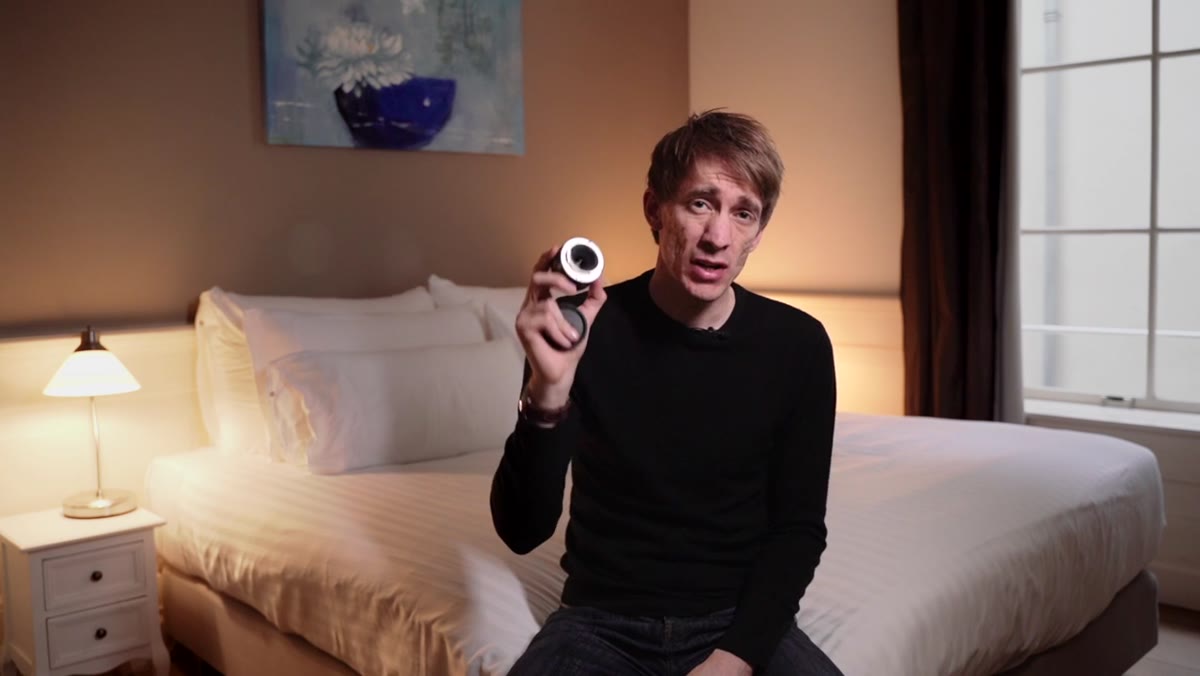 Tucker attaches 35mm lens to Sony body, discusses street shooting profile
The Ricoh GR II comes with a fixed 28mm equivalent lens, and Tucker leans into that constraint rather than lamenting it. A fixed focal length forces you to move your body, which tends to produce stronger compositions than standing still and zooming. For street work, 28mm or 35mm equivalent gives you enough context to tell a story without feeling like you’re far away from your subject. If you’re used to zooming, this will feel uncomfortable for about a week. Then it will start to feel like fluency. Pick a focal length you want to internalize, and shoot with only that for a month.
Tucker attaches 35mm lens to Sony body, discusses street shooting profile
The Ricoh GR II comes with a fixed 28mm equivalent lens, and Tucker leans into that constraint rather than lamenting it. A fixed focal length forces you to move your body, which tends to produce stronger compositions than standing still and zooming. For street work, 28mm or 35mm equivalent gives you enough context to tell a story without feeling like you’re far away from your subject. If you’re used to zooming, this will feel uncomfortable for about a week. Then it will start to feel like fluency. Pick a focal length you want to internalize, and shoot with only that for a month.
Step 6: Think of the Compact as an Always-On Habit, Not a Compromise
 Tucker frames the GR II as the camera that removes all excuses
The final reframe Tucker offers is the most important one. The compact camera isn’t a lesser version of your main camera. It’s the camera that makes sure you’re never standing somewhere interesting with empty hands. He calls it his “off-duty camera” — the one that removes every excuse. That mindset shift matters because it changes how you carry it and how you use it. You stop treating it like a backup and start treating it like a practice tool that’s always running. Some of my most honest street work has come from the little camera I barely thought about pulling out.
Tucker frames the GR II as the camera that removes all excuses
The final reframe Tucker offers is the most important one. The compact camera isn’t a lesser version of your main camera. It’s the camera that makes sure you’re never standing somewhere interesting with empty hands. He calls it his “off-duty camera” — the one that removes every excuse. That mindset shift matters because it changes how you carry it and how you use it. You stop treating it like a backup and start treating it like a practice tool that’s always running. Some of my most honest street work has come from the little camera I barely thought about pulling out.
One Thing I’d Add: Give the Compact Its Own Rules
When I started carrying a small camera daily, I made the mistake of trying to shoot with it exactly like I shoot with my main kit. Same compositions, same approach, same expectations. It took a few months before I let the camera be what it actually is – a fast, unobtrusive, imperfect thing that sometimes catches something real precisely because nobody takes it seriously.
My advice is to give your compact its own constraints. Shoot only available light. No reviewing shots until you get home. Only photograph things within arm’s reach. Constraints like these stop you from chasing the same results and help you discover what the small camera is actually good at. You might be surprised how often it outperforms your expectations.
The single most important thing Tucker gets right in this tutorial is the order of operations: figure out your shooting life first, then find the camera that serves it. Gear decisions made the other way around almost always disappoint.
Watch the full tutorial on YouTube and pay attention to how Tucker talks about his workflow before he ever mentions a specific camera. That’s the model worth borrowing.
Comments (2)
Printing this out and pinning it next to my monitor. That good.
Been doing this wrong for years apparently. Thanks for the wake-up call.
Leave a Comment