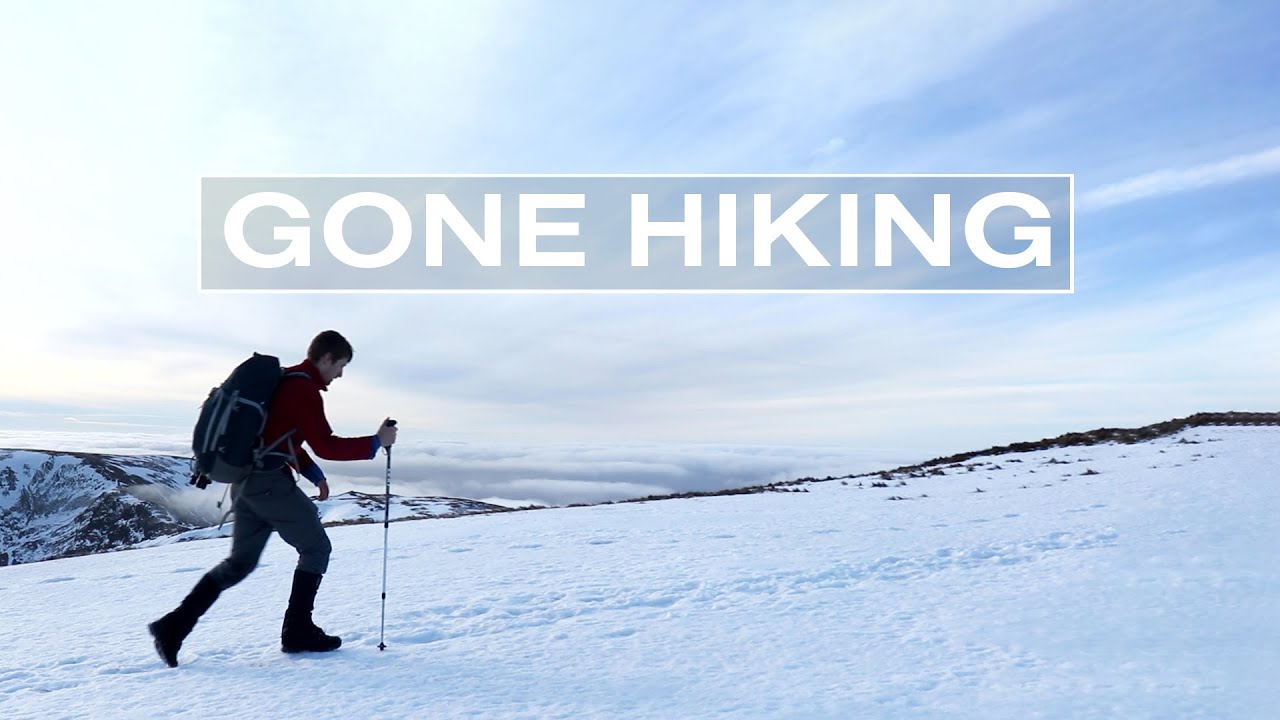
Every Sunday morning I do a photo walk around my neighborhood in Seattle. Rain, shine, or that particular Pacific Northwest gray that makes everything look like an Instagram filter someone forgot to name. I started this tradition partly for the exercise, partly because I was tired of waiting for “perfect” conditions that never seemed to arrive. What I didn’t expect was that it would quietly become the single most useful thing I do for my photography each week.
So when I came across Thomas Heaton’s tutorial on hiking for photographers, I felt like someone had finally articulated something I’d been circling around for years. Watch the full tutorial on YouTube before or after reading this, because the footage alone is worth your time. But if you want a practical breakdown of what Heaton actually teaches and how to apply it to your own practice, here’s how I’d walk you through it.
The core argument Heaton makes is this: hiking isn’t just a vehicle for getting to a good shot. It’s the work itself. The physical act of moving through a landscape changes how you see it, how patient you become with it, and ultimately, how much better your images get. That resonated with me immediately, because I’ve noticed the same thing on my Sunday walks. Moving slower always means seeing more.
Step 1: Show Up Even When Conditions Look Terrible
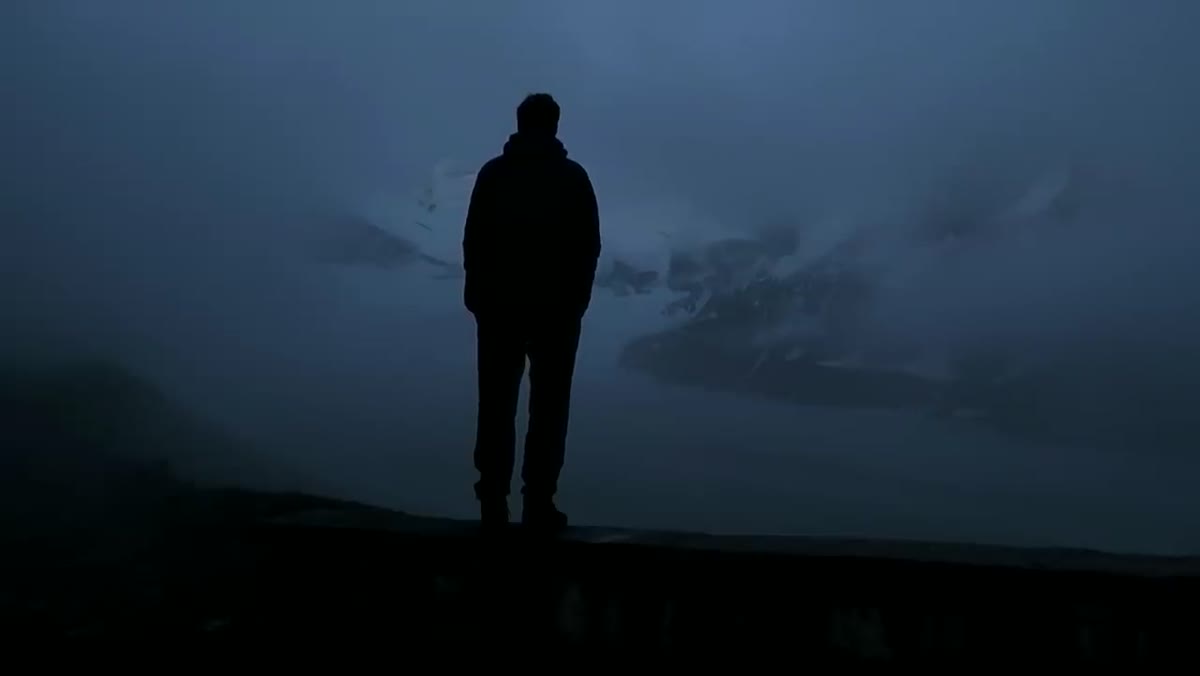 Thomas looking out at fog-covered landscape before sunrise
Heaton opens by describing a morning where he woke up before sunrise to what he calls a “pea soup” situation, so thick with mist he couldn’t see anything. His instinct was disappointment. His action was to go anyway. This is the first real instruction in the video, and it’s deceptively simple: get out of bed, get on location, and trust that conditions change.
Thomas looking out at fog-covered landscape before sunrise
Heaton opens by describing a morning where he woke up before sunrise to what he calls a “pea soup” situation, so thick with mist he couldn’t see anything. His instinct was disappointment. His action was to go anyway. This is the first real instruction in the video, and it’s deceptively simple: get out of bed, get on location, and trust that conditions change.
The practical version of this for most photographers means setting your alarm regardless of the forecast. Weather apps are useful but imprecise, especially in mountainous or coastal areas. Build a habit of going even when it looks wrong, because the light that breaks through unexpected cloud cover is often the most dramatic you’ll ever photograph.
Step 2: Lock In Your Settings Early and Let the Light Do the Work
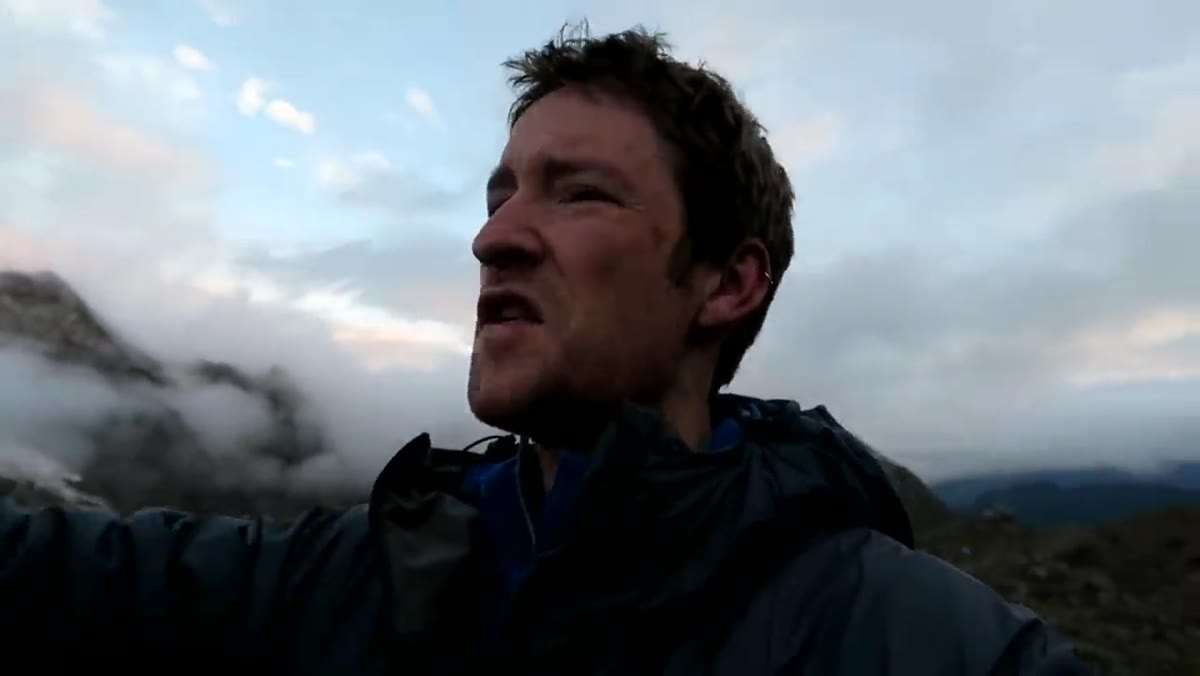 Camera display showing f11, ISO 100 settings on mountain shot
Once the light started breaking through on that foggy morning, Heaton didn’t scramble or second-guess his composition. He was already set up. He mentions shooting at f/11 and ISO 100, focused on the mountain and exposed for the mountain, which tells you exactly where his priorities were: maximum sharpness and clean shadow detail in the subject that mattered most.
Camera display showing f11, ISO 100 settings on mountain shot
Once the light started breaking through on that foggy morning, Heaton didn’t scramble or second-guess his composition. He was already set up. He mentions shooting at f/11 and ISO 100, focused on the mountain and exposed for the mountain, which tells you exactly where his priorities were: maximum sharpness and clean shadow detail in the subject that mattered most.
When you’re on a hike and conditions shift fast, you don’t have time to fidget. Before you even start walking toward your intended location, decide on your baseline settings for the light you expect. For most landscape work at golden hour, f/8 to f/11 gives you enough depth of field to keep foreground and background sharp. Keep ISO as low as your shutter speed allows. Then, once you’re locked into a composition you like, only adjust shutter speed as the light changes. Everything else stays put.
Step 3: When a Hike Goes Wrong, Look Down Instead of Giving Up
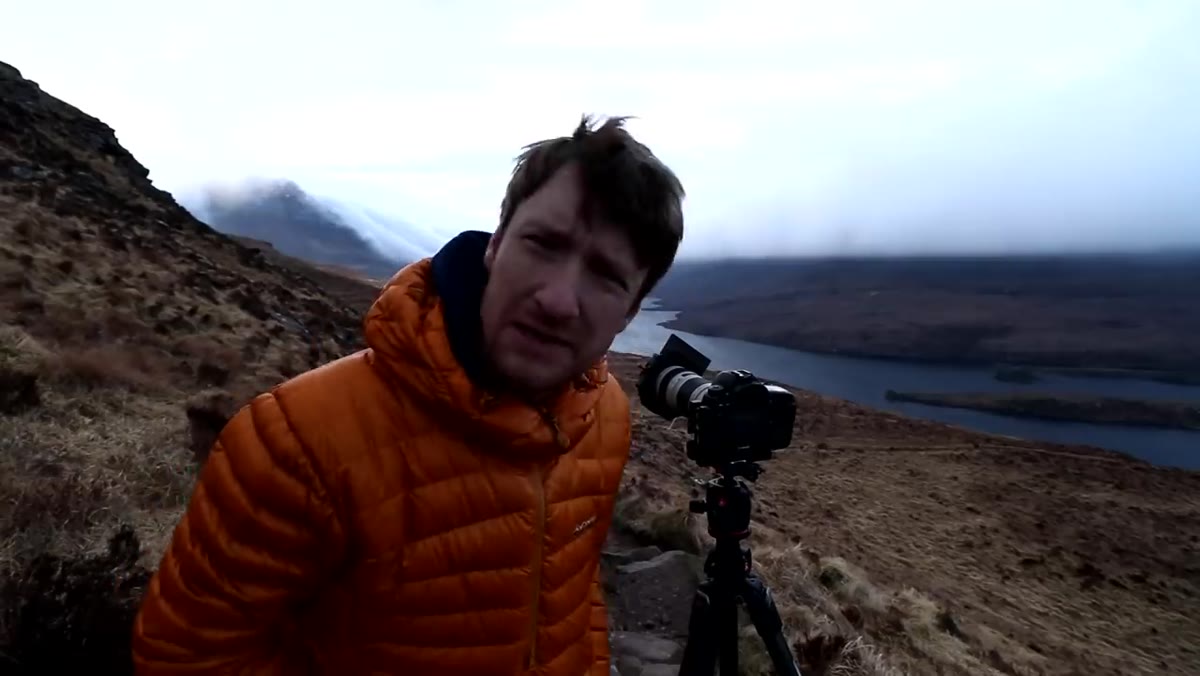 Low cloud viewed from below, previously blocking the summit shot
Not every hike delivers the image you planned. Heaton is refreshingly honest about this. He describes a miserable attempt to summit a peak in the Scottish Highlands where the cloud and mist simply wouldn’t clear. He’s candid that “it’s nice to be in nature” didn’t feel like enough consolation that morning. What saved the session was descending below the cloud layer and realizing the very thing that had been ruining his shots was now a beautiful, moody subject from underneath.
Low cloud viewed from below, previously blocking the summit shot
Not every hike delivers the image you planned. Heaton is refreshingly honest about this. He describes a miserable attempt to summit a peak in the Scottish Highlands where the cloud and mist simply wouldn’t clear. He’s candid that “it’s nice to be in nature” didn’t feel like enough consolation that morning. What saved the session was descending below the cloud layer and realizing the very thing that had been ruining his shots was now a beautiful, moody subject from underneath.
The technique here is about reframing your vantage point, literally and mentally. If the summit isn’t working, turn around and look at what’s behind you. Drop in elevation. Change your angle entirely. The obstacle is often the photograph.
Step 4: Shorter Hikes Are Not Lesser Hikes
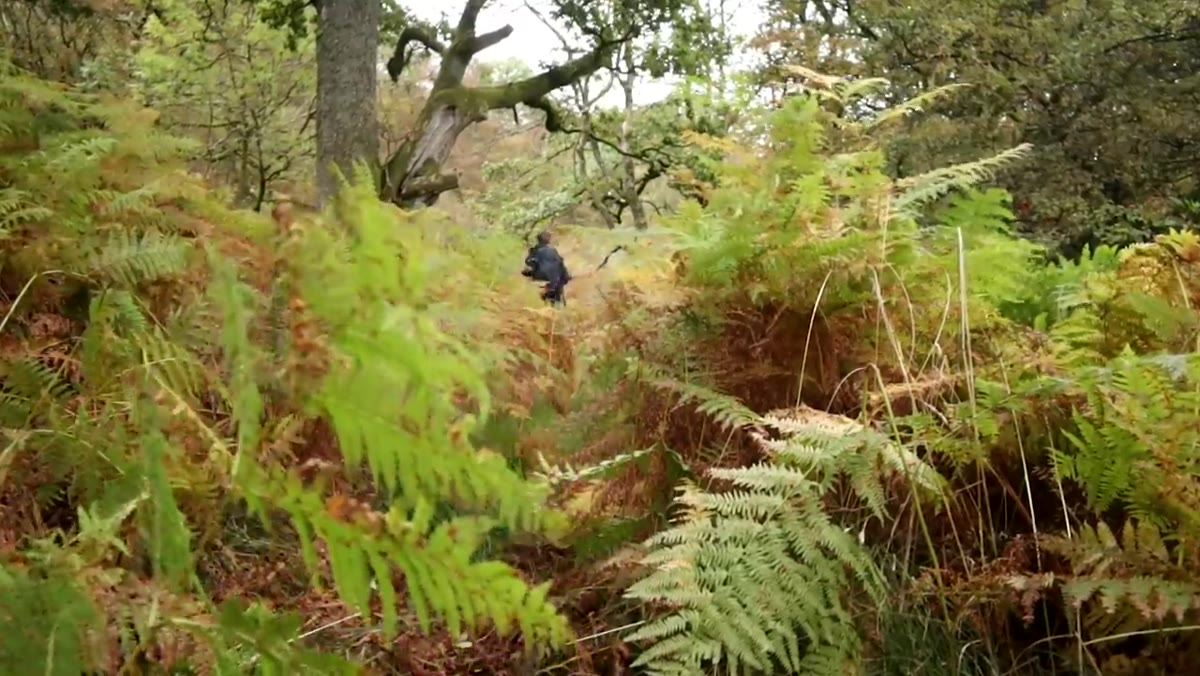 Gentle half-day trail with soft light, no extreme terrain
One thing Heaton says that I think gets overlooked is that not every hike needs to be a 12-mile high-altitude epic. Some of the most productive shooting sessions come from shorter, calmer half-day hikes where you can slow down and actually tune into the environment instead of grinding through it.
Gentle half-day trail with soft light, no extreme terrain
One thing Heaton says that I think gets overlooked is that not every hike needs to be a 12-mile high-altitude epic. Some of the most productive shooting sessions come from shorter, calmer half-day hikes where you can slow down and actually tune into the environment instead of grinding through it.
For photographers who are newer to hiking, this is the most important permission you can give yourself. Pick a trail that’s 3 to 5 miles with manageable elevation. Bring your camera but leave the pressure behind. You’re not there to conquer terrain. You’re there to see it. The shorter format also means you can revisit the same location across different seasons, which builds a completely different kind of photographic understanding than always chasing somewhere new.
Step 5: Hiking With Others Is a Legitimate Strategy
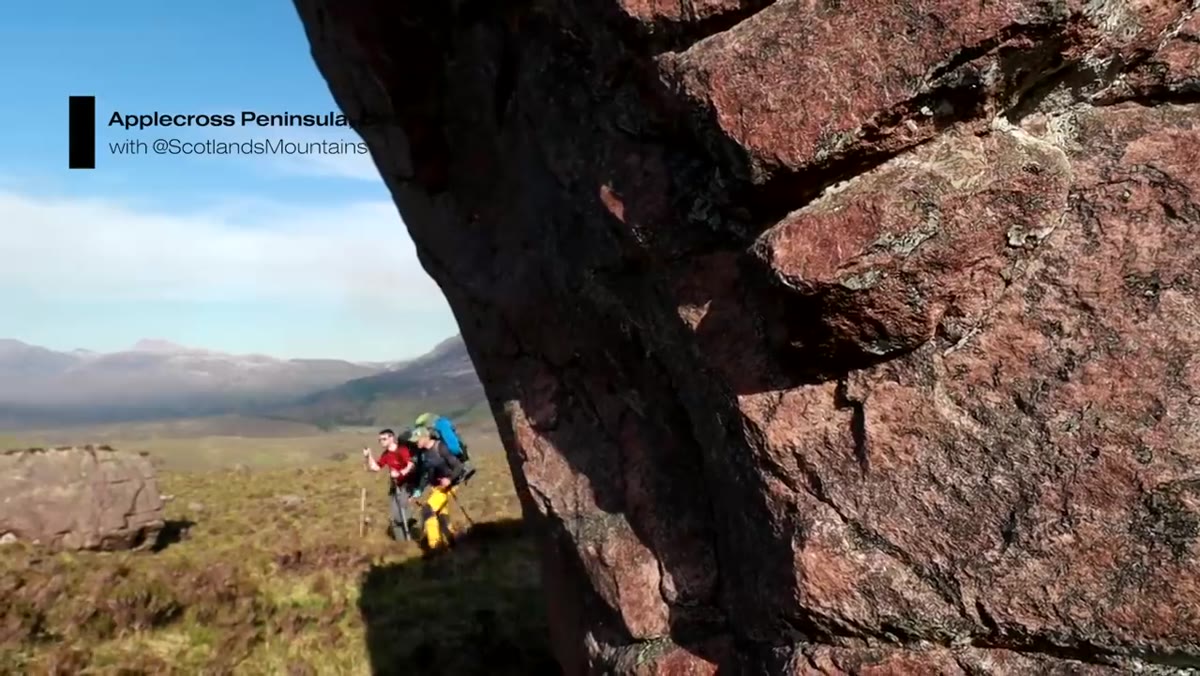 Two people hiking together on open landscape trail
Heaton mentions briefly but meaningfully that hiking doesn’t have to be a solo pursuit. If you’re lacking confidence in unfamiliar terrain, going with a friend isn’t a compromise, it’s smart. And some of his most memorable hikes have been with other people.
Two people hiking together on open landscape trail
Heaton mentions briefly but meaningfully that hiking doesn’t have to be a solo pursuit. If you’re lacking confidence in unfamiliar terrain, going with a friend isn’t a compromise, it’s smart. And some of his most memorable hikes have been with other people.
From a photographic standpoint, shooting with a friend can also keep you from getting too precious about your work. You’ll move faster in some moments, pause longer in others, and occasionally get an honest “that composition looks off” that you’d never give yourself alone. If you don’t have a hiking buddy, look for local photography meetups or hiking clubs. The community aspect of getting outside together is genuinely underrated.
Step 6: Find Your Composition First, Then Work the Light
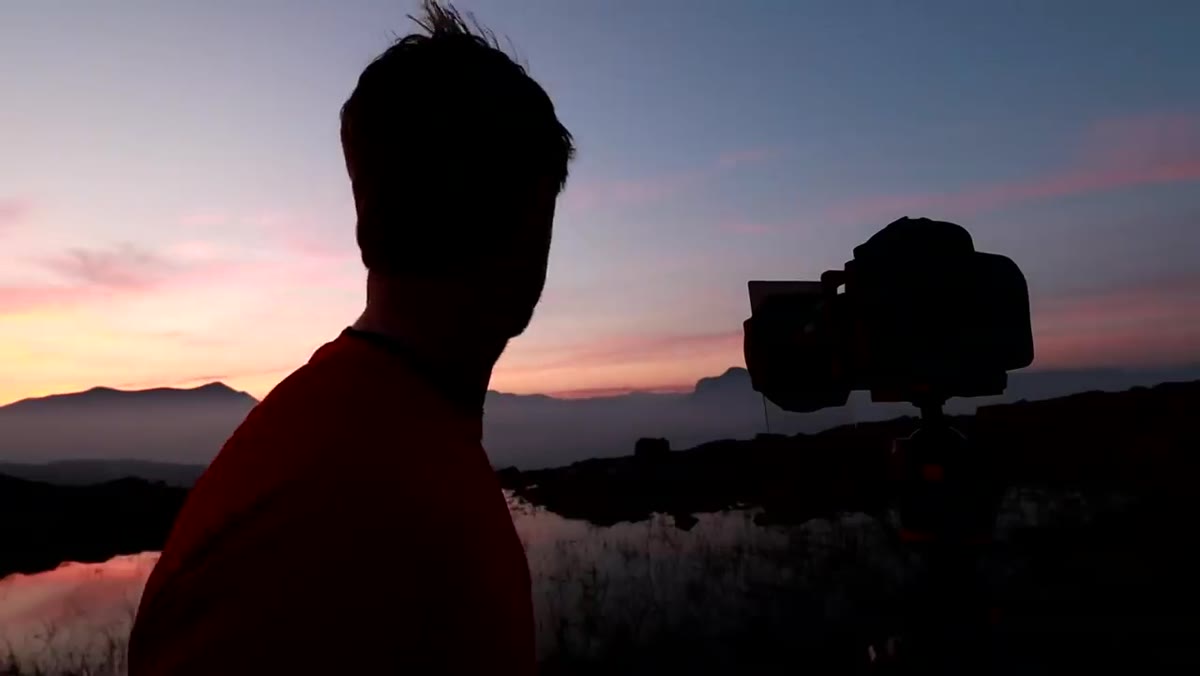 Intensifying sky colors over composed landscape shot at camp
The last major lesson Heaton demonstrates comes from a beach camping shoot where the sky is shifting quickly. He mentions that he already has his composition locked in and is simply taking a frame every couple of minutes as the light changes, only adjusting shutter speed each time. Everything else is fixed.
Intensifying sky colors over composed landscape shot at camp
The last major lesson Heaton demonstrates comes from a beach camping shoot where the sky is shifting quickly. He mentions that he already has his composition locked in and is simply taking a frame every couple of minutes as the light changes, only adjusting shutter speed each time. Everything else is fixed.
This is a discipline worth practicing deliberately. Find your frame before the light gets interesting. Use the flat pre-golden hour window to test your composition, check your horizon, and confirm your focus point. When the color hits, you’re not scrambling, you’re just pressing the shutter and watching.
My Own Caveat: Let Yourself Feel the Bad Mornings
I want to add something here that I think Heaton models honestly but doesn’t quite name directly. It’s okay to be disappointed when a hike doesn’t deliver. I’ve had sessions where I hiked two hours in the dark, set up in what looked like a perfect spot, and came home with nothing worth keeping. The “it’s nice to be outside” response only goes so far.
What matters is that you go back. The bad mornings are part of the data. They teach you what the light does in that spot when conditions are wrong, which means next time you’ll know faster whether to stay or reposition. My Sunday walks have given me a street-level knowledge of Seattle light that I couldn’t have bought with any piece of gear.
The single most important thing this tutorial teaches is that persistence and physical presence in the landscape will always outperform waiting for perfect conditions from behind a window. Heaton shows that beautifully, across fog, failure, and some genuinely stunning light.
Watch the full tutorial on YouTube to see all of it unfold in real time, including the footage that no breakdown can fully do justice to.
Comments
Leave a Comment