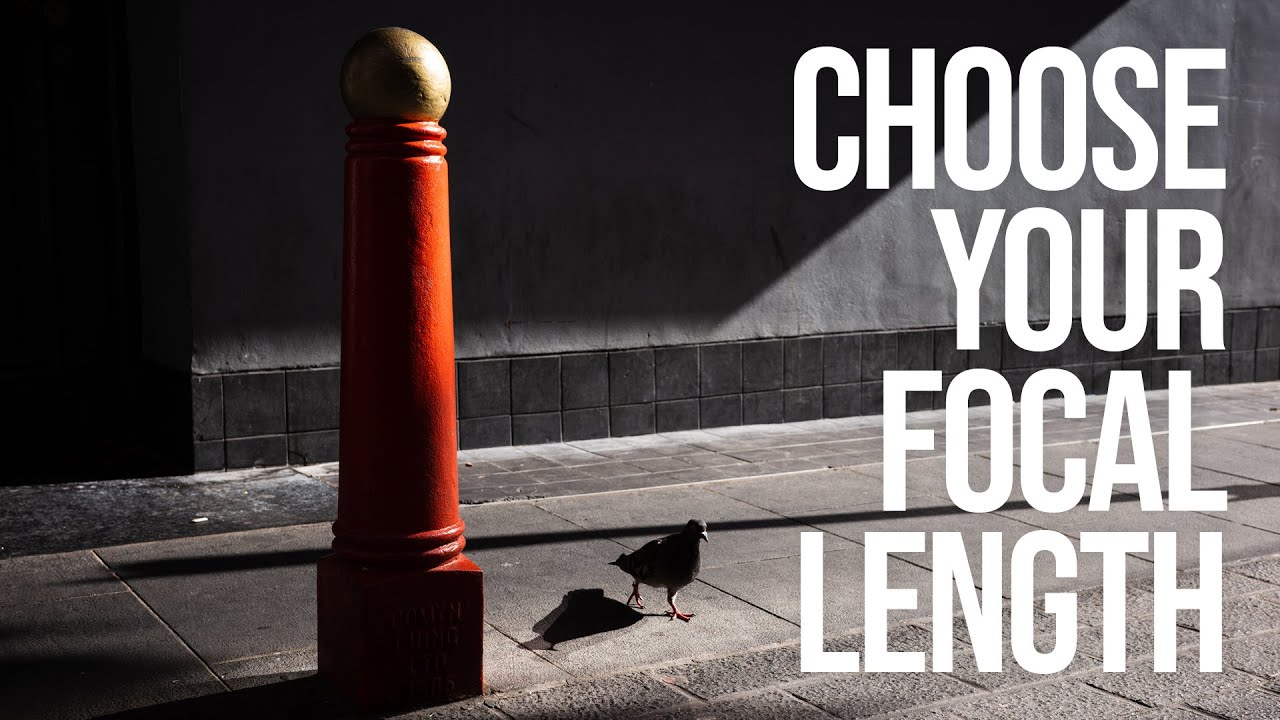
Every Sunday morning I do a photo walk. No agenda, no client brief, just me and whatever lens I decide to snap onto the camera before I walk out the door. And for longer than I’d like to admit, that decision felt almost random. I’d reach for the 35mm, then second-guess myself and swap it for the 50mm, then wonder if I should have just gone wider. The result was a portfolio that looked like it was shot by four different people.
That changed when I sat down with this tutorial by Sean Tucker, a photographer and educator whose work I respect for how clearly he connects technical decisions to creative vision. Watch the full tutorial on YouTube — it’s worth your time in full. But if you want to walk away from this article with a working framework you can apply on your next shoot, I’ve broken his focal length journey into actionable steps below.
The core idea Tucker builds around is this: your focal length is not just a technical setting. It’s a visual voice. Running the same focal length consistently through your work creates coherence, and that coherence is what separates a scattered collection of decent shots from a body of work that actually says something.
Step 1: Start With What You Have and Learn What It Teaches You
 Photographer on street with Canon 350D and 50mm lens
Tucker’s own journey started not by choice but by circumstance. He bought his first DSLR as a body-only purchase and ended up with a secondhand 50mm f/1.4. Paired with a crop sensor (APS-C), that 50mm behaved like an 85mm equivalent. The lesson here is not that you need to replicate his setup. The lesson is that shooting with one focal length long enough forces you to understand what it does, what it can’t do, and whether it matches the way your eye naturally finds a frame.
Photographer on street with Canon 350D and 50mm lens
Tucker’s own journey started not by choice but by circumstance. He bought his first DSLR as a body-only purchase and ended up with a secondhand 50mm f/1.4. Paired with a crop sensor (APS-C), that 50mm behaved like an 85mm equivalent. The lesson here is not that you need to replicate his setup. The lesson is that shooting with one focal length long enough forces you to understand what it does, what it can’t do, and whether it matches the way your eye naturally finds a frame.
If you’re just starting out, resist the urge to collect lenses before you’ve committed to learning one. Pick whatever prime or zoom end you’re drawn to most and shoot with it exclusively for a month. You’ll learn more about your own visual instincts from that constraint than from any gear upgrade.
Step 2: Understand What 85mm Actually Offers (and Where It Limits You)
 Portrait-style street shot with blurred background, subject isolated
An 85mm equivalent does one thing exceptionally well: isolation. The compression and shallow depth of field at this range let you pull a single subject out of a chaotic environment and render the background as smooth, creamy blur. Tucker describes this as almost cinematic, and it can add a layer of mystery to an image because the viewer gets the subject without the full context of where they are.
Portrait-style street shot with blurred background, subject isolated
An 85mm equivalent does one thing exceptionally well: isolation. The compression and shallow depth of field at this range let you pull a single subject out of a chaotic environment and render the background as smooth, creamy blur. Tucker describes this as almost cinematic, and it can add a layer of mystery to an image because the viewer gets the subject without the full context of where they are.
The limitation Tucker ran into is one a lot of street shooters eventually hit. When you’re only ever isolating subjects, your images start to feel disconnected from the world around them. Street photography often lives in the relationship between a person and their environment. At 85mm, you’re cutting that environment out of the frame.
Step 3: Recognize When You’re Ready to Move Wider
 Photographer switching to full-frame camera body
Tucker’s shift from an APS-C to a full-frame body gave him a true 50mm field of view, and something clicked. He describes 50mm as feeling “true to the way I see the world,” which is a phrase worth sitting with. At 50mm, you get enough reach to still isolate a subject with intention, but enough field of view to include the context that gives a street image its story.
Photographer switching to full-frame camera body
Tucker’s shift from an APS-C to a full-frame body gave him a true 50mm field of view, and something clicked. He describes 50mm as feeling “true to the way I see the world,” which is a phrase worth sitting with. At 50mm, you get enough reach to still isolate a subject with intention, but enough field of view to include the context that gives a street image its story.
Pay attention to when you feel frustrated by what your current focal length won’t let you include. That frustration is information. If you find yourself wishing you could show more of the scene, it’s time to go wider.
Step 4: Treat 50mm as Your Calibration Point
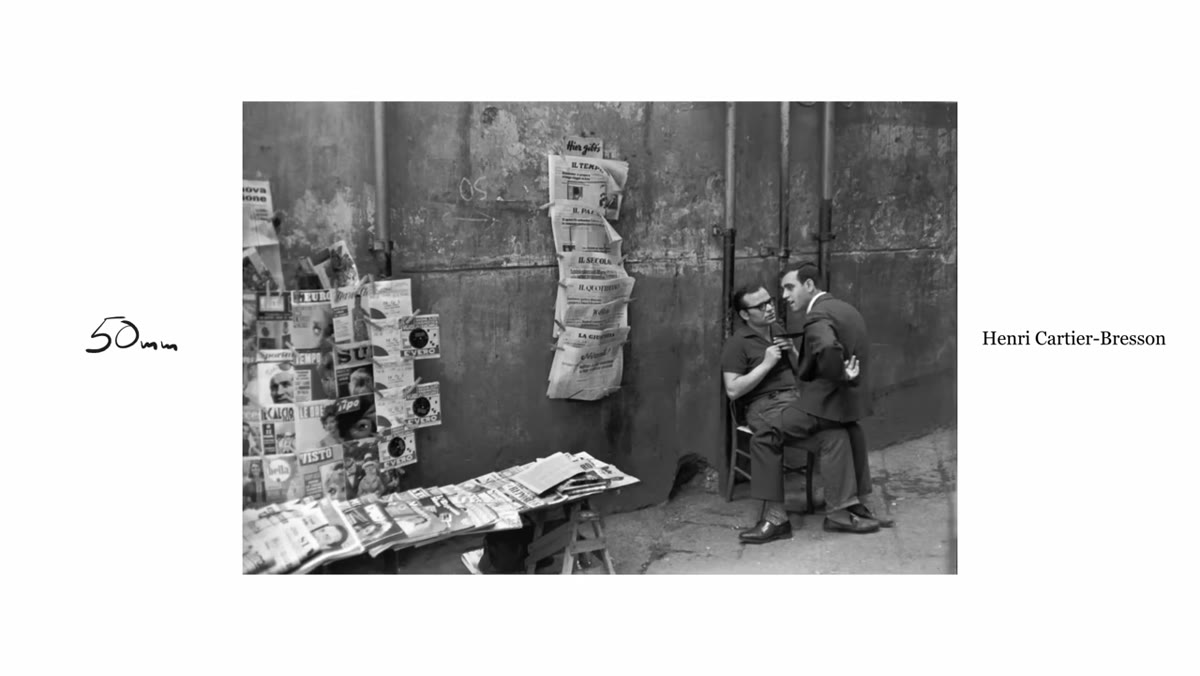 Street scene showing balanced subject and environmental context
Tucker positions 50mm as the classic baseline for street photography, partly because of its historical reputation (Henri Cartier-Bresson’s lens of choice) and partly because of its optical neutrality. There’s no significant barrel distortion, no compression effect that flattens space, and no exaggerated perspective. What you see is roughly what the camera captures.
Street scene showing balanced subject and environmental context
Tucker positions 50mm as the classic baseline for street photography, partly because of its historical reputation (Henri Cartier-Bresson’s lens of choice) and partly because of its optical neutrality. There’s no significant barrel distortion, no compression effect that flattens space, and no exaggerated perspective. What you see is roughly what the camera captures.
Use 50mm as a reference point even if it’s not your final destination. Shoot with it long enough to understand what “neutral” looks like, and then you’ll have a clearer sense of whether you want the intimacy of something wider or the compression of something longer.
Step 5: Go Wider to Force Yourself Into the Scene
 Photographer physically closer to subjects with wider lens
Moving to 35mm and then 28mm requires something that many photographers find genuinely uncomfortable: physical proximity. A wider lens distorts when you’re too far back, so if you want a strong composition at 28mm, you often have to be close enough to your subject that they can look you in the eye. Tucker frames this not as an obstacle but as a creative opportunity. The relationship between photographer and subject changes at this distance. The images have energy, presence, and a sense of immediacy that longer focal lengths rarely produce.
Photographer physically closer to subjects with wider lens
Moving to 35mm and then 28mm requires something that many photographers find genuinely uncomfortable: physical proximity. A wider lens distorts when you’re too far back, so if you want a strong composition at 28mm, you often have to be close enough to your subject that they can look you in the eye. Tucker frames this not as an obstacle but as a creative opportunity. The relationship between photographer and subject changes at this distance. The images have energy, presence, and a sense of immediacy that longer focal lengths rarely produce.
The practical note here is that shooting wider also pulls in more of the environment, which means your background management becomes more important. A messy or distracting background that you could blur away at 85mm will demand your compositional attention at 28mm.
Step 6: Match Your Focal Length to Your Personality, Not Just Your Aesthetic Preference
 Tucker discussing comfort and personal shooting style on street
This is the part of Tucker’s framework that stuck with me most. He argues that the right focal length is not just about how the images look but about how the process of making them feels to you. If you’re introverted, the distance and anonymity of an 85mm might suit your temperament and actually help you shoot more and shoot better. If you thrive on connection and the buzz of being in the middle of the action, a 28mm might be your natural home.
Tucker discussing comfort and personal shooting style on street
This is the part of Tucker’s framework that stuck with me most. He argues that the right focal length is not just about how the images look but about how the process of making them feels to you. If you’re introverted, the distance and anonymity of an 85mm might suit your temperament and actually help you shoot more and shoot better. If you thrive on connection and the buzz of being in the middle of the action, a 28mm might be your natural home.
Ask yourself honestly: do you gravitate toward observing from a distance, or do you want to be in the thick of it? Your answer points you toward a focal length before you’ve even picked up the camera.
My Own Addition: The Phone Test
Before committing to a new focal length, I have a low-stakes way to test it. My phone’s main camera sits around 26mm equivalent, and the 2x zoom mode lands near 52mm. I’ll spend a Sunday morning shooting only at one of those two lengths and pay attention to which moments feel satisfying and which feel limiting. It costs nothing and tells me a lot about where my eye naturally wants to live before I invest in a lens I might not connect with.
It also keeps me honest about how much of photography is gear and how much is decision-making. (Spoiler: it’s almost always the decisions.)
The single most useful takeaway from Tucker’s tutorial is that focal length is a commitment, not a variable to adjust on the fly. Find the one that matches how you naturally see the world, then run it through your work long enough to build something coherent. That consistency is what turns individual shots into a portfolio with a point of view.
Watch the full tutorial on YouTube to hear Tucker walk through his own images at each focal length. Seeing the visual difference side by side is worth every minute.
Comments
Leave a Comment