
There’s a particular kind of frustration that every photographer knows. Everything looks right. The light is good, your composition is solid, your settings are dialed. And yet something is off and you can’t name it. The image just won’t breathe. I’ve been there on rainy Sunday mornings in Seattle, standing in front of a scene that should be working, cycling through my camera menu like I’m looking for a missing sock.
Watch the full tutorial on YouTube
In this Peter McKinnon tutorial, the subject on the surface is a vintage 1978 car with a misbehaving carburetor. But McKinnon is almost never just talking about the literal thing in front of the camera. The way he and his mechanic work through the car’s problem, isolating symptoms, testing assumptions, and tracing issues back to their root cause, is a near-perfect metaphor for how to diagnose a creative block or a technically failing shot. The mechanic uses a human analogy to explain how the carburetor breathes at idle versus under load, and something about that clicked for me. We tend to overcomplicate diagnosis. Most of the time the fix is in the basics.
Here is how I’ve translated the core thinking from this video into a practical visual and creative troubleshooting process you can apply to your own work.
Step 1: Name the Symptom Before You Touch Anything
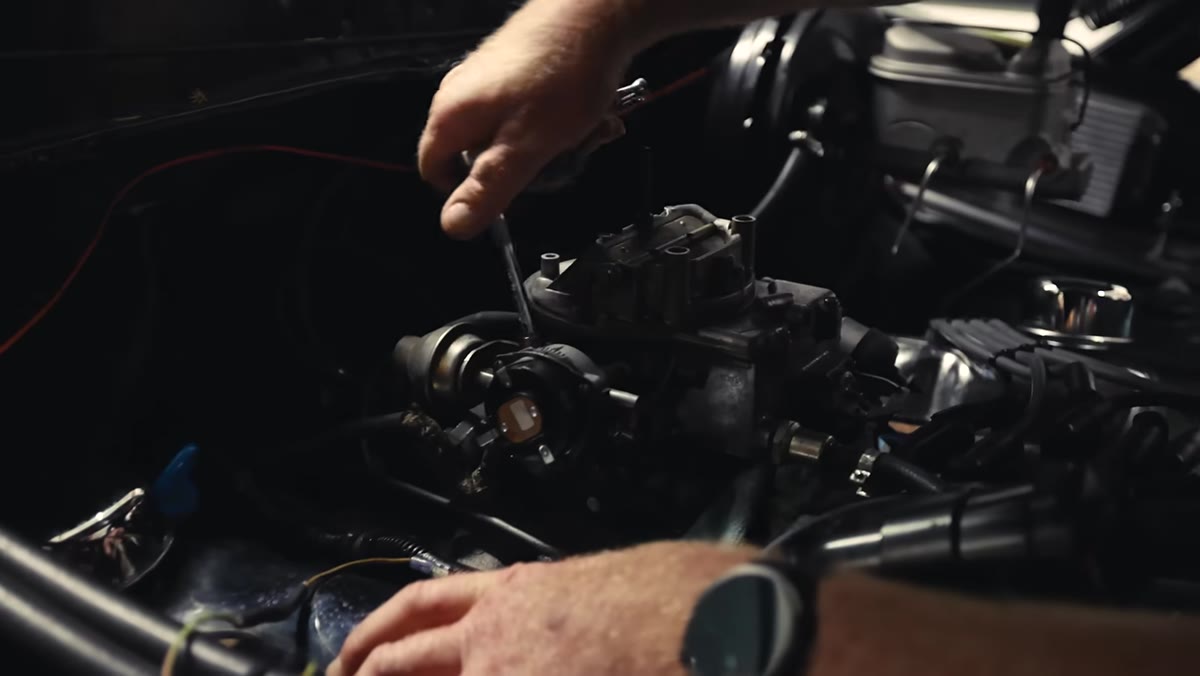 Mechanic explaining carburetor behavior stalling when shifted into gear
The first thing the mechanic does is describe the specific failure: the car stalls when shifted into gear. Not “it runs bad.” Not “something’s wrong.” A precise symptom. This is the step most beginners skip, and it’s the reason they end up chasing ghost problems.
Mechanic explaining carburetor behavior stalling when shifted into gear
The first thing the mechanic does is describe the specific failure: the car stalls when shifted into gear. Not “it runs bad.” Not “something’s wrong.” A precise symptom. This is the step most beginners skip, and it’s the reason they end up chasing ghost problems.
Before you change a single setting in Lightroom or adjust your exposure in camera, write down in plain language what is wrong with the image. Is the subject muddy? Are the shadows blocking up? Is there a color cast that looks fine on screen but prints wrong? Precision here saves you twenty minutes of random slider-moving.
Step 2: Isolate the System That Controls That Specific Behavior
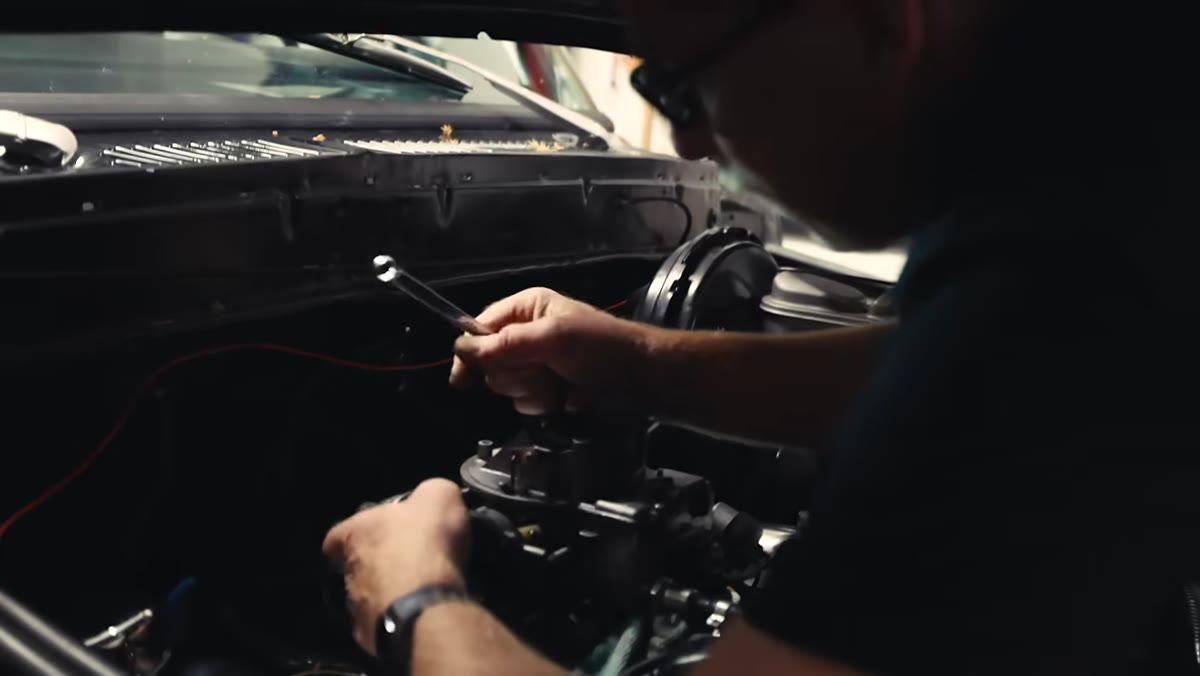 Mechanic pointing to idle circuits on the carburetor
Once you have a named symptom, you can isolate which system is responsible. The mechanic doesn’t pull apart the entire engine. He identifies that idle behavior is controlled by the idle circuits, and he goes there first. That’s diagnostic economy.
Mechanic pointing to idle circuits on the carburetor
Once you have a named symptom, you can isolate which system is responsible. The mechanic doesn’t pull apart the entire engine. He identifies that idle behavior is controlled by the idle circuits, and he goes there first. That’s diagnostic economy.
In photography terms, this means resisting the urge to rebuild your entire edit when one thing is off. If your skin tones look green, that’s a white balance or HSL problem, not a Tone Curve problem. If your highlights are blowing out in camera, that’s an exposure or lens filter issue, not something you fix in post. Train yourself to match symptoms to systems, and your editing sessions will get dramatically faster.
Step 3: Use an Analogy to Make the Invisible Visible
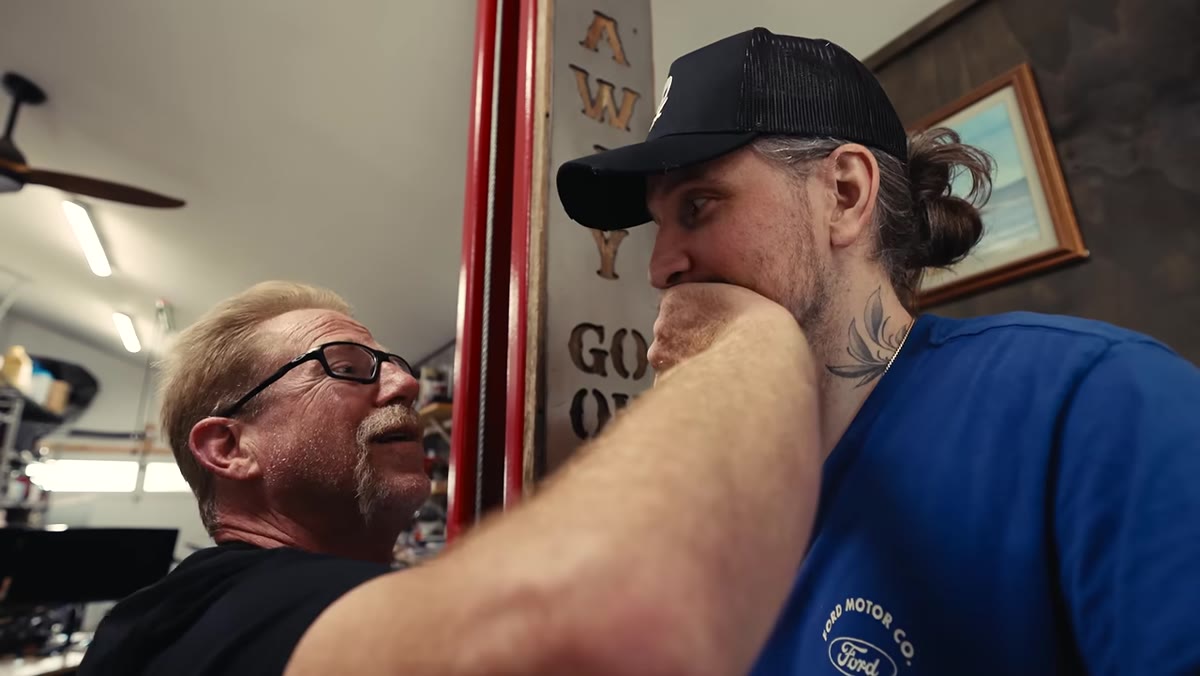 Mechanic using breathing analogy to explain idle versus off-idle carburetor function
This is the step I want to spend time on because it’s the one McKinnon leans into hardest. The mechanic explains carburetor function by comparing it to breathing. At idle, you breathe through your nose. Off idle, you breathe through your mouth. The car’s problem is that its “nostrils” are blocked.
Mechanic using breathing analogy to explain idle versus off-idle carburetor function
This is the step I want to spend time on because it’s the one McKinnon leans into hardest. The mechanic explains carburetor function by comparing it to breathing. At idle, you breathe through your nose. Off idle, you breathe through your mouth. The car’s problem is that its “nostrils” are blocked.
Applied to photography, this kind of thinking is a tool for teaching yourself and for explaining your work to clients. When I’m trying to understand why a particular light modifier isn’t doing what I expect, I’ll ask myself what physical thing it’s analogous to. A large softbox in close proximity to a subject is like a window on a cloudy day. A bare speedlight at distance is like a point of midday sun. When I frame it that way, the behavior stops being mysterious.
Step 4: Resist the Urge to Add Before You’ve Cleaned
 Mechanic identifying that the idle circuits need cleaning not replacement
The mechanic’s conclusion is not “you need a new carburetor.” It’s “you need to clean the one you have.” The circuits aren’t broken. They’re clogged. McKinnon’s instinct going into this was to add fuel injection, air conditioning, new brakes. The actual answer was to service what was already there.
Mechanic identifying that the idle circuits need cleaning not replacement
The mechanic’s conclusion is not “you need a new carburetor.” It’s “you need to clean the one you have.” The circuits aren’t broken. They’re clogged. McKinnon’s instinct going into this was to add fuel injection, air conditioning, new brakes. The actual answer was to service what was already there.
I see this constantly with newer photographers. They buy a new lens when their current one just needs a firmware update. They stack more presets when their base exposure is three stops off. Before you add anything, clean up what you have. In Lightroom, that means starting every edit by correcting your white balance and exposure before you touch anything creative. In the field, it means checking your lens for smudges before you assume your image is soft.
Step 5: Let the Diagnosis Be the Creative Work
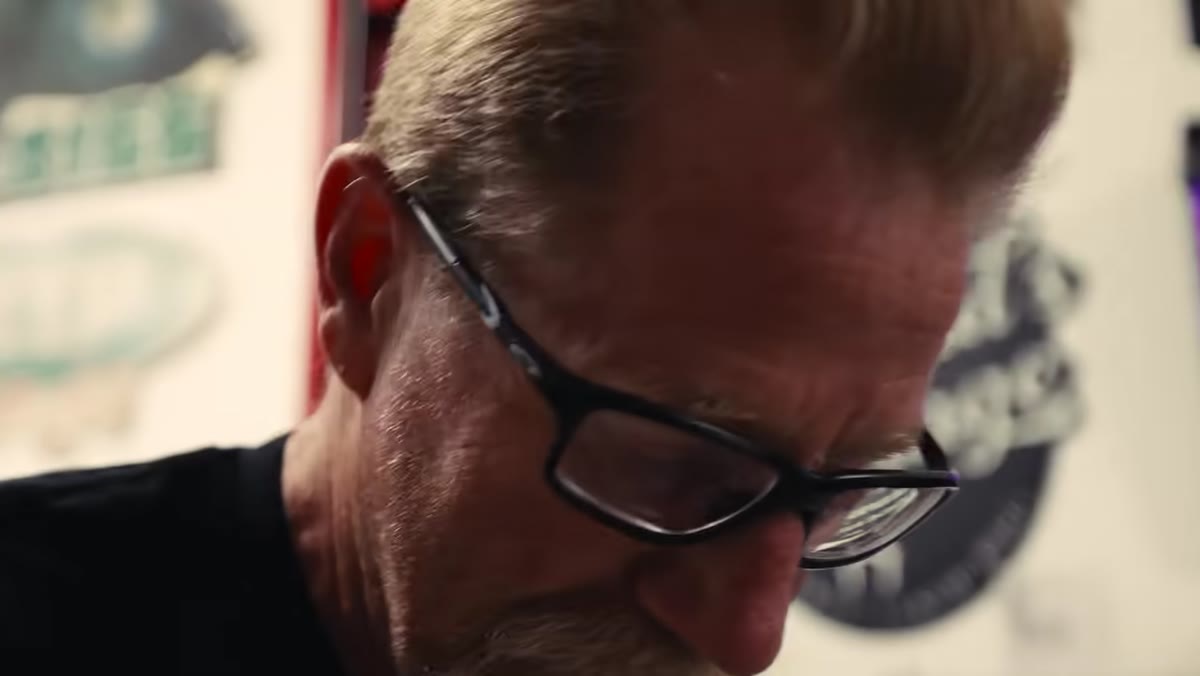
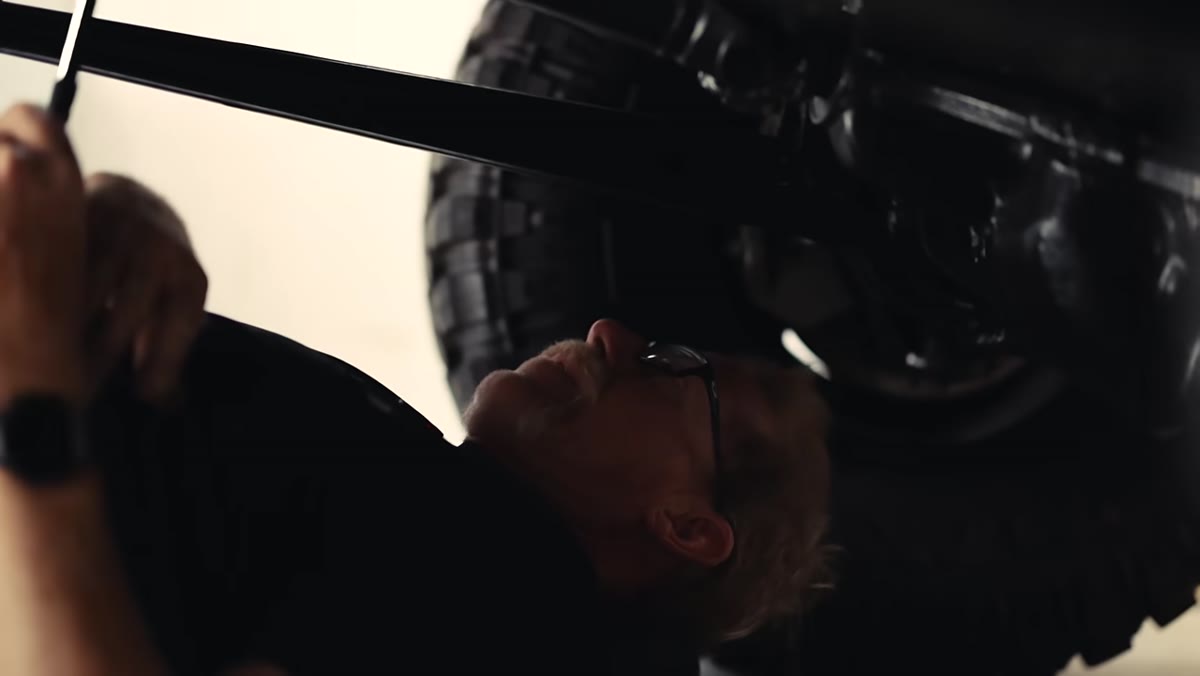 McKinnon watching the process, Casio watch visible, clearly absorbing the lesson
One of the quieter moments in this video is when McKinnon steps back and just watches. He’s not shooting. He’s not adjusting. He’s learning how something works so that he can do his job better later. That patience is part of the craft.
McKinnon watching the process, Casio watch visible, clearly absorbing the lesson
One of the quieter moments in this video is when McKinnon steps back and just watches. He’s not shooting. He’s not adjusting. He’s learning how something works so that he can do his job better later. That patience is part of the craft.
We don’t often count diagnosis as creative time, but it is. Figuring out why a shot isn’t working is the same intellectual muscle as figuring out how to make a shot great. I keep a notes app folder called “what went wrong” where I log failed shoots with observations. That folder has taught me more than any tutorial I’ve watched, including the ones I’ve made myself.
My Own Extension: The Sunday Morning Test
Every Sunday I take a photo walk through my Seattle neighborhood, usually around 7am before the coffee shops open. I’ve been doing this for two years. The rule is simple: I have to identify one thing that surprised me technically or visually before I’m allowed to go home. Some weeks it’s noticing how fog changes the apparent depth of a scene. Some weeks it’s realizing my shutter speed was a stop too slow for handheld and the whole set is soft.
This weekly habit is my version of what McKinnon’s mechanic is demonstrating: a regular, structured process for noticing what’s not working so you can fix it before it costs you a real shoot. You don’t have to do it on Sundays. But you do have to do it on purpose.
The single most important takeaway from this tutorial is that looking right and being right are not the same thing, and the gap between them is almost always in the fundamentals. Whether it’s a carburetor or a RAW file, the fix is usually simpler than you think, and it starts with naming the actual problem.
Watch the full tutorial on YouTube and pay attention to how the mechanic talks, not just what he fixes. There’s a whole approach to problem-solving in there that transfers directly to how you work behind the camera.
Comments (1)
This is exactly what I needed today. Been struggling with this for weeks.
Leave a Comment