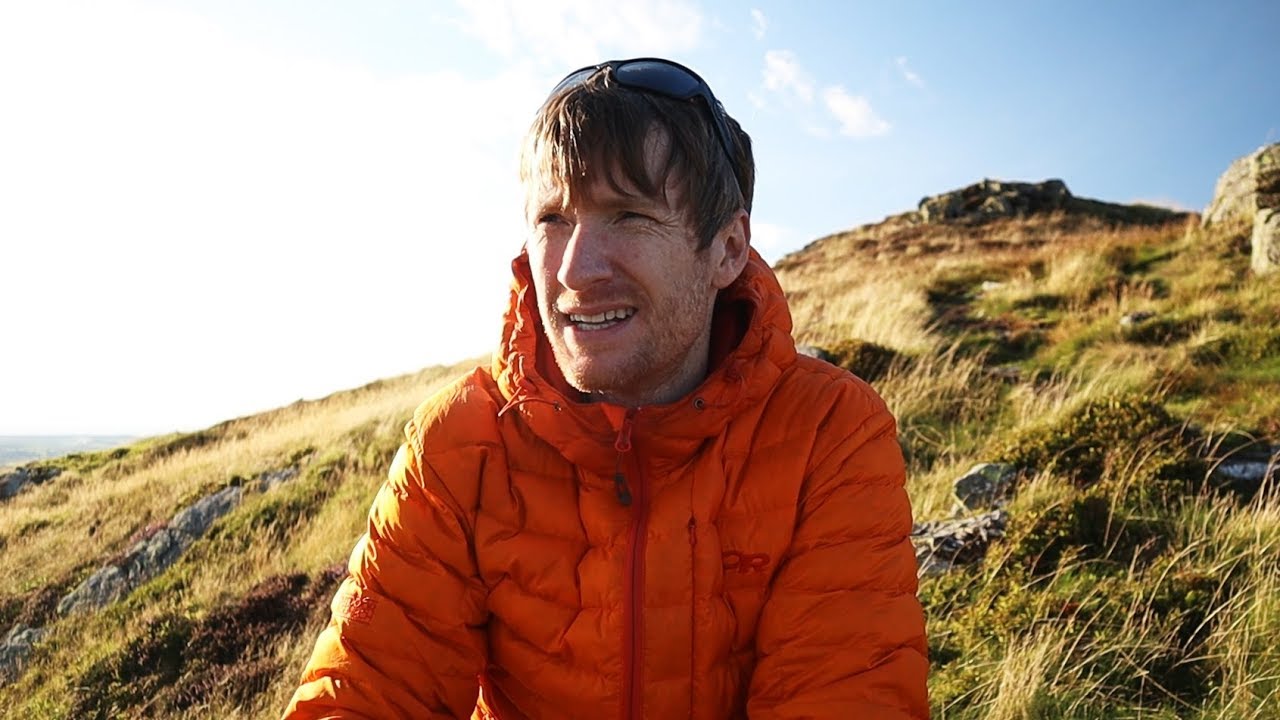
There’s a specific kind of frustration I know well: you’ve scouted the location, set the alarm, driven out in the dark, and then stood there watching a flat gray sky deliver absolutely nothing. No color, no drama, choppy water, moving subjects. I’ve packed up and gone home on mornings like that more times than I’d like to admit. What I’ve been working on lately is reframing that moment. Instead of treating bad conditions as a dead end, treating them as a constraint that forces a creative solution.
That shift in thinking is exactly what I watched unfold in this Thomas Heaton tutorial. Watch the full tutorial on YouTube - Heaton arrives at a lake in the English countryside expecting a stunning autumn sunrise, gets low cloud and wind instead, and then refuses to walk away. What he does next is a practical masterclass in adapting your technique to the conditions you actually have, not the ones you wished for.
The whole video is honest in a way I find rare. He doesn’t pretend the morning is going well. He complains a little, which, same. And then he gets to work. Here’s how he does it.
Step 1: Scout Before You Shoot
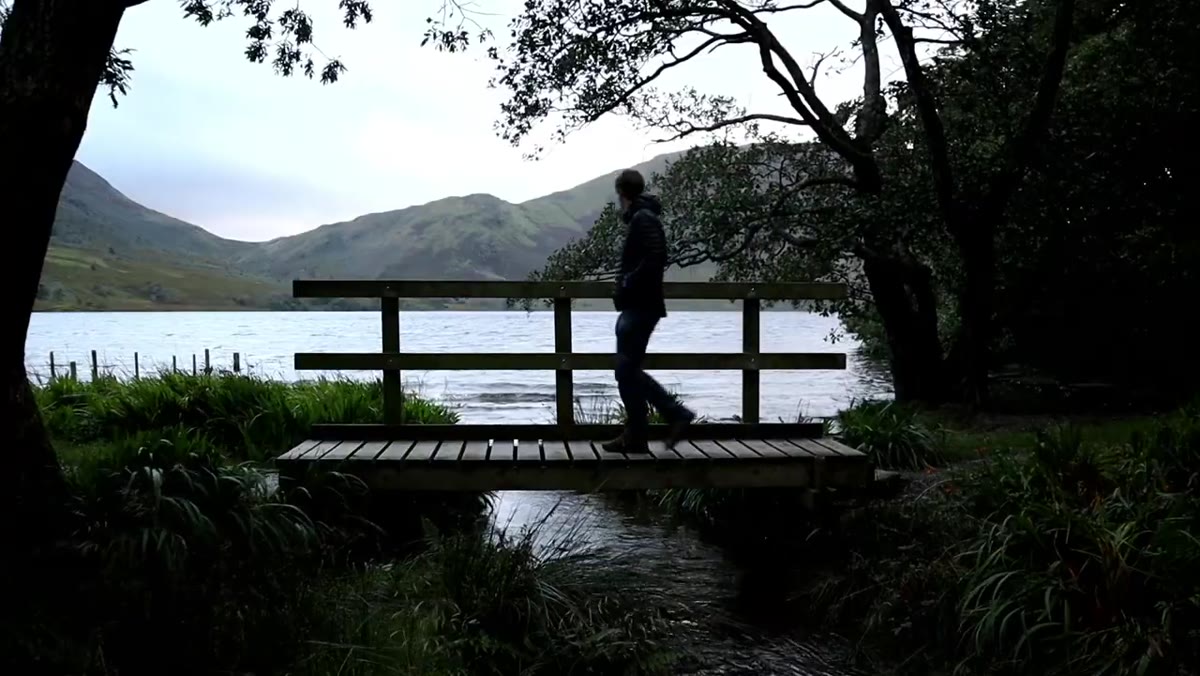 Thomas walking near the water’s edge at Crummock Water
Heaton spends the evening before his shoot doing a casual walk around the area. No camera pressure, no golden hour to chase. He’s just looking. That’s how he spots the submerged boat, half-filled with water, sitting in the boggy marshland near the shore. He notes it, figures out whether he can physically access it, and files it away for the morning.
Thomas walking near the water’s edge at Crummock Water
Heaton spends the evening before his shoot doing a casual walk around the area. No camera pressure, no golden hour to chase. He’s just looking. That’s how he spots the submerged boat, half-filled with water, sitting in the boggy marshland near the shore. He notes it, figures out whether he can physically access it, and files it away for the morning.
This is a habit worth building deliberately. When I arrive somewhere new, I give myself at least 20 minutes to just walk before I touch my camera bag. You notice things differently when you’re not already composing in your head. You find the interesting details, the textures, the structural quirks of a place. Heaton’s boat discovery is a perfect example: it becomes the entire subject of the shoot because he saw it the night before.
Step 2: Commit to Your Composition Even When Conditions Are Bad
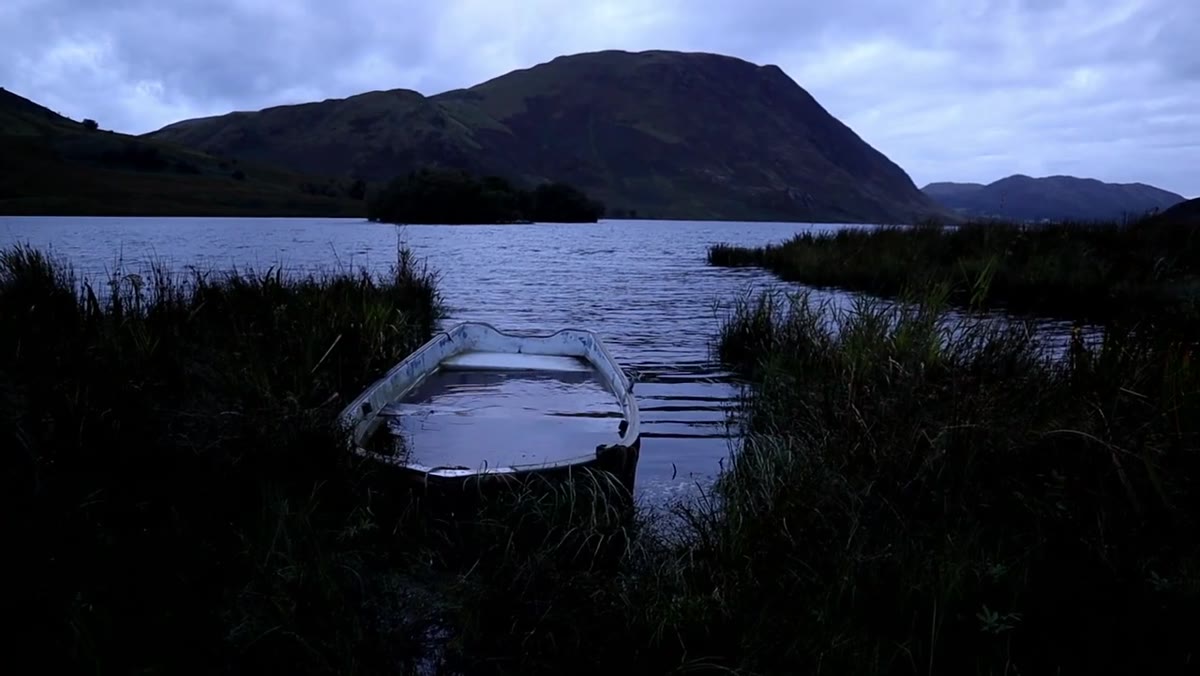 Wide view of the submerged boat in flat morning light
The temptation on a bad-light morning is to keep second-guessing your composition because nothing looks good anyway. Heaton does something smarter: he identifies a composition he genuinely loves and separates that judgment from the lighting conditions. He notes that the boat has calm water pooled inside it while the lake around it is choppy. That contrast, still water framed inside a moving body of water, is a structurally strong image regardless of the light.
Wide view of the submerged boat in flat morning light
The temptation on a bad-light morning is to keep second-guessing your composition because nothing looks good anyway. Heaton does something smarter: he identifies a composition he genuinely loves and separates that judgment from the lighting conditions. He notes that the boat has calm water pooled inside it while the lake around it is choppy. That contrast, still water framed inside a moving body of water, is a structurally strong image regardless of the light.
Once you find a composition that works geometrically and thematically, lock it in. Bad light is a temporary problem. A weak composition is a permanent one. Ask yourself: if the light were perfect right now, would I be excited about this frame? If yes, stay and work the conditions. If no, move.
Step 3: Diagnose What’s Actually Wrong with the Scene
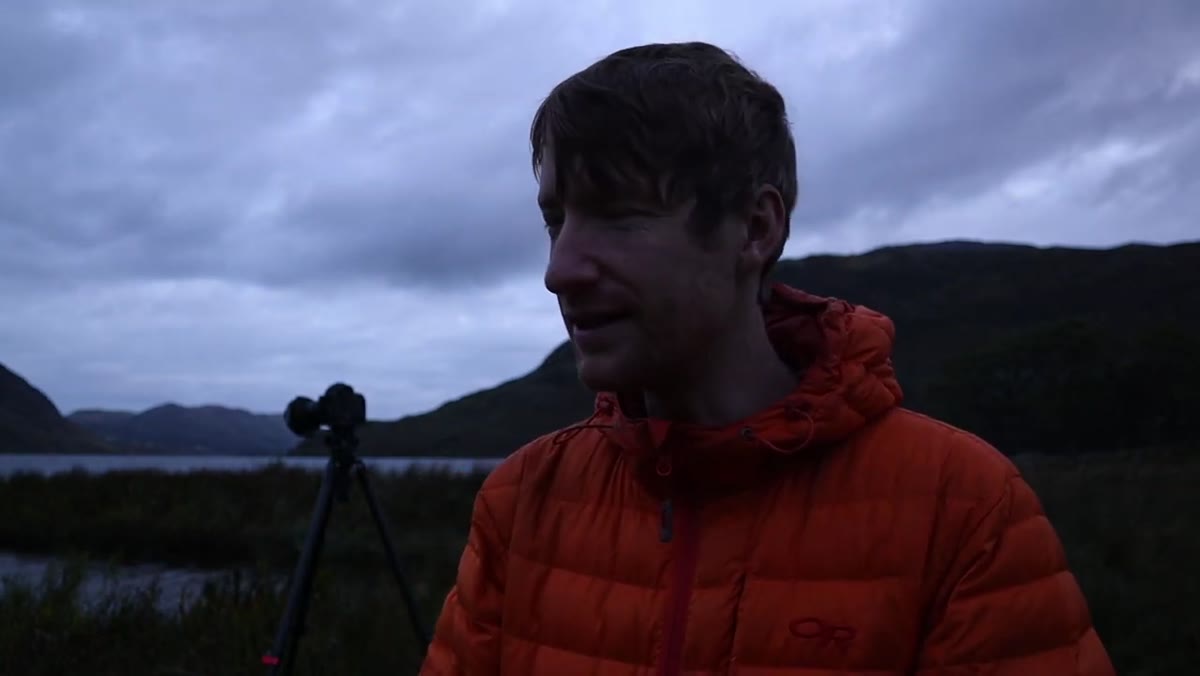 Heaton looking out at choppy, flat-lit water with overcast sky
Heaton doesn’t just say “the light is bad” and give up. He gets specific about what’s actually working against him. The problems are: flat overcast light with no warmth or drama, wind creating choppy water that reads as visual noise, and the boat itself moving slightly in the breeze. Naming the exact problems points you directly toward the solutions.
Heaton looking out at choppy, flat-lit water with overcast sky
Heaton doesn’t just say “the light is bad” and give up. He gets specific about what’s actually working against him. The problems are: flat overcast light with no warmth or drama, wind creating choppy water that reads as visual noise, and the boat itself moving slightly in the breeze. Naming the exact problems points you directly toward the solutions.
Choppy water and movement are things you can actually fix in-camera. Flat light is harder to fix in post without it looking synthetic. So his instinct is to address the water problem with technique and accept the sky as the raw material he has to work with.
Step 4: Choose the Right ND Filter Strength for Your Shutter Speed Goal
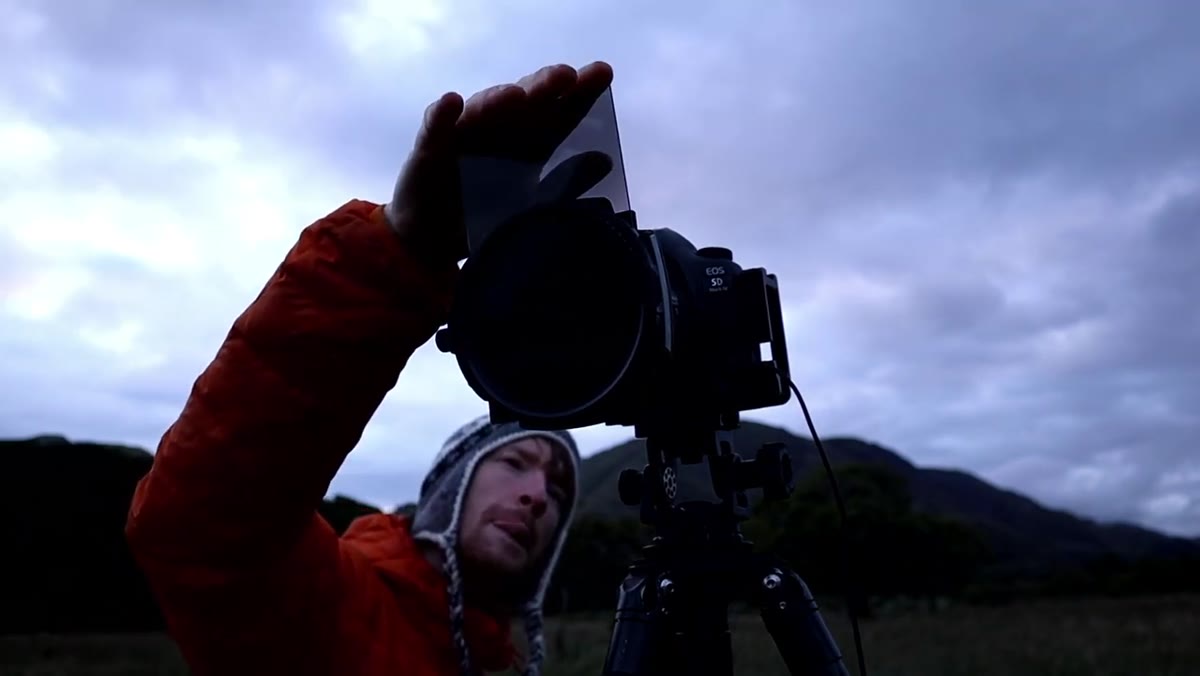 Close-up of 6-stop ND filter being attached to lens
Heaton drops in a 6-stop neutral density filter. A 6-stop ND filter reduces the light entering your lens by 64 times, which forces a dramatically longer shutter speed even in daylight. In his case, that takes his exposure out to roughly 1 minute and 20 seconds.
Close-up of 6-stop ND filter being attached to lens
Heaton drops in a 6-stop neutral density filter. A 6-stop ND filter reduces the light entering your lens by 64 times, which forces a dramatically longer shutter speed even in daylight. In his case, that takes his exposure out to roughly 1 minute and 20 seconds.
Here’s a quick reference for outdoor daylight situations. If your base exposure without a filter is around 1/60s at f/8 and ISO 100, a 6-stop ND gets you to approximately 1 second. A 10-stop ND would push that to around 15 seconds. For smoothing out choppy lake water into a silky or glassy surface, anything between 30 seconds and 2 minutes tends to work well. Start at 6 stops and go from there depending on how much wind movement you’re dealing with. Use a shutter speed calculator app if mental math under pressure isn’t your thing. I use one every time and I’m not embarrassed about it.
Step 5: Use Long Exposure to Create Mood the Light Isn’t Providing
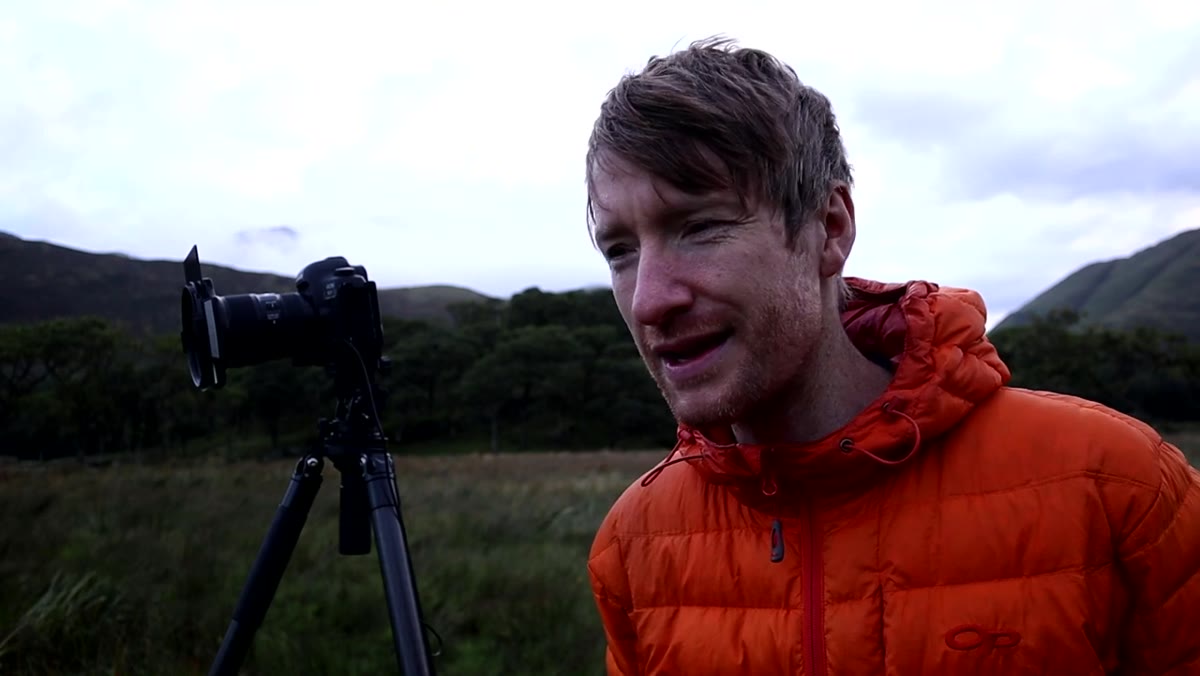 Camera on tripod aimed at boat, ND filter attached
Here’s the core technique idea. When the atmosphere isn’t giving you anything, long exposure can manufacture a version of atmosphere on its own terms. Silky, flattened water reads as calm and slightly otherworldly. It creates an ethereal quality that flat midday light can’t produce, but that flat overcast light actually pairs with quite well, because there are no harsh shadows to contend with.
Camera on tripod aimed at boat, ND filter attached
Here’s the core technique idea. When the atmosphere isn’t giving you anything, long exposure can manufacture a version of atmosphere on its own terms. Silky, flattened water reads as calm and slightly otherworldly. It creates an ethereal quality that flat midday light can’t produce, but that flat overcast light actually pairs with quite well, because there are no harsh shadows to contend with.
Heaton frames this as a deliberate trade: he’s giving up the sparkle and warmth he’d have on a sunny morning, and gaining a quieter, more melancholic mood that suits a half-sunken boat sitting alone in a marsh. Think about what emotional register your subject naturally belongs in, and ask whether long exposure could serve that story.
Step 6: Troubleshoot Movement in Your Subject
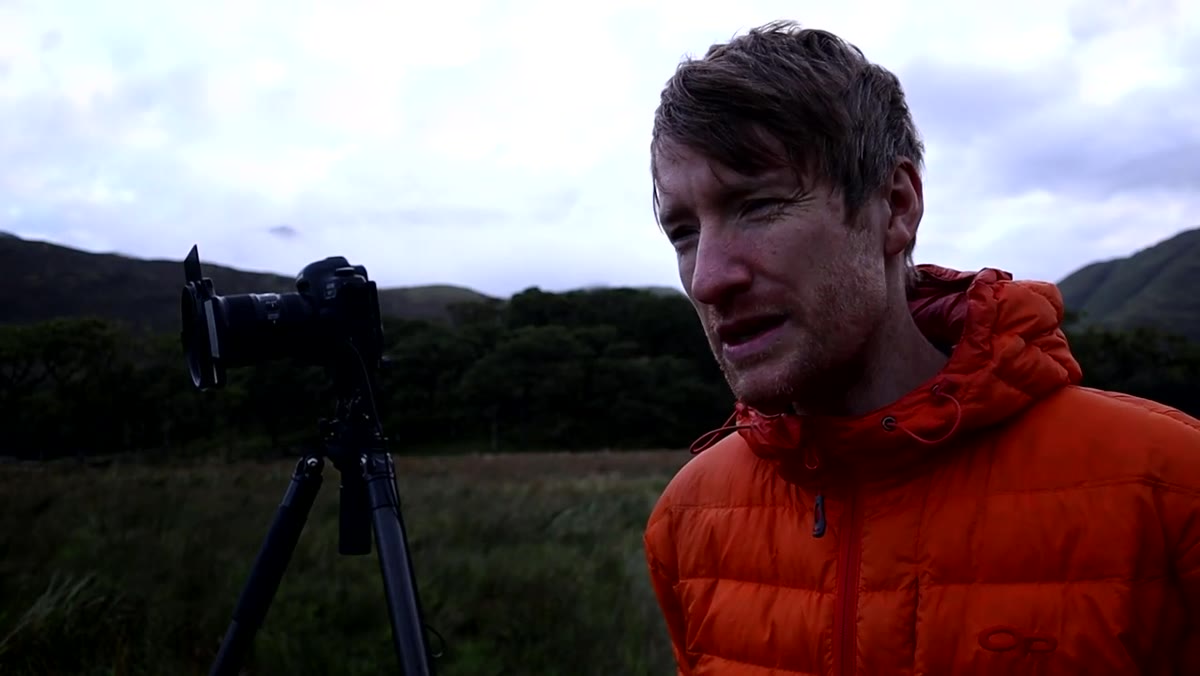 Heaton noting the boat is shifting with the wind and waves
The complication Heaton runs into is that the boat itself is moving, not just the water. On a 1-minute-plus exposure, any solid subject that shifts will render as a ghost or a blur, which is rarely what you want for your main point of focus. His instinct is to watch the boat across several frames and assess how much movement is happening.
Heaton noting the boat is shifting with the wind and waves
The complication Heaton runs into is that the boat itself is moving, not just the water. On a 1-minute-plus exposure, any solid subject that shifts will render as a ghost or a blur, which is rarely what you want for your main point of focus. His instinct is to watch the boat across several frames and assess how much movement is happening.
If you run into this, here are a few options depending on your situation. Wait for a brief lull in the wind and time your exposure to start then. Shoot several exposures and blend the sharpest version of the subject in post with the smoothest version of the water. Or, accept a small amount of blur in the subject as part of the mood, since for certain subjects like old boats it can actually reinforce the feeling of decay and time.
What I’d Add: Overcast Days Are Underrated for Certain Subjects
I want to push back a little on the instinct to always chase golden hour. Some subjects genuinely look better without direct sunlight. Anything with fine detail, weathered textures, peeling paint, rust, decay - flat diffuse light actually renders those surfaces more clearly than hard side-lighting does. I’ve gotten some of my favorite detail shots on Sunday morning photo walks here in Seattle in the middle of a gray November drizzle.
If you find a subject with strong inherent character, like Heaton’s half-submerged boat, overcast conditions stop being a consolation prize. They become the right tool. Long exposure plus soft light plus a subject with built-in narrative is a legitimate approach, not a compromise.
The single most important thing I took from this video: separate your judgment of the composition from your judgment of the conditions. If the frame is strong, stay and solve the light problem technically. The 6-stop ND filter is just one tool, but the mindset behind using it is the real lesson.
Watch the full tutorial on YouTube to see Heaton’s full process and the actual images from the morning. It’s worth watching even if you’ve read every step here, because watching someone troubleshoot in real time is its own kind of education.
Comments
Leave a Comment