There’s a version of photography advice that gets repeated so often it starts to feel like a law: gear doesn’t matter. And honestly? I’ve said it myself. My most-liked Instagram photo to this day was taken on a $200 Android phone, and that one image basically launched a whole series of posts I wrote about stripping your kit down to nothing. So I genuinely believe that creativity and light matter more than the brand name on your camera body. Most of the time.
But “most of the time” is doing a lot of work in that sentence. In this Mark Denney tutorial, Watch the full tutorial on YouTube, he walks through a situation where his gear created a real, specific, measurable limitation, not a vague feeling that his photos could be sharper. He had a 102-megapixel medium format camera and still couldn’t get close enough to the subject he wanted to photograph. The result was a final image that had been cropped down to under 4 megapixels. That’s not a composition preference. That’s a gear problem. And the way he breaks it down is worth your time even if you’re shooting with an entry-level crop sensor body.
What I took from this video wasn’t “go buy expensive gear.” It was a clearer framework for thinking about when a gear upgrade is actually justified, and what problem you should be trying to solve before you open your wallet. Here’s how that reasoning plays out in practice.
Step 1: Start With the Problem, Not the Product
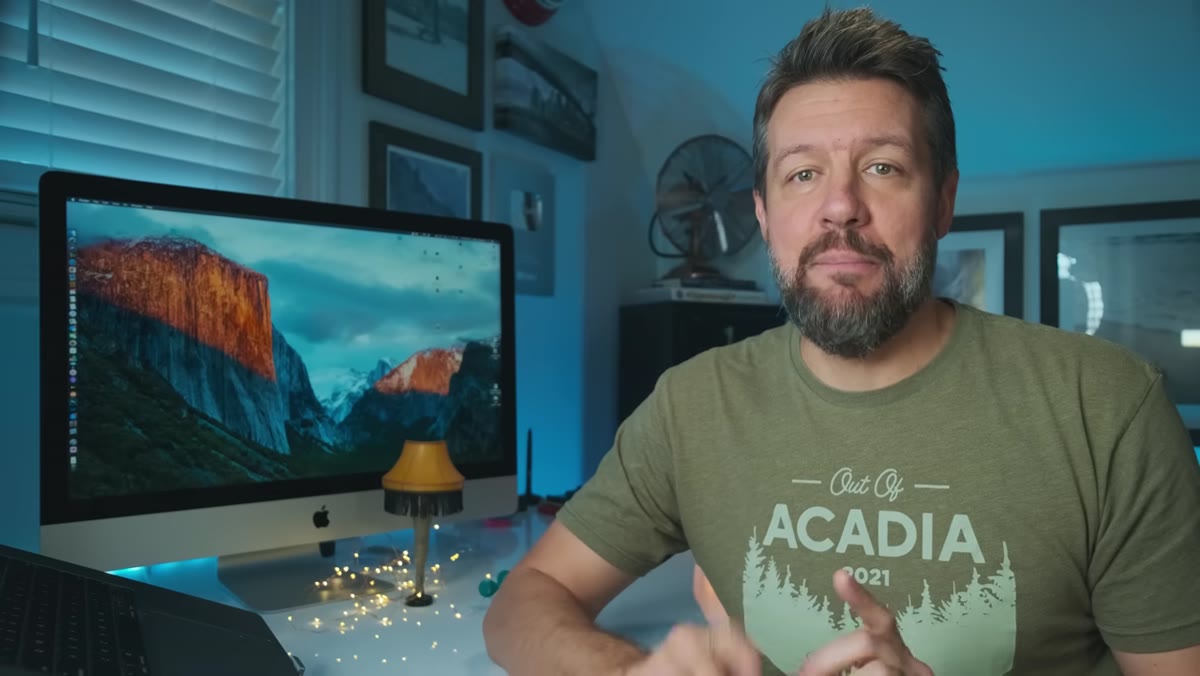 Mark explaining that gear sometimes genuinely does matter
Before Mark shows a single photo, he lays out his rule: he doesn’t upgrade to chase spec cycles. He upgrades to solve a problem he’s already running into in the field. This sounds obvious, but it’s worth internalizing before you read any gear review or watch any unboxing video.
The question to ask yourself is not “would this new lens be better?” It’s “what specific shot am I failing to get with what I have right now?” Write that down if you have to. If you can’t name the problem clearly, the upgrade probably won’t fix anything.
Step 2: Identify Your Minimum Focus Distance Limitation
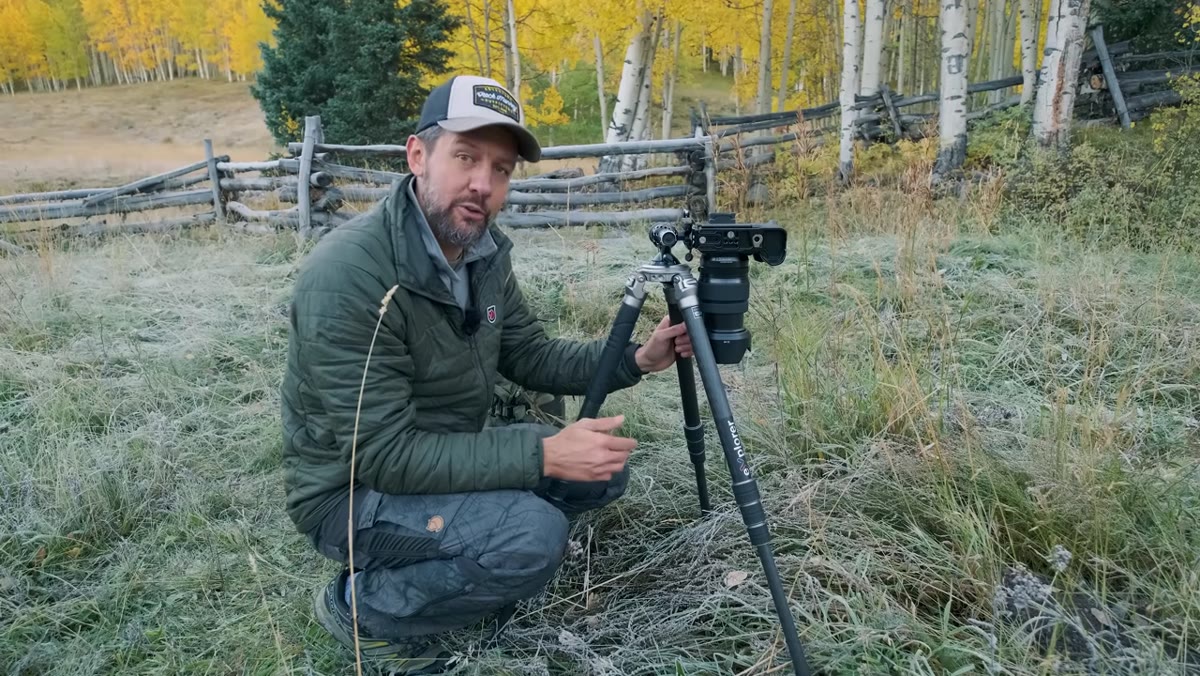 Mark photographing a frost-covered leaf close to the ground
Minimum focus distance is the closest your lens can physically be to a subject and still achieve sharp focus. It’s listed in every lens spec sheet, and most people gloss right over it. Mark ran into this hard limit while shooting a frost-covered autumn leaf in Colorado. He was zoomed all the way in and still couldn’t get close enough to fill the frame the way he wanted.
This is one of those constraints that only becomes visible when you’re out in the field trying to shoot something small. If you mostly photograph landscapes or portraits, you may never notice. But if you’ve ever found yourself frustrated that you can’t get close enough to a flower, an insect, or a textured surface, minimum focus distance is probably the culprit. Check the spec sheet for your current lens and compare it to how close you’re actually trying to shoot.
Step 3: Understand What Heavy Cropping Actually Costs You
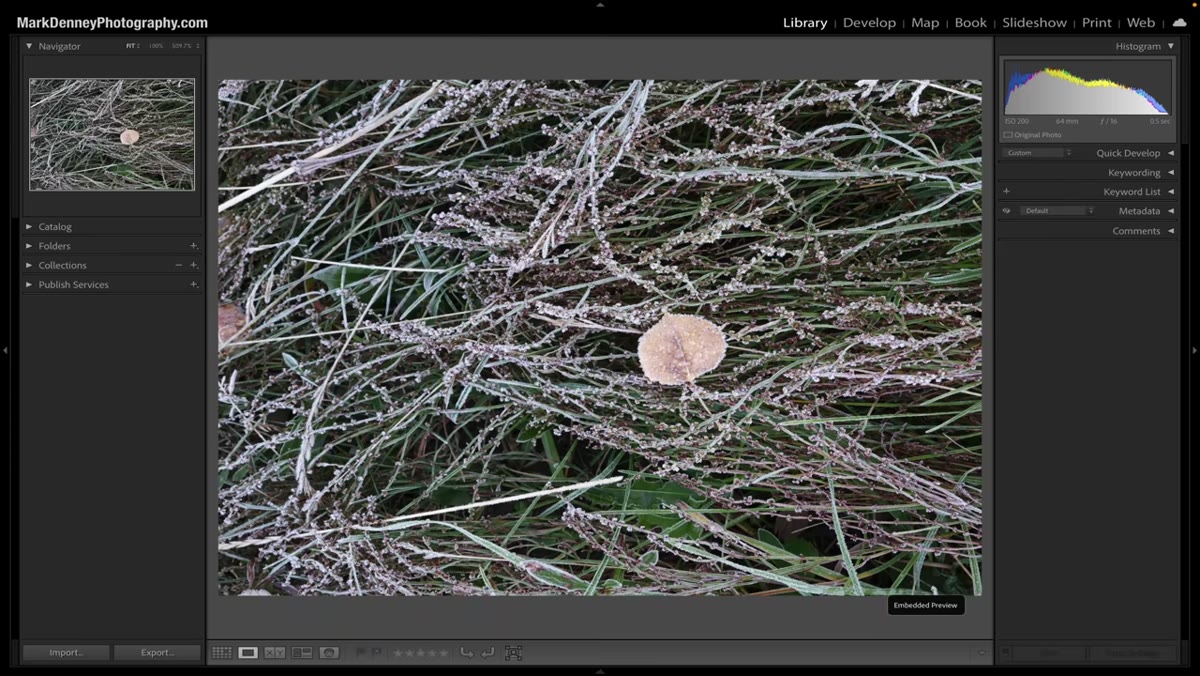 Side-by-side comparison of raw file and final cropped image in Lightroom
Mark opens his raw file in Lightroom and shows the numbers side by side. His original file was 11,648 by 8,736 pixels, which works out to about 102 megapixels. His final exported image, after cropping in enough to make the leaf feel like a macro shot, measured 1,898 by 1,898 pixels. That’s under 4 megapixels.
For anything viewed on a phone or screen, you might not notice. But if you ever want to print large, license an image, or simply have flexibility in how you frame the final crop, that loss of resolution is a real constraint. The takeaway here is not that cropping is bad. It’s that using cropping as a workaround for minimum focus distance burns through your resolution budget fast, even on a very high-resolution camera.
Step 4: Evaluate Whether Focus Stacking Can Help
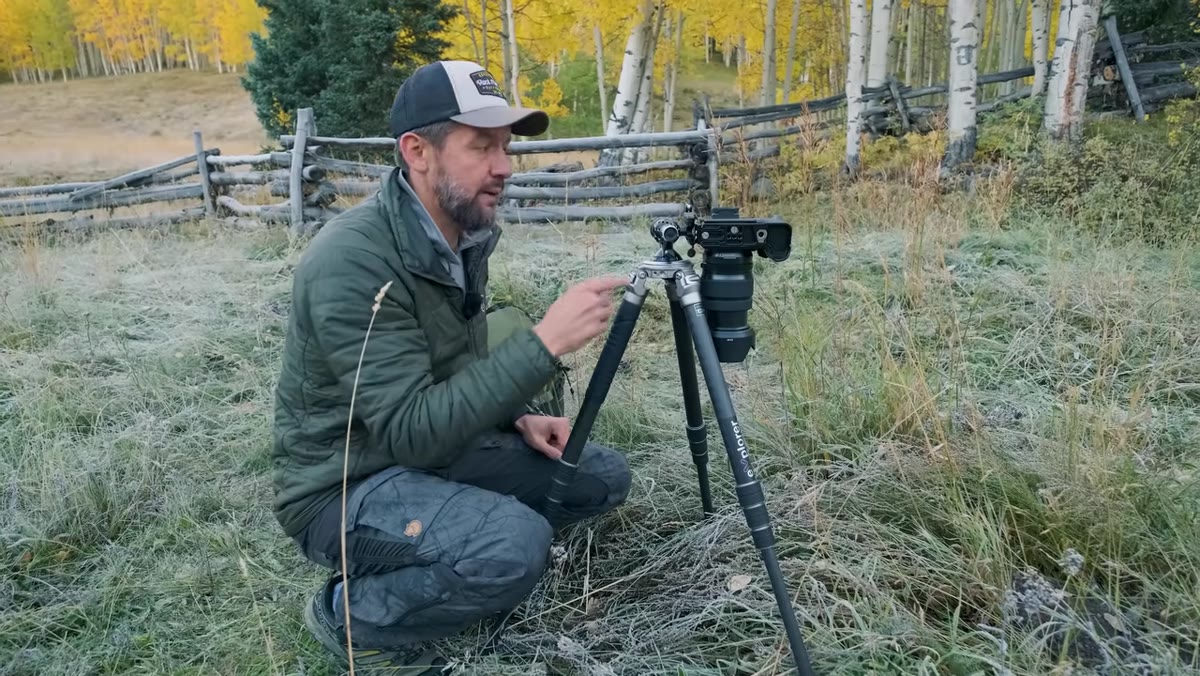 Mark describing his two-shot focus stack plan at F/16
Mark was shooting at F/16 on a medium format camera and already thinking about whether he’d need to focus stack. Focus stacking means taking two or more shots focused at different distances and merging them in post so the entire subject is sharp. It’s standard practice for macro work because depth of field gets razor-thin the closer you get to a subject.
If you’re hitting focus distance limits and dealing with shallow depth of field at the same time, a two-shot focus stack is often the simplest fix. Focus once on the nearest point of your subject, once on the farthest, and blend the sharp zones together in Photoshop or a dedicated tool like Helicon Focus. It won’t fix a minimum focus distance problem, but it will help you get cleaner results once you’re as close as your lens will allow.
Step 5: Decide Whether the Problem Justifies the Upgrade
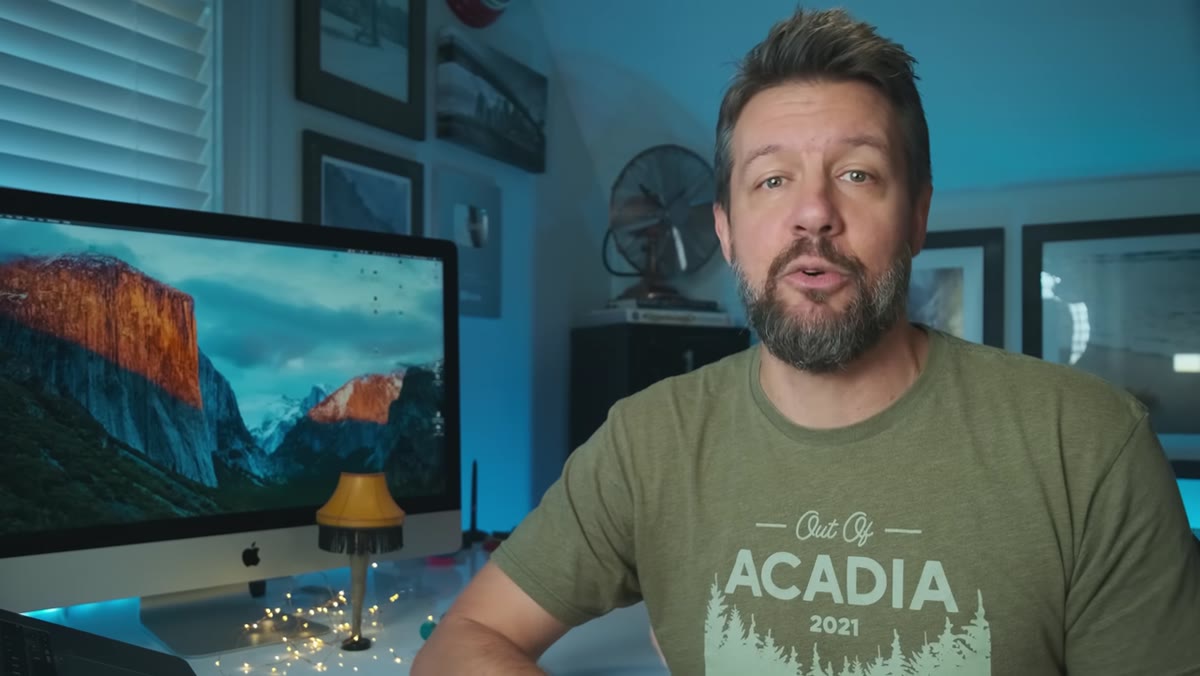 Mark explaining his personal criteria for buying new gear
This is the step most gear conversations skip entirely. Mark’s framework is simple: if the problem is real, recurring, and can be specifically solved by a new piece of equipment, the upgrade makes sense. If not, it doesn’t.
For macro work specifically, the more targeted solution might not be a new camera body at all. A dedicated macro lens, an extension tube set, or even close-up filter attachments can all bring your minimum focus distance down significantly, often for a fraction of what a new body costs. Before assuming the solution is expensive, research which piece of your current kit is actually creating the bottleneck.
A Note From My Own Kit
I shoot with a mirrorless body that tops out around 24 megapixels, which means I have even less room to crop aggressively than Mark did with his medium format setup. When I started doing more detailed work, close-up textures on Sunday morning photo walks, frost on leaves, peeling paint, that kind of thing, I added a set of extension tubes to my kit for about $60. They reduced my minimum focus distance dramatically without changing my lens or body at all.
The tradeoff is that you lose autofocus on most setups, so they’re not ideal for anything that moves. But for still subjects with controlled conditions, they’re one of the most underrated tools for photographers who want macro results without macro prices. The point is: the solution was cheap because I’d identified the actual problem first.
The single most important thing this video drove home for me is that “gear matters” and “gear doesn’t matter” are both too simple to be useful. The better question is whether your gear is creating a specific, identifiable limitation in work you’re already trying to do. If it is, solving that problem is worth it. If it isn’t, no spec sheet in the world will make your photography better.
Watch the full tutorial on YouTube to see the actual before-and-after comparison between Mark’s raw file and final edit. The visual difference makes the cropping math feel very real, very fast.
Comments (1)
Would love to see a follow-up going deeper into this topic.
Leave a Comment