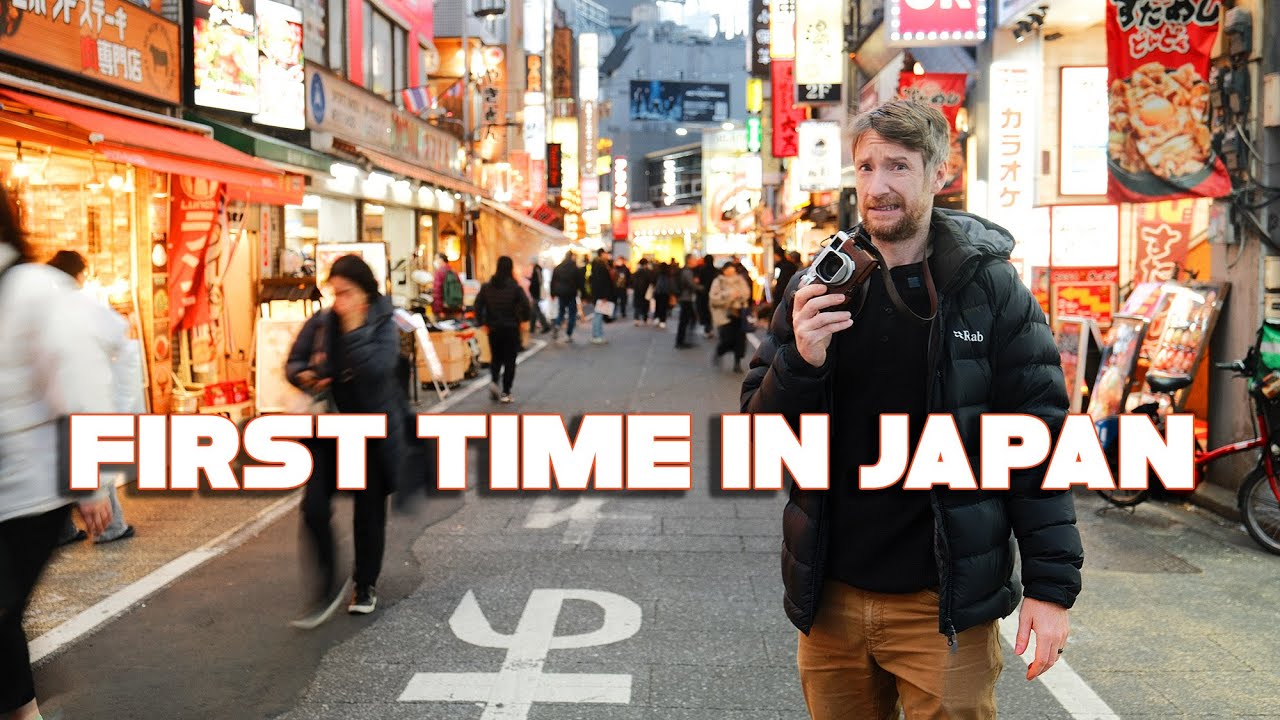
There’s a version of travel photography that looks like this: you arrive rested, your gear is pristine, the light is perfect, and you come home with a memory card full of keepers. Then there’s the version that actually happens. Flights get cancelled, bags disappear into airline purgatory, and you’re navigating a subway system with 20-plus lines on four hours of sleep and borrowed socks. That second version is the one worth learning from.
In this Thomas Heaton tutorial, Watch the full tutorial on YouTube, he documents his first trip to Tokyo, and it starts falling apart before he even boards a plane. His original flight gets cancelled, his bag gets rejected at a connecting gate, and he lands in one of the world’s most complex cities without his luggage. What unfolds is less of a photography masterclass and more of a masterclass in how to handle the chaos that surrounds photography travel, which is honestly more useful.
I’ve had my own version of this. I once spent an entire vacation chasing a single waterfall shot, missing dinner every night, only to arrive on the last morning to find the trail closed for maintenance. The gear survived. My planning did not. What Thomas captures here is the gap most photography tutorials skip over: what happens before you ever lift the camera.
Step 1: Treat Your Flight Plan Like a Shot List
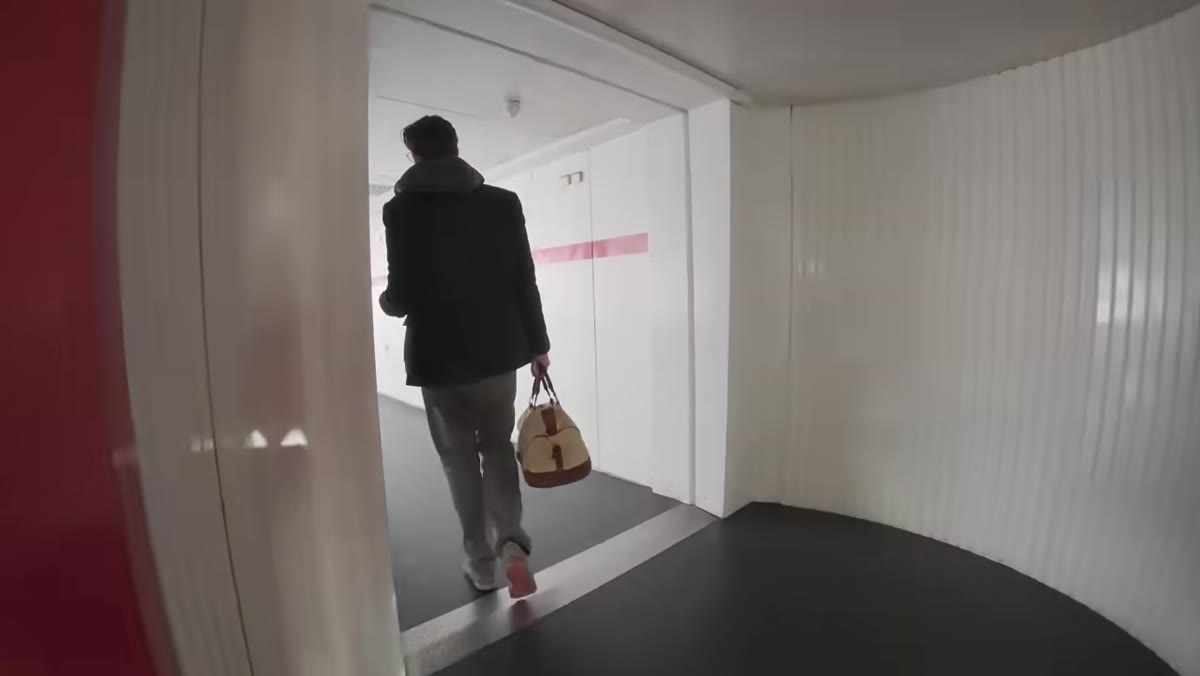 Thomas at airport explaining cancelled flight and reroute
Your itinerary is part of your photography plan, full stop. Thomas’s original routing was straightforward: Newcastle to Amsterdam to Tokyo. When that got cancelled, he was rerouted through London and Brussels, adding nearly nine hours to the journey. The lesson here is not just “flights get cancelled.” It’s that a longer, more fragmented travel day means you arrive exhausted, and exhausted photographers make bad creative decisions. When you’re planning a photo trip, build a buffer day before your first serious shoot. Don’t schedule golden hour for the evening you land after a 30-hour travel chain.
Thomas at airport explaining cancelled flight and reroute
Your itinerary is part of your photography plan, full stop. Thomas’s original routing was straightforward: Newcastle to Amsterdam to Tokyo. When that got cancelled, he was rerouted through London and Brussels, adding nearly nine hours to the journey. The lesson here is not just “flights get cancelled.” It’s that a longer, more fragmented travel day means you arrive exhausted, and exhausted photographers make bad creative decisions. When you’re planning a photo trip, build a buffer day before your first serious shoot. Don’t schedule golden hour for the evening you land after a 30-hour travel chain.
Step 2: Know Your Insurance Coverage Before You Need It
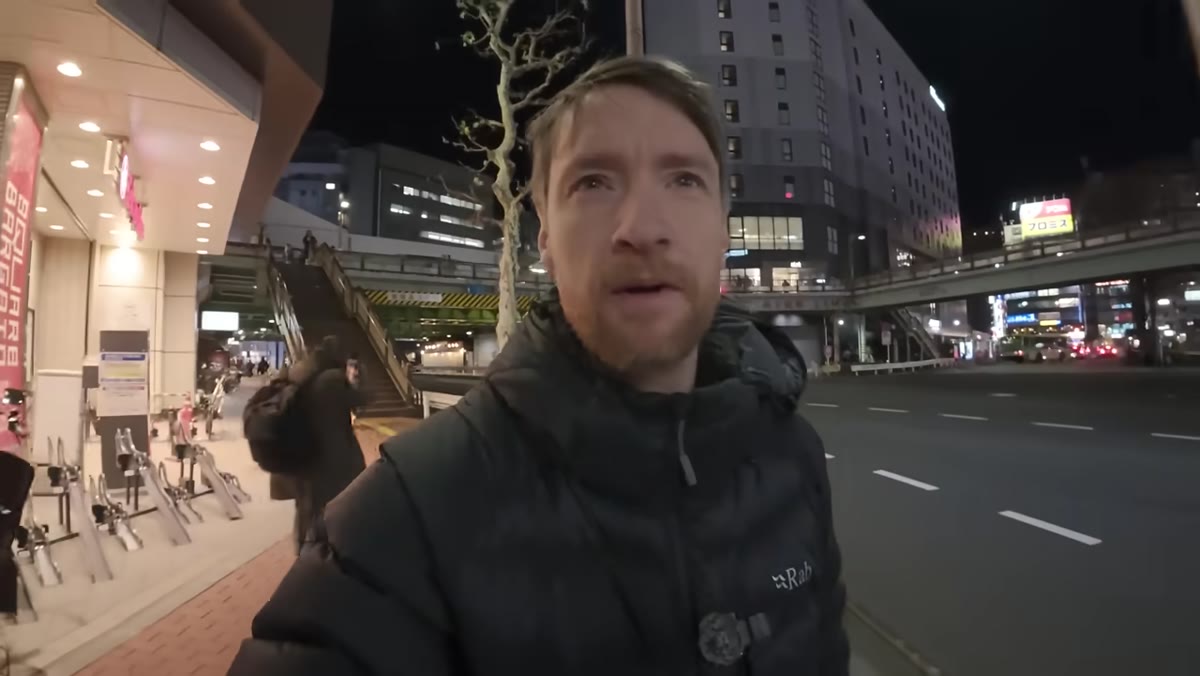 Thomas walking through Tokyo streets after buying essentials
This one stings, and Thomas is admirably honest about it. Baggage coverage is frequently sold as an optional add-on to travel insurance, not a default inclusion. He assumed it was included. It wasn’t. His camera gear, clothing, and personal items were in a bag that wouldn’t catch up with him for over a week, and he had no policy to cover replacements. Before any trip where you’re bringing significant photography equipment, read your insurance documents line by line. Check whether “baggage” is listed explicitly. If it’s not there, add it. The cost is usually minor compared to replacing even a single lens, let alone a full kit.
Thomas walking through Tokyo streets after buying essentials
This one stings, and Thomas is admirably honest about it. Baggage coverage is frequently sold as an optional add-on to travel insurance, not a default inclusion. He assumed it was included. It wasn’t. His camera gear, clothing, and personal items were in a bag that wouldn’t catch up with him for over a week, and he had no policy to cover replacements. Before any trip where you’re bringing significant photography equipment, read your insurance documents line by line. Check whether “baggage” is listed explicitly. If it’s not there, add it. The cost is usually minor compared to replacing even a single lens, let alone a full kit.
Step 3: Pack a Carry-On Like Your Trip Depends on It
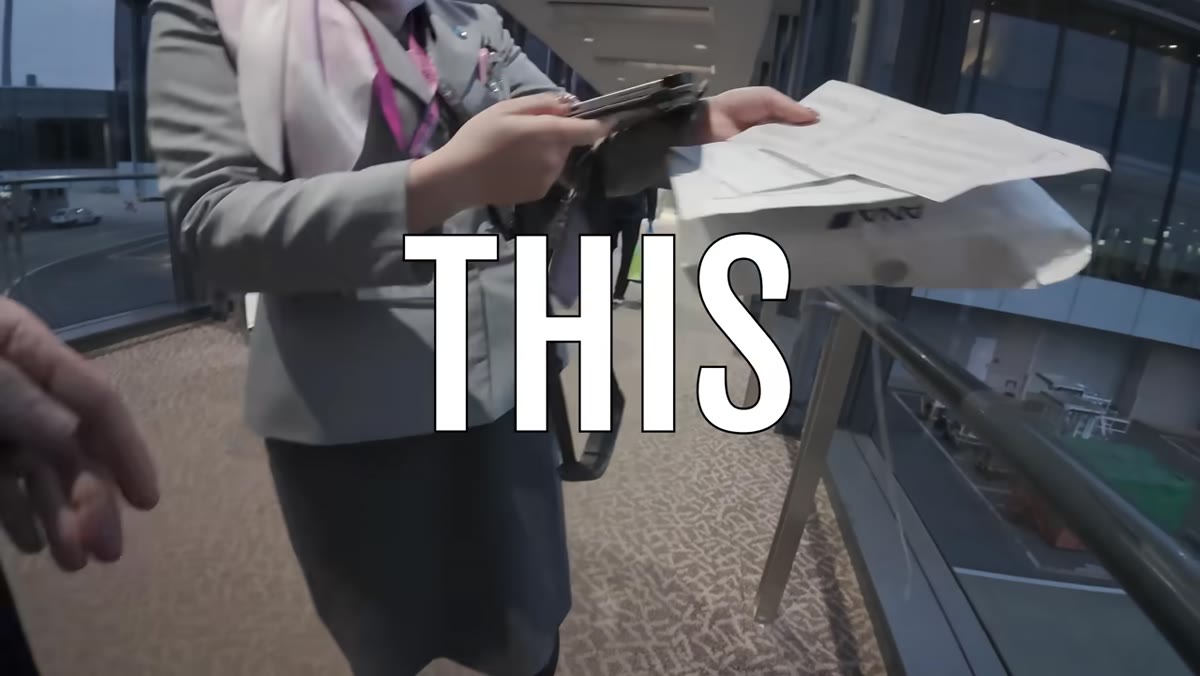 Airport gate agent telling Thomas his bag is not allowed on flight
At one connecting gate, Thomas was told his bag could not board. That moment is almost a punchline, but it points to something practical. Your most critical gear, your camera body, your primary lens, any irreplaceable items, should be with you in the cabin. Not in a checked bag. Not in a bag you’re planning to gate-check. On your body or in the overhead bin. International travel with connections adds risk at every handoff. The more legs your journey has, the more chances your checked bag has to end up somewhere else entirely.
Airport gate agent telling Thomas his bag is not allowed on flight
At one connecting gate, Thomas was told his bag could not board. That moment is almost a punchline, but it points to something practical. Your most critical gear, your camera body, your primary lens, any irreplaceable items, should be with you in the cabin. Not in a checked bag. Not in a bag you’re planning to gate-check. On your body or in the overhead bin. International travel with connections adds risk at every handoff. The more legs your journey has, the more chances your checked bag has to end up somewhere else entirely.
Step 4: Research Transit Before You Land, Not After
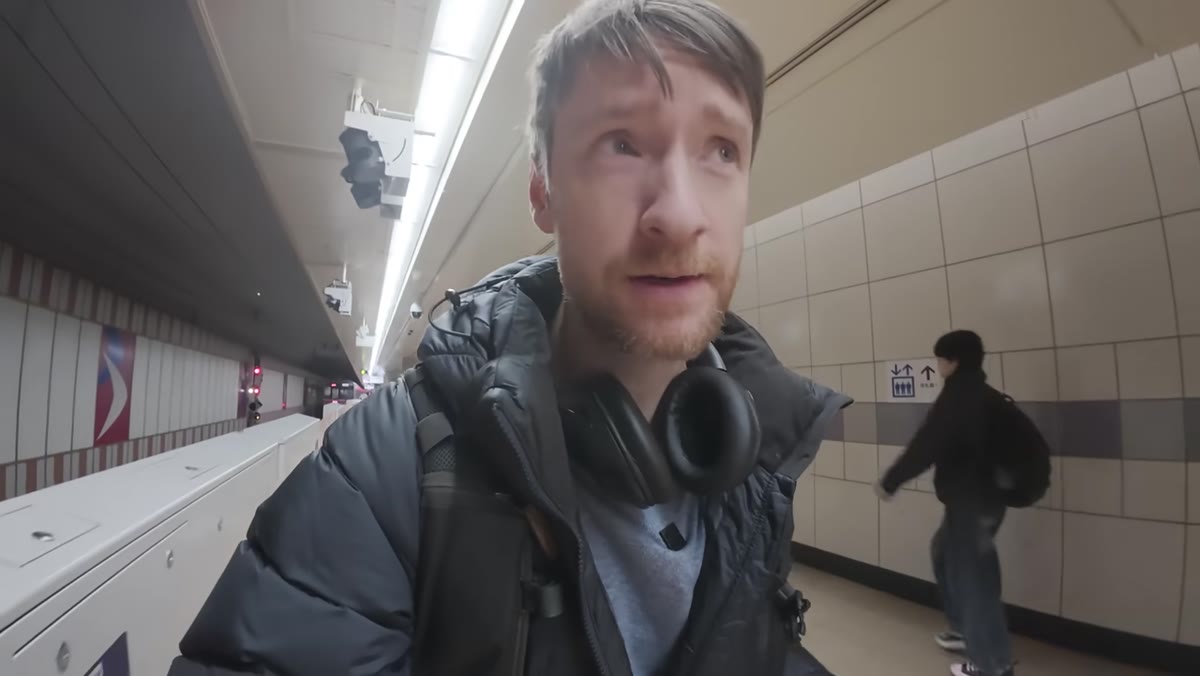 Thomas at airport ticket machine buying train tickets
Tokyo’s public transit system is genuinely enormous. A single line within the network moves more daily passengers than London’s entire underground. Thomas did his research ahead of time, which meant that buying a ticket at the machine and identifying the right platform was manageable, even after nearly 24 hours of travel disruption. Before any international photo trip, spend 20 minutes understanding the transit options from the airport to your accommodation. Know the name of your station, know which line you need, and have a screenshot saved offline in case your data doesn’t work on arrival. The goal is to spend your mental energy on photography, not on deciphering signage.
Thomas at airport ticket machine buying train tickets
Tokyo’s public transit system is genuinely enormous. A single line within the network moves more daily passengers than London’s entire underground. Thomas did his research ahead of time, which meant that buying a ticket at the machine and identifying the right platform was manageable, even after nearly 24 hours of travel disruption. Before any international photo trip, spend 20 minutes understanding the transit options from the airport to your accommodation. Know the name of your station, know which line you need, and have a screenshot saved offline in case your data doesn’t work on arrival. The goal is to spend your mental energy on photography, not on deciphering signage.
Step 5: Give Yourself Permission to Not Shoot on Day One
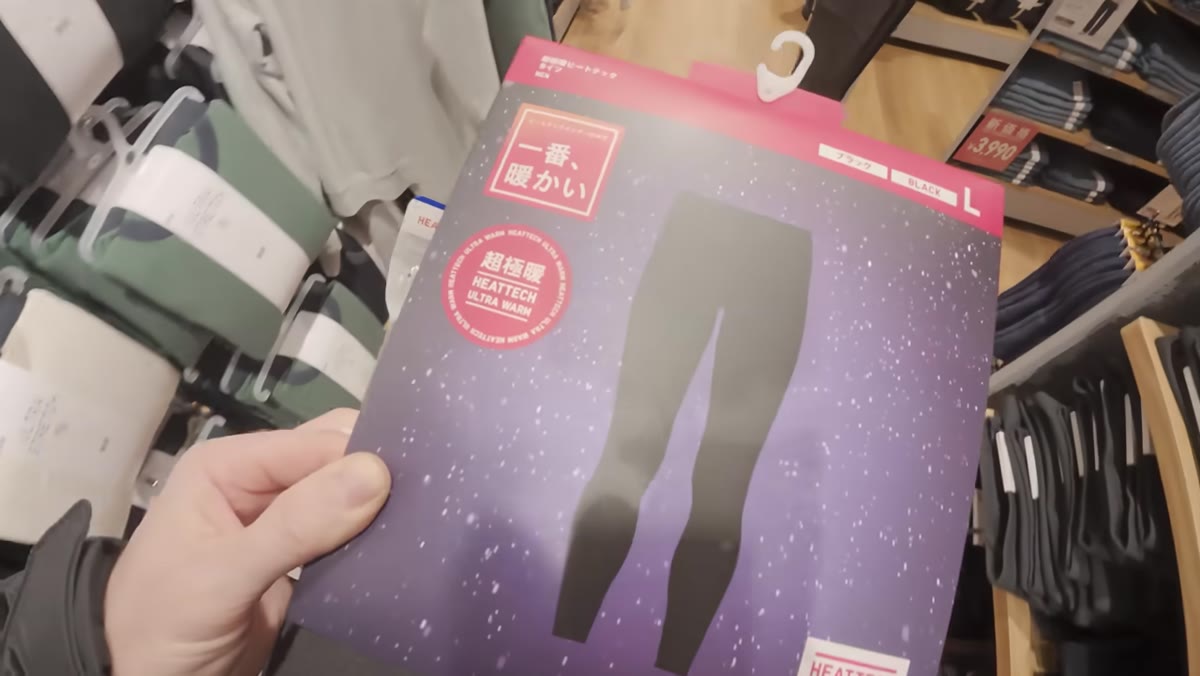 Thomas in Tokyo store buying socks and clothing essentials
Thomas’s first outing in Tokyo was not photography. It was buying socks and underwear. He says this almost apologetically, but honestly, it’s the right call. Arriving into a new city and immediately trying to make great photographs is a setup for disappointment. Your eye isn’t calibrated to the light yet. You don’t know the rhythms of the streets. You’re running on travel fatigue. Use the first few hours to orient yourself, sort out your essentials, and let the city start to feel real. The photography will be better for it. I always give myself one “throwaway” afternoon when I arrive somewhere new, no pressure to shoot anything worth keeping, just walking and looking.
Thomas in Tokyo store buying socks and clothing essentials
Thomas’s first outing in Tokyo was not photography. It was buying socks and underwear. He says this almost apologetically, but honestly, it’s the right call. Arriving into a new city and immediately trying to make great photographs is a setup for disappointment. Your eye isn’t calibrated to the light yet. You don’t know the rhythms of the streets. You’re running on travel fatigue. Use the first few hours to orient yourself, sort out your essentials, and let the city start to feel real. The photography will be better for it. I always give myself one “throwaway” afternoon when I arrive somewhere new, no pressure to shoot anything worth keeping, just walking and looking.
Step 6: Adapt Your Expectations Without Lowering Your Standards
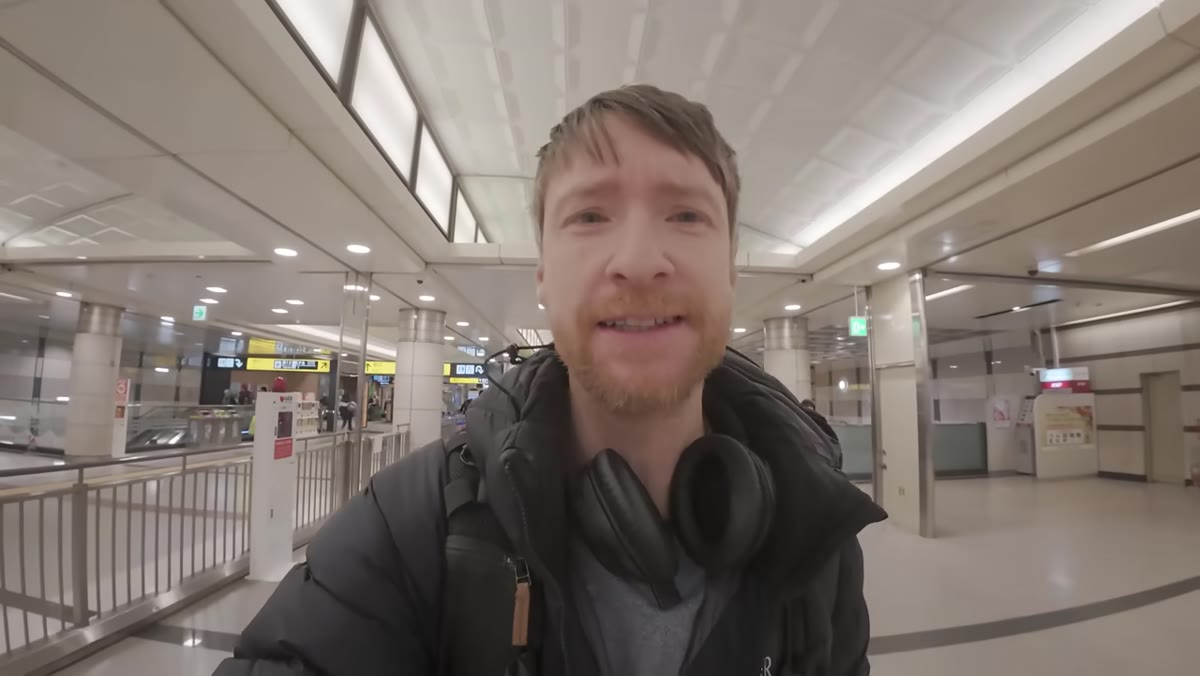 Thomas arriving at hotel, tired, describing missing bag
The thread running through this entire tutorial is adaptation. Every plan Thomas made got disrupted, and he kept moving forward. That’s not just a personality trait, it’s a skill. When your gear isn’t available or your timeline shifts, the question becomes: what can I do with what I have? This is where having a clear sense of your photographic priorities matters. If you know you want street scenes, you can do that with a phone. If you want landscapes, you might need to wait. Knowing your own priorities helps you triage quickly when circumstances change.
Thomas arriving at hotel, tired, describing missing bag
The thread running through this entire tutorial is adaptation. Every plan Thomas made got disrupted, and he kept moving forward. That’s not just a personality trait, it’s a skill. When your gear isn’t available or your timeline shifts, the question becomes: what can I do with what I have? This is where having a clear sense of your photographic priorities matters. If you know you want street scenes, you can do that with a phone. If you want landscapes, you might need to wait. Knowing your own priorities helps you triage quickly when circumstances change.
A Note from My Own Experience
The hardest thing about travel photography isn’t the technical side. It’s managing the gap between what you planned and what actually happens. I’ve learned to keep a running list on my phone of “shots I’ll get if everything goes sideways,” which forces me to think creatively about low-gear, low-energy options. Some of my favorite travel images came from mornings when I was too tired or too under-equipped to execute my original plan and had to find something simpler and more honest instead. Constraints have a way of stripping out the overthought and leaving something real.
The single most transferable takeaway from Thomas’s Tokyo experience is this: the preparation that matters most in travel photography happens before you touch your camera. Insurance, logistics, transit research, a buffer day, a carry-on strategy, these aren’t glamorous topics, but they’re what allow the creative work to happen at all. Get those right, and even a chaotic trip can produce great photographs.
Watch the full tutorial on YouTube to follow Thomas through the rest of his Tokyo trip as the photography eventually begins.
Comments (2)
The before and after really sells it. Incredible difference.
Tried this technique this morning. Game changer for real.
Leave a Comment