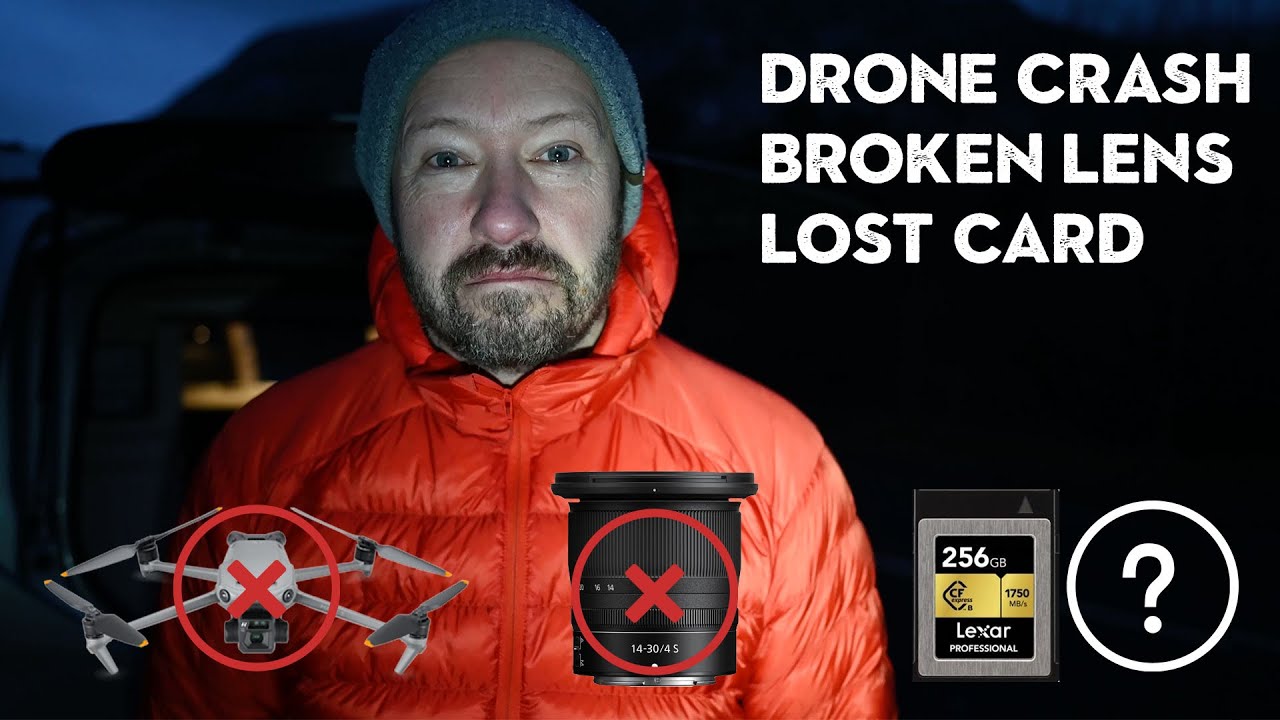
There’s a version of photography that lives on Instagram — golden hour, perfectly packed camera bag, zero wind. Then there’s the version most of us actually live, which involves wet gloves, gear that breaks at the worst possible moment, and at least one decision you’ll spend the drive home regretting. I’ve had those days. One Sunday morning walk in Seattle I dropped my 50mm on a wet dock and spent the rest of the shoot on my phone, refusing to go home empty-handed. So when I came across this Watch the full tutorial on YouTube by landscape photographer Nigel Danson, I felt it in my chest immediately.
In this Nigel Danson tutorial, everything goes sideways on a winter shoot in Snowdonia, Wales. His drone falls out of the sky, he takes a tumble and damages his camera and lens, and somewhere in those 100 meters of chaos, he pulls his memory card out and leaves it on a rock. The video splits into two parts: the recovery mission the next day and the original shoot footage (assuming the card survives). What makes it worth your time isn’t the drama. It’s what his instincts and habits reveal about how experienced photographers handle brutal conditions, protect their work, and keep shooting anyway.
Here’s what I took away, broken into the steps and decisions that actually matter.
Step 1: Check Your Location Data Before You Leave Home
 Nigel reviewing a map with two phone photo location pins
Before heading back out to search for the lost card, Nigel pulls up his phone and identifies two location markers: one where he confirmed he still had the card, and one where he discovered it was gone. That 100-meter window became his search zone.
Nigel reviewing a map with two phone photo location pins
Before heading back out to search for the lost card, Nigel pulls up his phone and identifies two location markers: one where he confirmed he still had the card, and one where he discovered it was gone. That 100-meter window became his search zone.
Most phones automatically tag photos with GPS coordinates, and if you shoot with your phone alongside your camera at all, that metadata is quietly working in your favor. Make a habit of firing off a phone shot at the start and end of each location. You don’t have to keep the photos. But if something goes wrong, you’ll have a precise breadcrumb trail. It takes two seconds and has saved me more than one forgotten lens cap situation.
Step 2: Shoot in Deteriorating Weather Anyway
 Snowdonia hillside with dramatic cloud break and snow beginning
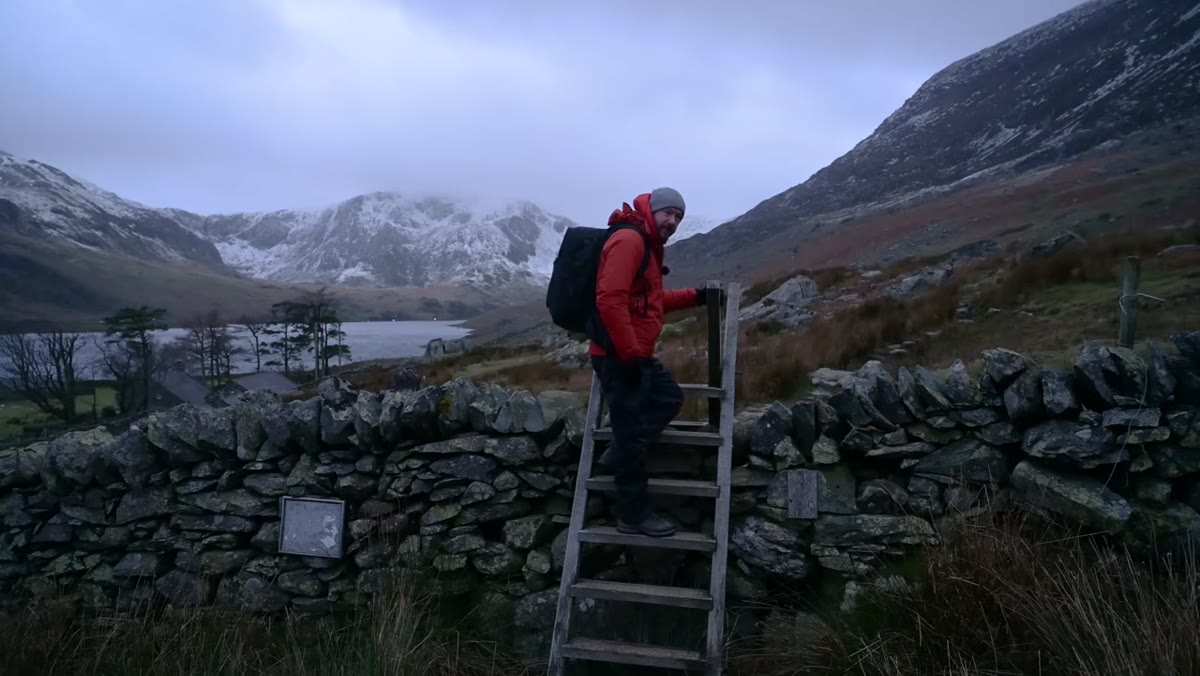
The original footage from day one shows Nigel heading up the fells just as the weather is turning. Snow is starting. Clouds are doing unpredictable things. Wind is picking up. His instinct is not to wait for better light. It’s to move toward it immediately, because he knows conditions like that don’t hold.
Snowdonia hillside with dramatic cloud break and snow beginning
The original footage from day one shows Nigel heading up the fells just as the weather is turning. Snow is starting. Clouds are doing unpredictable things. Wind is picking up. His instinct is not to wait for better light. It’s to move toward it immediately, because he knows conditions like that don’t hold.
This is the mindset shift that separates photographers who get remarkable frames from those who get pleasant ones. Bad weather creates contrast, drama, and atmosphere that no filter can replicate. Blizzard moving in? Get the shot now, before it swallows the light. If you’re waiting for comfortable conditions, you are waiting to make ordinary photographs. Dress for it, protect your gear, and go.
Step 3: Shoot as You Move, Not Just When You Arrive
 Nigel stopping mid-trail to photograph breaking cloud conditions
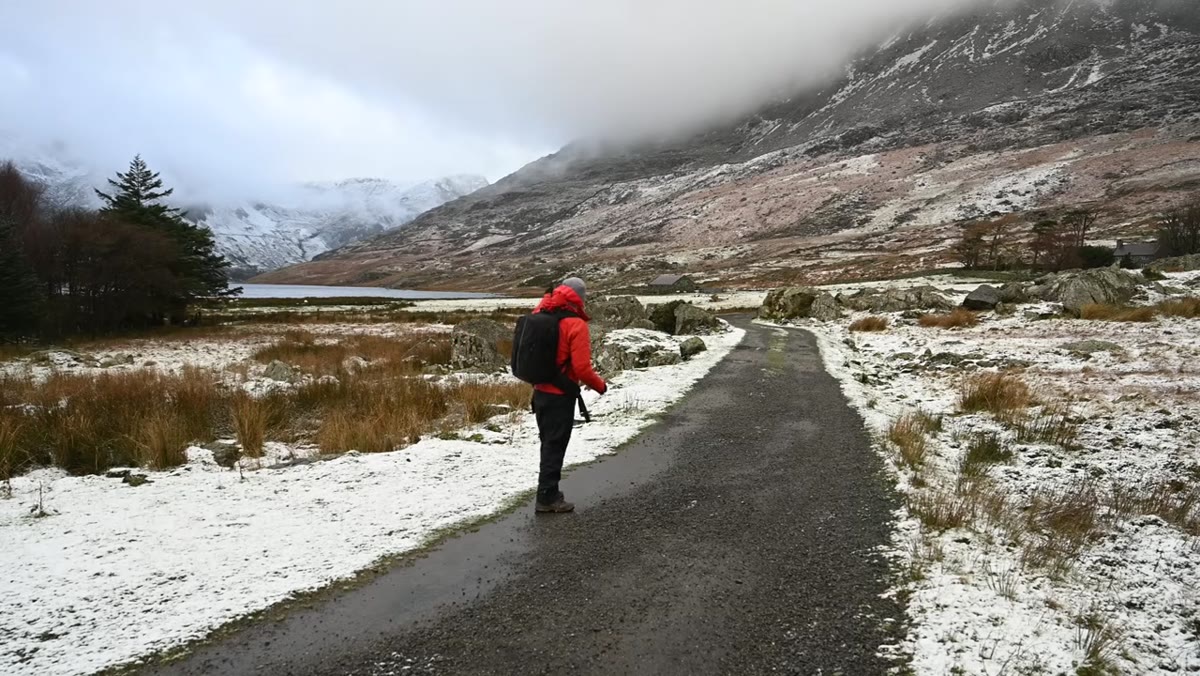
On the way up the hillside, Nigel stops to shoot even though he hasn’t reached his intended location yet. His reasoning is clear: he doesn’t know if the conditions will last. The light breaking through the clouds right now might be gone in four minutes.
Nigel stopping mid-trail to photograph breaking cloud conditions
On the way up the hillside, Nigel stops to shoot even though he hasn’t reached his intended location yet. His reasoning is clear: he doesn’t know if the conditions will last. The light breaking through the clouds right now might be gone in four minutes.
This is something I tell every beginner I work with. Your shot list is a plan, not a contract. If something extraordinary is happening in front of you at the trailhead, shoot it. You can always keep walking. But you can’t go back and reshoot a moment that dissolved while you were trying to reach a better vantage point. Treat every step of the journey as a potential frame, not just the destination.
Step 4: Retrace Your Steps Methodically After a Loss
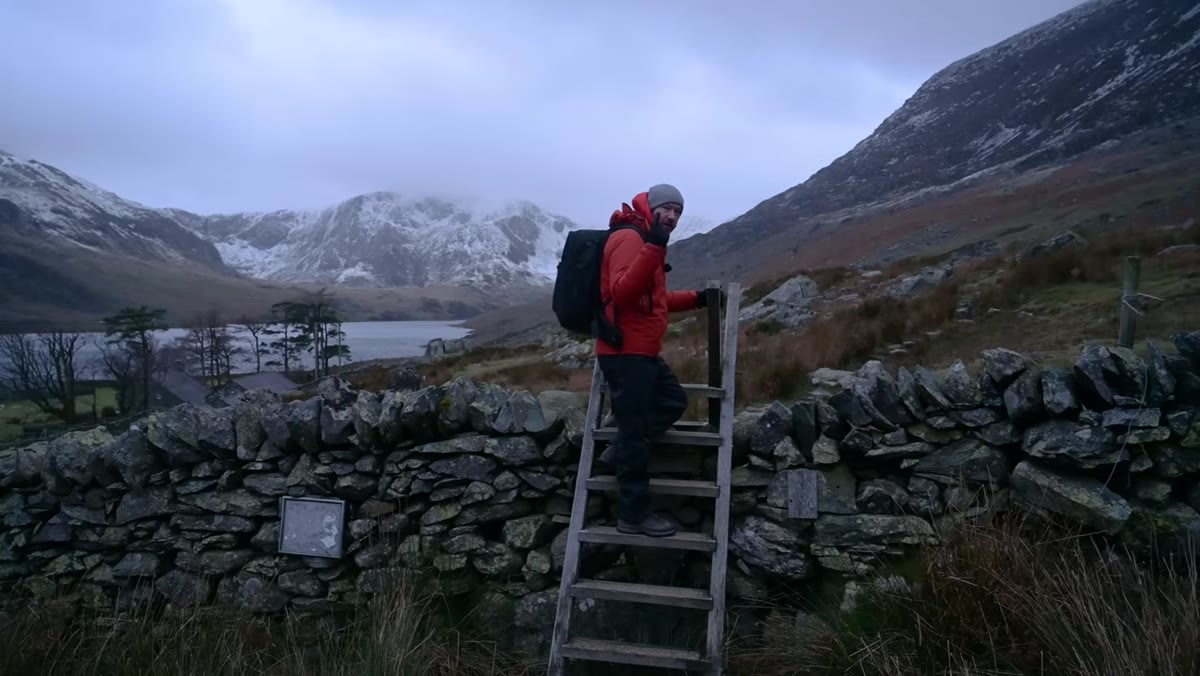 Nigel scanning the rocky ground between two mapped GPS points
When Nigel returns to search for the memory card, he doesn’t just wander. He walks the specific corridor between his two GPS-confirmed points, moving slowly and scanning the ground. He finds it in under 10 minutes, nearly right where logic suggested it would be.
Nigel scanning the rocky ground between two mapped GPS points
When Nigel returns to search for the memory card, he doesn’t just wander. He walks the specific corridor between his two GPS-confirmed points, moving slowly and scanning the ground. He finds it in under 10 minutes, nearly right where logic suggested it would be.
If you lose gear in the field, resist the urge to spiral. Define the boundary of where the item could possibly be (entry point, exit point), and work that zone systematically. Panic searches waste time and cover the same ground twice. A slow, grid-style pass is almost always faster than a frantic sweep.
Step 5: Let Wet Gear Dry Completely Before Testing It
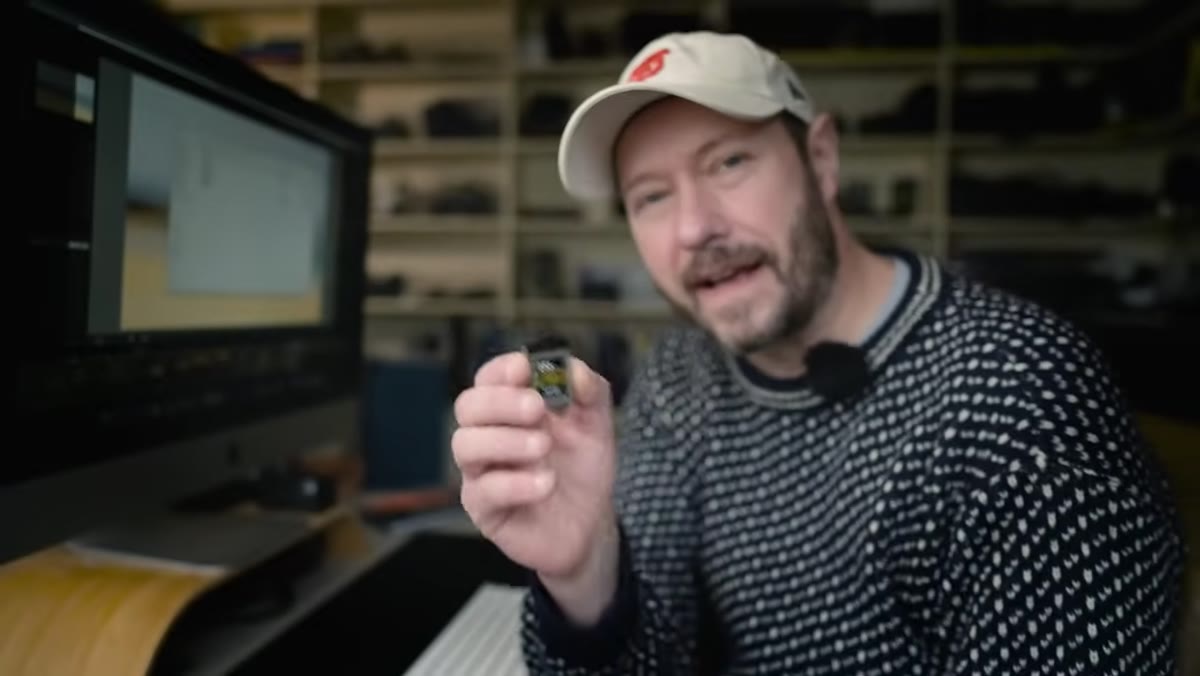 Memory card sitting out for two days before being inserted into reader
Back in his studio, Nigel gives the recovered card two full days of drying time before he touches it. This is not impatience failing him. This is discipline. Inserting a wet or even slightly damp card into a card reader risks corrupting the data or damaging the reader itself.
Memory card sitting out for two days before being inserted into reader
Back in his studio, Nigel gives the recovered card two full days of drying time before he touches it. This is not impatience failing him. This is discipline. Inserting a wet or even slightly damp card into a card reader risks corrupting the data or damaging the reader itself.
The rule here is simple: if gear has been exposed to moisture, wait longer than you think you need to. A silica gel packet in an airtight bag can speed things up significantly. And if you have any doubt about whether a card is dry, give it another 24 hours. The photos aren’t going anywhere. The damage from rushing, on the other hand, could be permanent.
Step 6: Back Up Cards Before You Leave the Field
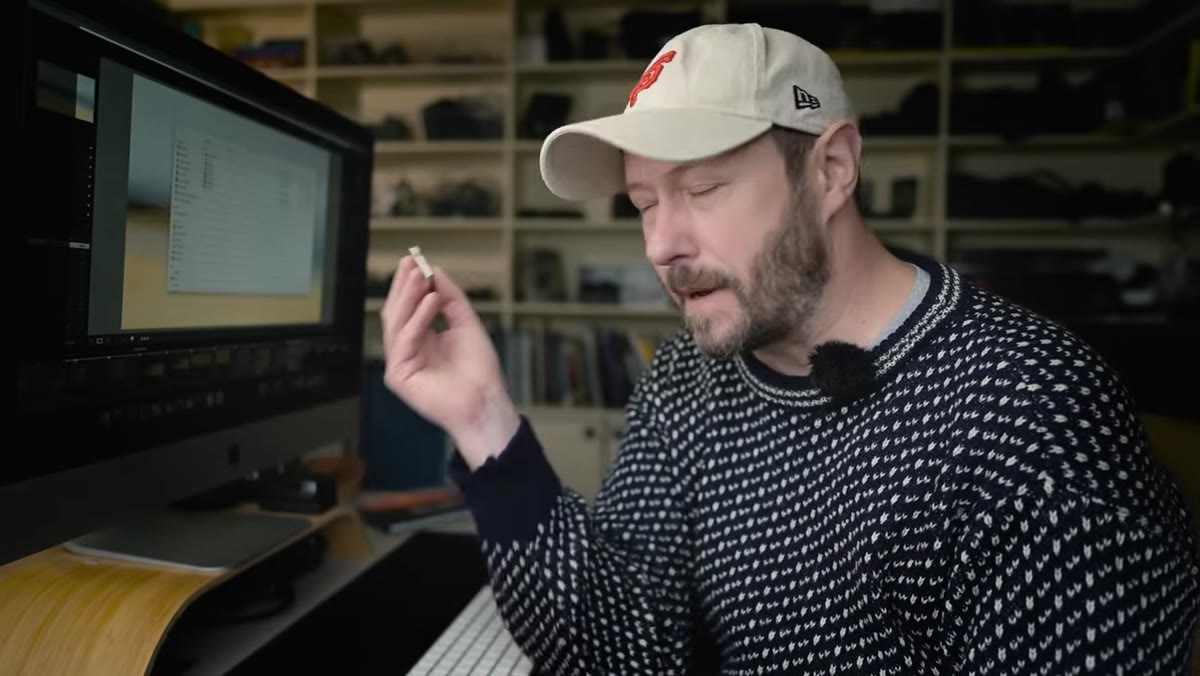 Card reader connected on studio desk with card being inserted carefully
The happy ending in this video is that the card works. The photos survive. But the whole ordeal is a very loud argument for one habit: back up your cards in the field, or at minimum, that same evening before sleep. A portable card reader paired with a small USB drive or a phone with enough storage gives you a redundant copy of everything before disaster has a chance to strike.
Card reader connected on studio desk with card being inserted carefully
The happy ending in this video is that the card works. The photos survive. But the whole ordeal is a very loud argument for one habit: back up your cards in the field, or at minimum, that same evening before sleep. A portable card reader paired with a small USB drive or a phone with enough storage gives you a redundant copy of everything before disaster has a chance to strike.
Nigel didn’t have a backup, and he got lucky. You may not. A $30 USB-C card reader and a single backup drive will cost you less than one lens filter and will protect every shoot you ever do.
What I’d Add From My Own Experience
Memory cards are small, matte, and the same color as rocks. This is essentially a design flaw. I started keeping mine in a small, bright orange case after losing one in a tide pool situation I’d rather not relive. Fluorescent gear pouches, brightly colored card cases, even a strip of neon tape on equipment you pull out and set down frequently. Visual contrast is your friend when your hands are cold and your brain is focused on the light.
The single most important thing Nigel’s worst day demonstrates is this: the habit of continuing to shoot, even when conditions are hostile and circumstances are frustrating, is what produces the work. The extraordinary footage from day one existed because he went out in the snow without knowing what he’d find. Everything else, the recovery mission, the drying time, the nervous card test, that was all just protecting the output of a photographer who refused to wait for a better day.
Watch the full tutorial on YouTube and pay attention to how Nigel moves through those conditions. His camera instincts are worth studying, independent of all the chaos around them.
Comments (1)
Great breakdown. The step-by-step approach really helps.
Leave a Comment